
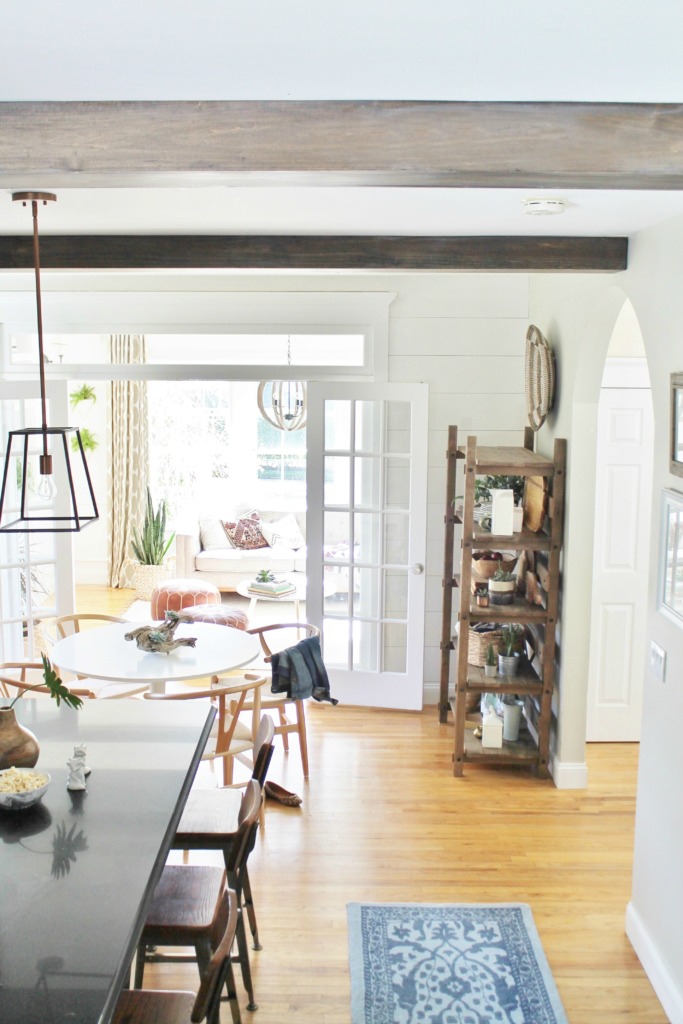
Hi there friends! I am back to share my new DIY modern rustic wood beams that we just added to the kitchen! As I was saying in yesterday’s post we are tackling smaller projects in our kitchen to make the space feel more like us and our style. We will hold off on any larger projects until we are ready for the commitment of a renovation, which is not now. Often all a space needs are touches that say you to make it feel fresh again.
Disclosure: This post may contain affiliate links. As an Amazon Associate, I earn from qualifying purchases at no additional cost to you. See full Disclosure Statement HERE.
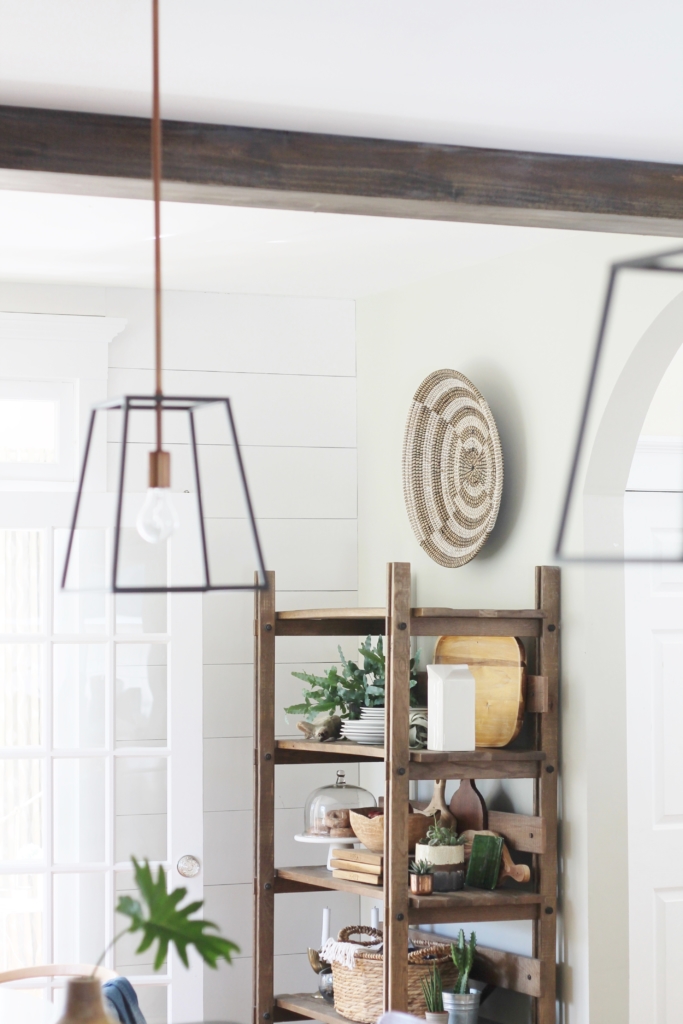
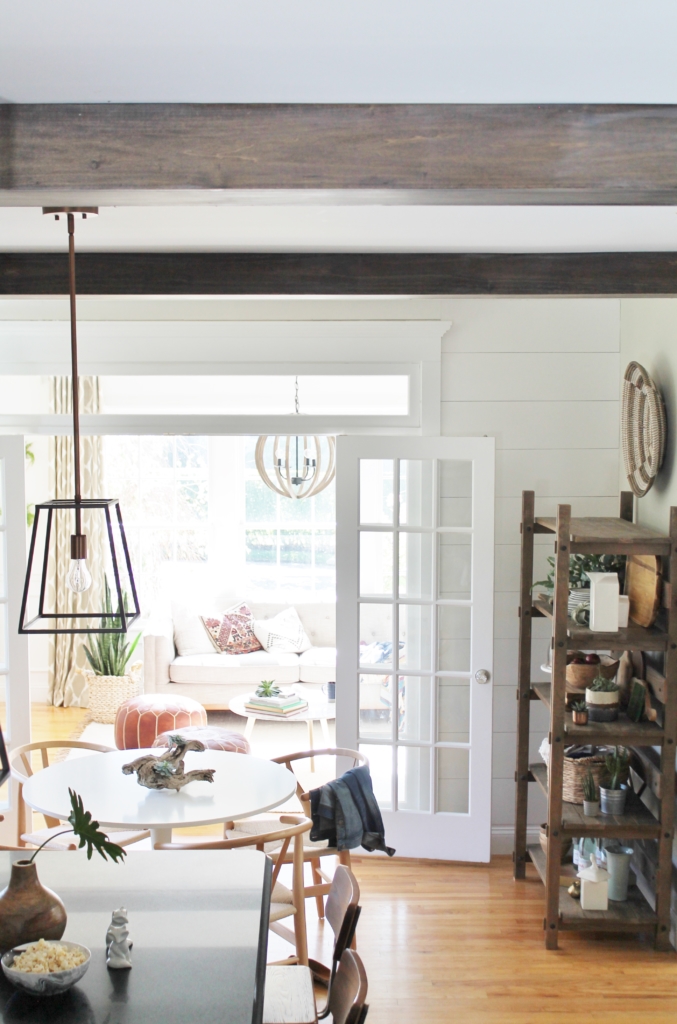
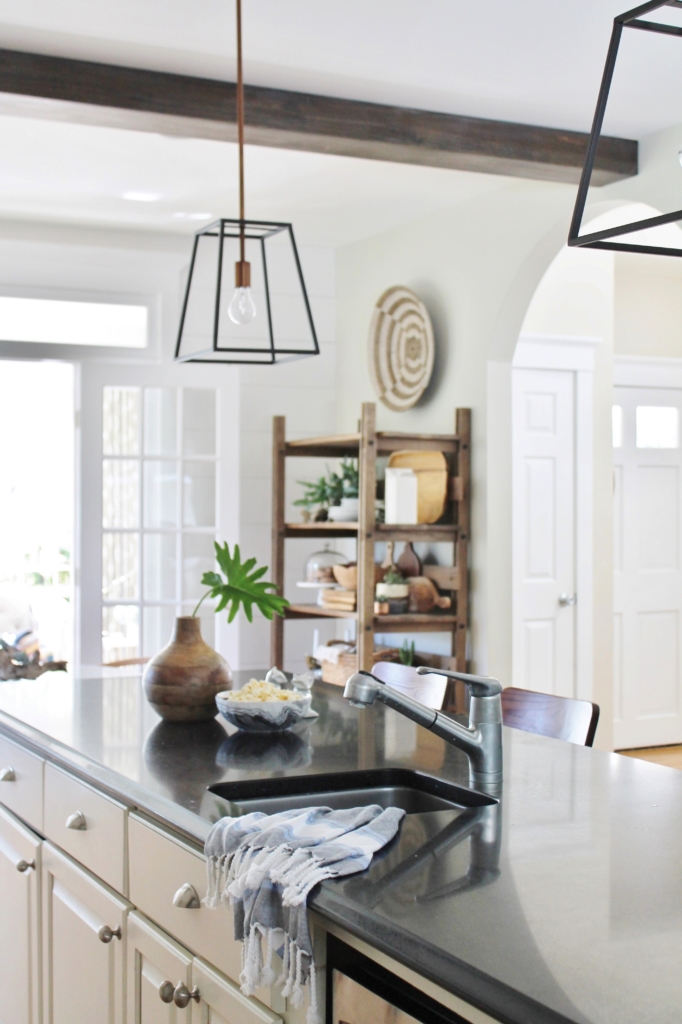
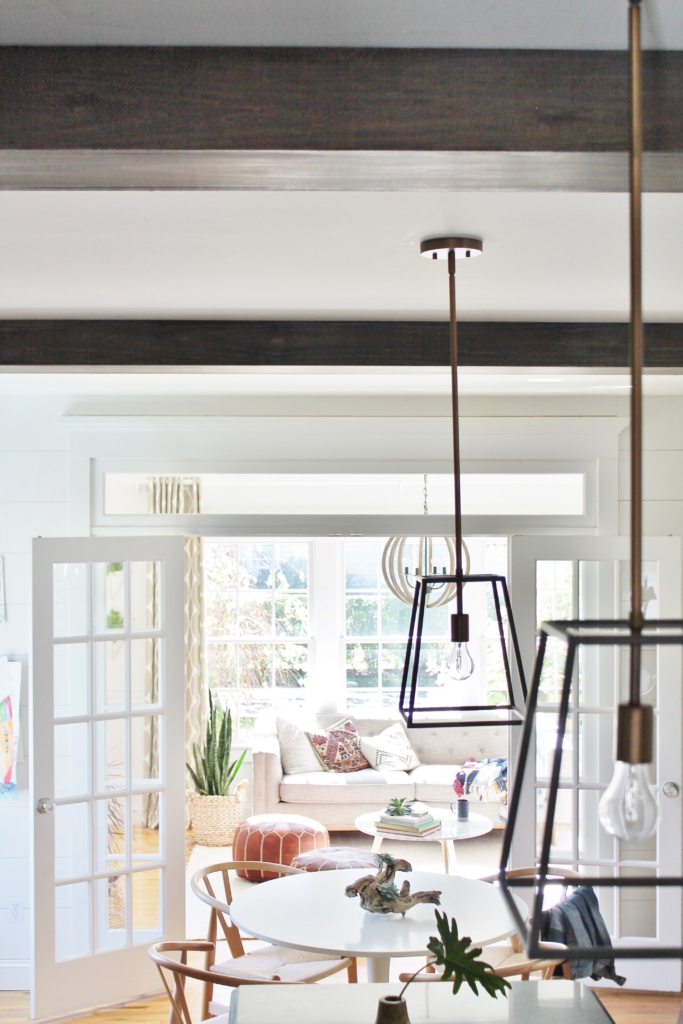
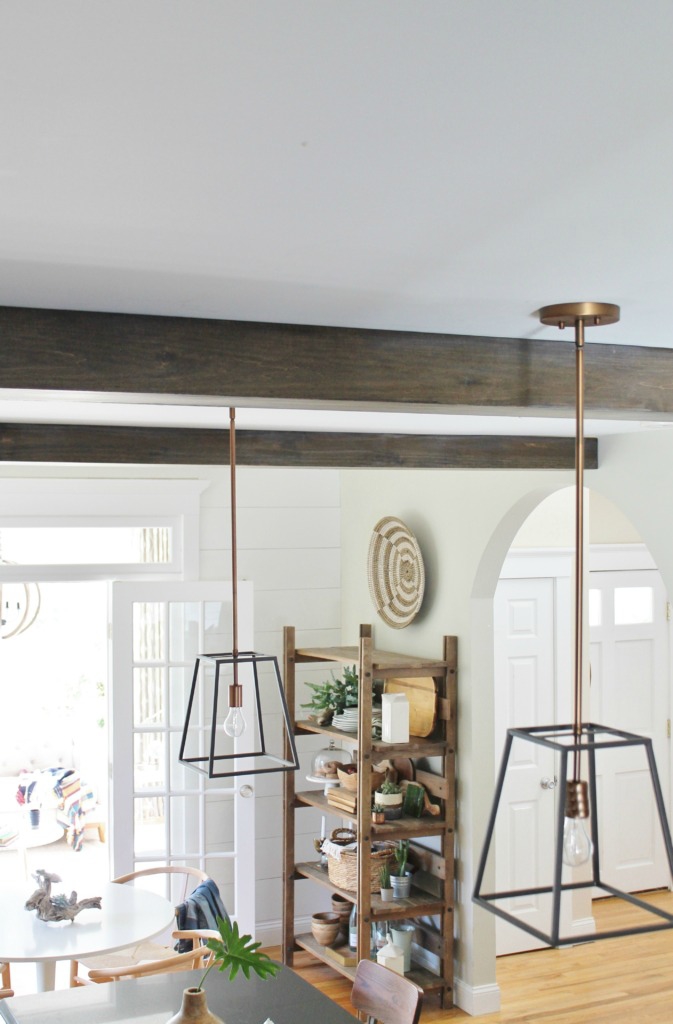
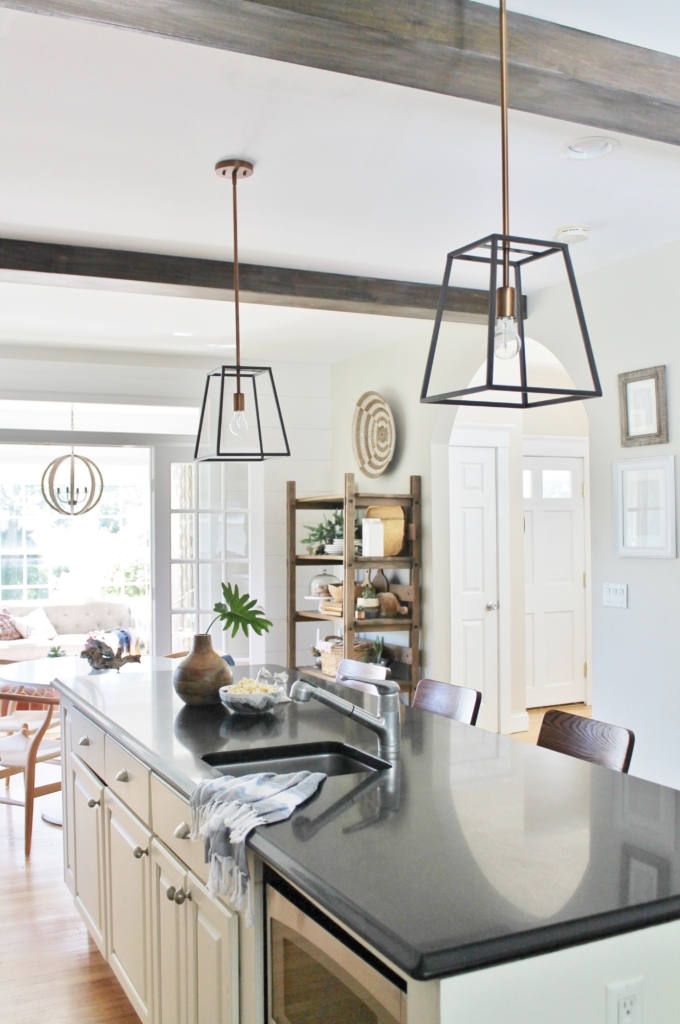
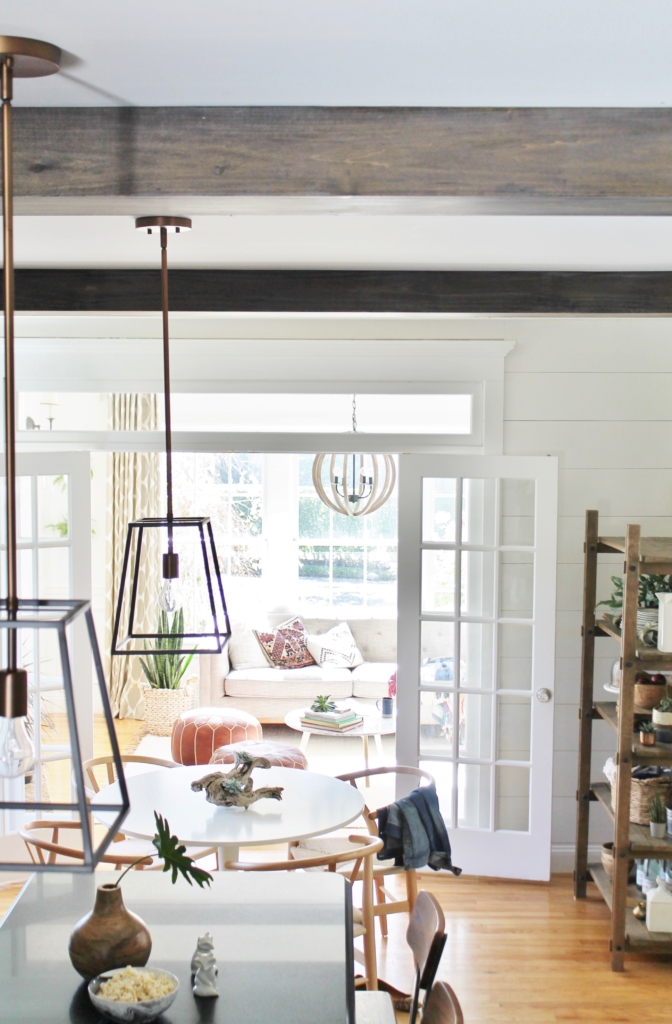
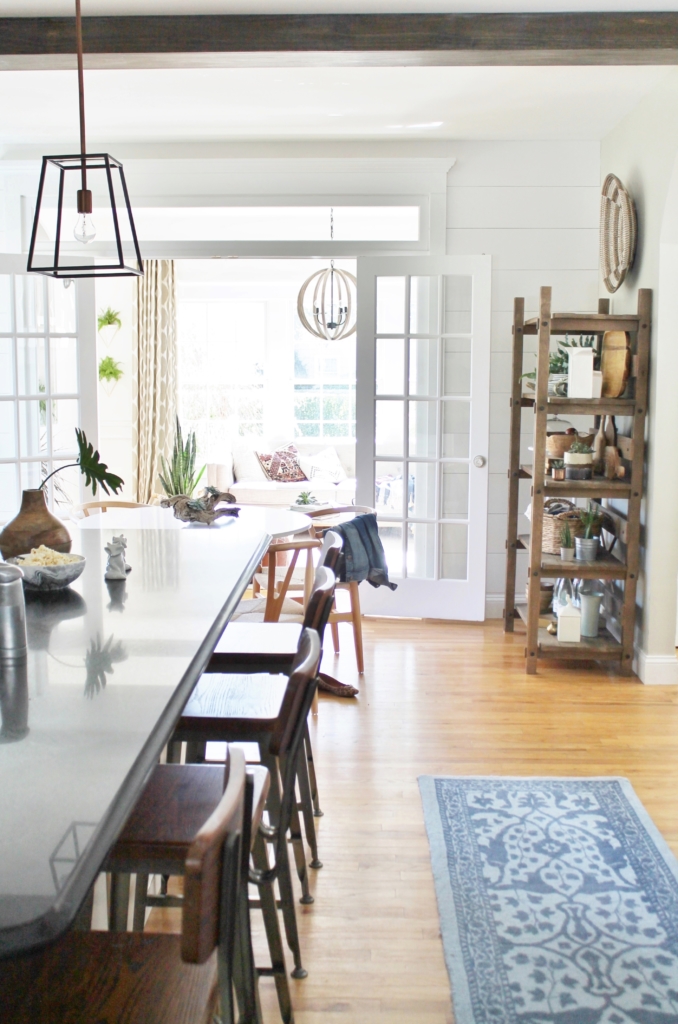
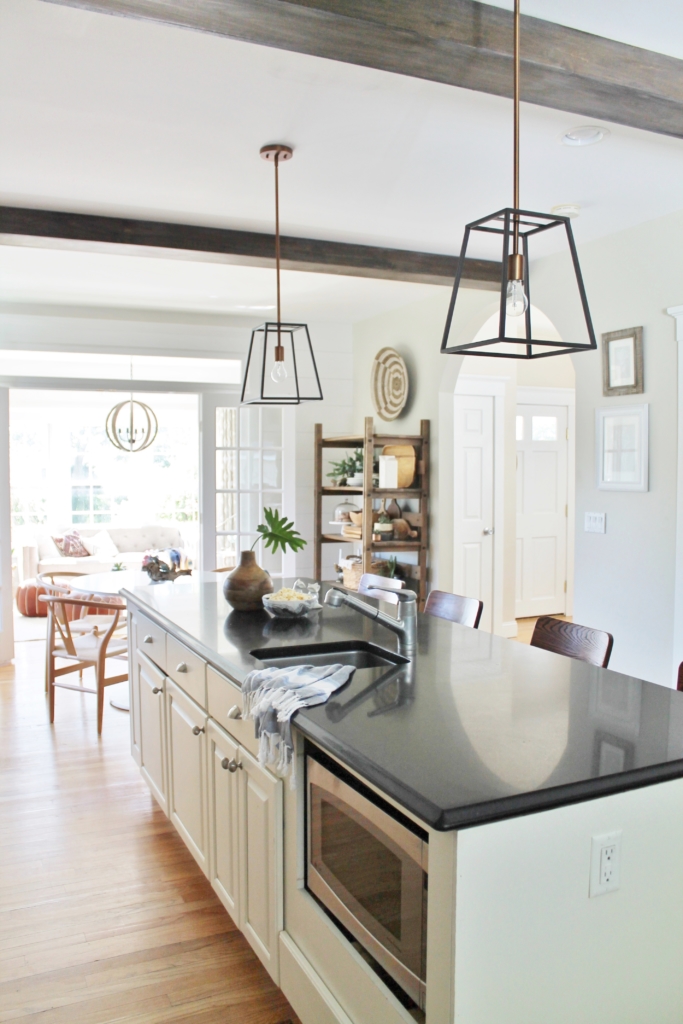
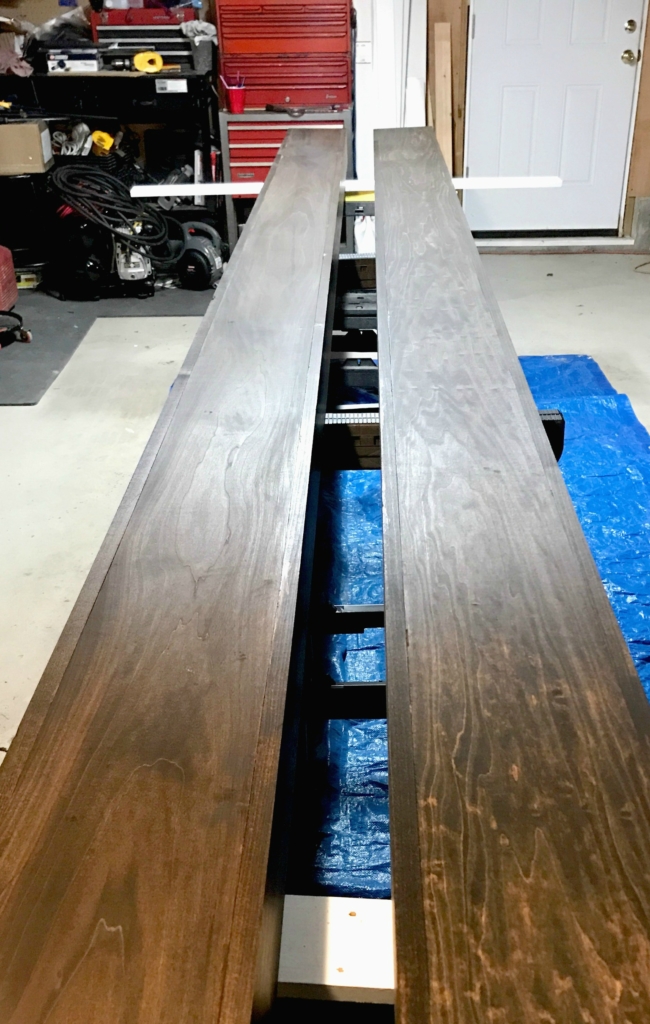
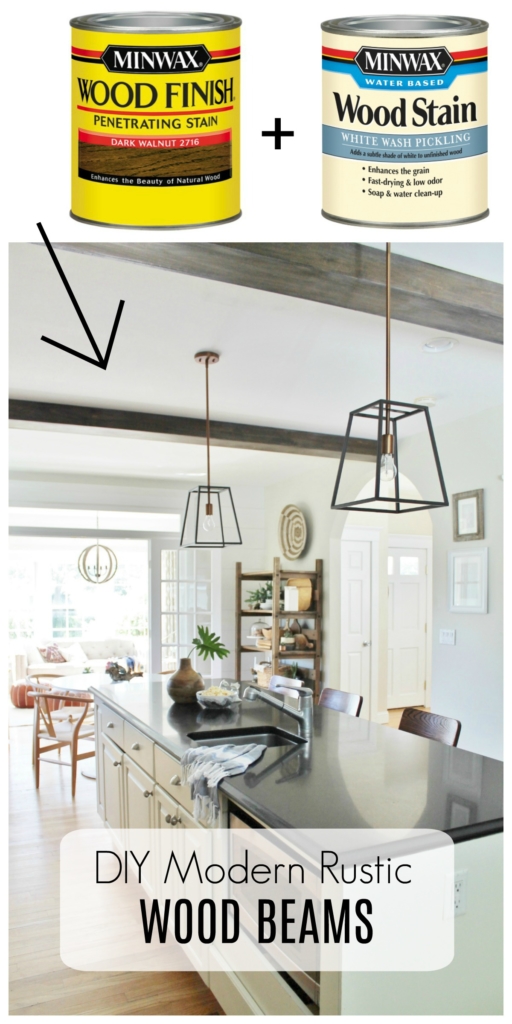
I have partnered with Minwax to show you how to give new wood an aged, rustic barnwood feel. We decided to fabricate the beams using birch wood from our local lumbar yard since we had an existing beam in the kitchen to cover. It was sheet rocked and not very pretty, I thought a rustic touch would give the space more character.
This is part of Minwax’s Made With Love campaign. You can watch the touching video on how a father connects with his son by making a chess table, I actually cried. I thought this project was fitting since our kitchen is the heart of our home and a place we share so much quality time as a family.
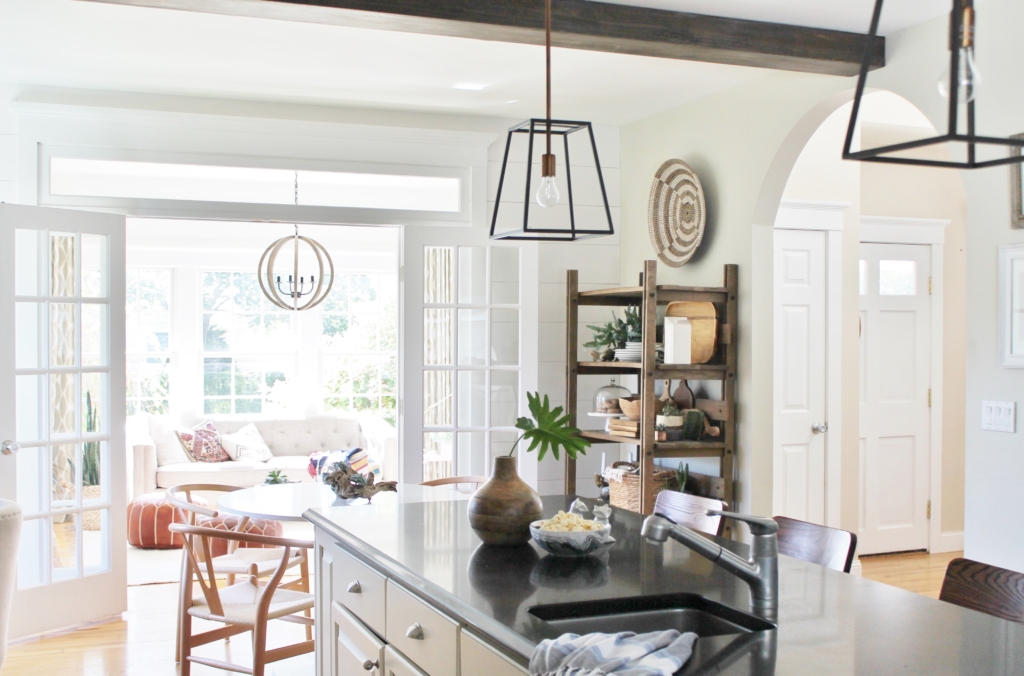
We absolutely love them!!! I will admit, I was nervous at first, they are massive. But once they went up they visually widened the space. It feels so warm and inviting now with an old world sensibility.
In the next post I will be sharing all about my new lights, runners, chairs and barstools. Its part of my 8 Ways to Update Your Kitchen, without a full on renovation!
You can find details to my new den/old dining room HERE.
 Also on that list, are new facets!!!
 This is the before….
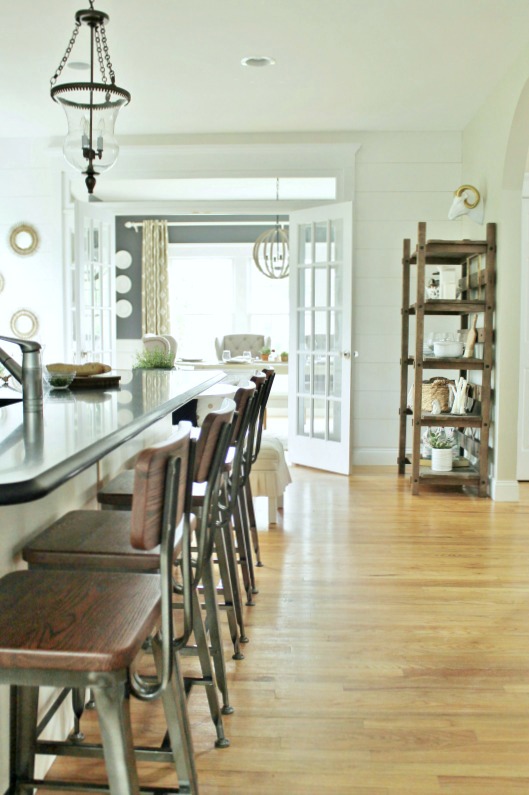
The after….
Another before….

And another after….
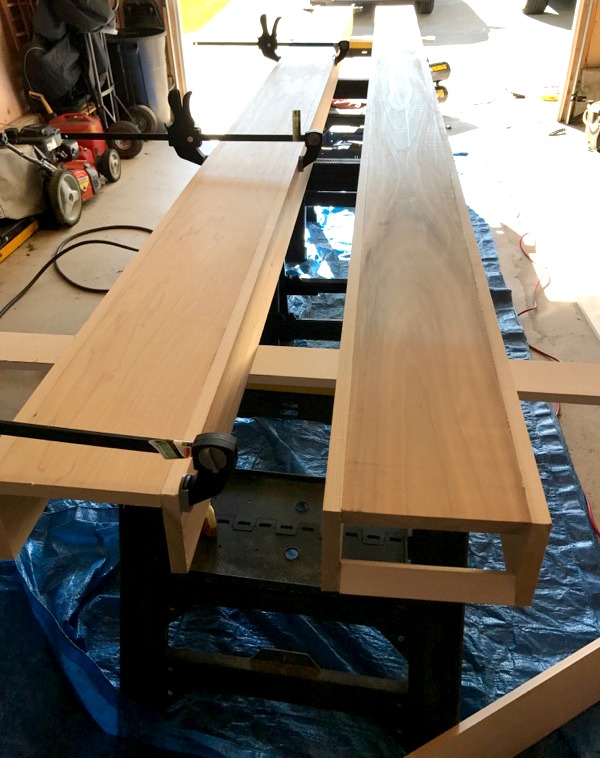
 A big change right? If you decide to tackle this yourself, be sure to have 2 or more people for install.
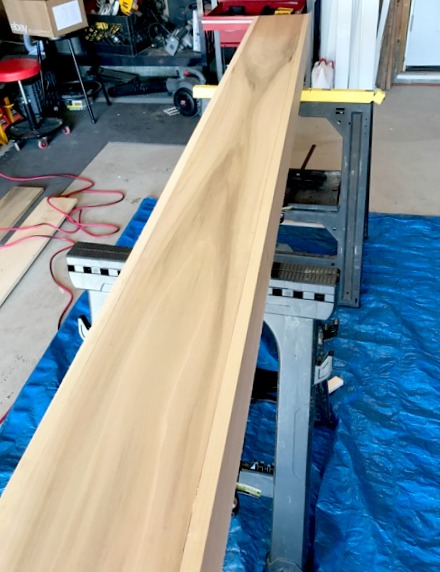
Two boxes were made to fit the specifications of the existing support in the kitchen. The first covered the beam itself and the second went up with a ceiling support and then was nailed to that.
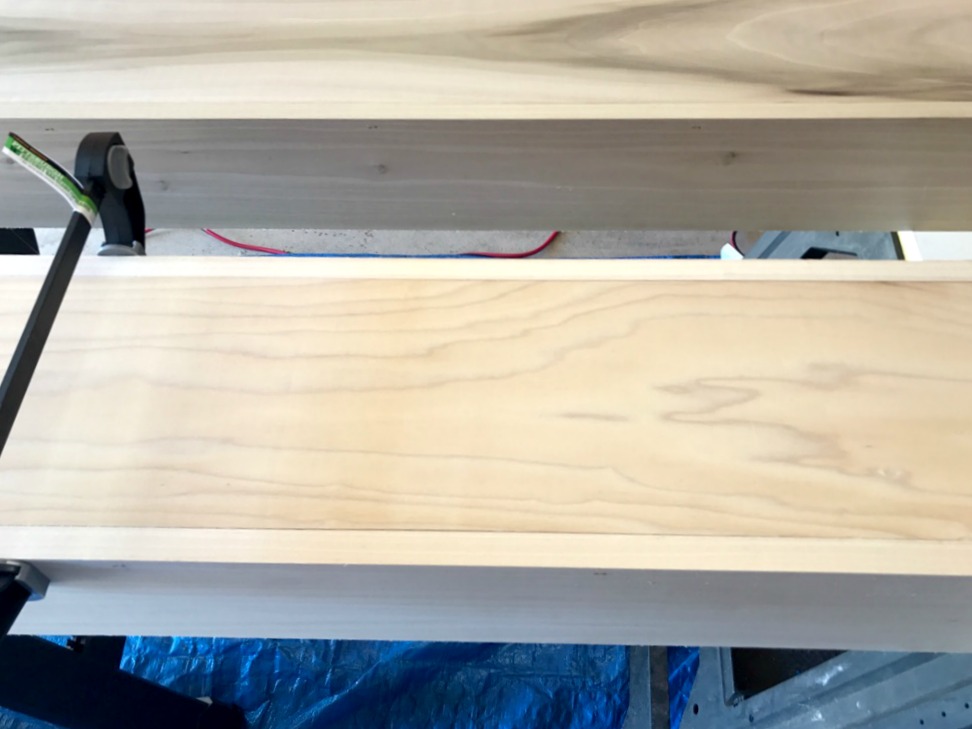
We used 1 coat of Minwax Dark Walnut Wood Finish.
I then used a damp rag and applied a light coat of White Wash Pickling Wood Stain. I wiped it on and took another damp rag to wipe off if need be. You can gauge the amount once you get started. Begin in a unsuspecting place or on a scrap piece. This goes really fast.

I then took my hand sander and lightly sanded the surface so that it had more of a blended look. I left them unsealed in case I wanted to add more White Wash Stain or sand them more in the future.
What do you think? I am excited to finally share more of my kitchen with you in the next few weeks.
Have a happy day!


It looks fantastic! Bravo!
Thank you Ginny!
I love them!
Thank you Rebecca!
I really want to do this! I love the way it turned out! Thanks for the inspiration!
Anytime, thank you Pamela!
We bought our home in 1981…the beginning of the”Country”look. We added beams to our living room ….and I still love them. They added so much character to the new then ranch.
I could totally see them in a ranch style home!
Looks amazing friend!!
Great job! Love the new light fixtures too!
Thank you Susan!!!
Beams are fantastic and they really warm up the rooms. It made the whole room feel warm and cozy.. With the tall ceilings I have, it felt a bit cavernous in my living room especially.
Thank you Rebekah!
The beams are gorgeous! Love how they turned out. I love the new cage lighting, too, although I really want to steal your old lights for my kitchen – I have a colonial style home where that traditional lighting would work really well! 😀
Hi Kristin, thank you!!! Do you live on LI? I would be afraid to ship them.