
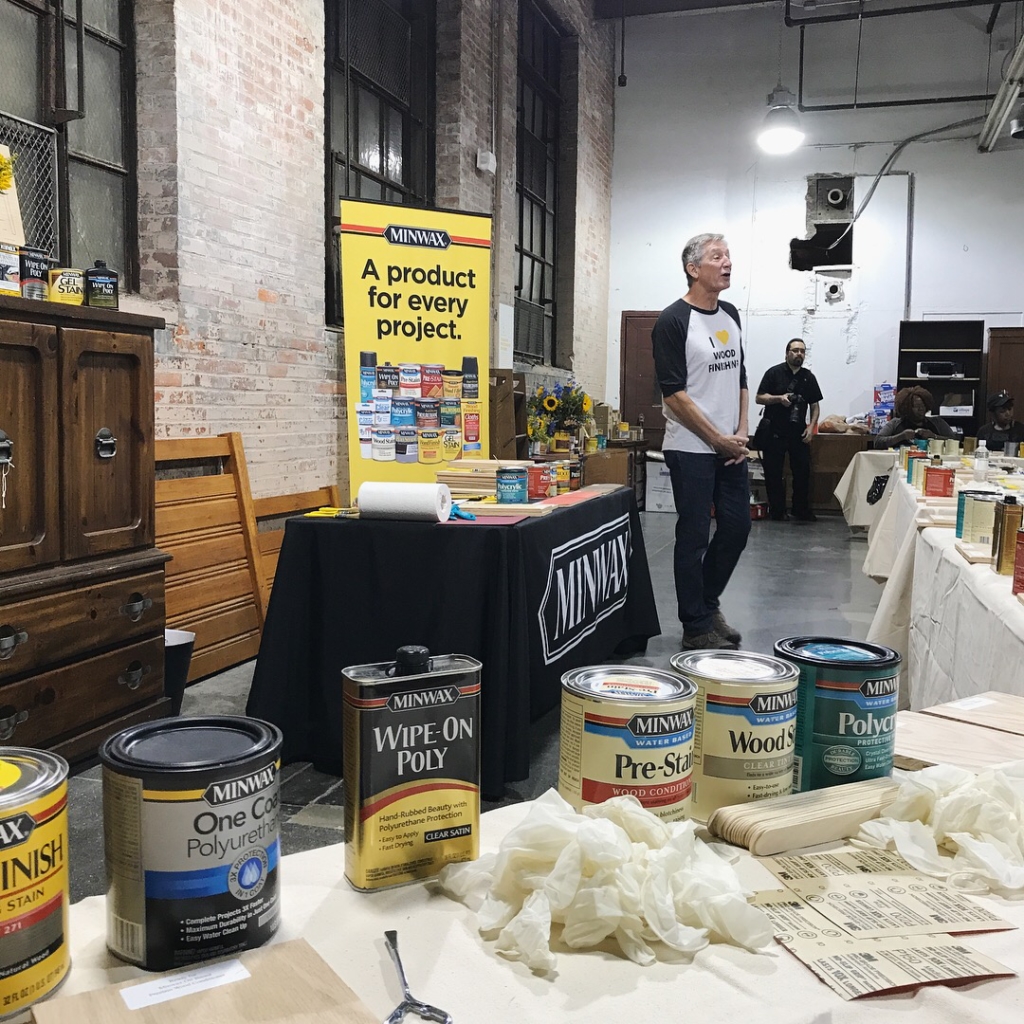
Hi there friends! A few weekends ago I attended the Made With Love staining workshop with Minwax & Bruce Johnson at the Habitat for Humanity Restore in Philidelphia. It was such a great event & trip that I wanted to share some things I learned. There were many things I came away with, things I never knew I was doing wrong that ultimately make a huge difference on how a project turns out.
Disclosure: This post may contain affiliate links. As an Amazon Associate, I earn from qualifying purchases at no additional cost to you. See full Disclosure Statement HERE.

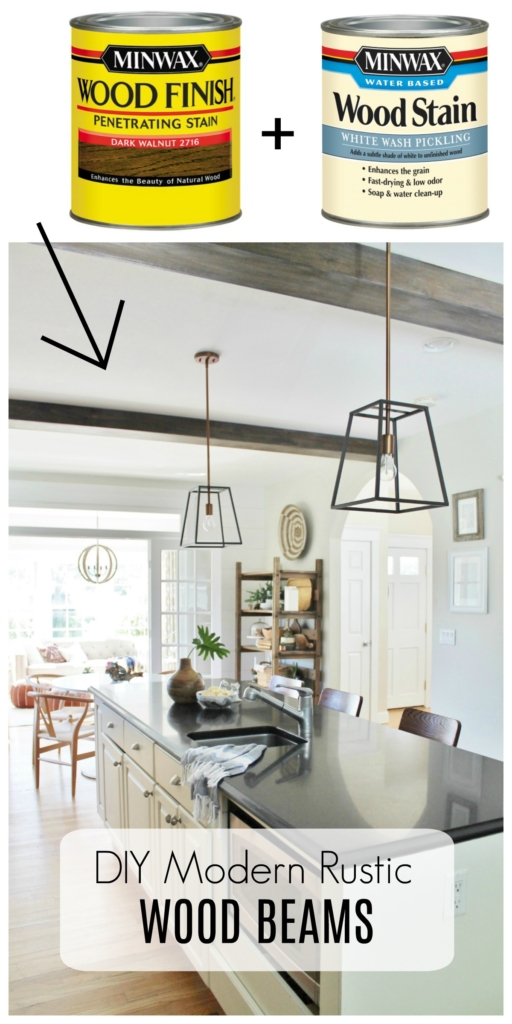
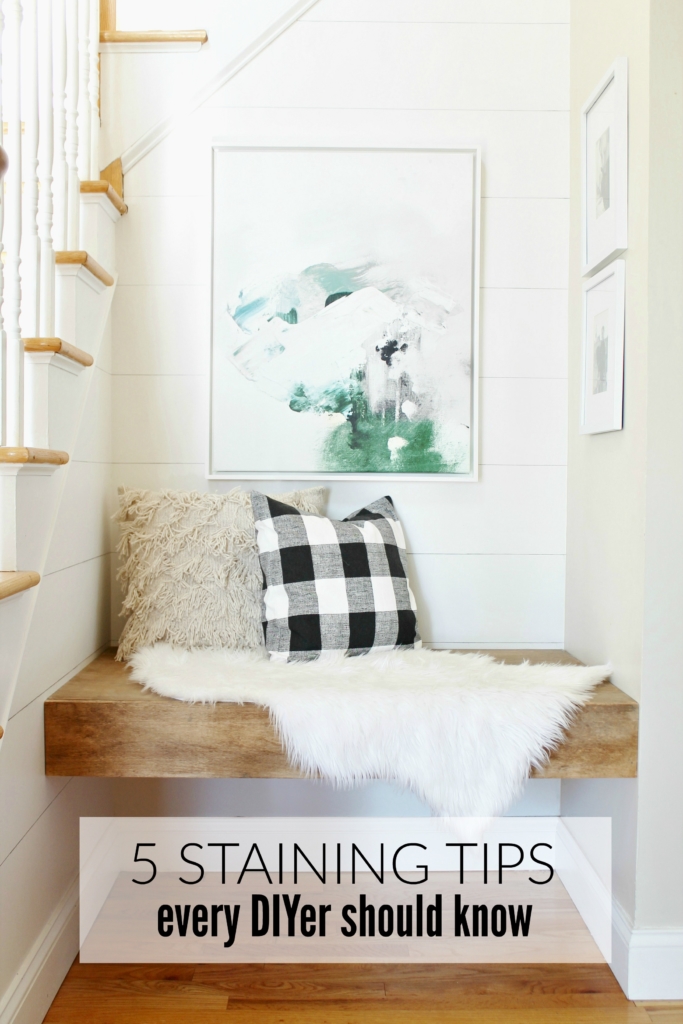
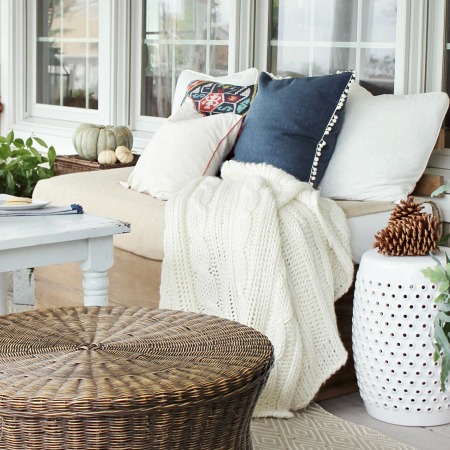
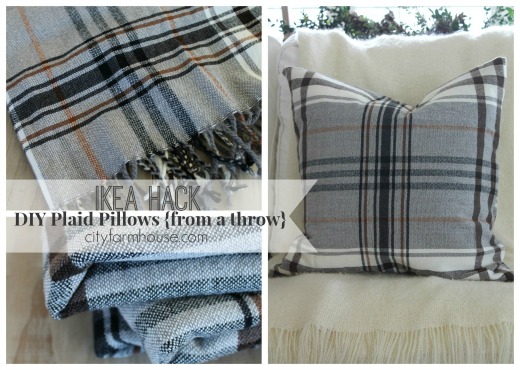
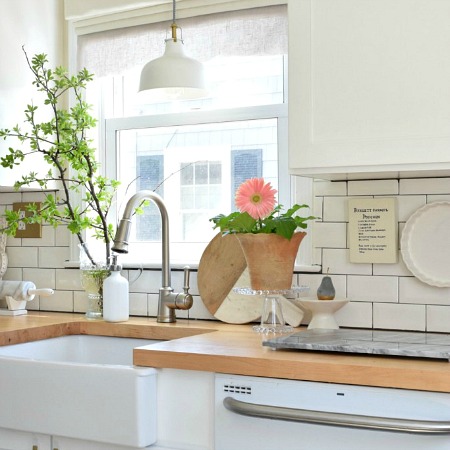
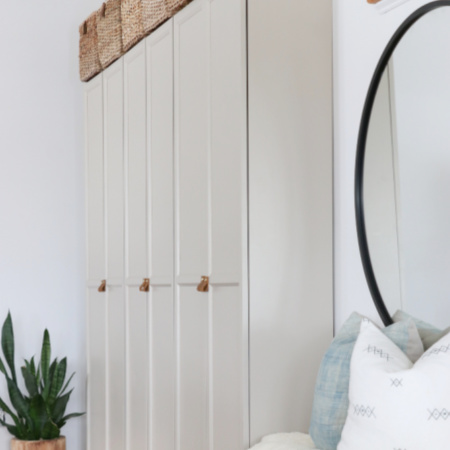
Just to refresh your memory on some of my favorite Minwax projects…


Here are 5 staining tips every DIYer should know….
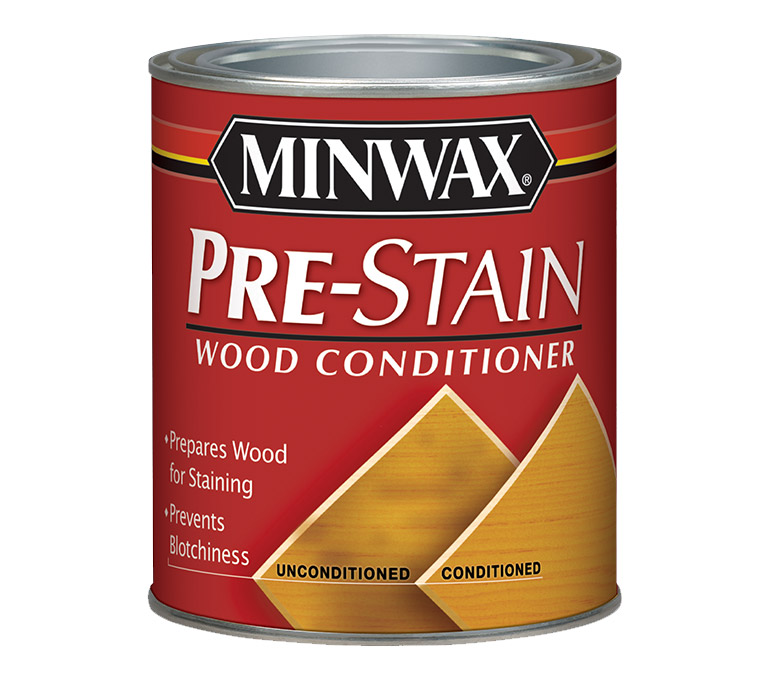
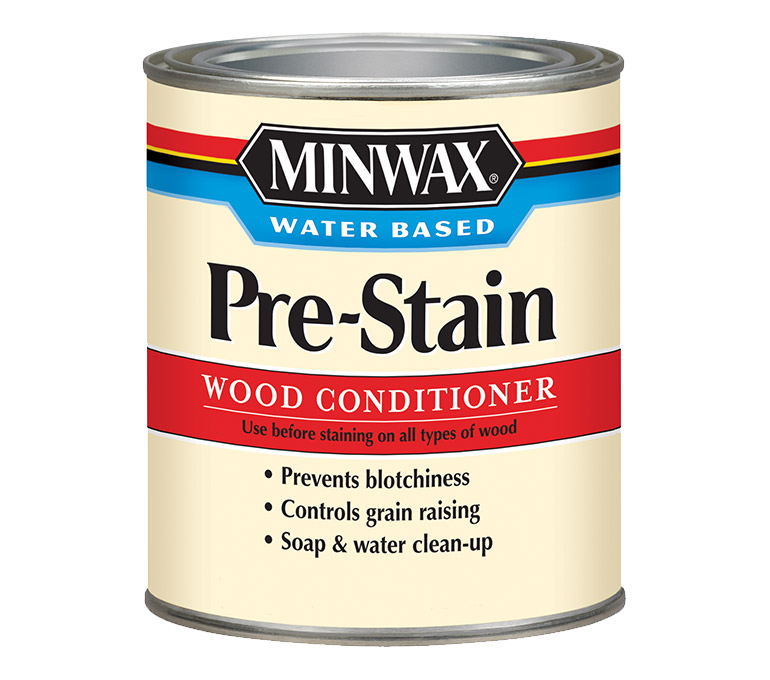
1. There is such a thing called “wood prep.” I had no idea! It prevents blotching and streaking to give an even finish. This has happened to me many times, now I know why. Use oil base, in the red container if using an oil base stain and water based for a water based stain. If it doesn’t say water based then it’s oil based.
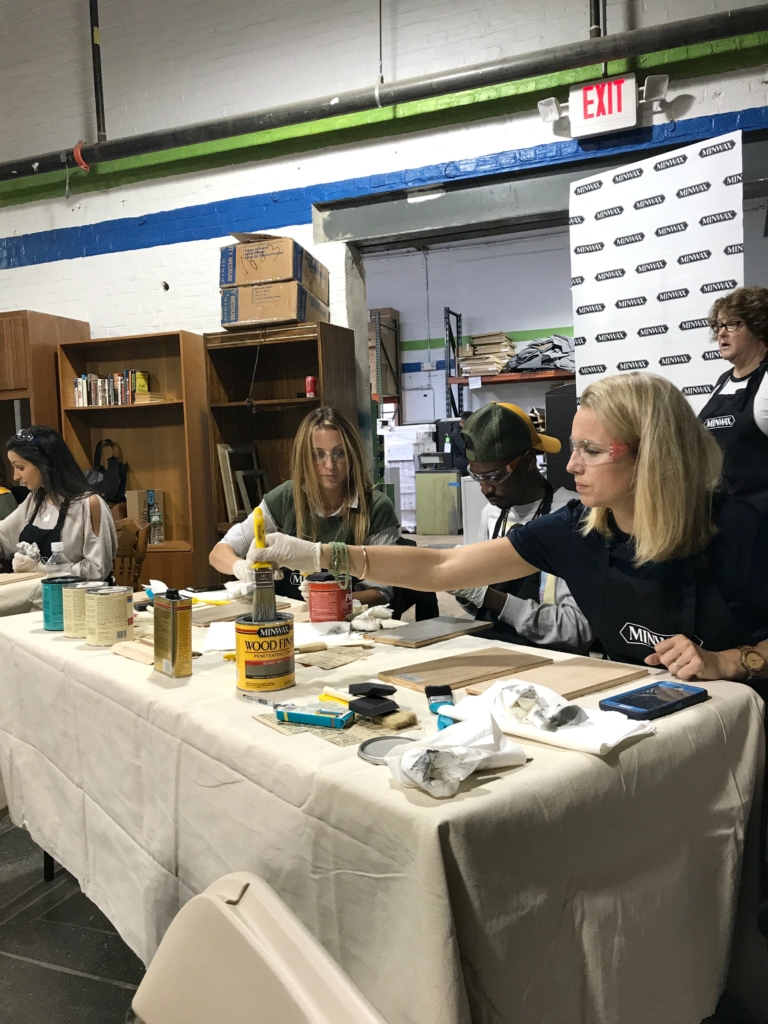
2. Sanding is important. Sanding before you begin a project and after you pre-stain ensures that your stain will look even. Often bumps & nicks will absorb more stain making it more obvious. I will admit, this is not my favorite thing to do but worth it in the end. I am a believer, especially after taking this staining class.
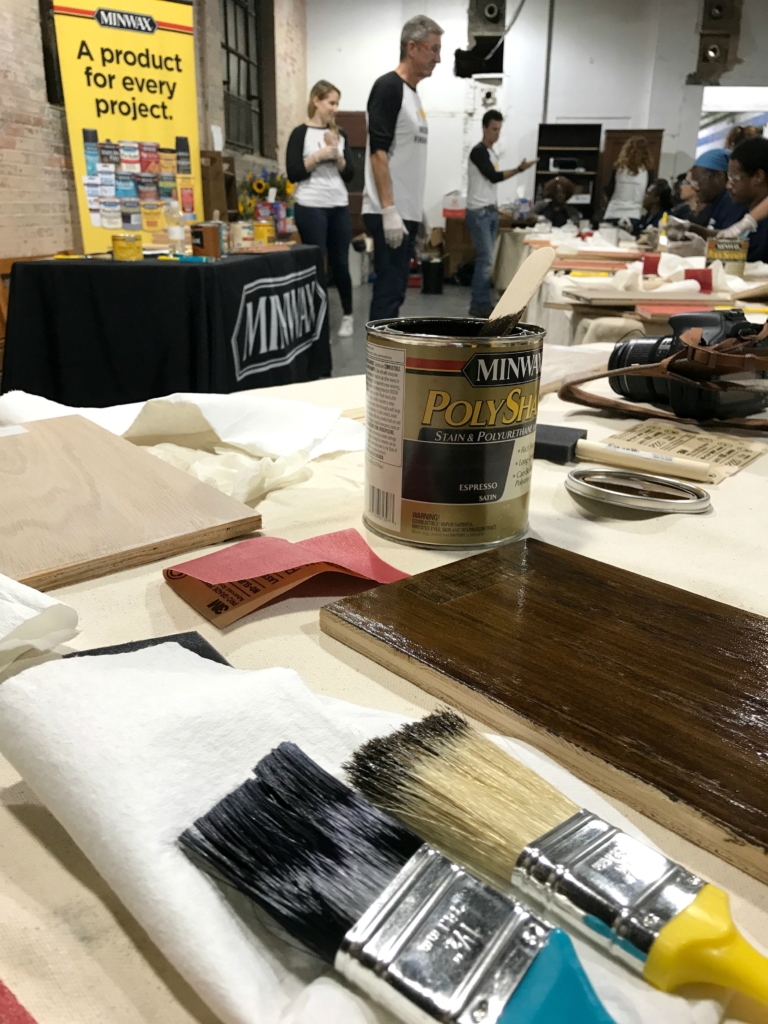
3. All brushes are NOT the same. Synthetic brushes are best when working with water based stain because the natural ones soak up the water in the product. Foam brushes are ok, but don’t use them when applying a protective finish, it will bubble. This has also happened to me & now I know why:).
4. Always stir, never shake. This one I knew about but it’s always a good reminder as I often forget with the stain.
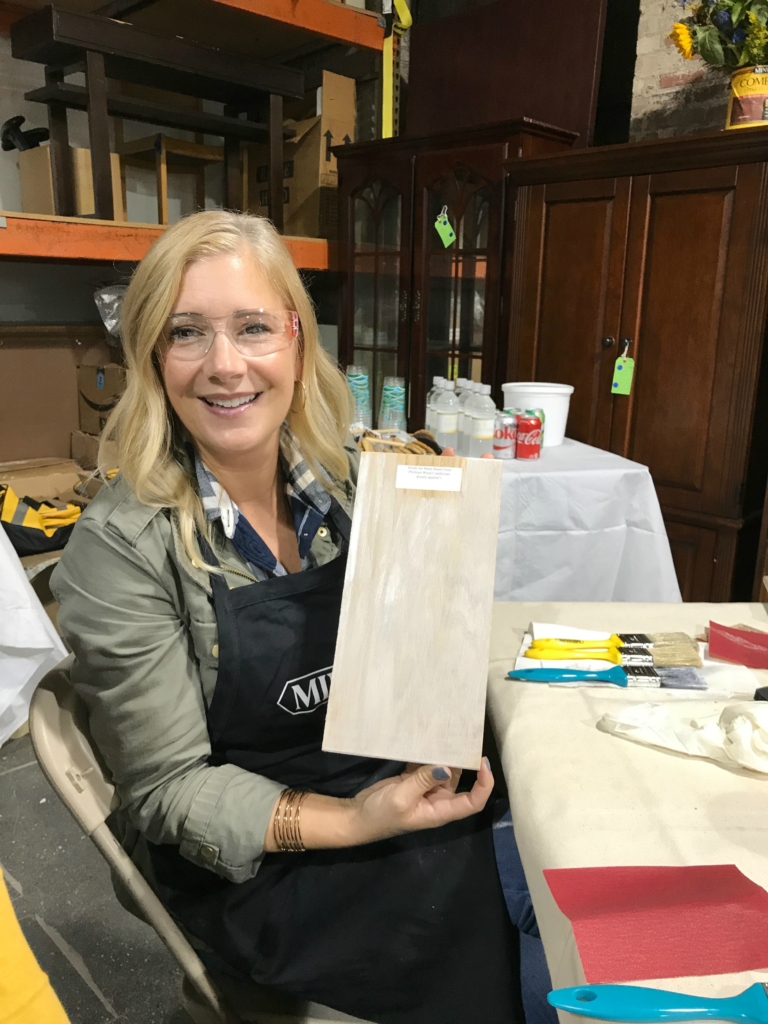
5. All woods do not take stain the same way. This one is a good one. I had no idea that veneer & mdf took stains differently and that there is paint grade wood. It’s best to ask someone at your lumber yard or home improvement store if in doubt. My floating bench, which is veneer took the stain very lightly where as mdf just soaks it in.
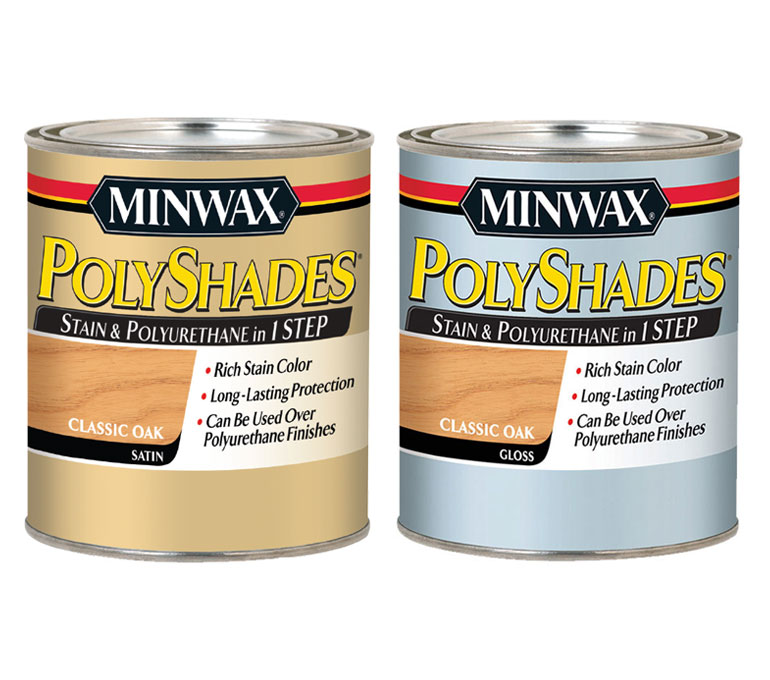
In addition I realized just how many products Minwax has specific to your project needs. One that blew my mind was a product called PolyShades. This would be perfect for cabinets or another project where you want a stain & sealer in one. What a time saver!!! FYI, this isn’t meant for a high traffic area such as floors or stairs.
We also did a demo with all different colors of stains, there are SO many cool ones!!!
This was a group shot of all the ladies who attended, left to right, Christy from Cure 4 Decor, Denise from The Painted Home, Jen from Tiny Anchor Studios, Christina from Christina’s Adventures, Charlotte from At Charlotte’s House & Me.

 This is a sponsored post by Minwax.
 This is a sponsored post by Minwax.
Have a happy Friday!

Thanks for these tips! I like the recommendations of the different wood conditioners
Thank you Jean, I hope they help:), Jen
thank you for sharing and nice post
This is so helpful! I had no idea wood conditioner existed! Can’t wait to start staining something 🙂
Nice post thanks for sharing……..