The Easiest DIY Live Edge Bench
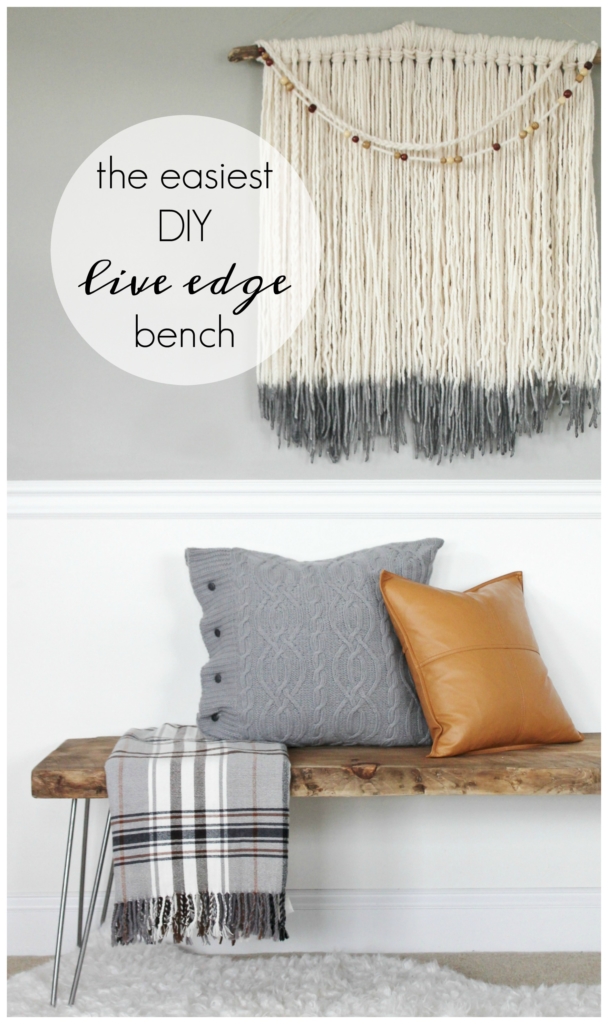
Everything I create for this blog is all me and at times I doubt if I can do it. But there is a will there to keep learning & growing so I tell myself I can do it. Yup, I admit it at times woodworking scares the heck out of me. I do love a good challenge though, that is why I was thrilled to jump on board with Minwax this fall, to come up with 4 projects geared to inspire your future woodworking endeavors. My first was an easy picture frame for large images, followed by a floating bench and today I am bringing you the easiest DIY live edge bench ever!
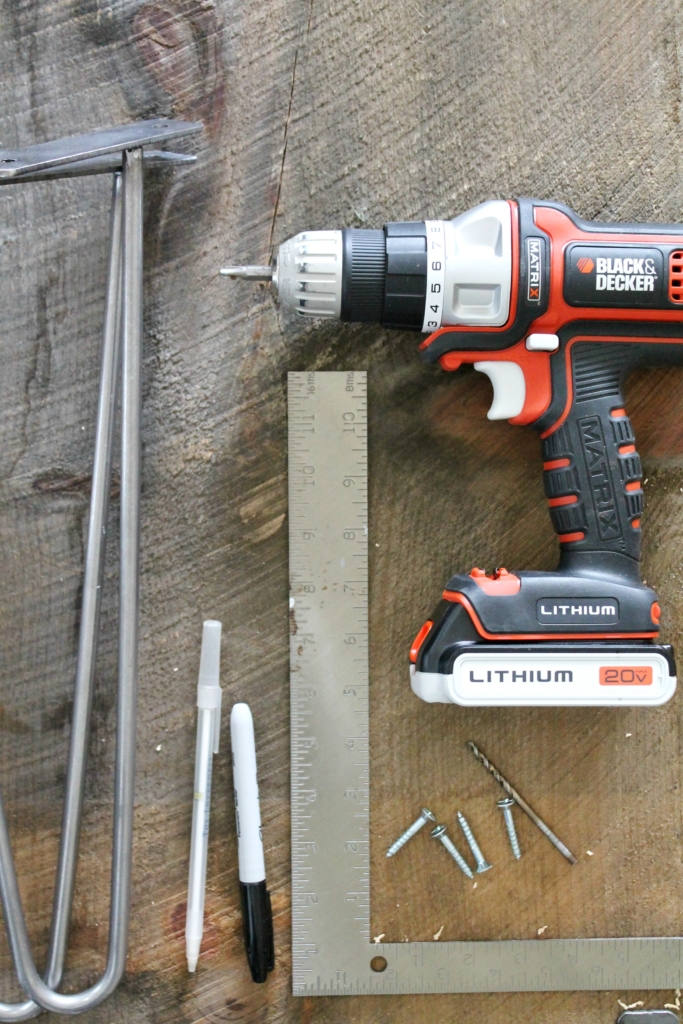
What you will need for this project…
live edge top-mine is 60″ x 18″
electric sander
120 grit sandpaper
60 grit sandpaper
mask
tack cloth
cotton cloth
gloves
drill/drill bit
wood screws
T-square ruler
pencil
I had been looking for a local woodworker and by asking around I found one. He cuts all his wood himself from fresh logs on his property, the saw marks in the wood are beautiful. I contacted him with no real plan, just knew I wanted to work with him in some way. When it came time to make my live edge bedroom bench I knew he would have what I needed.
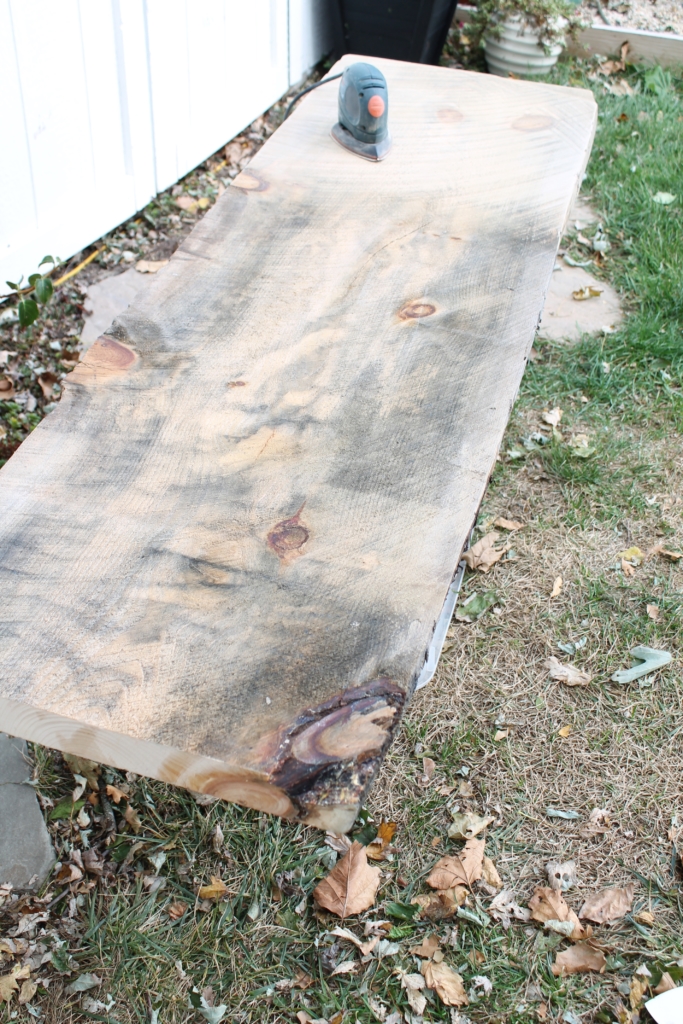
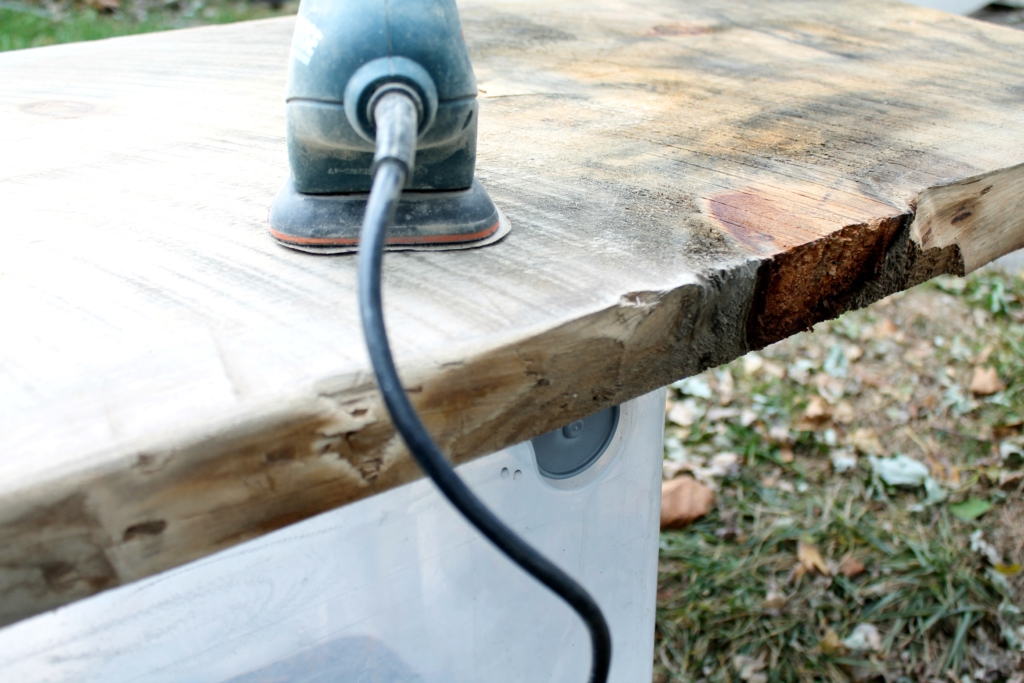
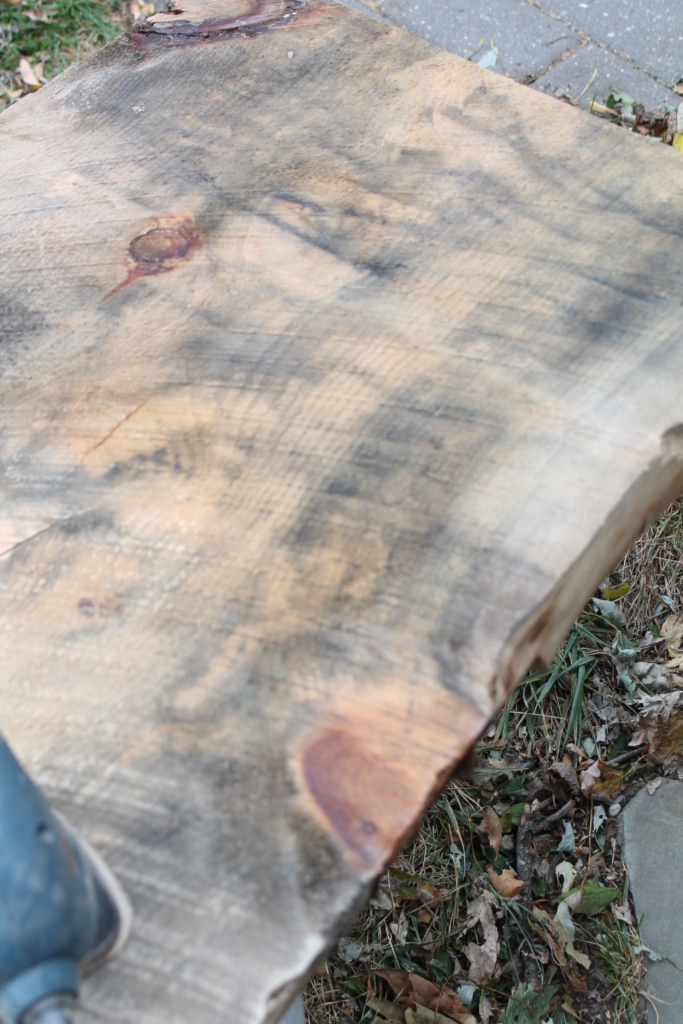
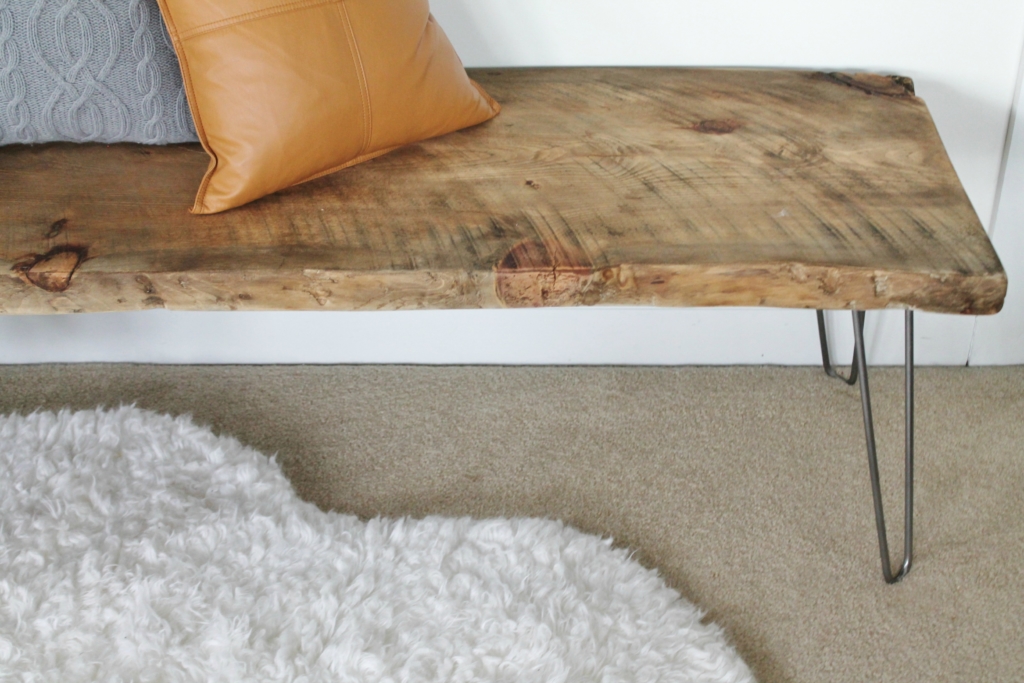
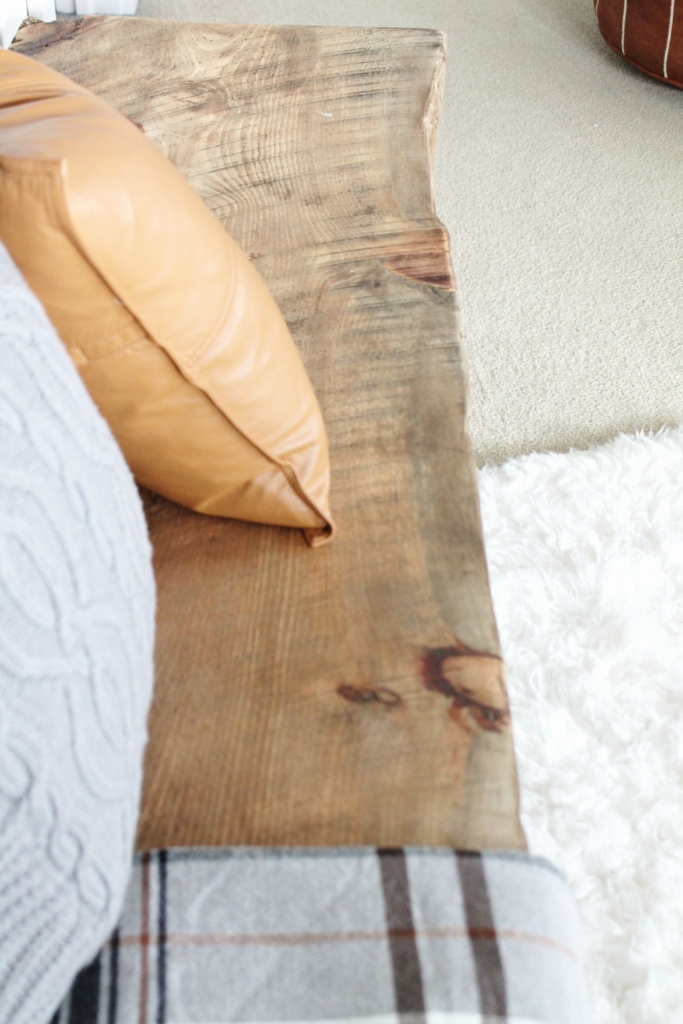
You can see it’s pretty rustic. I used 120 grit sand paper to get it to a smooth surface. The natural variation of color in the wood was stunning once I sanded it.
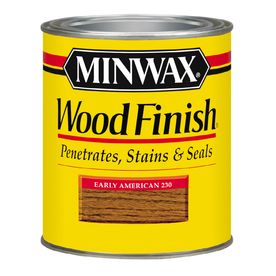
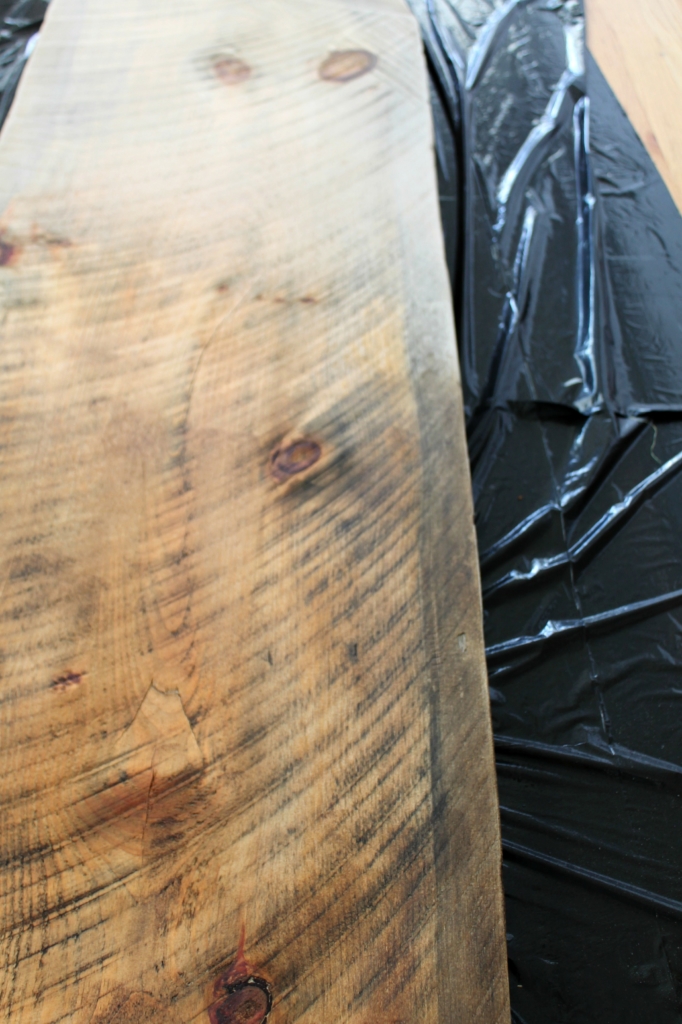
Once it was sanded I wiped it down good with a tack cloth and used my favorite stain, Early American. I like to use a cotton cloth or a sock to apply.
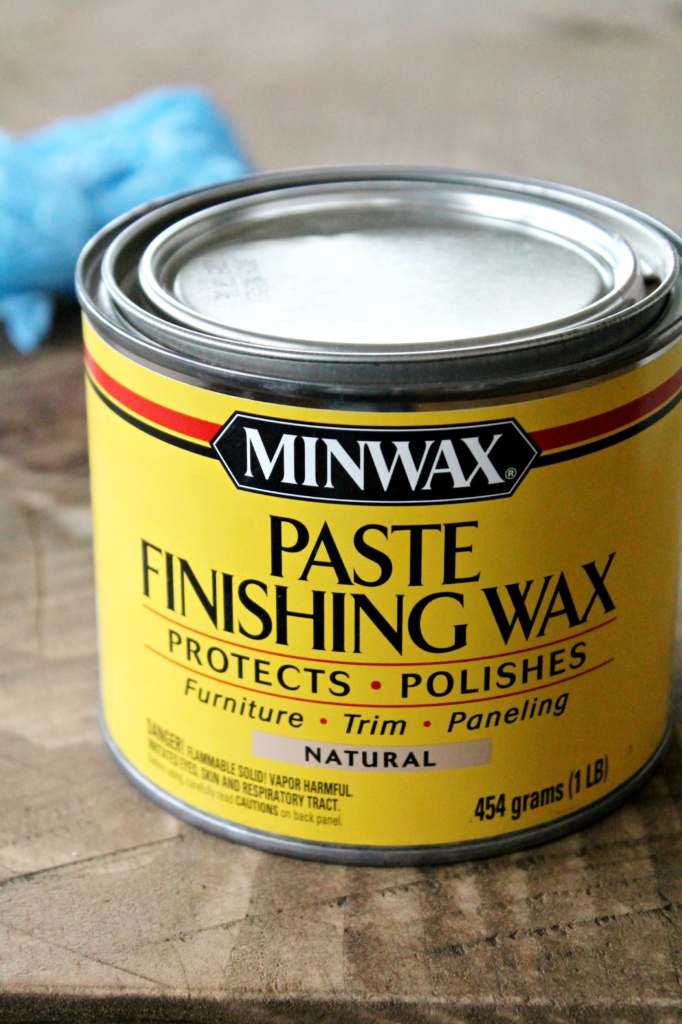
Once it is stained you can go over it with a 60 grit or lower to even out the stain, if needed. Be sure to let it dry & wipe it down before adding the wax. This part is easy, just use a cotton cloth and layer it on, less in more. I like using the Finishing Wax, it doesn’t change the color of the wood.
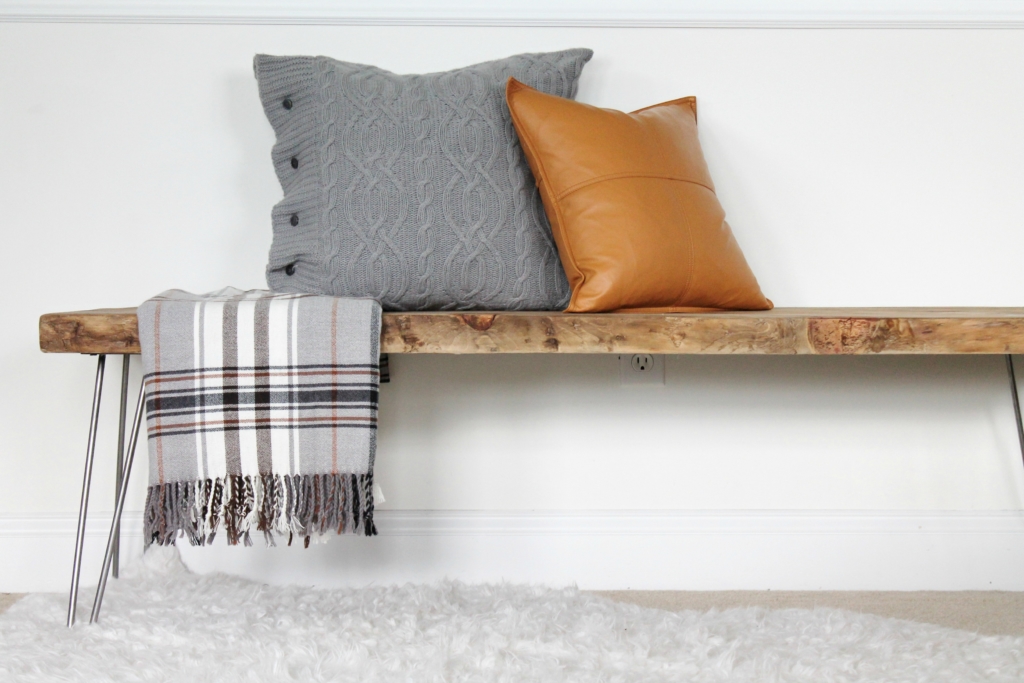
You are ready to attach the legs. These are 3/8″ hair pin legs I bought from etsy. The wood top is heavy so if you are making one yourself be sure they are at least that thickness. I found mine HERE.
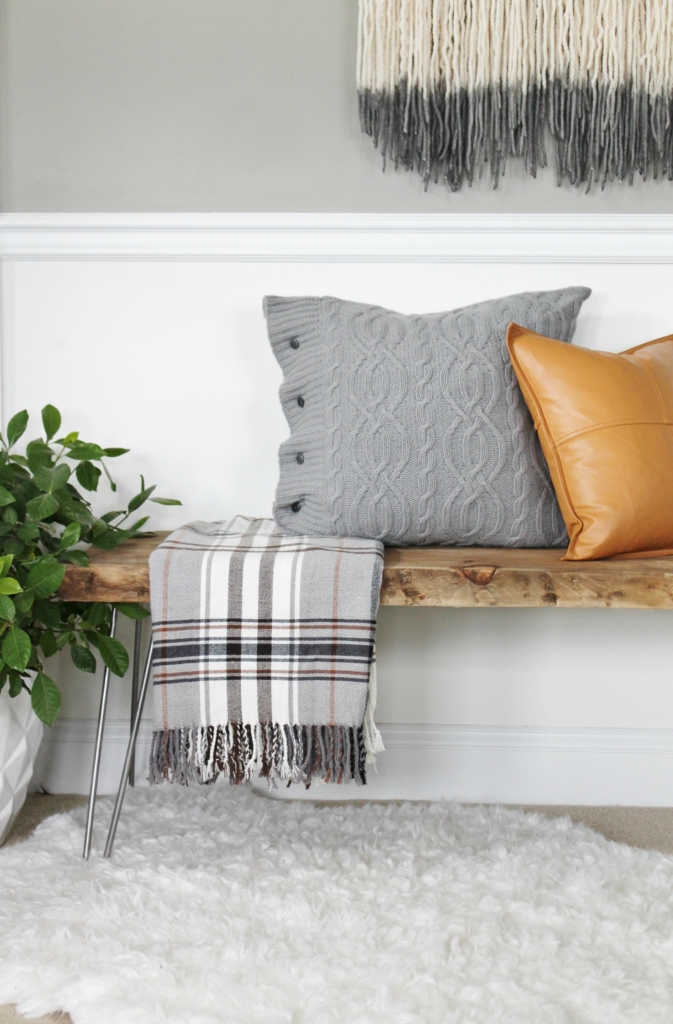
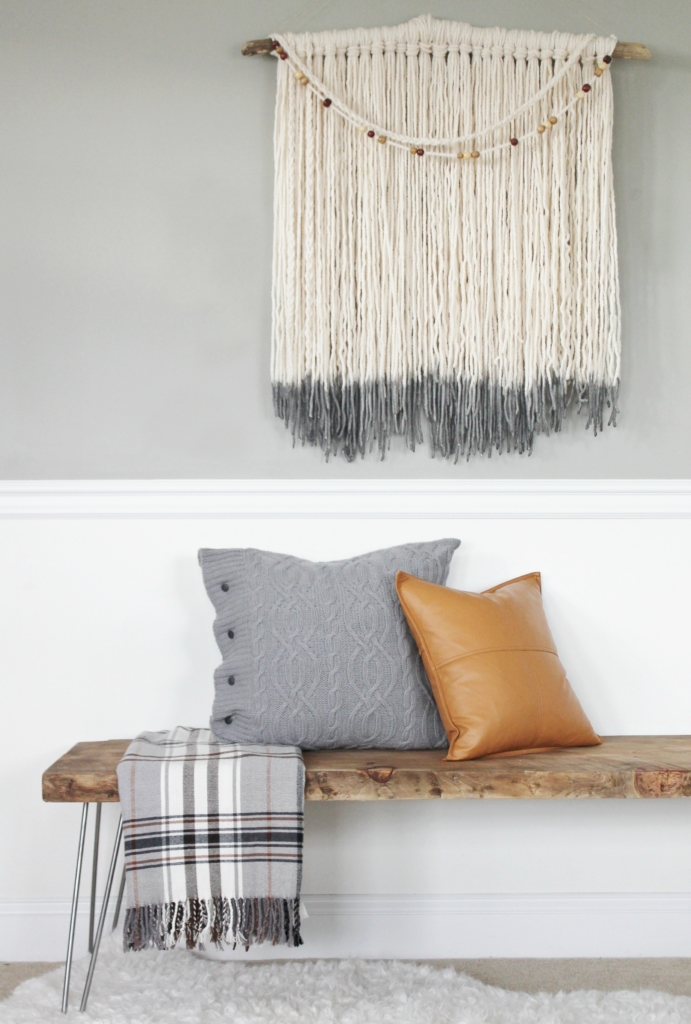
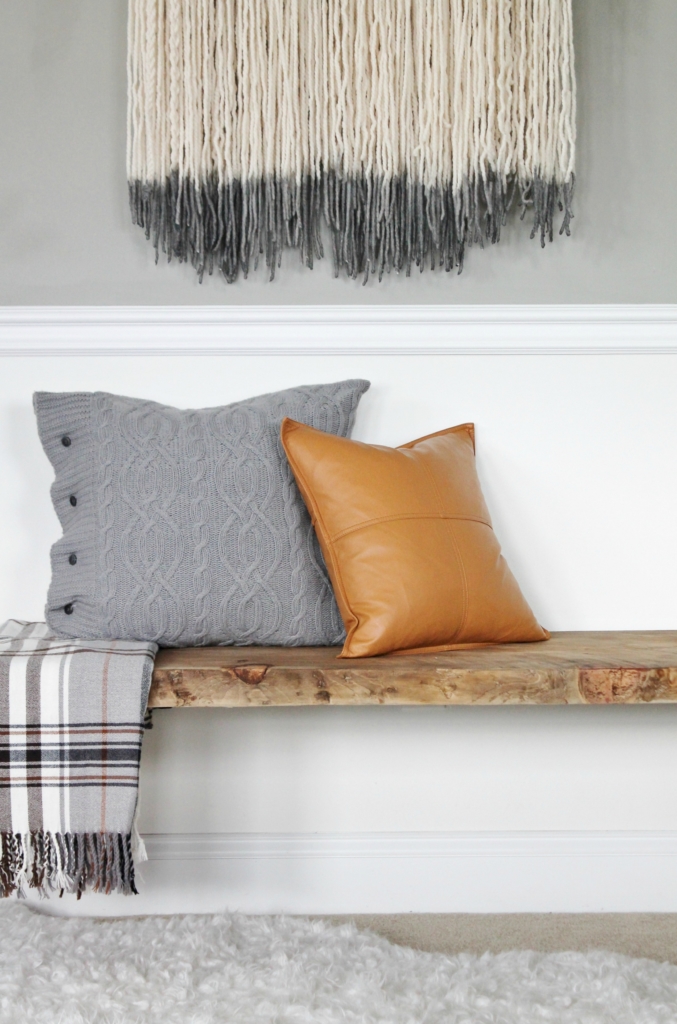
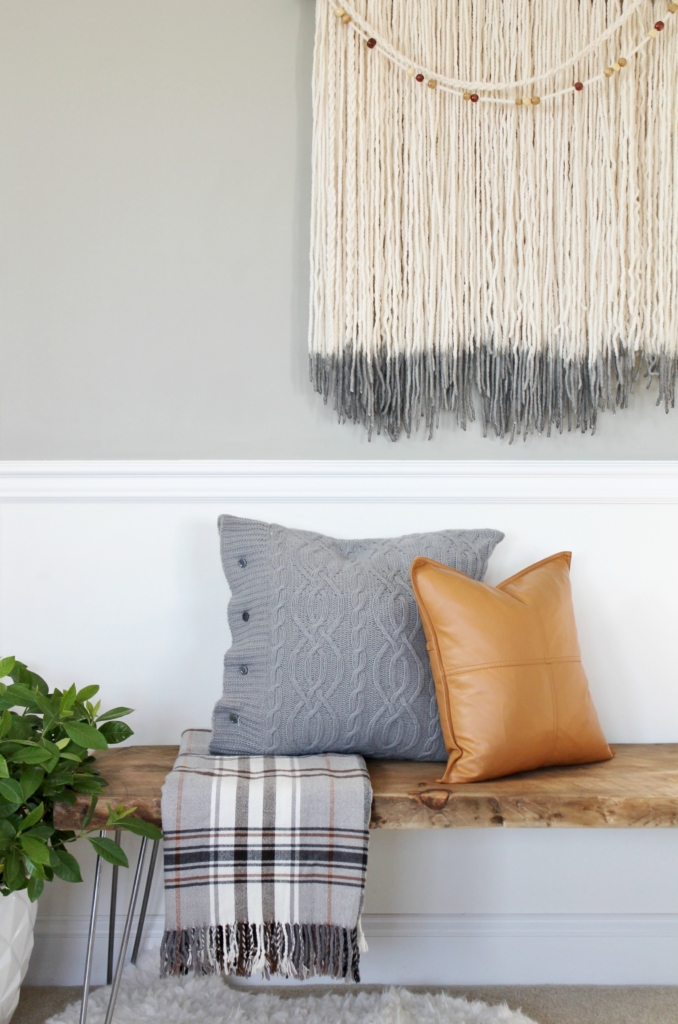
This the finished look….
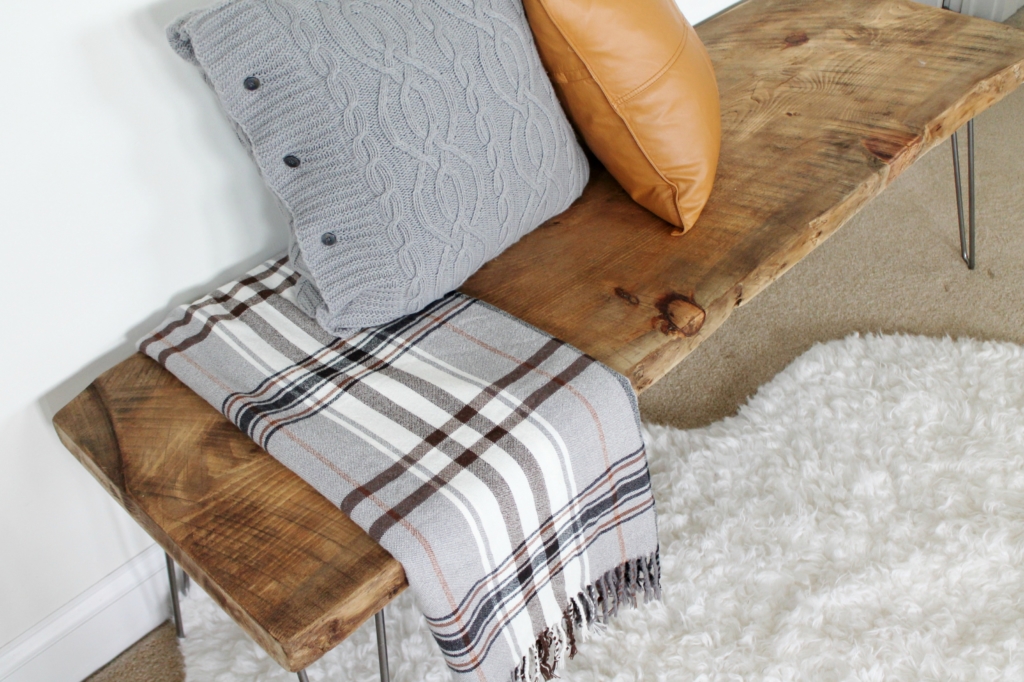
This project was so much fun and it was easy. If I can do it, then so can you. Be on the look out for the 4th project in December.
This is a sponsored post by Minwax, all opinions are my own.
Have a beautiful day friends!


Wow, you did an excellant job. I love this bench with the beautiful hairpin legs. Thanks!
I sanded my old oak dining table down to raw wood. I love the look. My husband thinks it needs something on it to protect it from water rings or stains. But varathanes or poly always darken the wood. Will the paste give my table the protection it needs while allowing me to keep that raw wood look that I love?
Wow, that wood has a lot of character. Very nice work.
About your little one and the soccer, that’s awesome. My 4 yo played this fall too. However, he didn’t have the same simple dream and believe approach unfortunately. He wouldn’t go on the field unless I was standing next to him, so stood mostly by the net as I’d stand behind it to be near him.
In the end, I found out he was afraid of looking silly to his teammates by missing the ball on a kick. Man, just about broke my heart to see him so young and already worried about what others will think of him. Kudos to Jack for his childlike, simplistic approach. Often that is the best.
hey girl love the bench! Great job!