
I went into the summer with all these plans to build & DIY around the house. These weren’t big things but none the less things that needed to be done right. I am handy but when it comes to finding studs and actually building sturdy things I question myself. Truth be told I am WAY more handy than John, he does not have that gene, not even a sprinkle of it. We joke that he is my assistant when we tackle a project, haha.
Disclosure: This post may contain affiliate links. As an Amazon Associate, I earn from qualifying purchases at no additional cost to you. See full Disclosure Statement HERE.
I came back from Haven a few weeks ago with this “I can” attitude and decided I am going to DIY the floating bench under my stairs that I have been wanting to do for a long while but was scared. And I am so glad I did!!! I am not sure what I was scared of but I do realize the best way to tackle fear is by just going for it, with a detailed plan of course!
This is the before, it was fine but I wanted a cleaner, more modern farmhouse aesthetic under my stairs for a built-in, custom look….
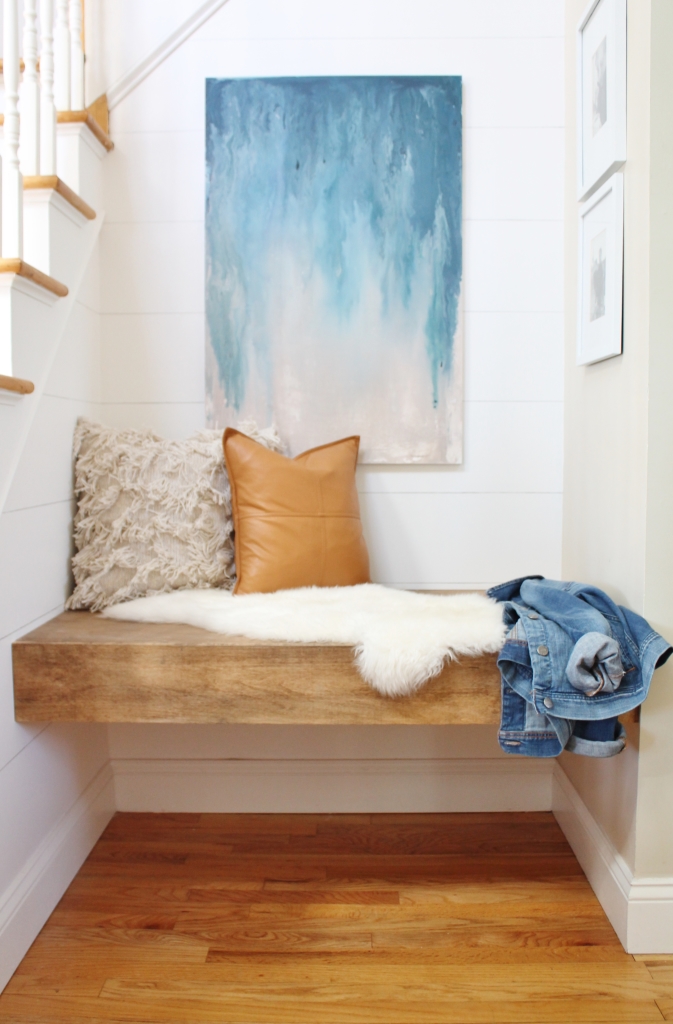
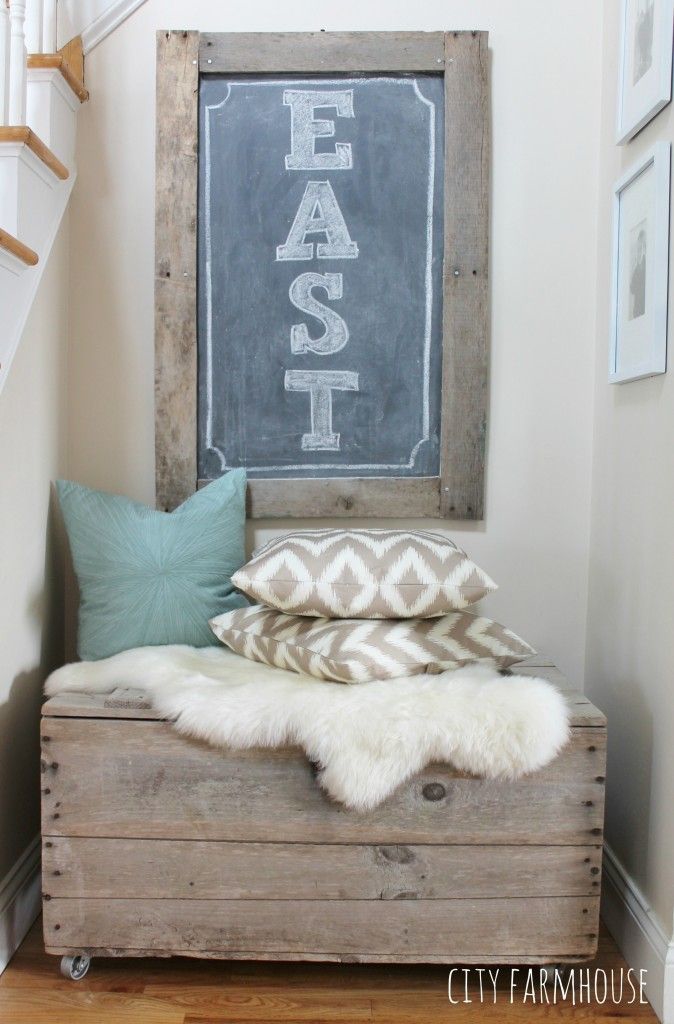 The after….

Night and day right?!
This is the best part, if I can do this then so can you! I am so excited to be sharing this project with you as a part of a collaboration with Minwax.
The basics of what you will need to buy…
3/4″ maple plywood (I bought a big sheet and had Lowe’s cut it to my plan specifications)
stud finder
drill
wood screws (#14 x 1 3/4″ for the studs and #8 x 1 1/4″ for the other areas)
finishing nails (1 1/2″)
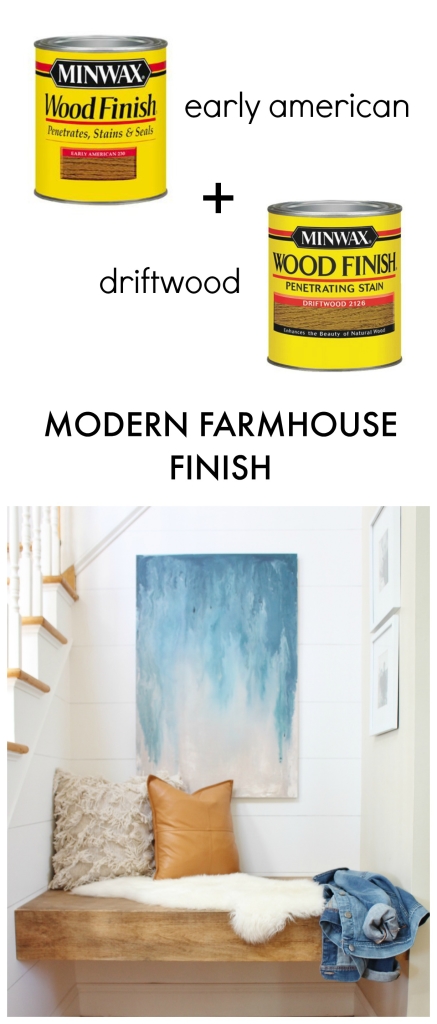
Minwax Early American Stain
Minwax Driftwood Stain
Minwax Finishing Wax
cotton cloth
gloves
level
tape measure
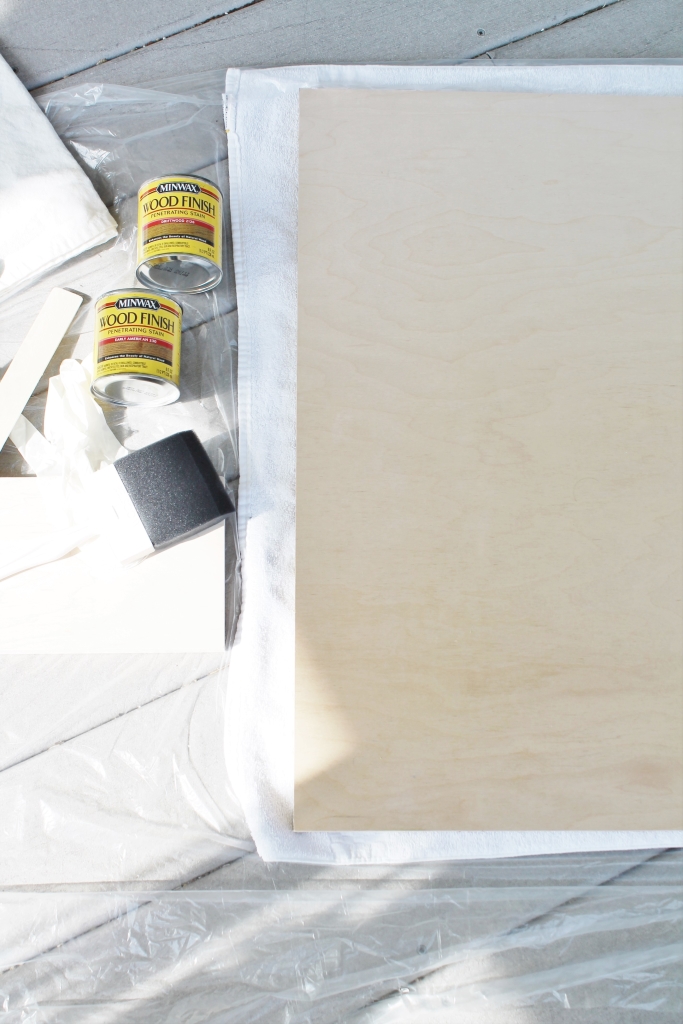
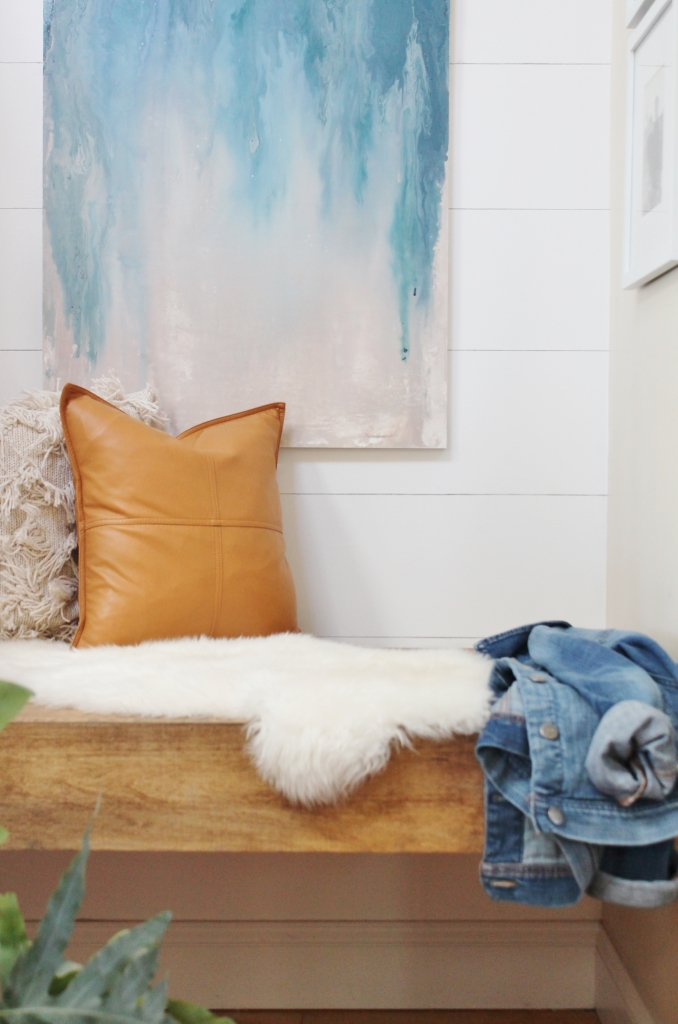
I stained only the top piece of my bench and the front & sides of the apron (the piece that finishes it in the front). I used Early American first and applied it with a cotton cloth (I started with a brush but the cloth is way easier to control.) After that was dry I layered on the Driftwood stain, unevenly so I had darker areas and lighter ones.
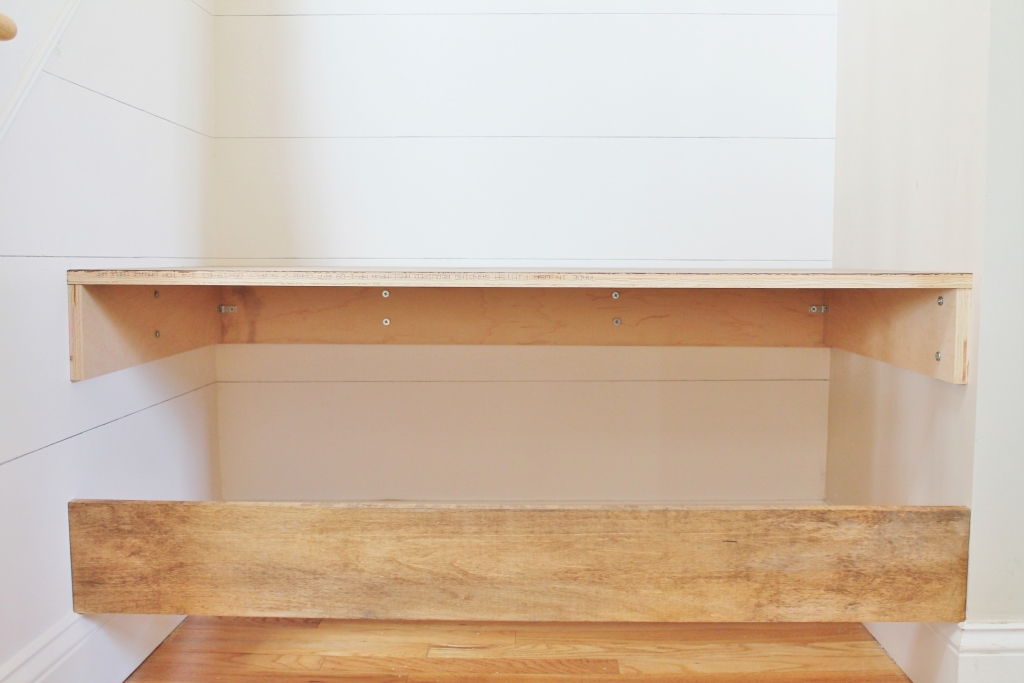
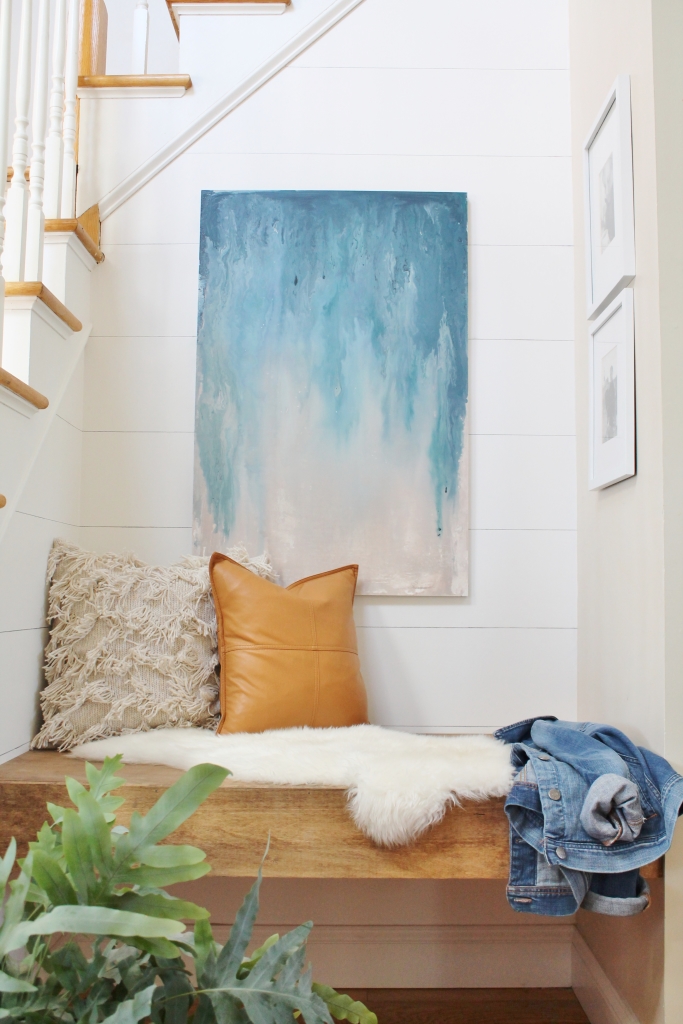
This image gives you the clearest perspective of how I built this DIY floating bench.
How I did it…
I attached my supports, all cut from that large sheet of 3/4″ maple plywood. Your lengths may differ but the height on all the supports were 5″.
The stud finder helps you find studs easily. I used a long nail & hammered into the wall to be sure before I pre-drilled.
Once my supports were level at the height I wanted I pre-drilled through both the wood and wall. Then used my longer wood screws to secure each support to the wall.
The studs were uneven on the sides so I used L brackets to add more security by connecting all the supports.
Next, I laid the base on top and secured that to the supports and same for the apron. Once the apron was added it made the entire bench solid as can be.
FYI, my measurements were 42 3/8″ x 25″ for the floating bench.
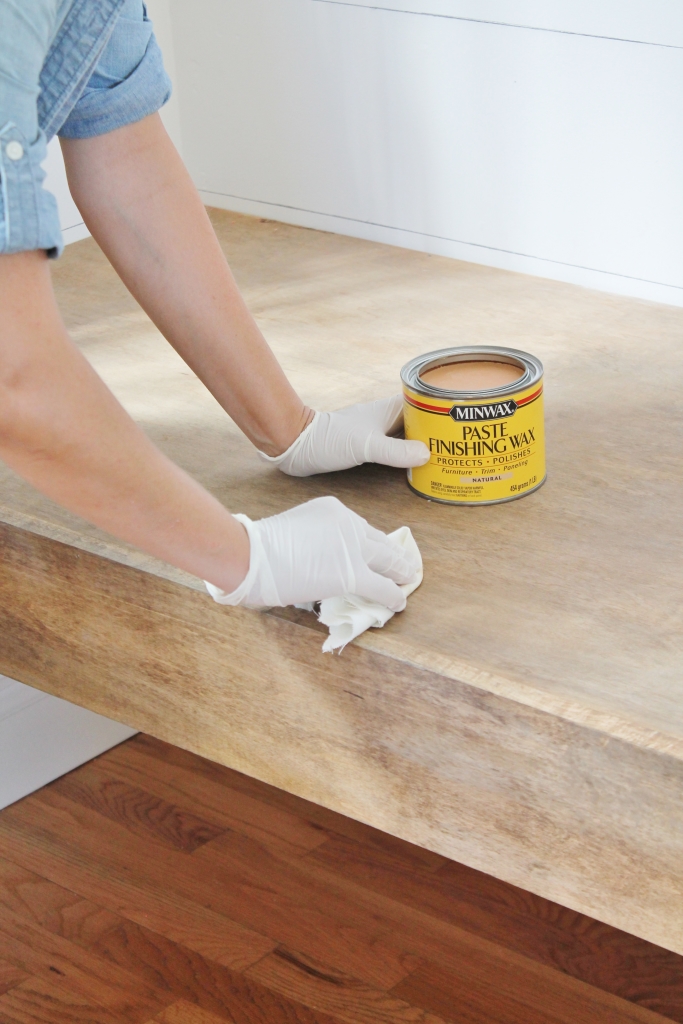 I wanted to seal this piece but still have a rustic feel so I used Minwax Finishing Wax. It was super easy to use and it’s thick so you can’t overdo the amount used.
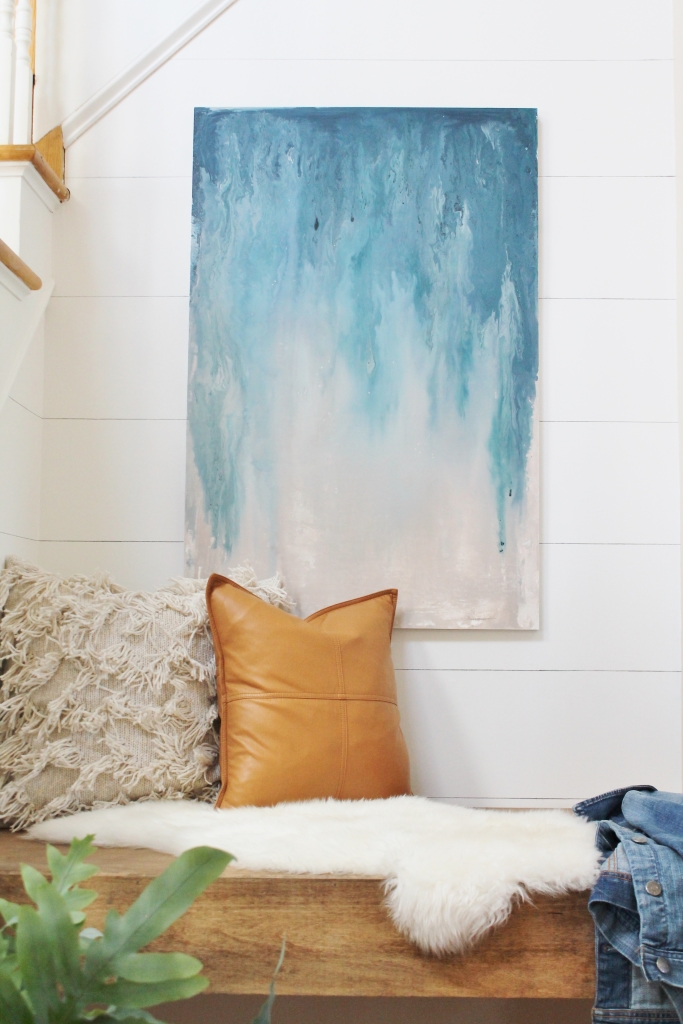
And some more afters…
The art is for another post but the wood came from the same large piece of MDF. I like to make abstract art with wood because I can use different tools to create one of a kind effects and it allows more creative freedom. FYI, this piece is 36″ x 24″. Painting used to be my “thing” & I have dabbled here and there but after having an amazing conversation with an old friend at Haven I realized I needed to get back into it. This piece fills my heart, I will fill you in when I post about it.

Have a beautiful day!


Desde España, precioso! Me ha encantado el cuadro y el banco. Ya estoy pensando como hacer mi banco en ángulo.
Aquí las casas són mucho más pequeñas, pero me encantan las ideas
That is very cool and I think you just added value to your home. ?
Well thank you Lisa:)!
Beautiful!!!
Thank you so much Laurie!
It really updates this part of your home-hip and fun, yet sophisticated too. Good job!!!
Thank you Mary! I feel the same way:).
Hey girl love the bench! So cool!
Thank you Shawnna!
Oh so brilliant!! And beautiful too!
This is just so clever!! And beautiful too!
Thank you so much Susie!!!
Oh Jen! It just looks great!! I especially LOVE the artwork – – – will you PLEASE do a tutorial in your future post????? 🙂
Thank you Jenny!!! Will do:)!
Yes! Please show us how to make this painting.
This is beautiful Jen! I love the clean look of the bench and it is absolutely perfect in that space! I also love your painting! You are so talented.
Thank you so much friend!!xoxo!
I love it!! It turned out so beautifully – great job Jen!
Thank you Krista!!
Jen, this is beautiful! I love how it came out. xx
Thank you Danielle!!! Stay safe:).
This is seriously gorgeous! Thanks for sharing. I’m getting ready to do our laundry/mud room for the ORC and have this vision of a floating wooden bench! Will definitely be referencing this post 🙂
What a great project! Simple and beautiful.