DIY Abstract Art Using Paint Samples
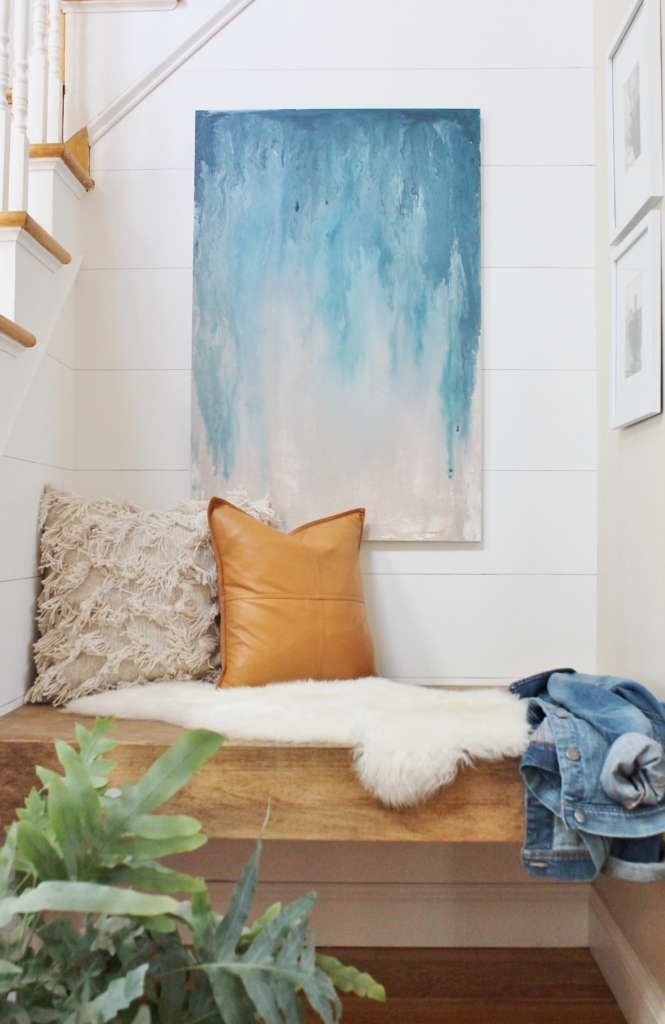
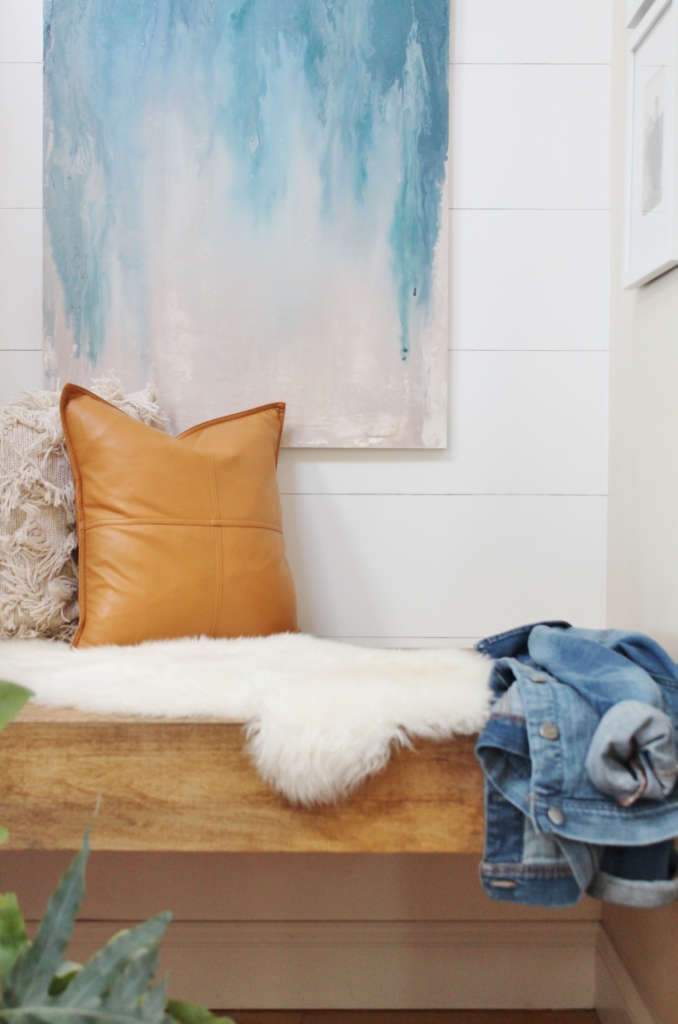
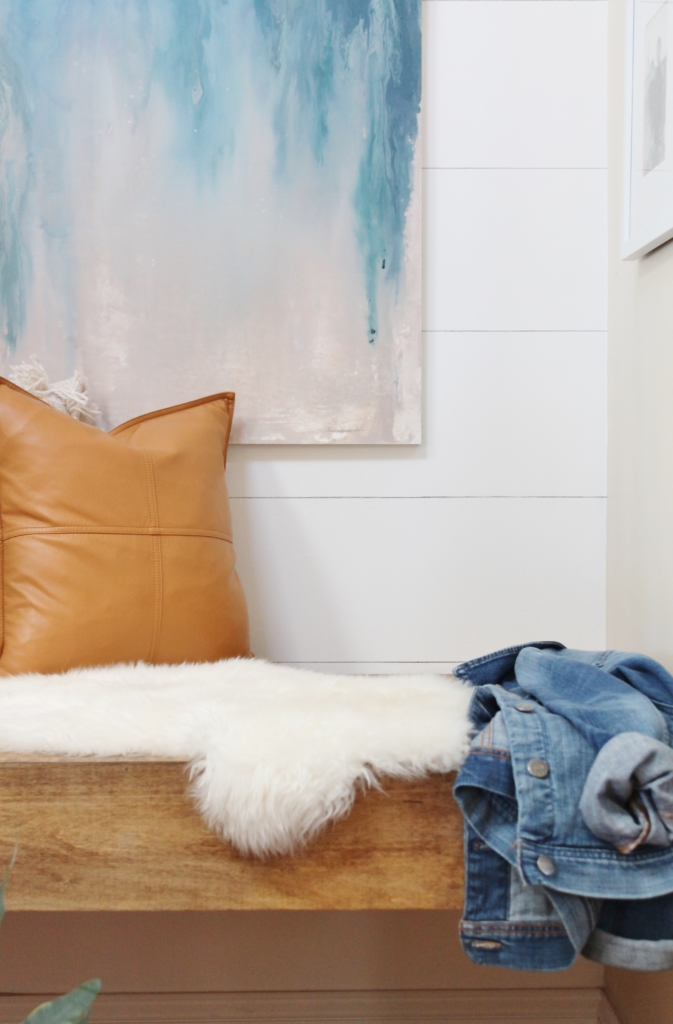
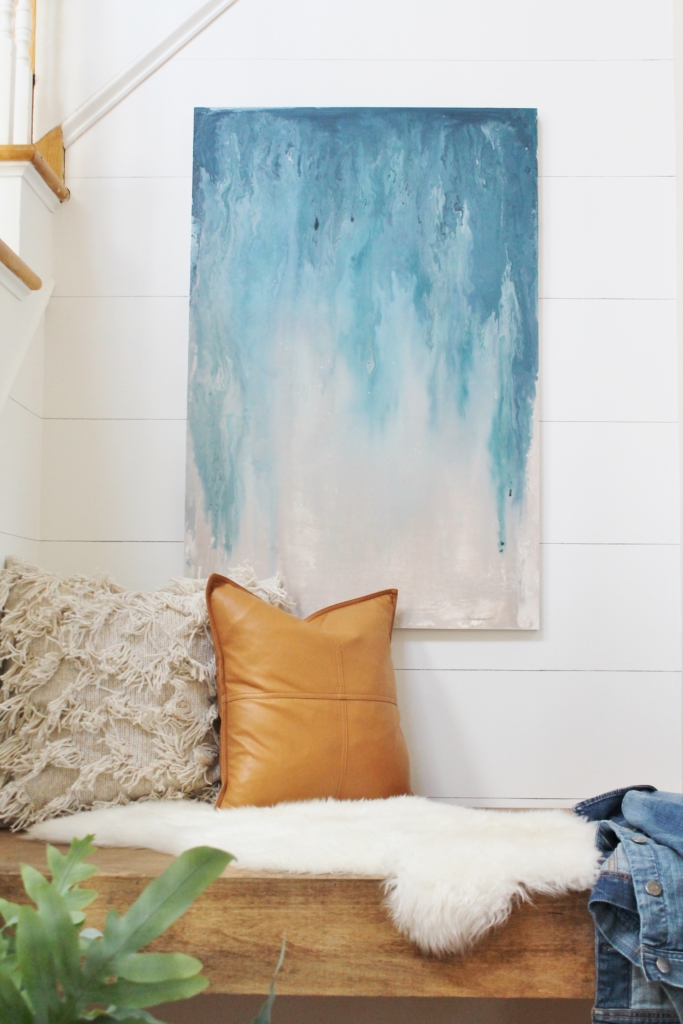
Happy Friday friends! Ahh…how I love this day! Last month I shared my nook makeover along with my floating bench. I had so many questions about how I made the abstract art that hung above the bench that I thought it was about time I shared the details. Often I get an idea and just jump in without taking pictures, my bad. But…this may not be the worst thing because it will leave more creative room for you to make it your own.
Many of you may not know this but my first love was always art. Through my childhood we traveled a lot, my sisters lived in other states as did my grandparents. My dad also loved history and visiting such locations, throw that into the mix and we were in the car a lot and away from home. I spent a good amount of that time sketching & making things for people, that is how it all began. It eventually carried over to other mediums like charcoal, pastels, mixed media and paint. In my 20’s I opened my first creative business where I painted furniture, free-lanced as an artist and did faux painting (remember that?!) Then I set my sights on home design and did dabble in it here and there, even painted some fabulous things for my last house but with babies and mommy responsibilities came a long break from something that made me feel free, painting. I don’t know about you but there are very few things these days that make me feel that way, just aware and awake to my creative instincts and my heart. So I decided I needed to start connecting with this part of me again.
I happen to like abstract art these days. I love the simplicity, the openness to the interpretation of it and its suggestiveness. In my 20’s I was an impressionist painter and if you saw some of my pieces you would be surprised, they are very colorful and vibrant. I think it had much to do with where I was in life, so interesting to look back and compare.
Ok so getting to this DIY abstract art project…
What you will need…
MDF-this one was 3/4″ maple cut to 24″ x 36″ by Lowe’s
paint samples-mine are listed below
tarp
foam brushes
putty knives-a large, medium, small if you have them
paper towels
spray bottle
Before I go into this tutorial I just want to say that I wasn’t sure I even liked this until it had dried and I saw it the next day. If you are going to attempt something like this be open to whatever it will become. And enjoy the process, take any pressure off yourself and have fun with it!
MDF is my favorite base to work with because I can use tools to move the paint without harming or nicking the canvas. I like to use any strong, flat surfaces, like putty knives, you can use anything, just look in your toolbox. I also use traditional brushes and foam ones too.
So you have your base and tools, now you need paint. I created this color palette myself, I love indigo with blush tones lately. I was inspired by a scarf I bought last year that had some of these hues. I also went to an event last year in NYC where they unveiled the hottest trends in color and these were a few. Your palette inspiration can come from anywhere. If you are stuck look on Pinterest, I have a good color palette board.
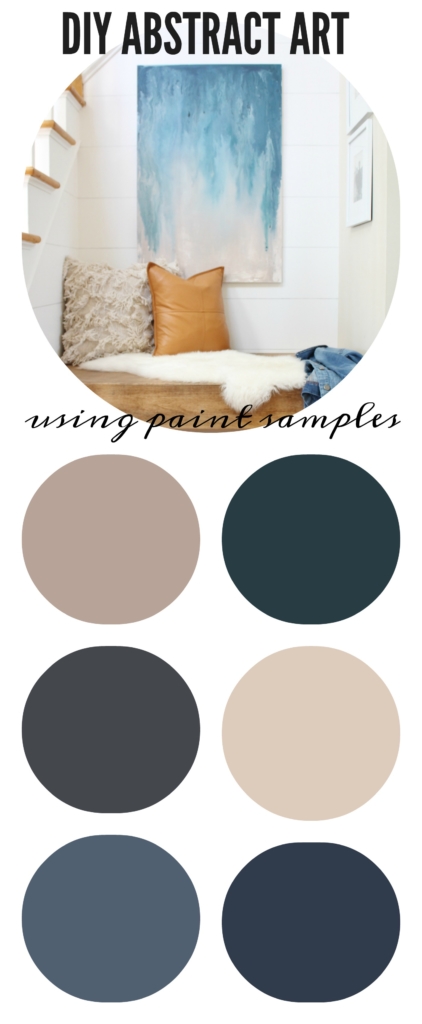
I decided on 6 hues, I have listed them below. They are Sherwin-Williams HGTV Home paint sample colors found at Lowe’s or you can also find them at your local Sherwin-Williams store.
Lay out your tarp and find a good, well-lit place to work, natural light is the best.
Take your paint and start layering the colors in horizontal chunks. I went darkest to lightest from the bottom. When I hung it I did the opposite, the darker tones are on top. You will find a groove in which you will overlap colors. I used my tools to create more depth and mix tones. I then took my spray bottle and began to play with the colors. Tipping the board front to back, then the other way to reveal a dripping, almost marbled look. I did this for a while, be sure your paint is still wet before you start this as you want it to be more fluid. The pigments came out when I did this, if you are wondering why the variation in colors. The dark night sample had some wicked hues come from it, it was really cool to see. Once you are happy walk away and let dry.
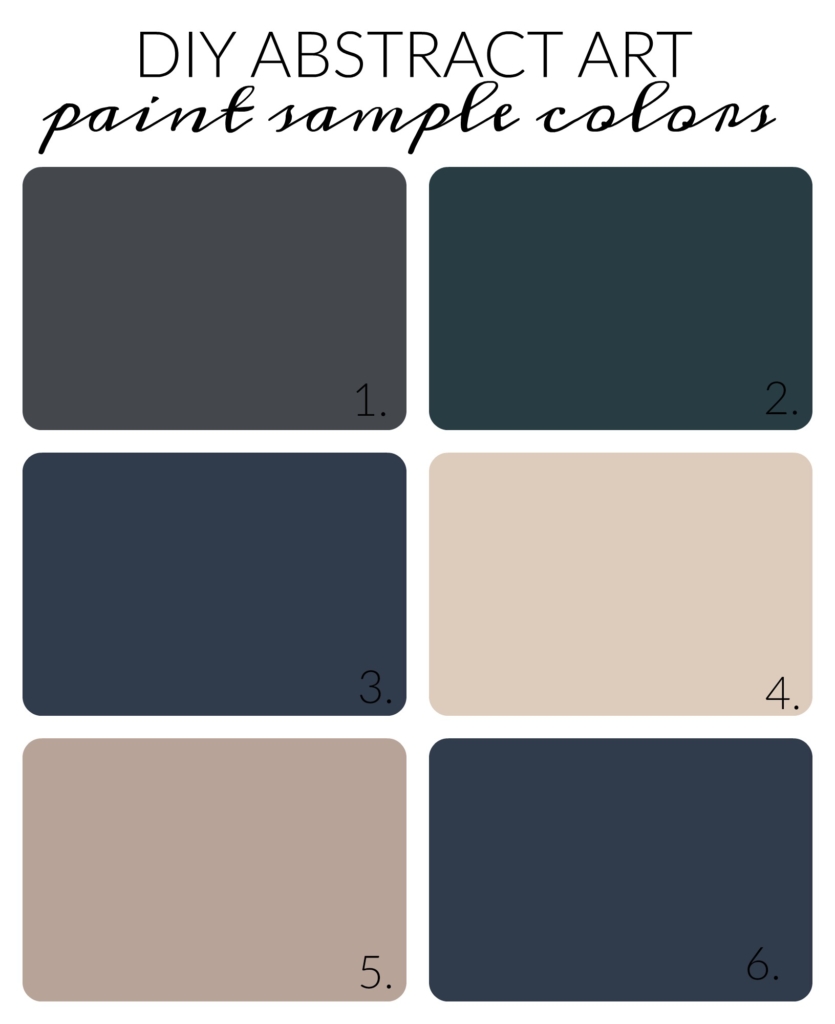
2. Sherwin-Williams Dark Night
3. Sherwin-Williams Navy Seawall
4. Sherwin-Williams Malted Milk
5. Sherwin-Williams Emerging Taupe
6. Sherwin-Williams Naval
If you have any other questions about this project please ask.
********************************************************************************
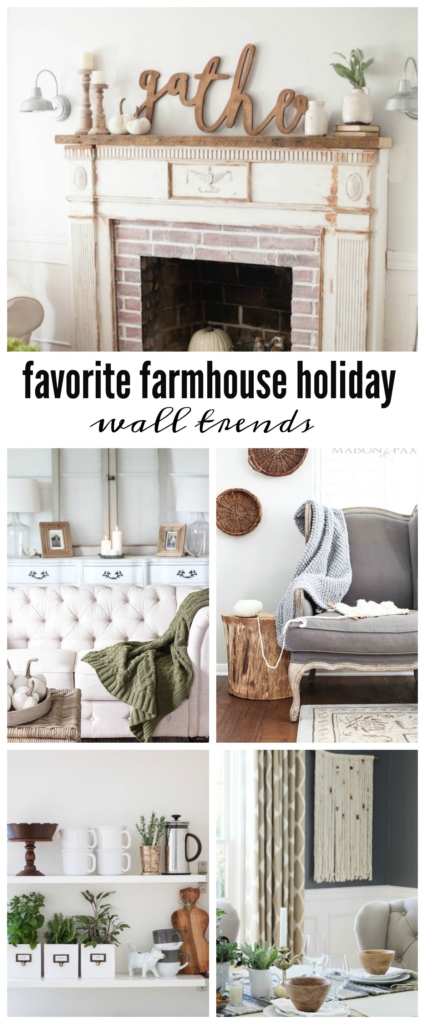
I have a fun post up over at Better Homes & Gardens on my Favorite Farmhouse Holiday Wall Trends just in time to inspire you for the holidays. Some are outside the box thinking while others are somewhat traditional. Come on over to read more….


hey girl love the art! Great job! Have a great weekend!
Thank you Shawnna!!! You too!
Hi Jen, did you prime the mdf before you started the actual art? And do you try to cover the wheel board with the color palette you’ve chosen?
Your art came out awesome! I’m definitely going to try it!
K
Hi Karen, I did not prime this one before I painted it but if you want to leave some white edges you can. I am actually a messy paint and because this was such a large piece I used my foam brush and dipped right into samples and at times poured it right on, sparingly of course. Thank you so much! Have a great weekend!!! Jen