
Disclosure: This post may contain affiliate links. As an Amazon Associate, I earn from qualifying purchases at no additional cost to you. See full Disclosure Statement HERE.
Happy Monday friends!! I am so excited to share this fun, easy & super stylish summer project with you today! Our collection of driftwood has grown each year, as “hunting for treasure” is a favorite summer pastime. No matter how old my boys get they still like the adventure, you honestly never know what you will find washed up ashore. We have found some pretty awesome pieces lately and it got me thinking, what else could we make with them? I love dimensional & sculptural objects, they add a flavor to open shelving & vignettes that no other accessory can. As I began to see some of the driftwood we found together as art, we all agreed these would make beautiful wood sculptures. Plus it’s a great way to hold onto those summer memories for all to appreciate for years to come.
This project is part of the Minwax Made With Love campaign that encompasses the concept of something found, finished and loved. I thought this was the perfect project since it’s found pieces from special moments shared together and created with such care, thought & LOVE:).
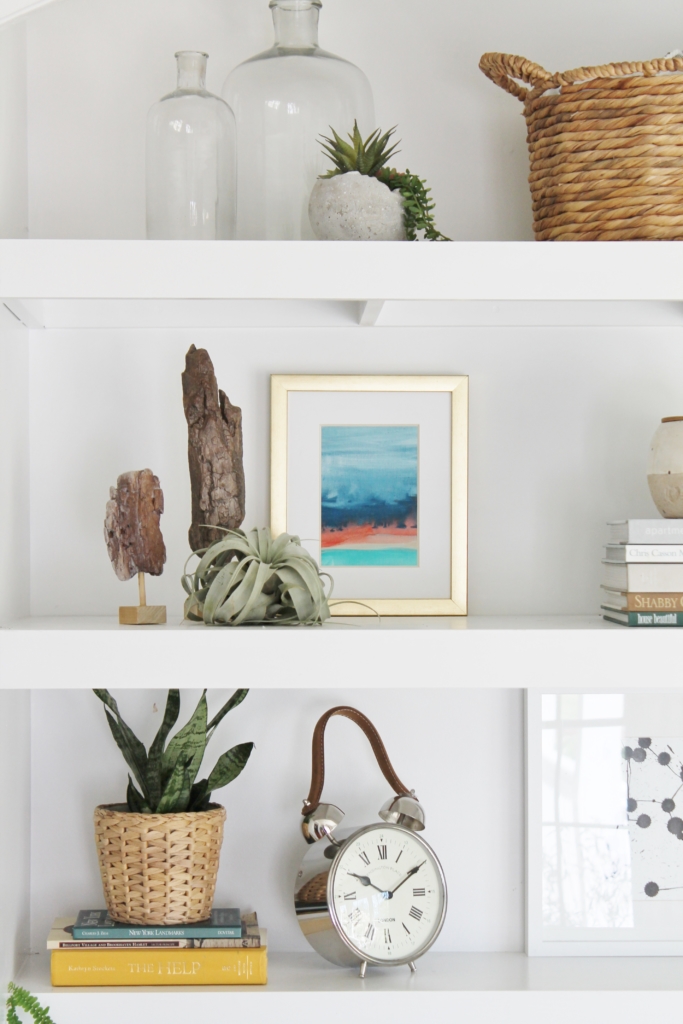
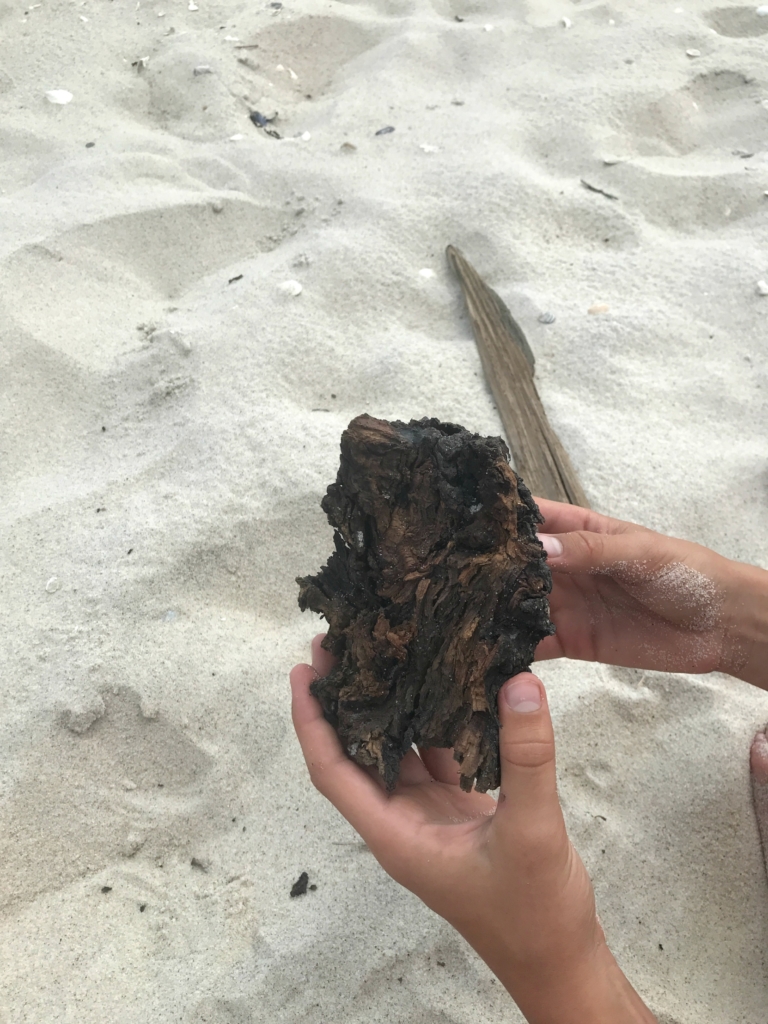
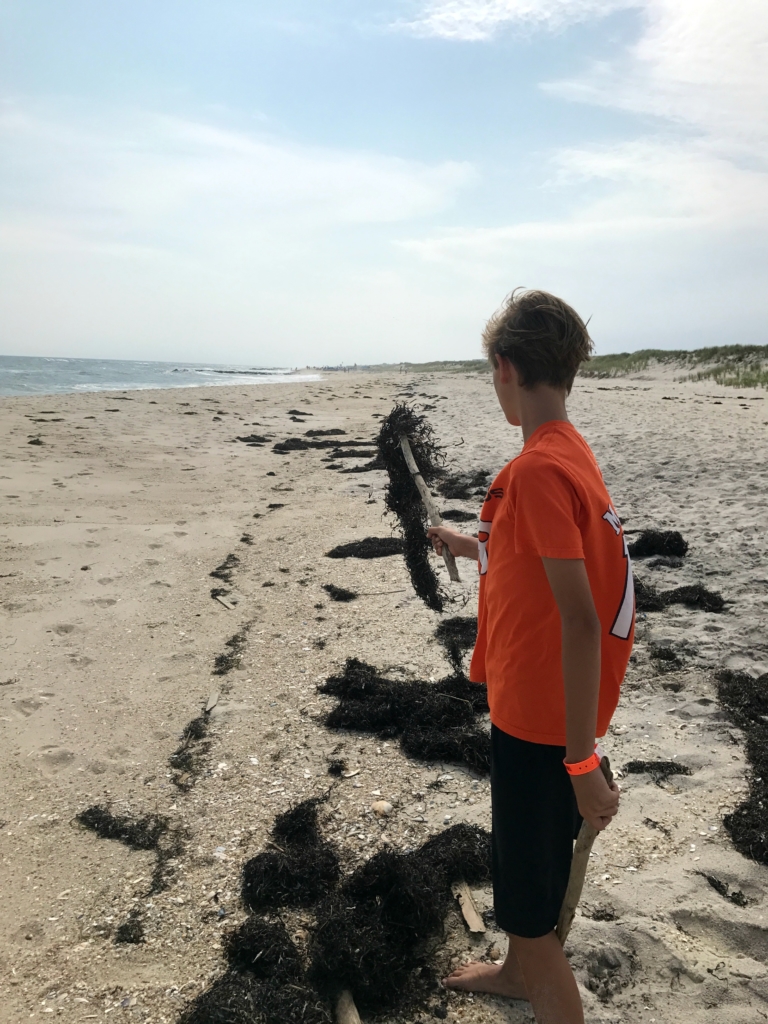
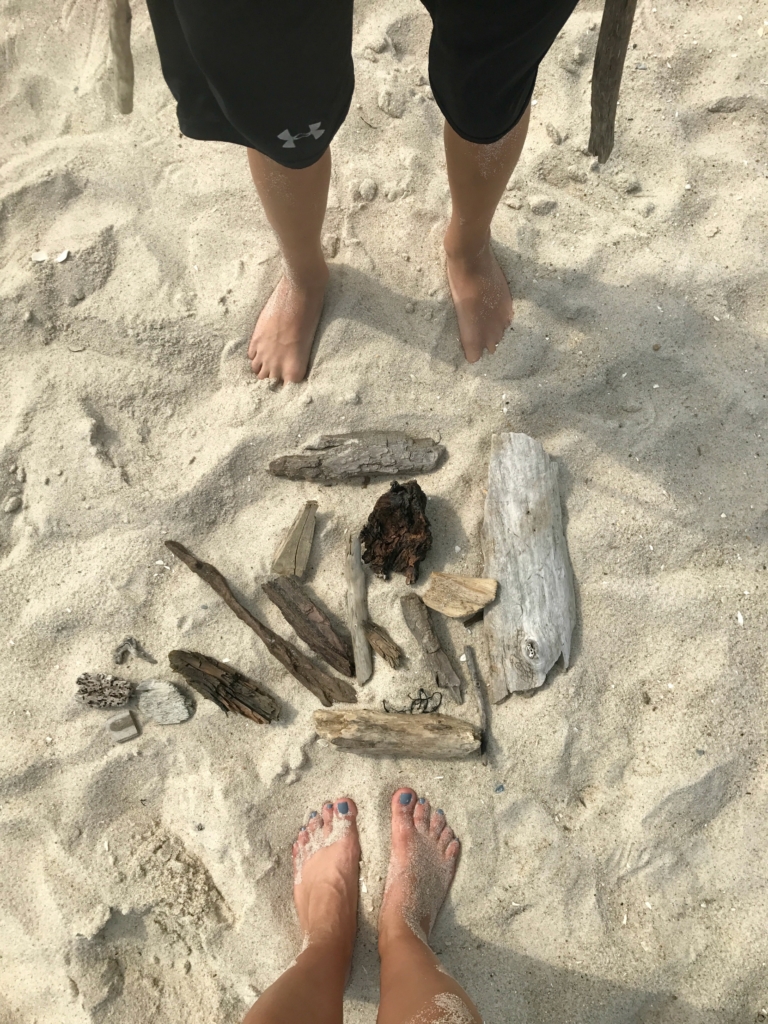
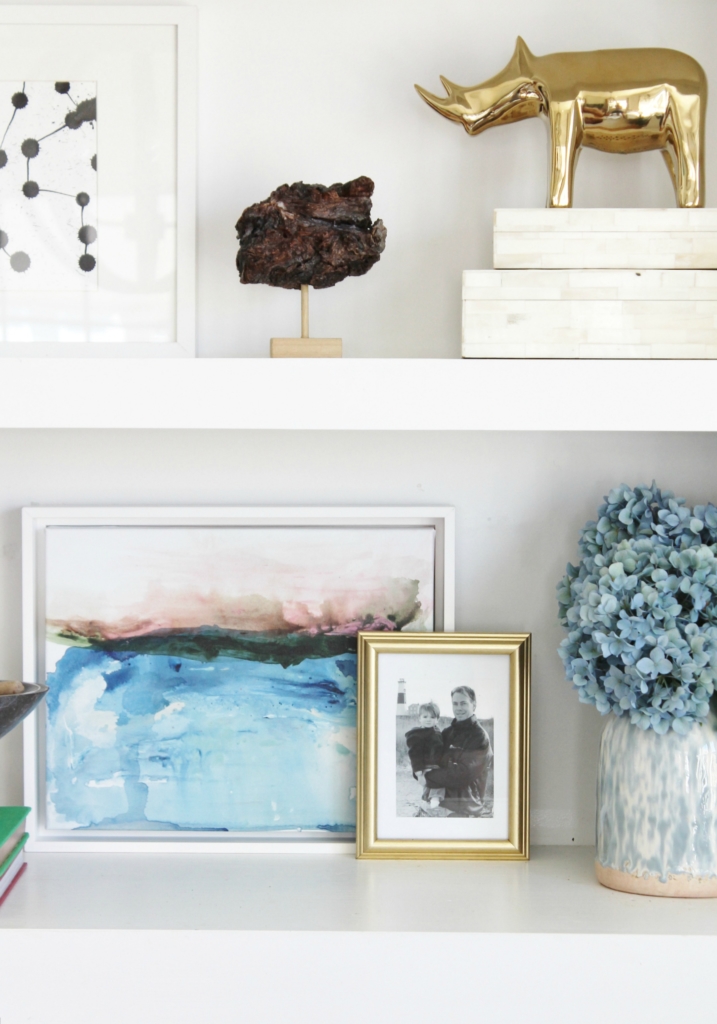
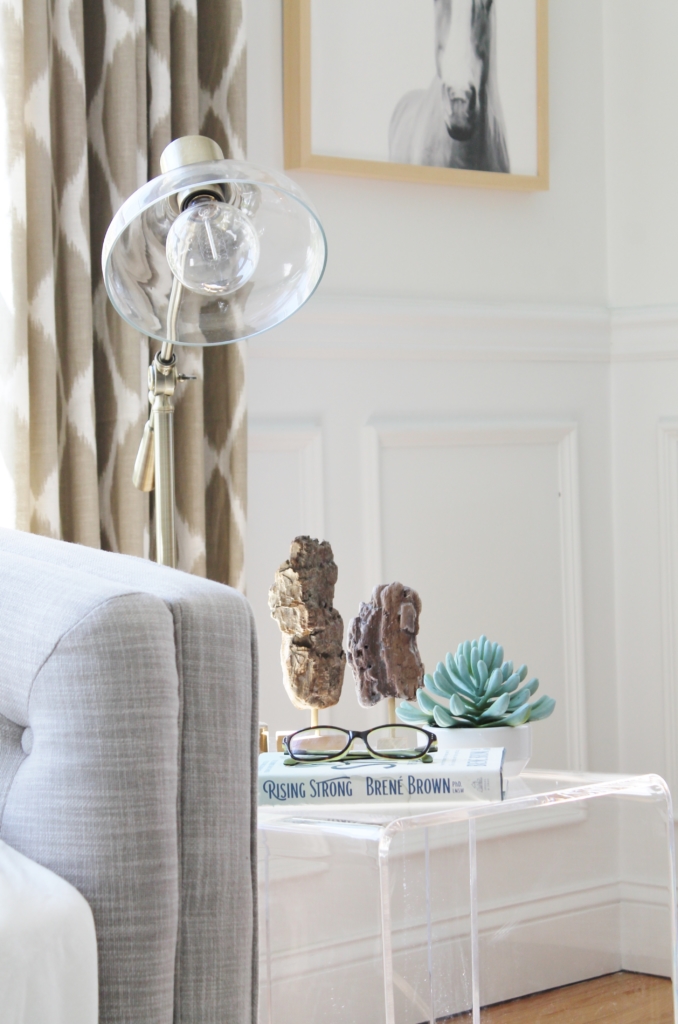
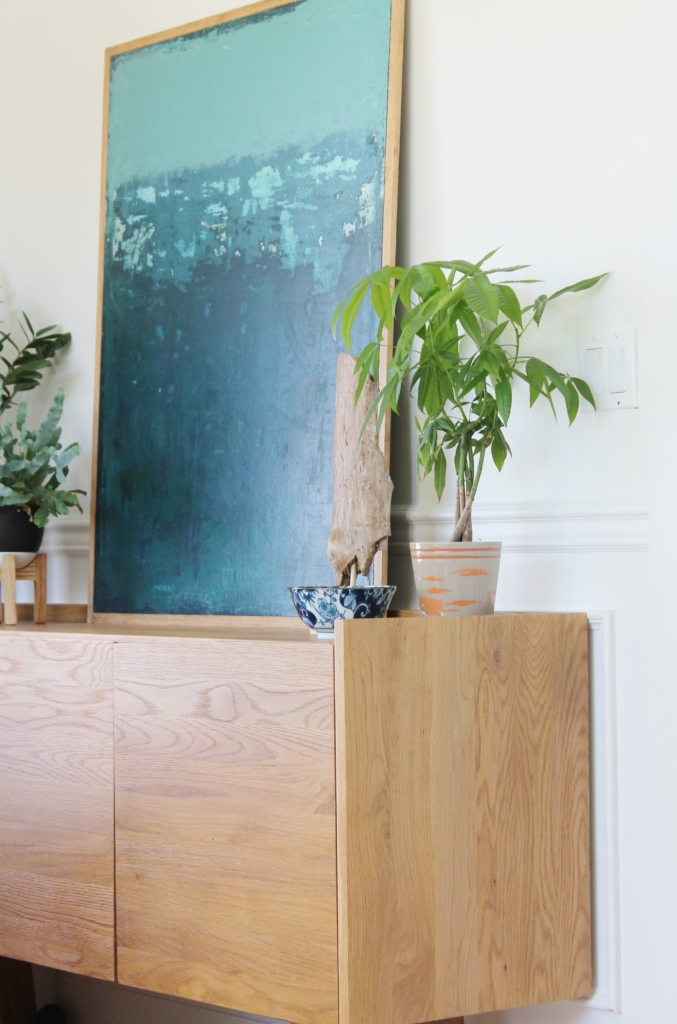
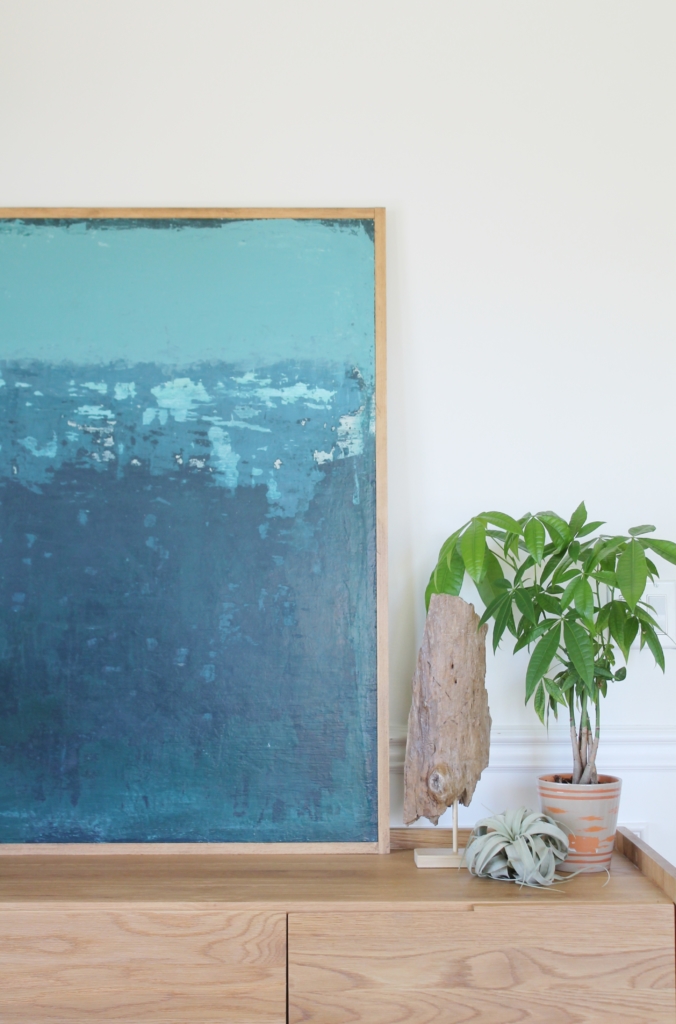
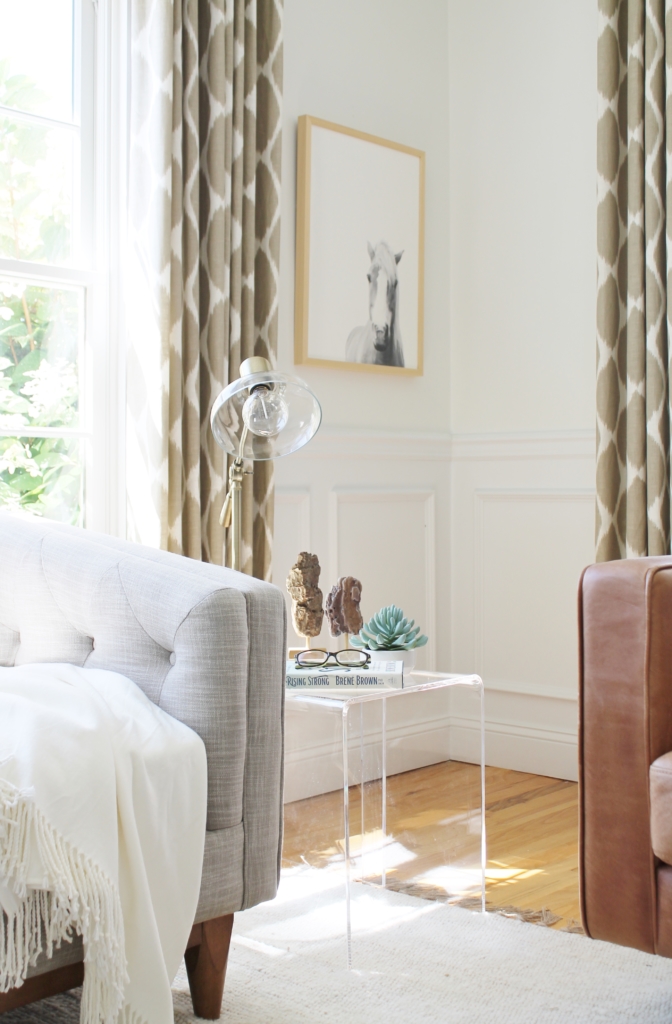
We usually go for walks along the ocean once a week, we bring a few bags and collect what we like and feels unique to us. The trick is to sort through so we don’t bring the whole beach home with us. Sometimes we will sit with all the pieces if we have too many and give a reason why we should keep it, you can’t imagine how much 2 boys can collect in 30 minutes, lol. This piece below we knew was a keeper from the moment we found it, you can see the reveal in my bookshelves, it’s somethin special!
They use long sticks to sift through the debris.
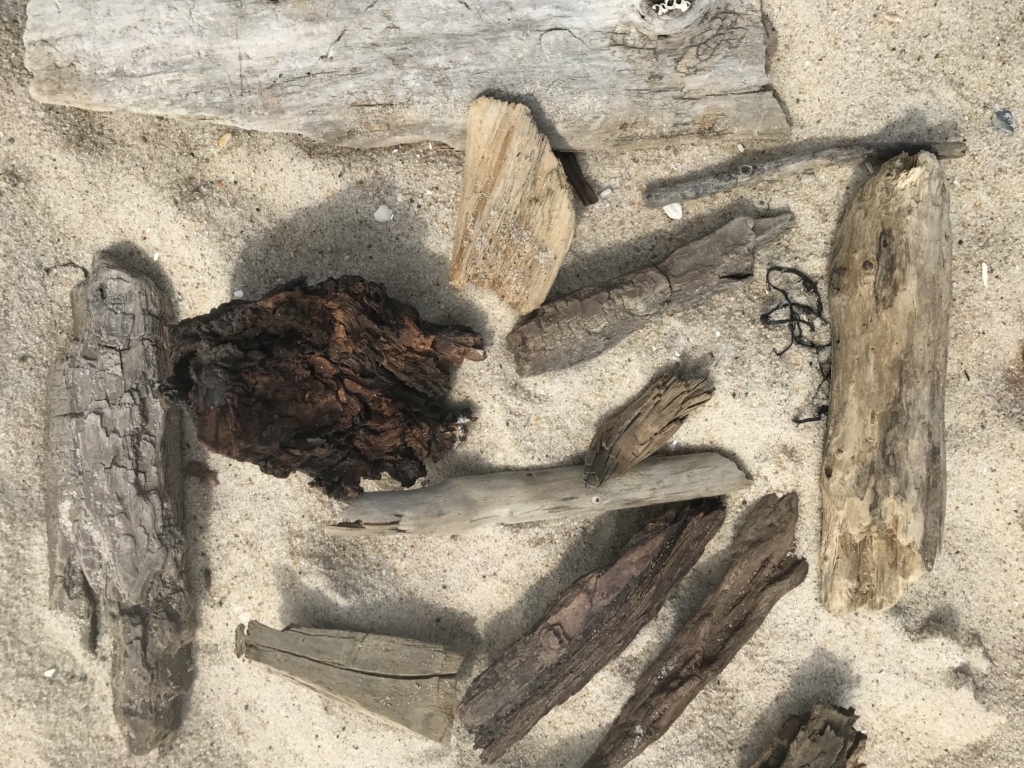
Some beach gems….
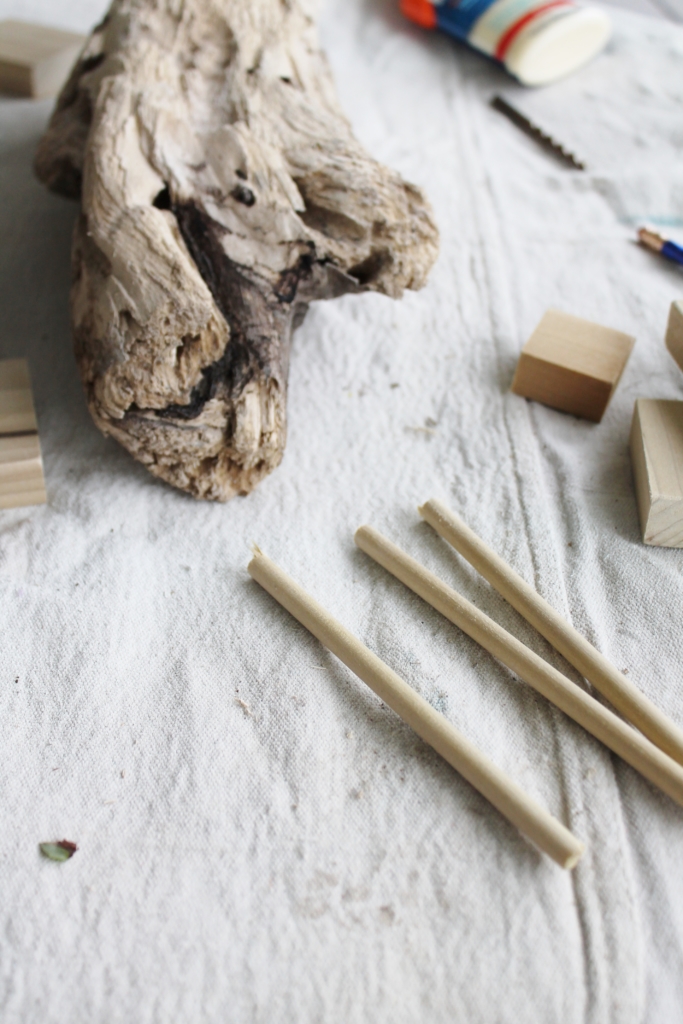
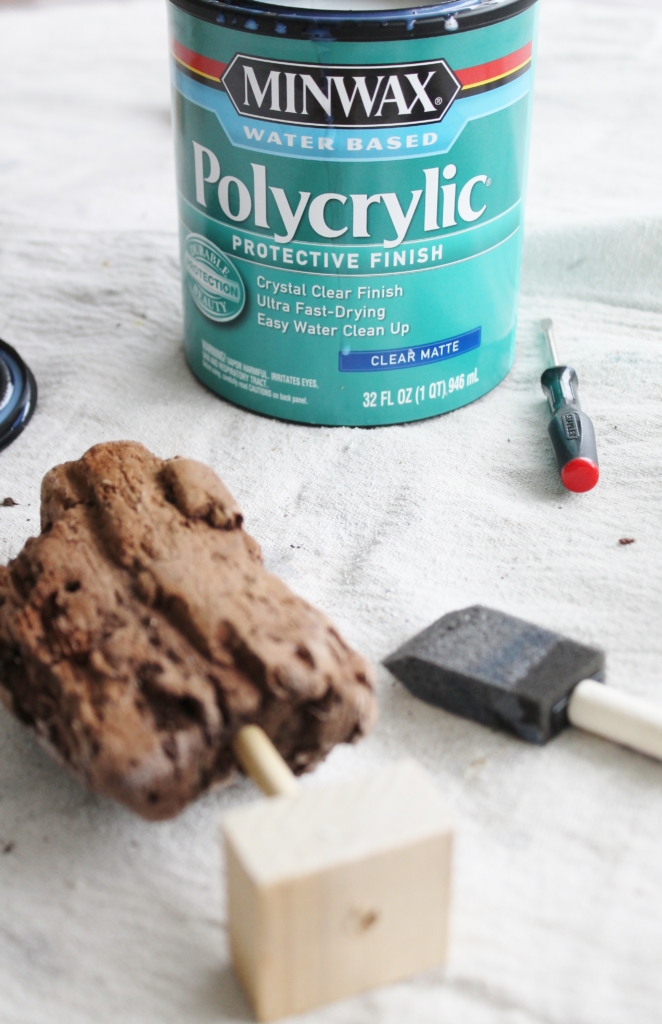
If you would like to make some of your own driftwood sculptures this is what you need….
Minwax Water-Based Polycrylic Protective Finish
drop cloth
latex gloves
mask (if indoors)
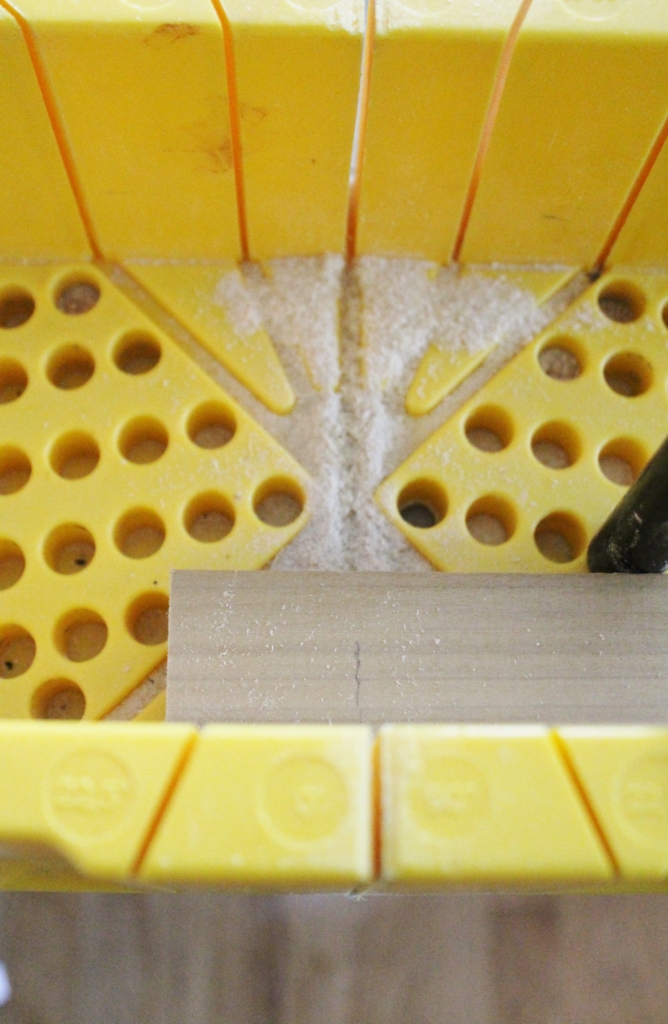
saw box
sander with medium grit sand paper
wood glue
poplar dowels (I used 1/4″ & 3/8″)
poplar craft wood (I used 1.5″ x 3/4″ & 2.5″ x 1.5″)
wired brush
foam brush
flower clippers (to cut the dowels)
wood glue
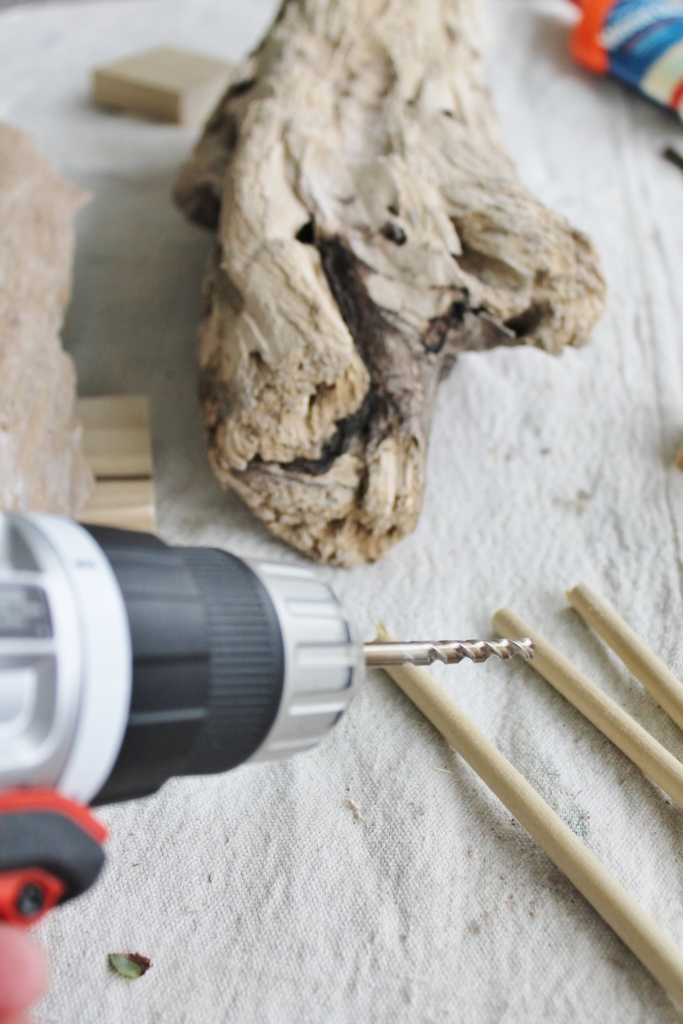
drill & bits (1/4″ & 3/8″)
measuring tape
pencil
stamps or marker (optional)
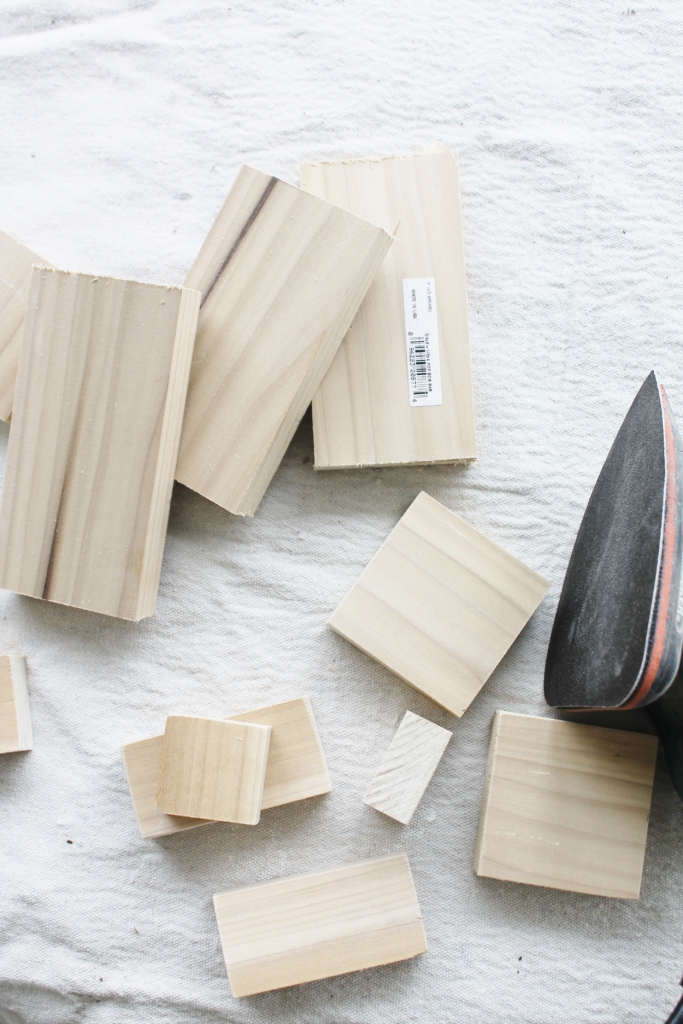
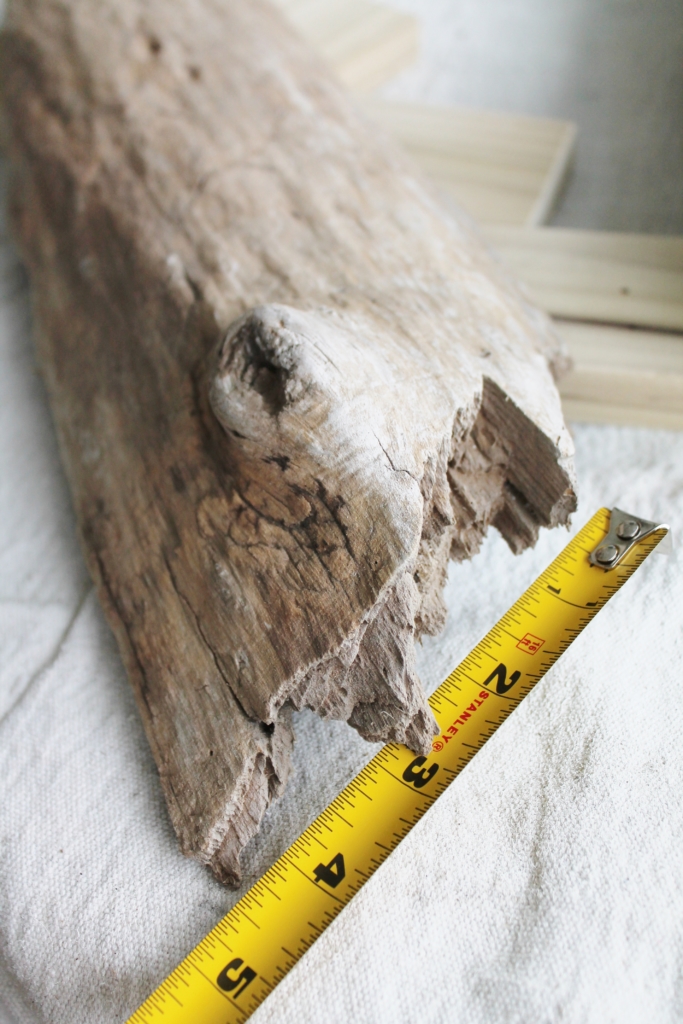
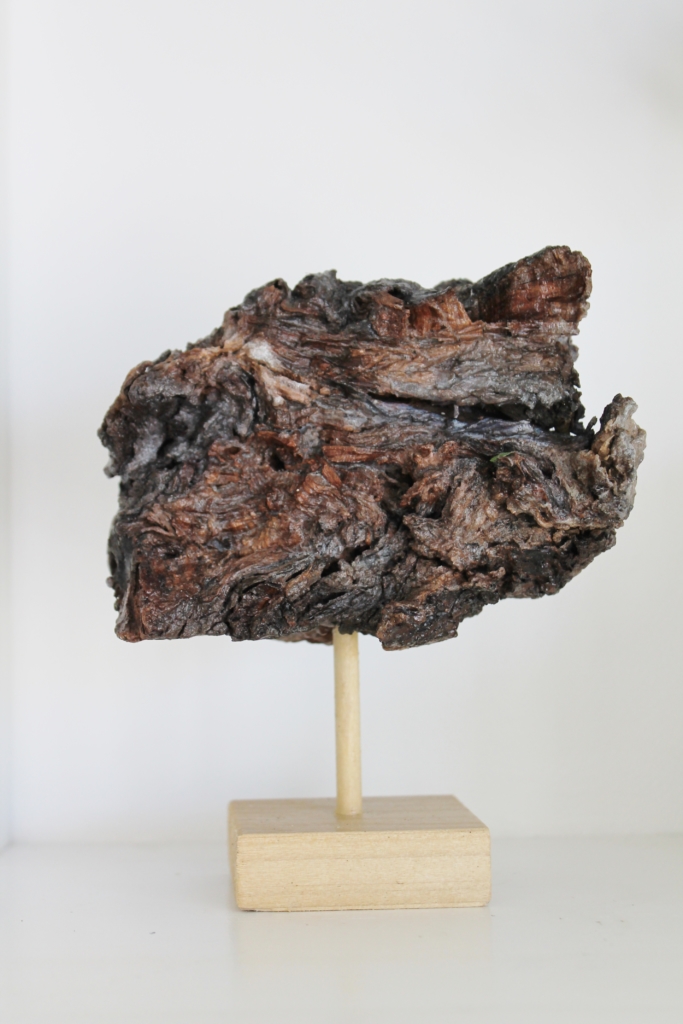
STEP 1-Cut your bases. I mixed these up cutting both square and rectangular pieces from both lengths of poplar with my saw box. Be sure your wood is secure before you cut to prevent any injuries.
STEP 2-Sand your bases. You can use sandpaper, a sanding block or an electric sander to smooth the rough edges.
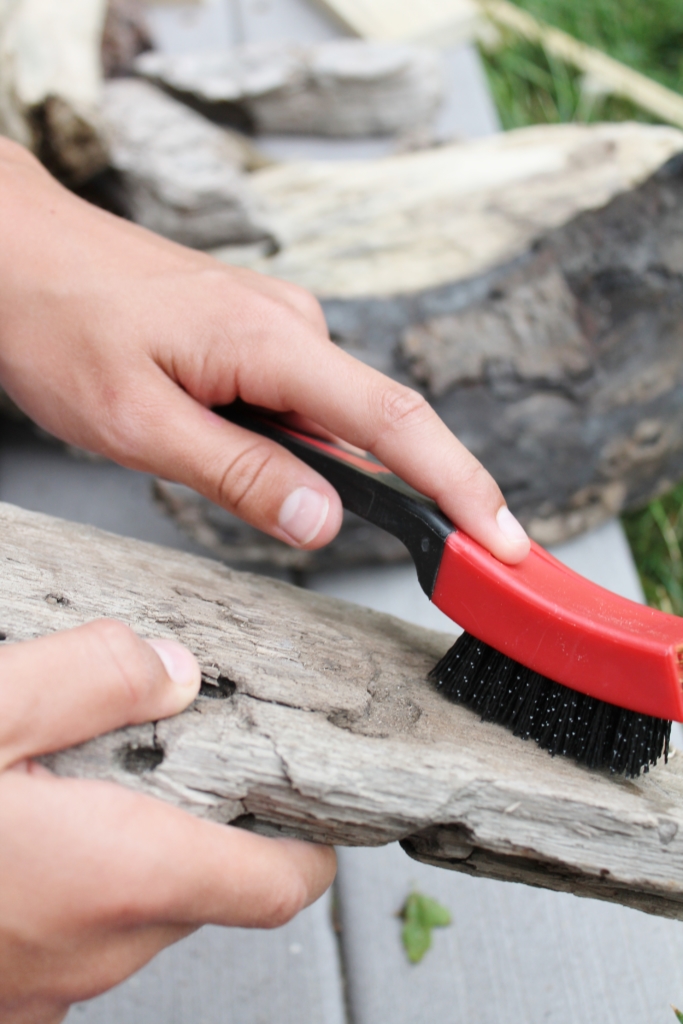
STEP 3- Clean your wood. Take a wired brush or any large brush and work into the wood removing any particles, sand or debris.
Step 4- Cut your dowels. I waited until I had each piece in front of me to determine the length I wanted each vertical piece to be. Be sure to leave a little extra to fit into the base and your driftwood. You can use a flower clipper to cut these dowels or the saw, just be sure it is secured first.
Step 5- Drill into your driftwood and base. Take your drill & bit matching the diameter of your dowels and drill into both pieces. Measure for the middle of the driftwood piece and the base & mark with a pencil.
Step 6- Glue dowels into both ends. Put a little wood glue on each end and secure it into your piece at the base and bottom of your piece.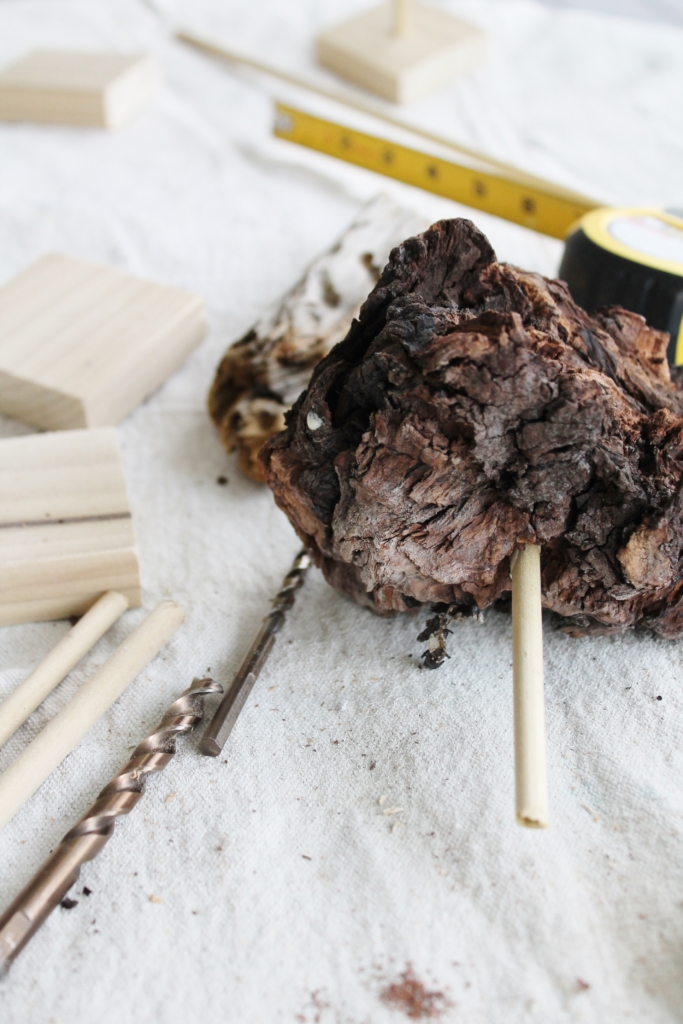
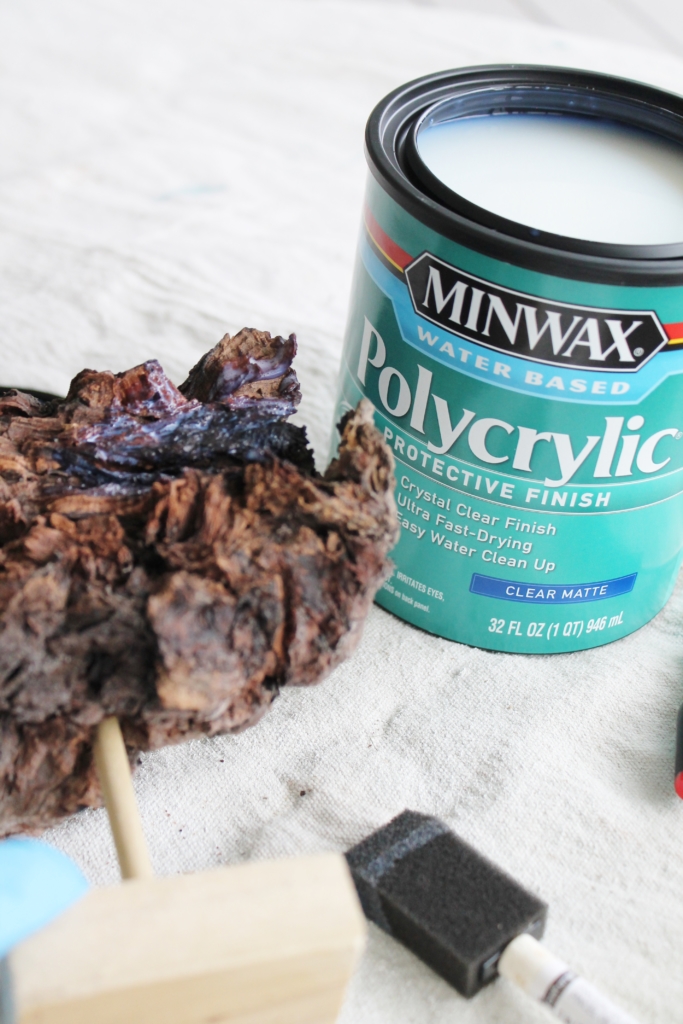
Step 7- Protect your piece. Be sure your wood is completely dry, if in question, leave in the sun for a few days. Seal your sculpture with Minwax Water Based Polycrylic Protective Finish. Use latex gloves & mask for this part. Take your foam brush and apply, making sure to get into the nooks & crannies. Let dry for a few hours.
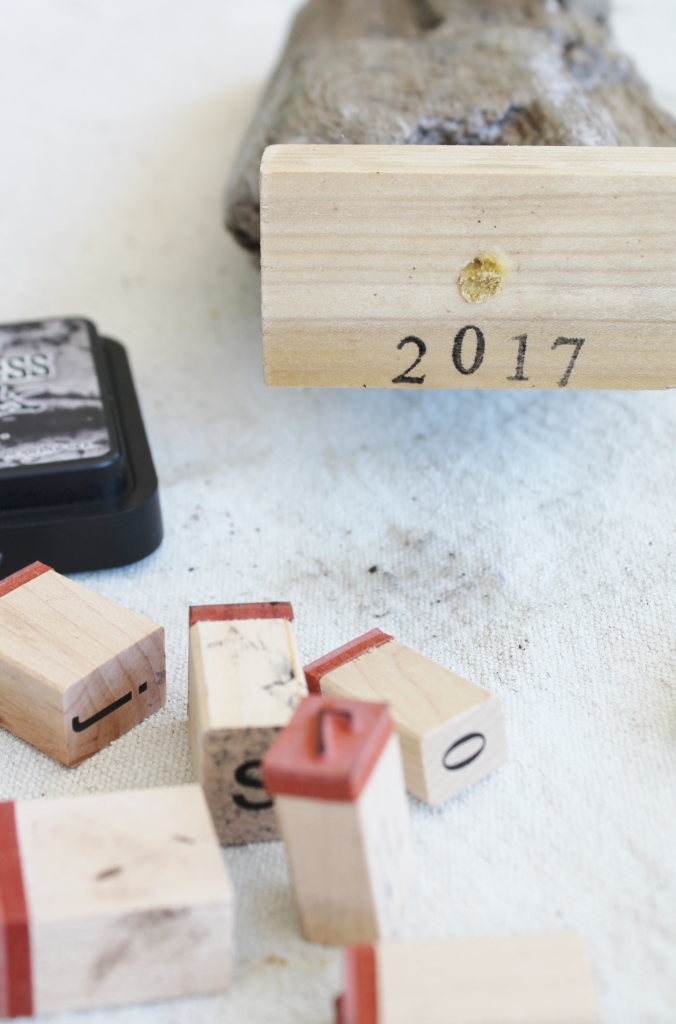
Step 8- Add a personal touch. Using a stamp or marker record the date and/or names to appreciate for years to come. Shane & Jack both made ones for their rooms from pieces they found so it’s nice to have a personal note at the bottom. Who knows maybe these will be in the family for a while, one can hope right?
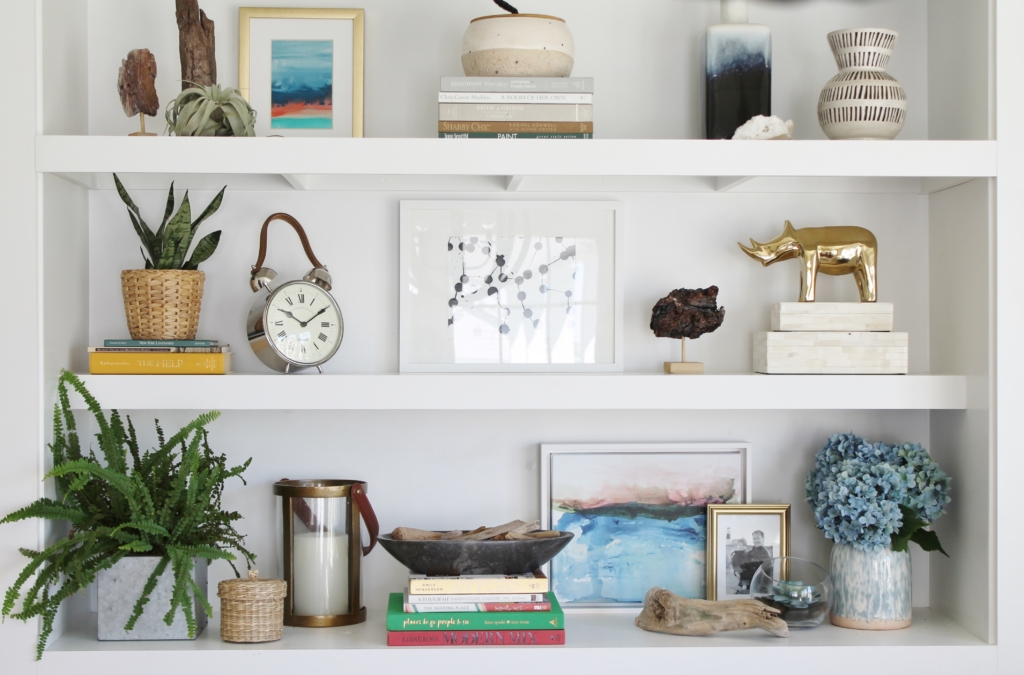
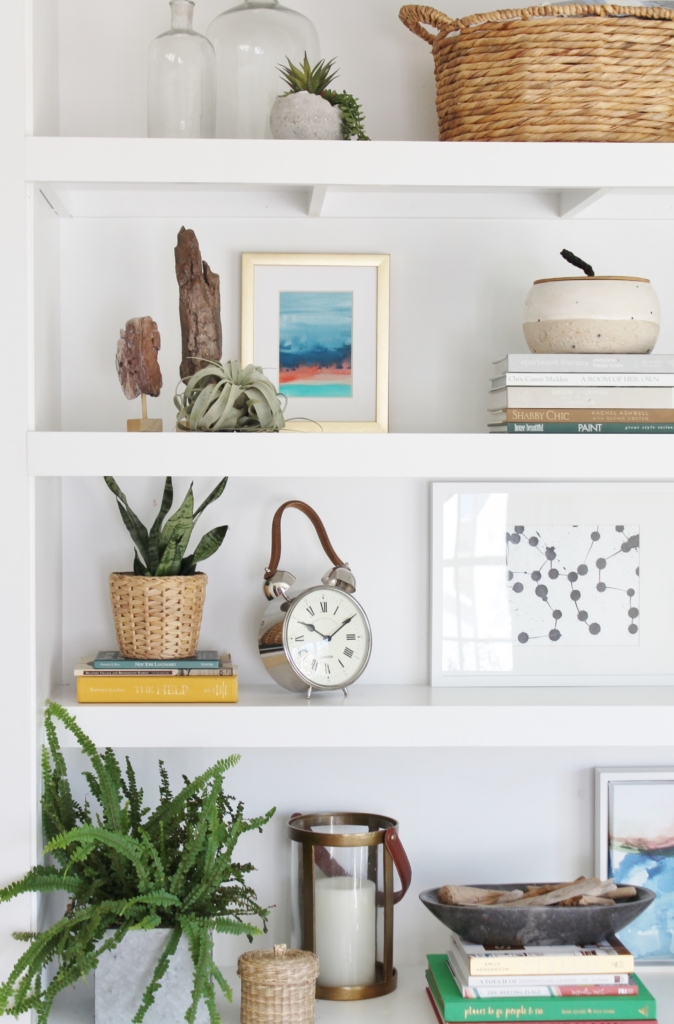
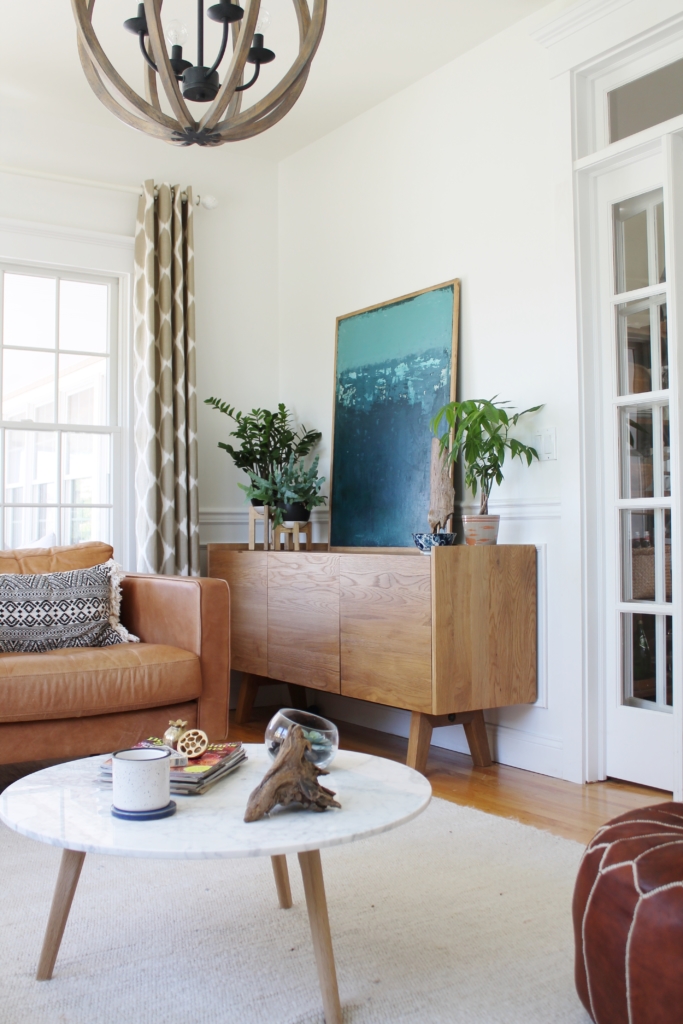
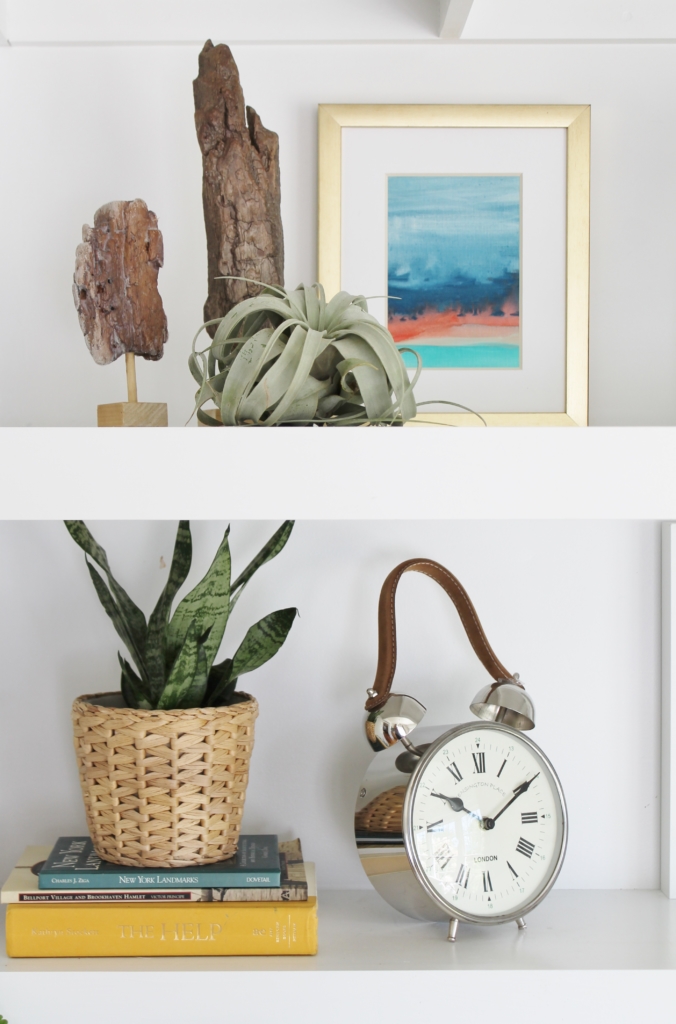
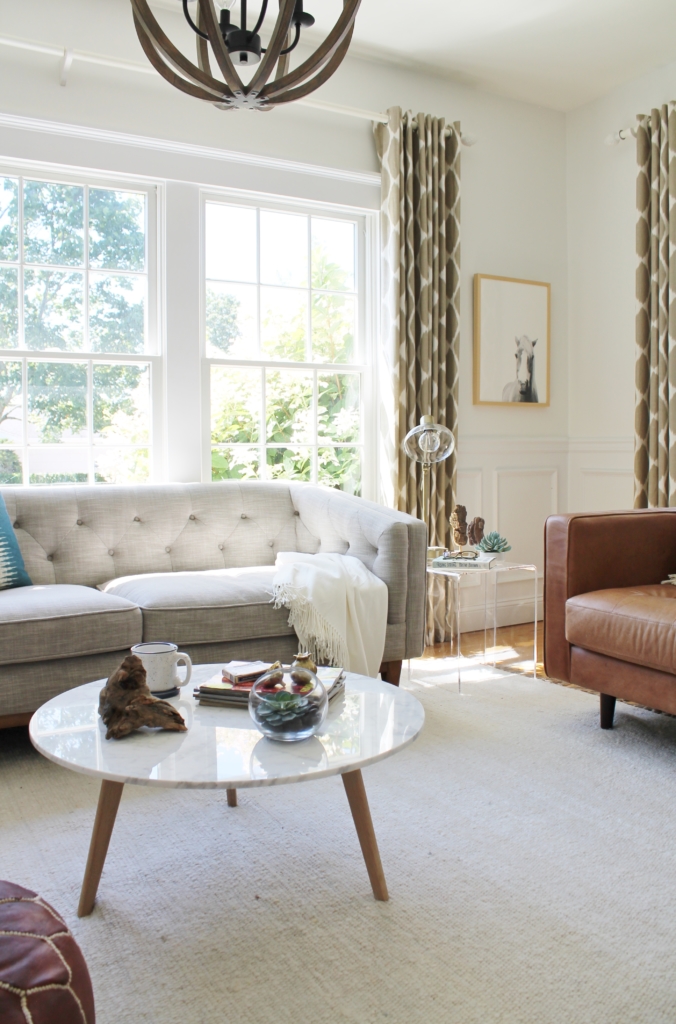
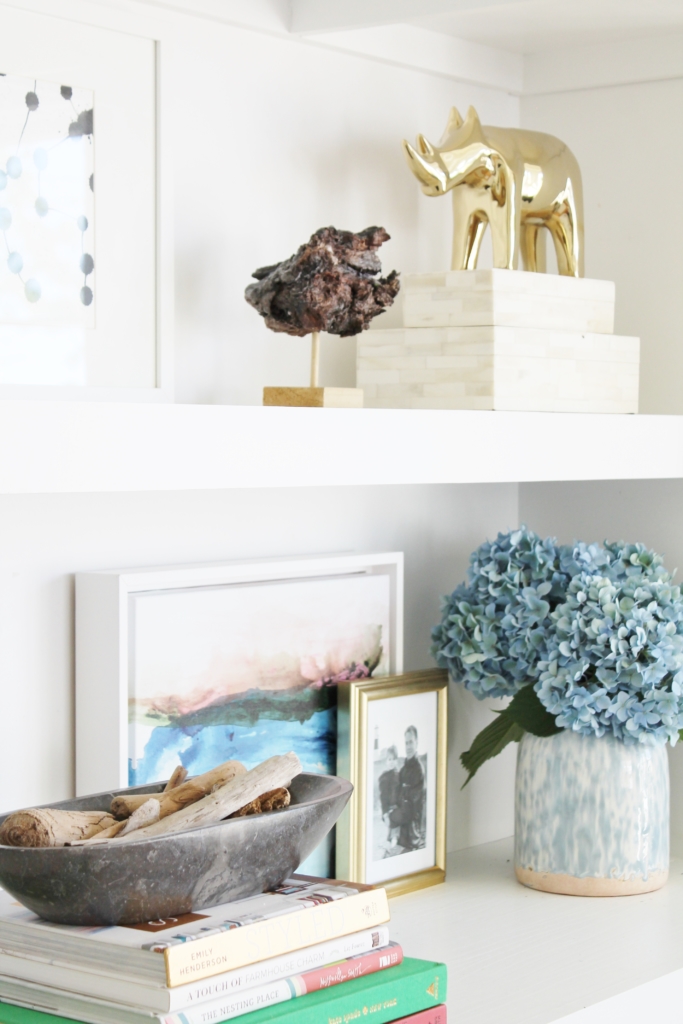
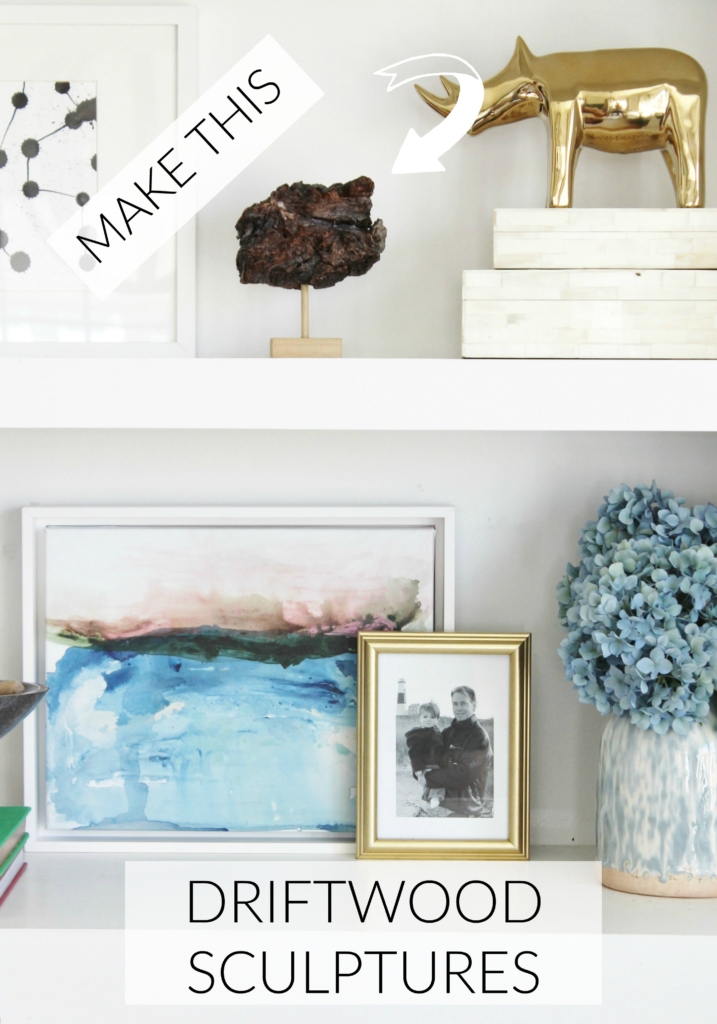
We made about 8 in all and just to show you different styling options I layered them throughout my den.
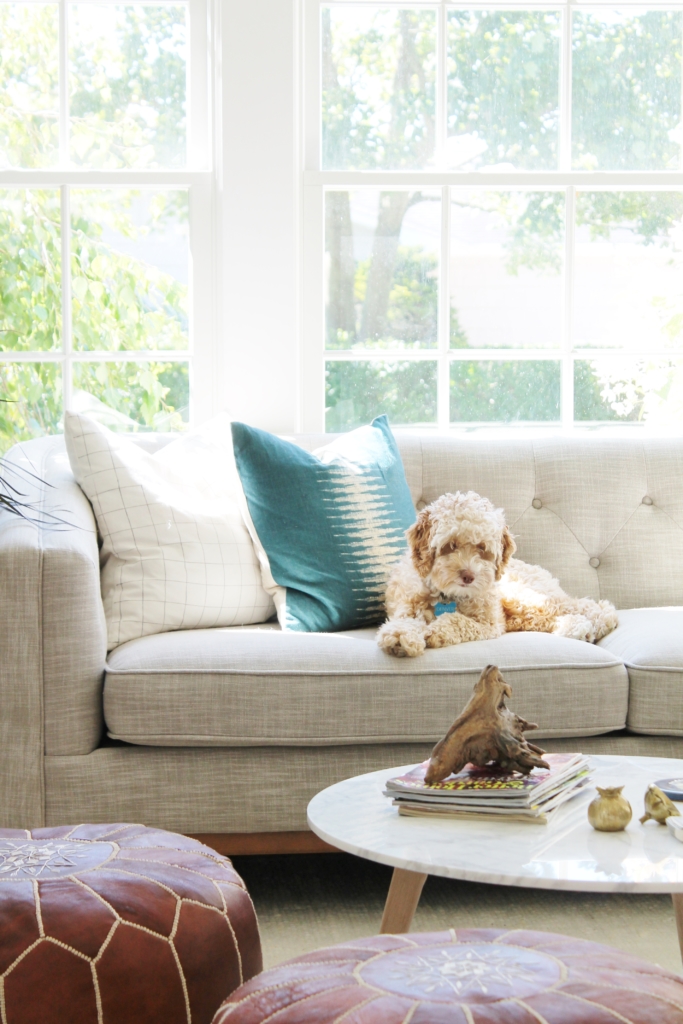
Of course no post would be the same without a little photo of Denver.
This is the piece from above, it’s my favorite, I love the contrast, shape and texture, it all works.
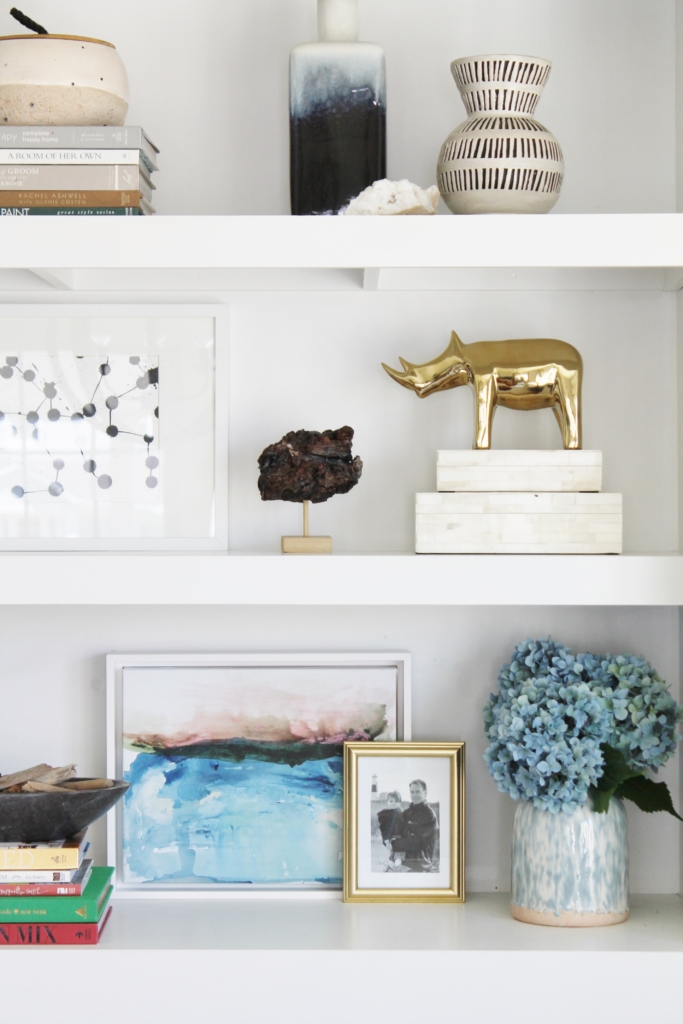
I kept the base natural, without stain because I didn’t want it to compete with the organic beauty and tone of the driftwood.
What do you think of the art we made with love from the found driftwood from our little beach adventures? I can’t tell you enough how much I LOVE this project!!! Not only was it easy but it was so cheap, it was under $25 for all my supplies. You can make about 20 with the purchased supplies.
Be sure to watch this beautiful video below, it will make you see connection & love the way it should be…
This is a sponsored post, compensation and product was given in exchange for this post.
Thank you for stopping by! Have a happy day!

What an awesome idea! I LOVE this!!
Thank you so much Jenn!! Hope you are having a great summer!! Jen
Love decor like this. So much more meaningful than something you would buy in the store. Thanks for sharing such a great idea!
So true Ginger!!
Thank you, I love this idea!
Thank you Jan!
This is a great idea! I picked up some driftwood on a beach trip a month ago and now I know exactly what I’m going to do with it; thank you!
Thank you Rebecca! Have fun!! Jen
Everything here was great! I love driftwood, and I am from Maine so we have lots! Thank you for the ideas.
Thank you Karen, good Luck!!! Jen
This is such an amazing idea for holding old memories and home decor. I really like this.
Thank you so much!