
Disclosure: This post may contain affiliate links. As an Amazon Associate, I earn from qualifying purchases at no additional cost to you. See full Disclosure Statement HERE.
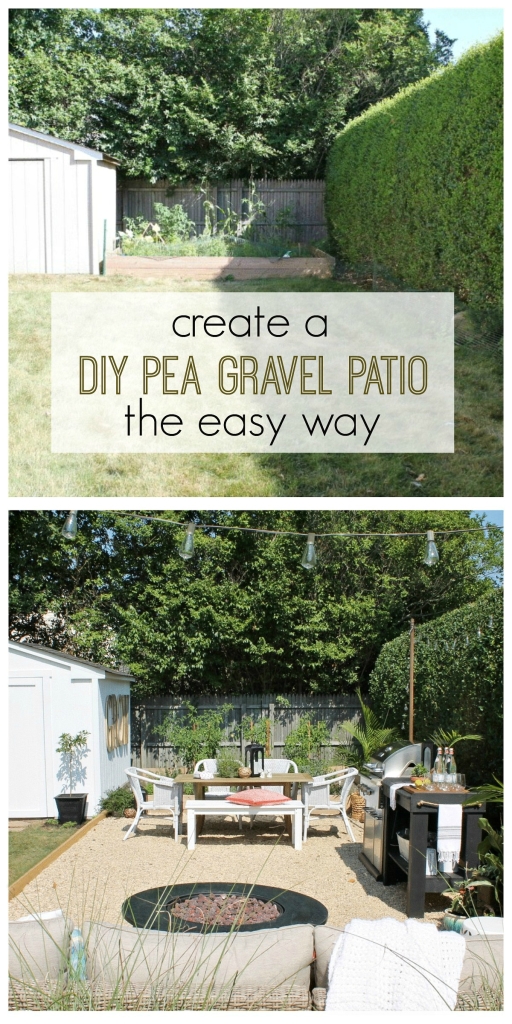
Hi friends! I know you have been eagerly awaiting the details on my Pea Gravel Patio, this was not only easy but gave us the biggest bang for our buck. Thank you for your patience & for all of your sweet comments about my Backyard Reveal. I have had SO many questions about this DIY project and hopefully, I will answer them all in this post.
One of the many questions we were asked after we decided on the Pea Gravel was why? Why not pavers or a deck? There are a few reasons why we chose this option, 1. it’s affordable and we thought we could tackle it ourselves, 2. I LOVE the look & the texture it brings, living out on the east end of Long Island most of the Hamptons homes use this material and it’s beautiful, 3. our yard is small, so I wanted material that felt organic and natural, the small pebbles make the yard seem larger.
WHAT YOU WILL NEED
pea gravel
weed block rolls
grass killer
pressure treated 2 x 6’s
metal steaks
measuring tape
spray paint
straight edge shovel
small shovel
level
hinges if needed
hammer/mallet
large rakes to spread the dirt
Large wheel barrel with double wheels
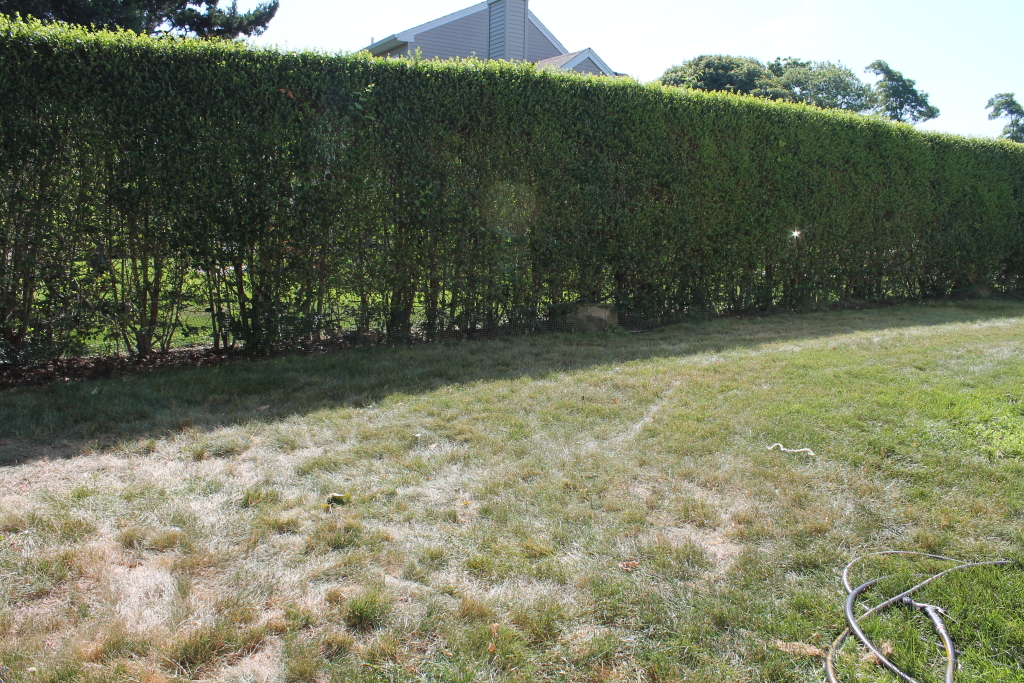
Before we began our yard wasn’t level, at all. We researched and spoke to a few handy people we knew and they all said level it with the gravel. This makes the project WAY more simple than all of the other tutorials out there, truth be told on the side that needed more stone the surface isn’t as firm, which for us is fine but I wanted you to be aware. On the “thinner” side where we didn’t need as much depth of stone it is perfectly firm. So, if your area is pretty level this tutorial will save you a few steps.
This is how we tackled this project:
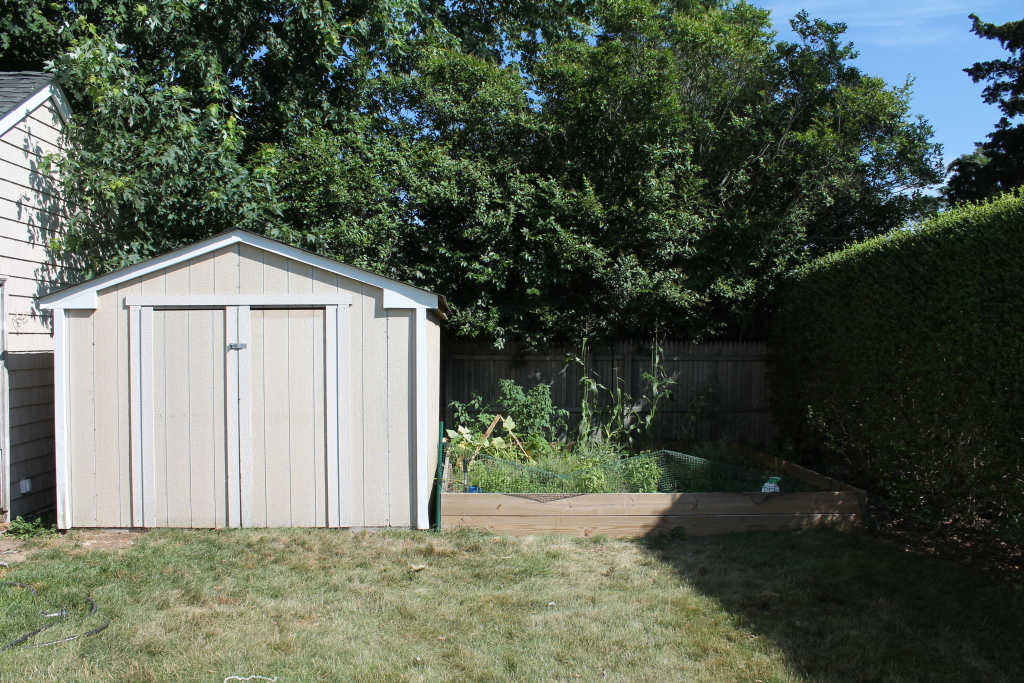
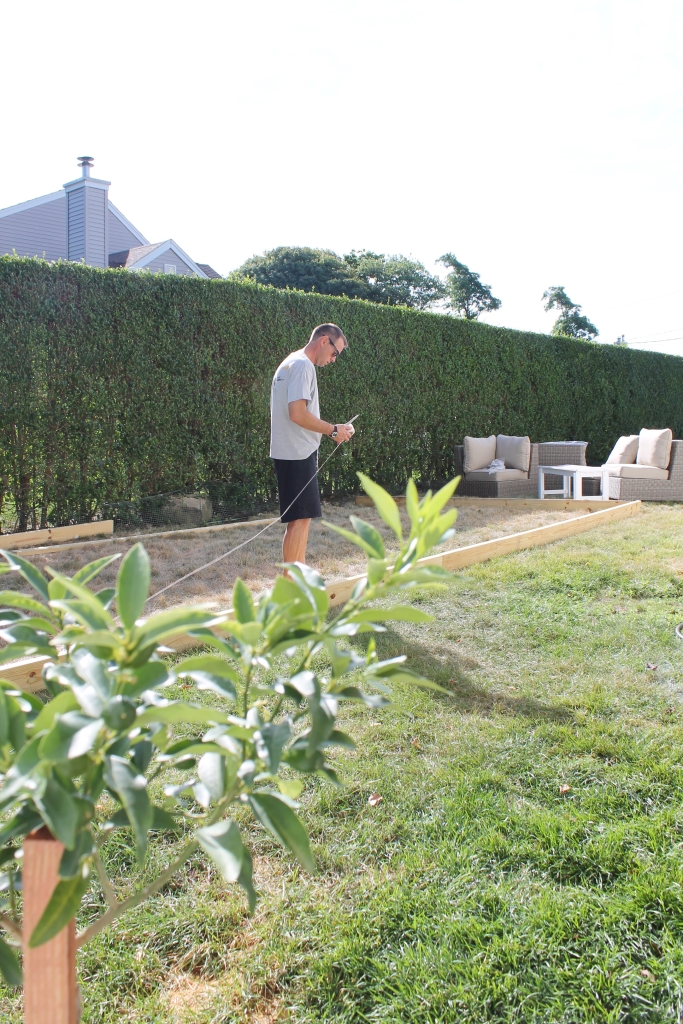
1.First, we assessed the area to figure out how large we wanted this space to be and where. Once we decided on a location, next we needed the size. We knew we wanted a dining area, kitchen/serving and lounging by the fire area. I measured all of my furniture and took some spray paint and sprayed right on the grass to visualize both the perimeter size and the furniture placement. I wanted to make sure we had plenty of space to walk around. Tip -don’t rush this part, sleep on it, a few nights, we changed our minds a few times:). We finally decided on a 14′ x 28′ patio space.
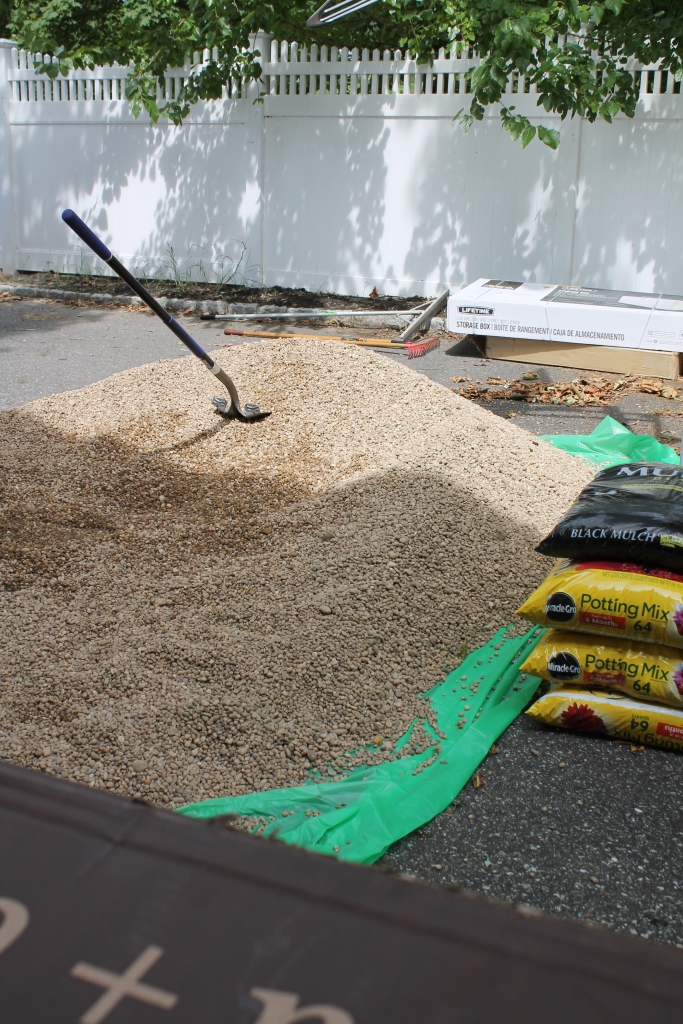
2. Once we had the size and location we ordered our materials. We ordered the pea gravel from our local stone shop. We ordered just over 3.5 yards of the smaller stone [it was between 5/8″-3/4″] which was just over $200, you can find yardage calculators online that will help you with this part. The wood border was delivered from Lowe’s along with the weed block rolls.
3. We first laid out the wood to be sure this was THE size before we started. Then we took spray paint and marked along the inside edge with the paint. I am sure there are other ways to do it but we thought this would work well. Make sure all of your wood is straight. We sprayed weed killer on the grass a few days before and repeated that morning just to be sure.
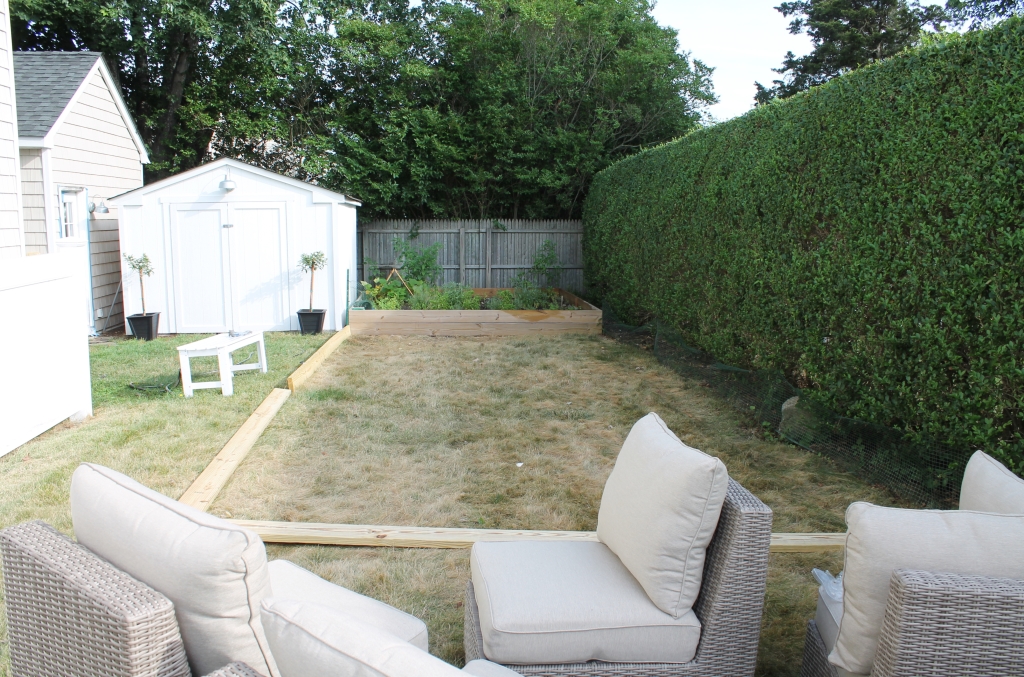
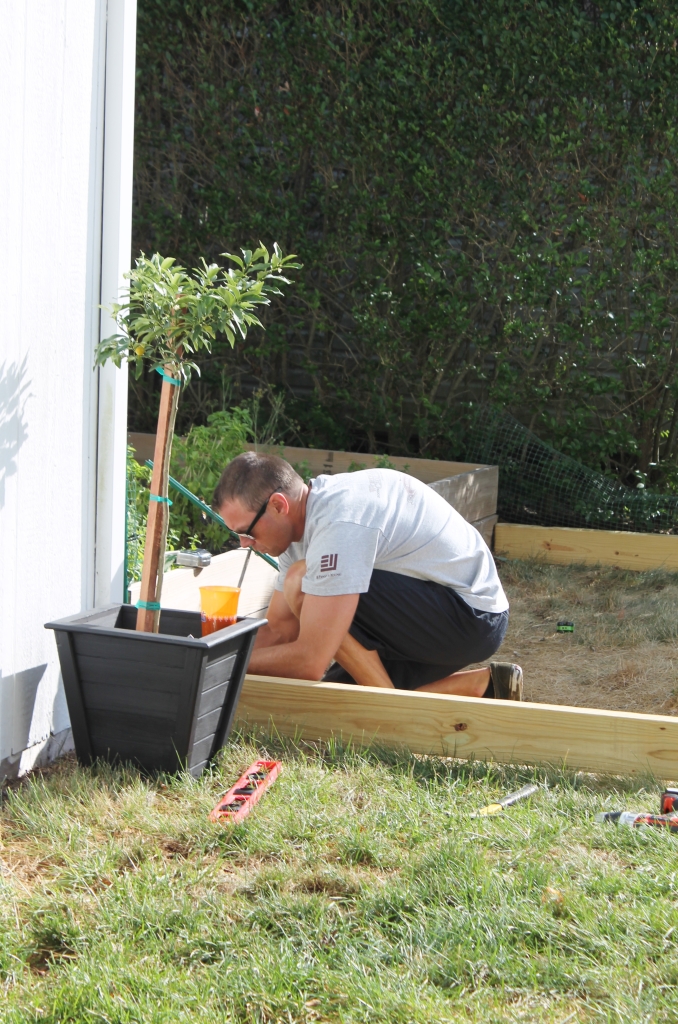
4. Start to dig out your border. We knew one side would be set in more than the other because we wanted to level it. My husband used a flat edge shovel and a small one as well. Along the way John leveled the wood to be sure it was right, we used string & pulled it taut towards the opposite end, then used the level to see how far we would have to dig. It is a large space so we screwed the wood together using metal brackets, 2 at each corner and 2 at the seams.
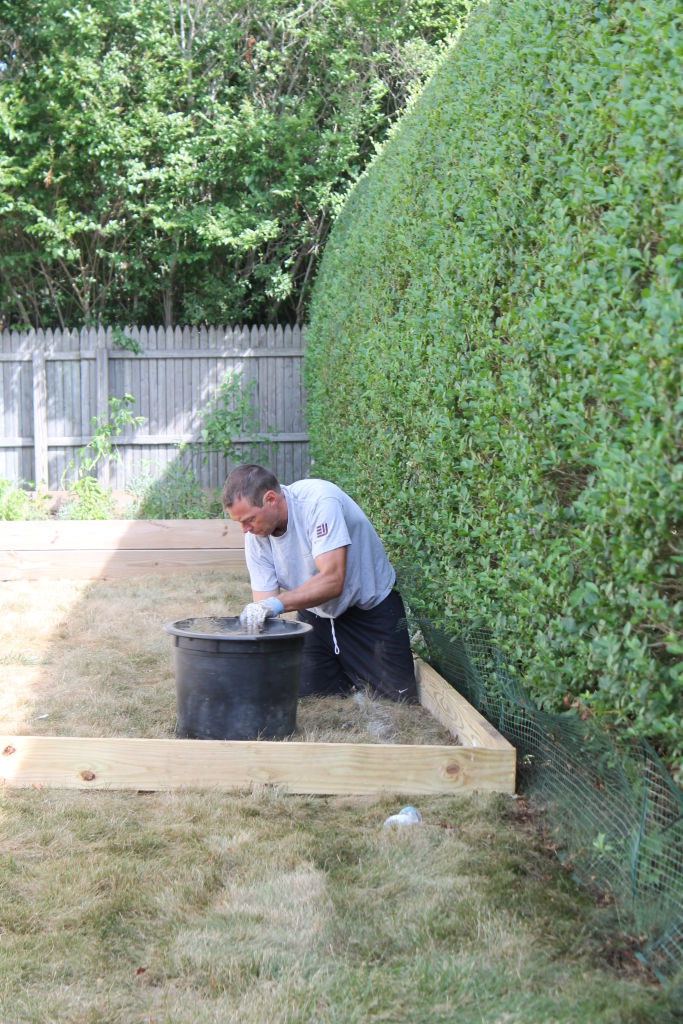
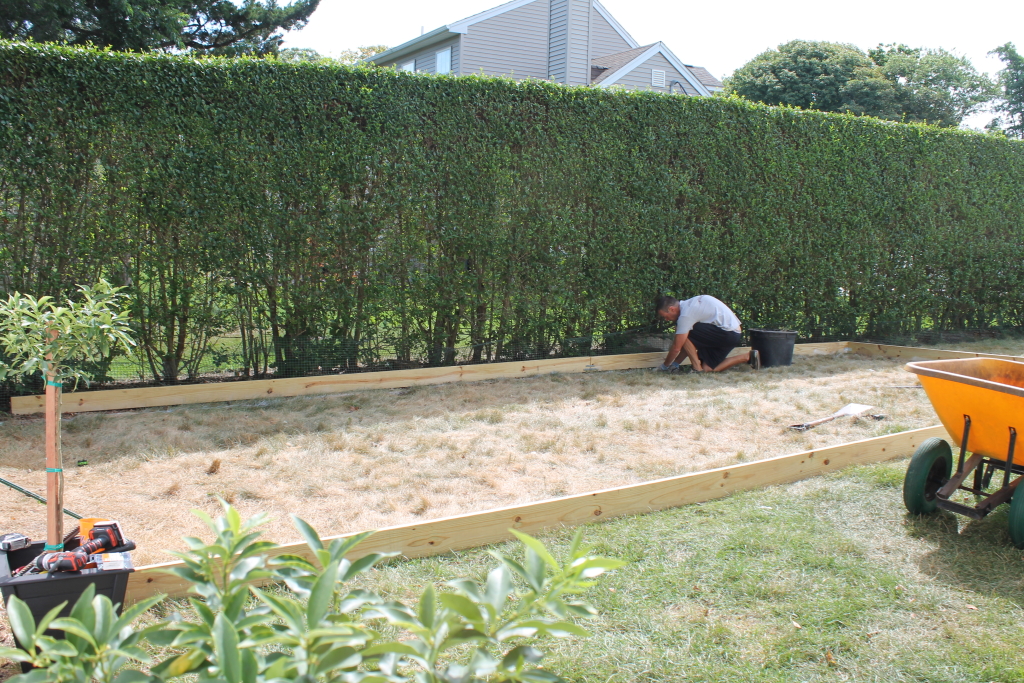
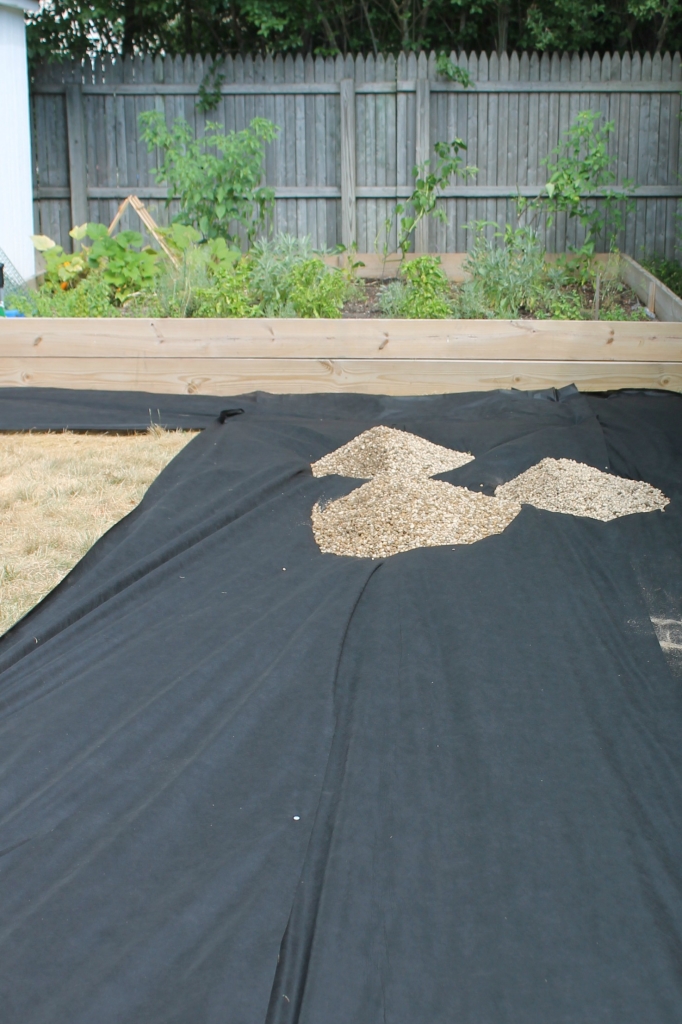
5. After the borders were in place and staked to hold them in place we then laid down the weed preventer. It comes in large rolls and clearly marks how much square footage it will cover, when you plan get extra and overlap. We overlapped the black material so we had 2 layers of weed prevention, weeds still came up this year but not many.

6. It’s time to add the pea gravel, the best part! We just kept scooping and dumping until it was off our driveway. If you have an extra person with an extra wheel barrel this will go a lot faster. Or if the other person can even out the stone with the rake, either way you need 2-3 people for this. We used a large piece of wood so the barrel could wheel over the edge without ruining the border. Be sure to rake it good so the surface is even. The stones will look a little dirty until it rains a few times.
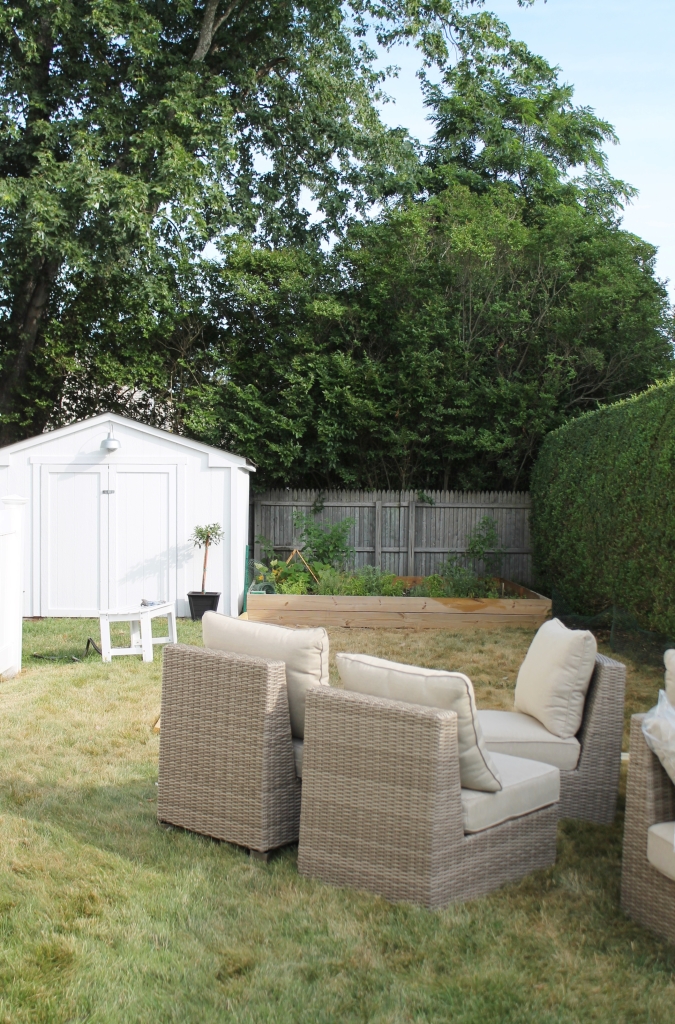
THE BEFORE….

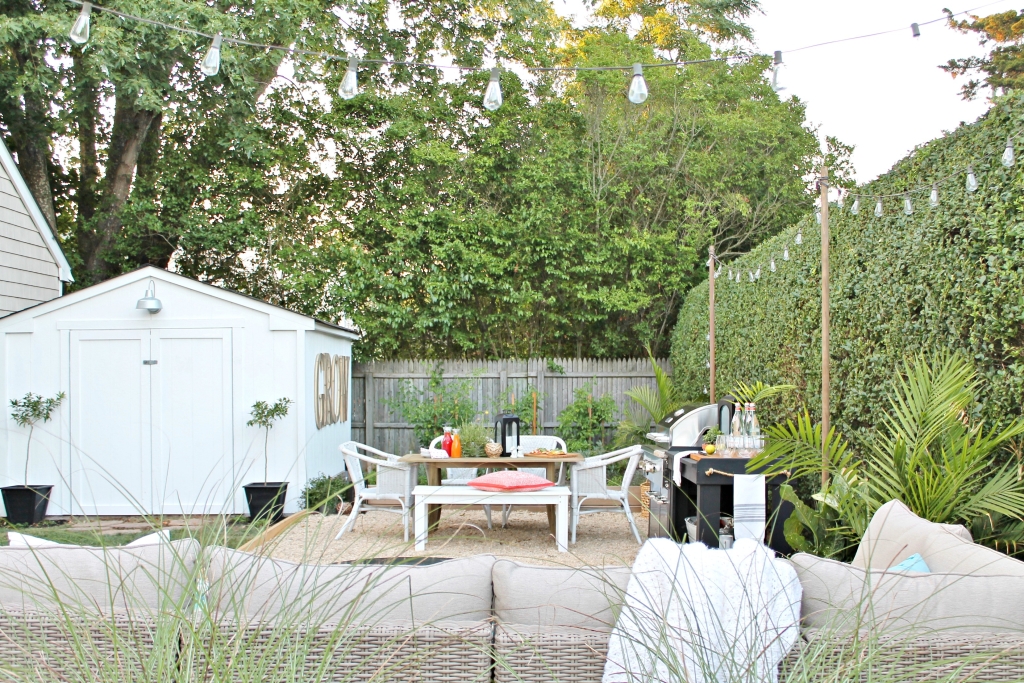
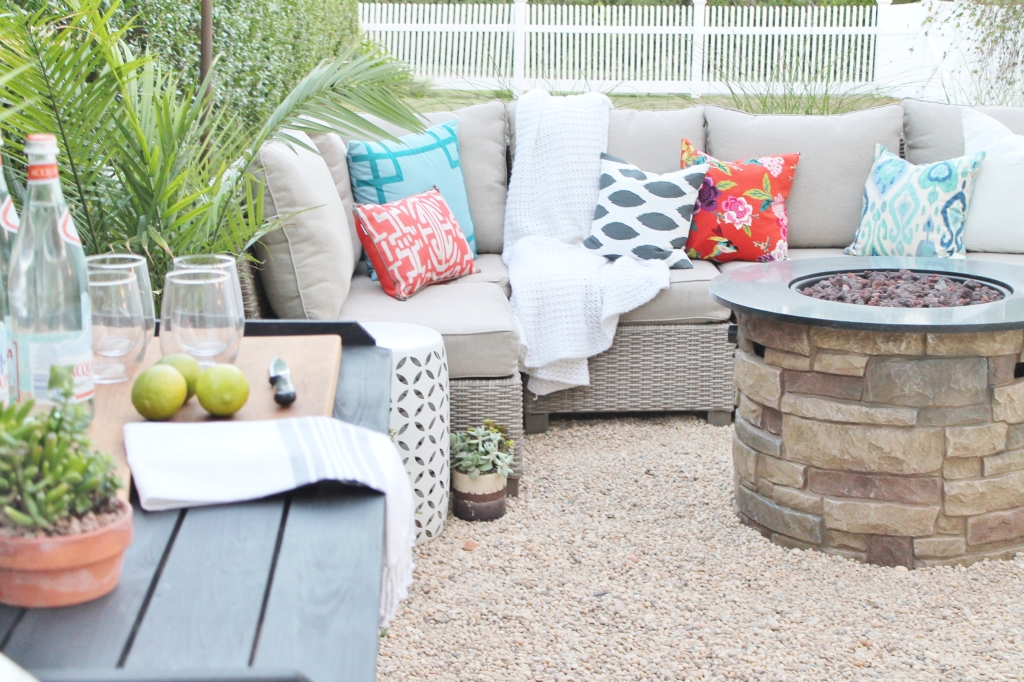
THE AFTER….
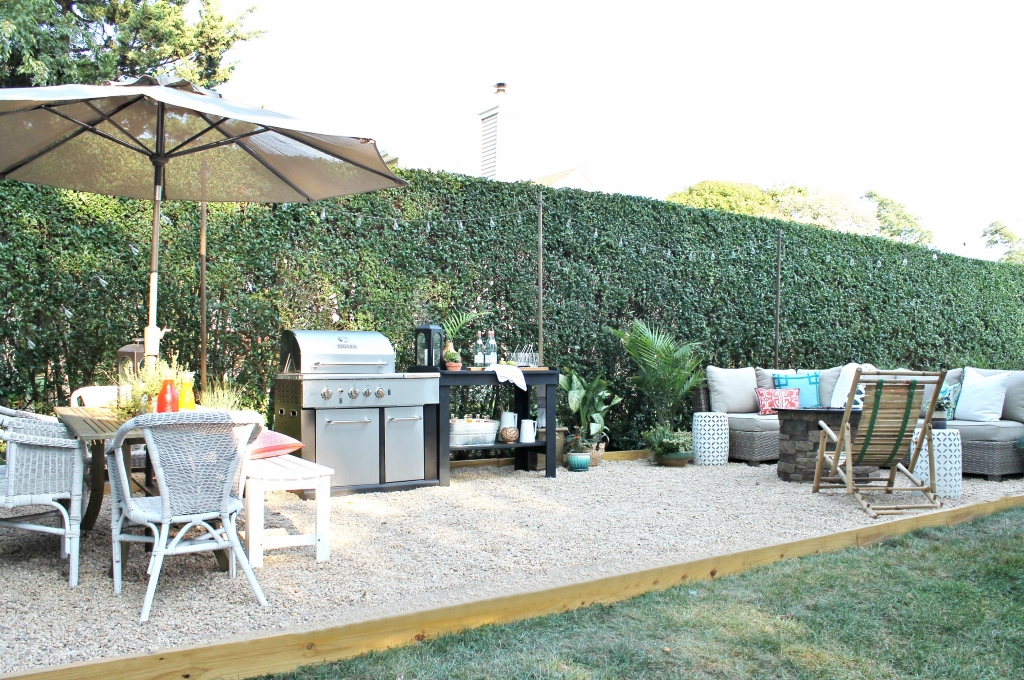
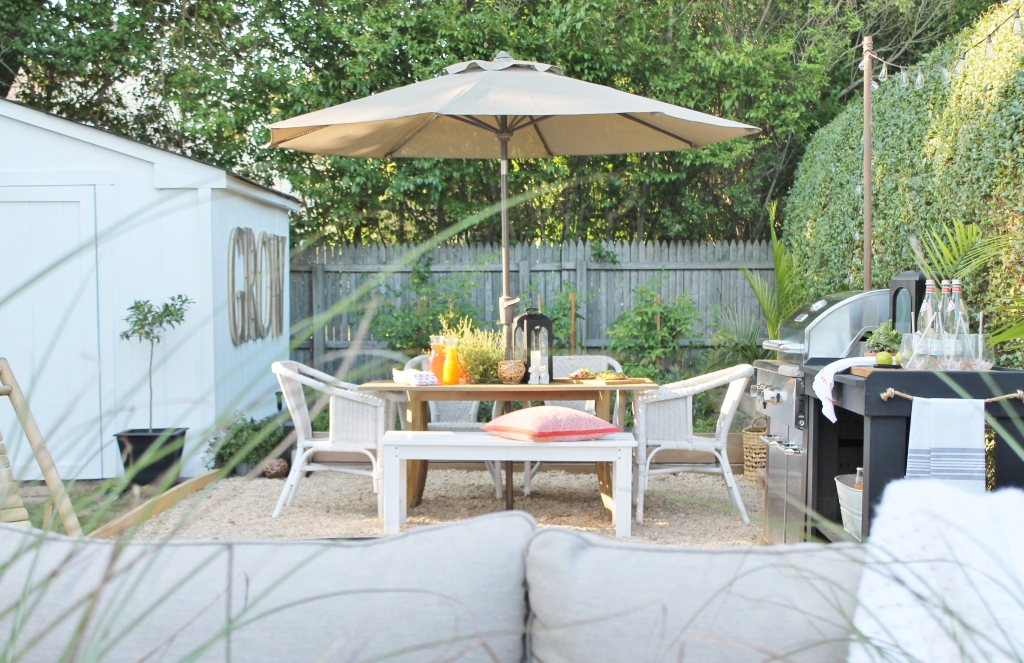
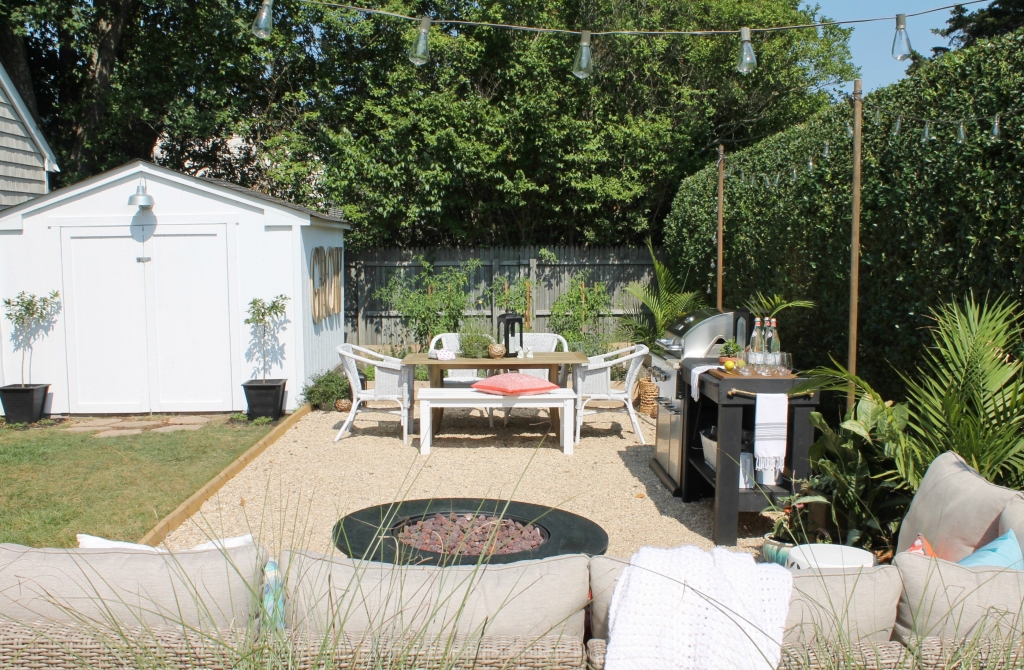
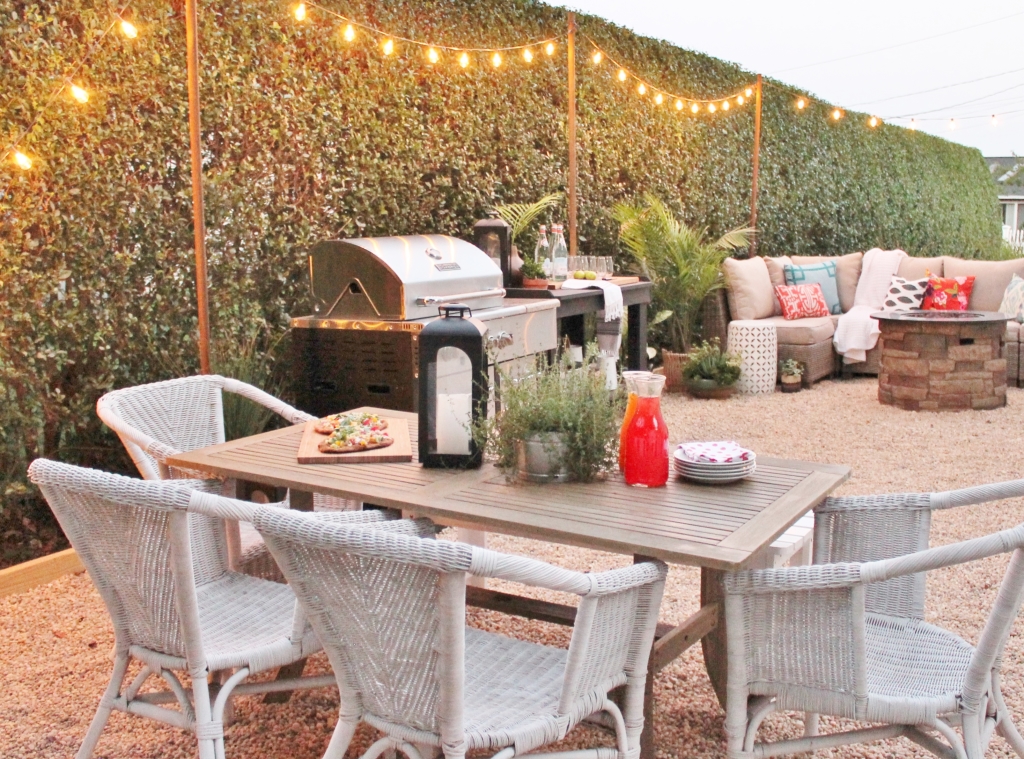
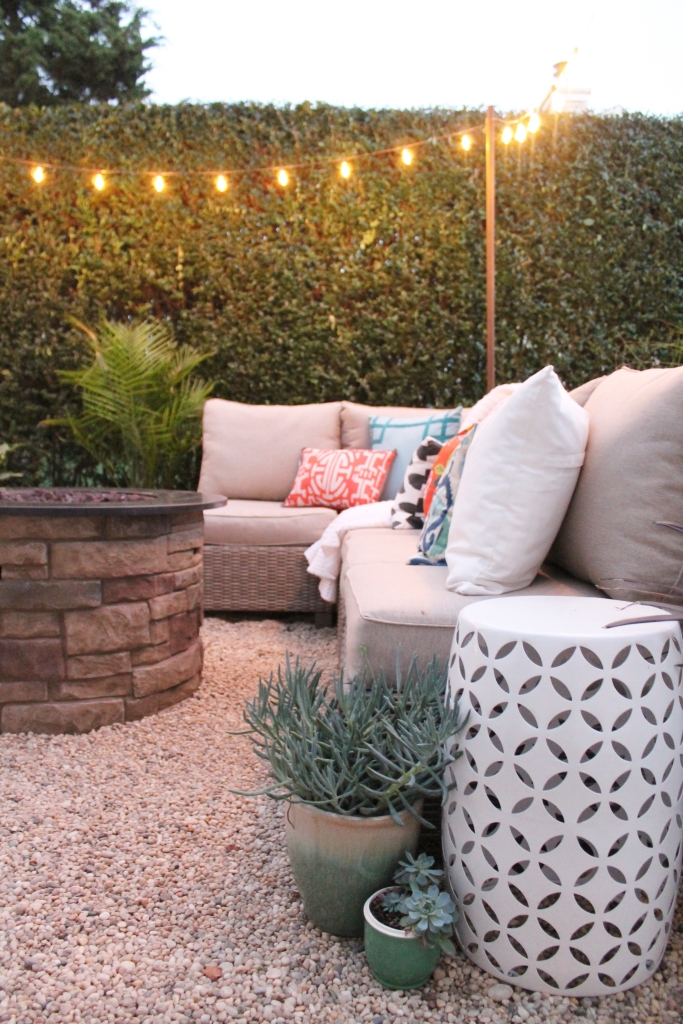
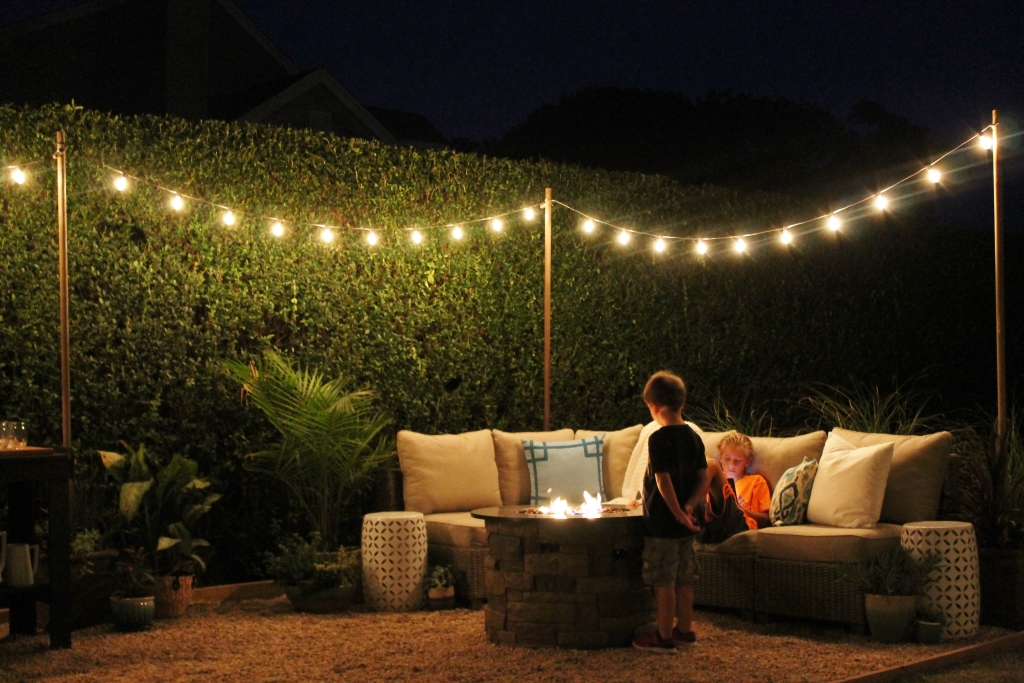
This project took us 1 FULL day to complete and we love it! We have so much fun out here at night under the stars and the DIY Light Poles set the perfect mood for all to enjoy. I am actually working on a little project back here and will share all the details on Sunday.
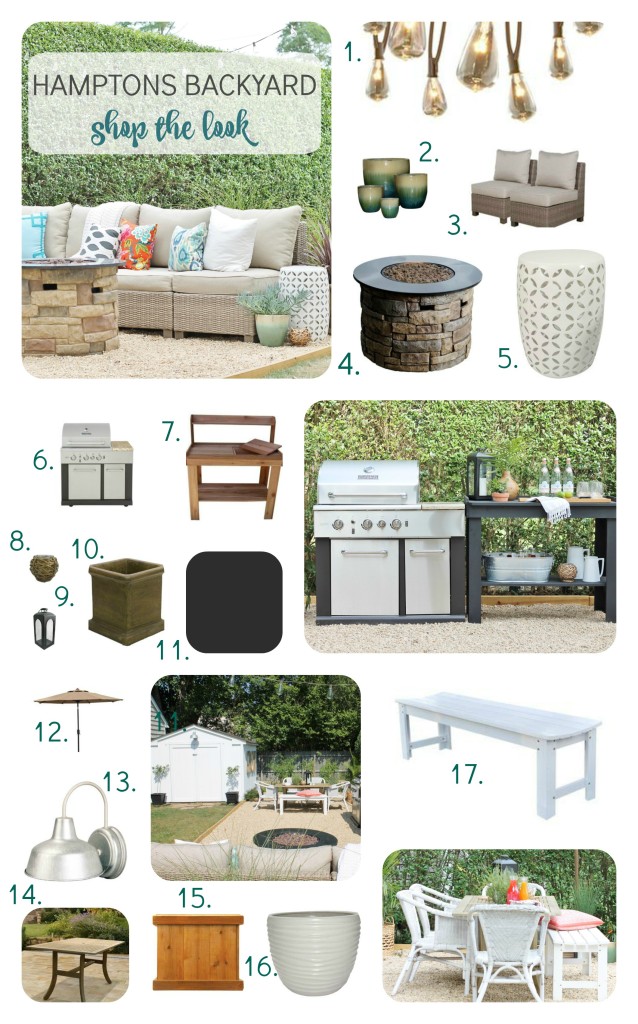
FULL source list to this outdoor space HERE.
If you have any other questions just leave them in the comments:). Have a fabulous day friends!


Thank you for this tutorial! You have really transformed this space! I never would have thought to use pea gravel for a patio. Is it pretty comfortable to walk on barefoot?
Thank you Meg! Yes, it is, all the stones are round:).
hey girl love the look! So cool!
Looks lovely 🙂 .. Can you tell me if you sunk the poles for the string lights in cement ? We’ve been looking for ideas to string lights ( and we don’t have trees). And , are the poles round , rather than square ? Thanks ! I always enjoy your posts :))
Hi Denise, yes, these poles are in cement, this post might be helpful,https://cityfarmhouse.com/2015/06/diy-outdoor-light-poles.html. They work awesome, good luck!! Jen
Unable to access souce list.
Looks lovely! Do you have to do anything for drainage for a rainy spell?
The pebbles act as drainage, never had a problem:). Have a nice weekend, Jen
Did you dig out any of the sod or did you just lay the landscape fabric right on top and add the gravel?
I have been wanting to do this in our backyard. I hesitate because we have a huge oak tree in the yard and it drops leaves all winter. I noticed there was a lot of shrubs or trees near you and wondered if you have that problem and if so how do you rake the leaves without raking the gravel up? Or how do you blow the leaves off without the gravel coming up? Thank you for the info. And, I love how your yard looks.
Hi Wynette, we use a leaf blower and it seems to work. And thank you so much! Let me know hoe you make out:). Jen
I’ve always wanted a pea gravel patio, but in the midwest I fear it would wash away. It’s beautiful, Jen!
I love this! It looks like you did not remove any of the old grass but placed everything on top…Is this correct?
Yes Robin, that is right. Thank you! Have a great day! Jen
Roughly, how much was the lumber and pea gravel?
how thick is the bed of pea gravel?
What kind of stakes did you use to hold the 2×6 down and make then sturdy?
Hi Lauren,
They were 10″ metal stakes about 3/8″ thick. good luck! Jen
Hello!! I love your pea gravel patio and the lights so much, it is so helpful as it is exactly what I want to do! I do want to know if you had any other thoughts rather than the wood as the border? And, do your light poles go all the way around your patio, all 4 sides? Or just an area? I cant tell from the pics. Thank you!
Nikki