
Disclosure: This post may contain affiliate links. As an Amazon Associate, I earn from qualifying purchases at no additional cost to you. See full Disclosure Statement HERE.
Hi friends! We are winding down the school year here with only a few days left. It is hard to believe the year is over and summer is finally here!!! So with that, I thought I would share an easy project from the Lowe’s Spring Makeover that will be sure to set the mood in your outdoor space this season and give you plenty of outdoor lighting.
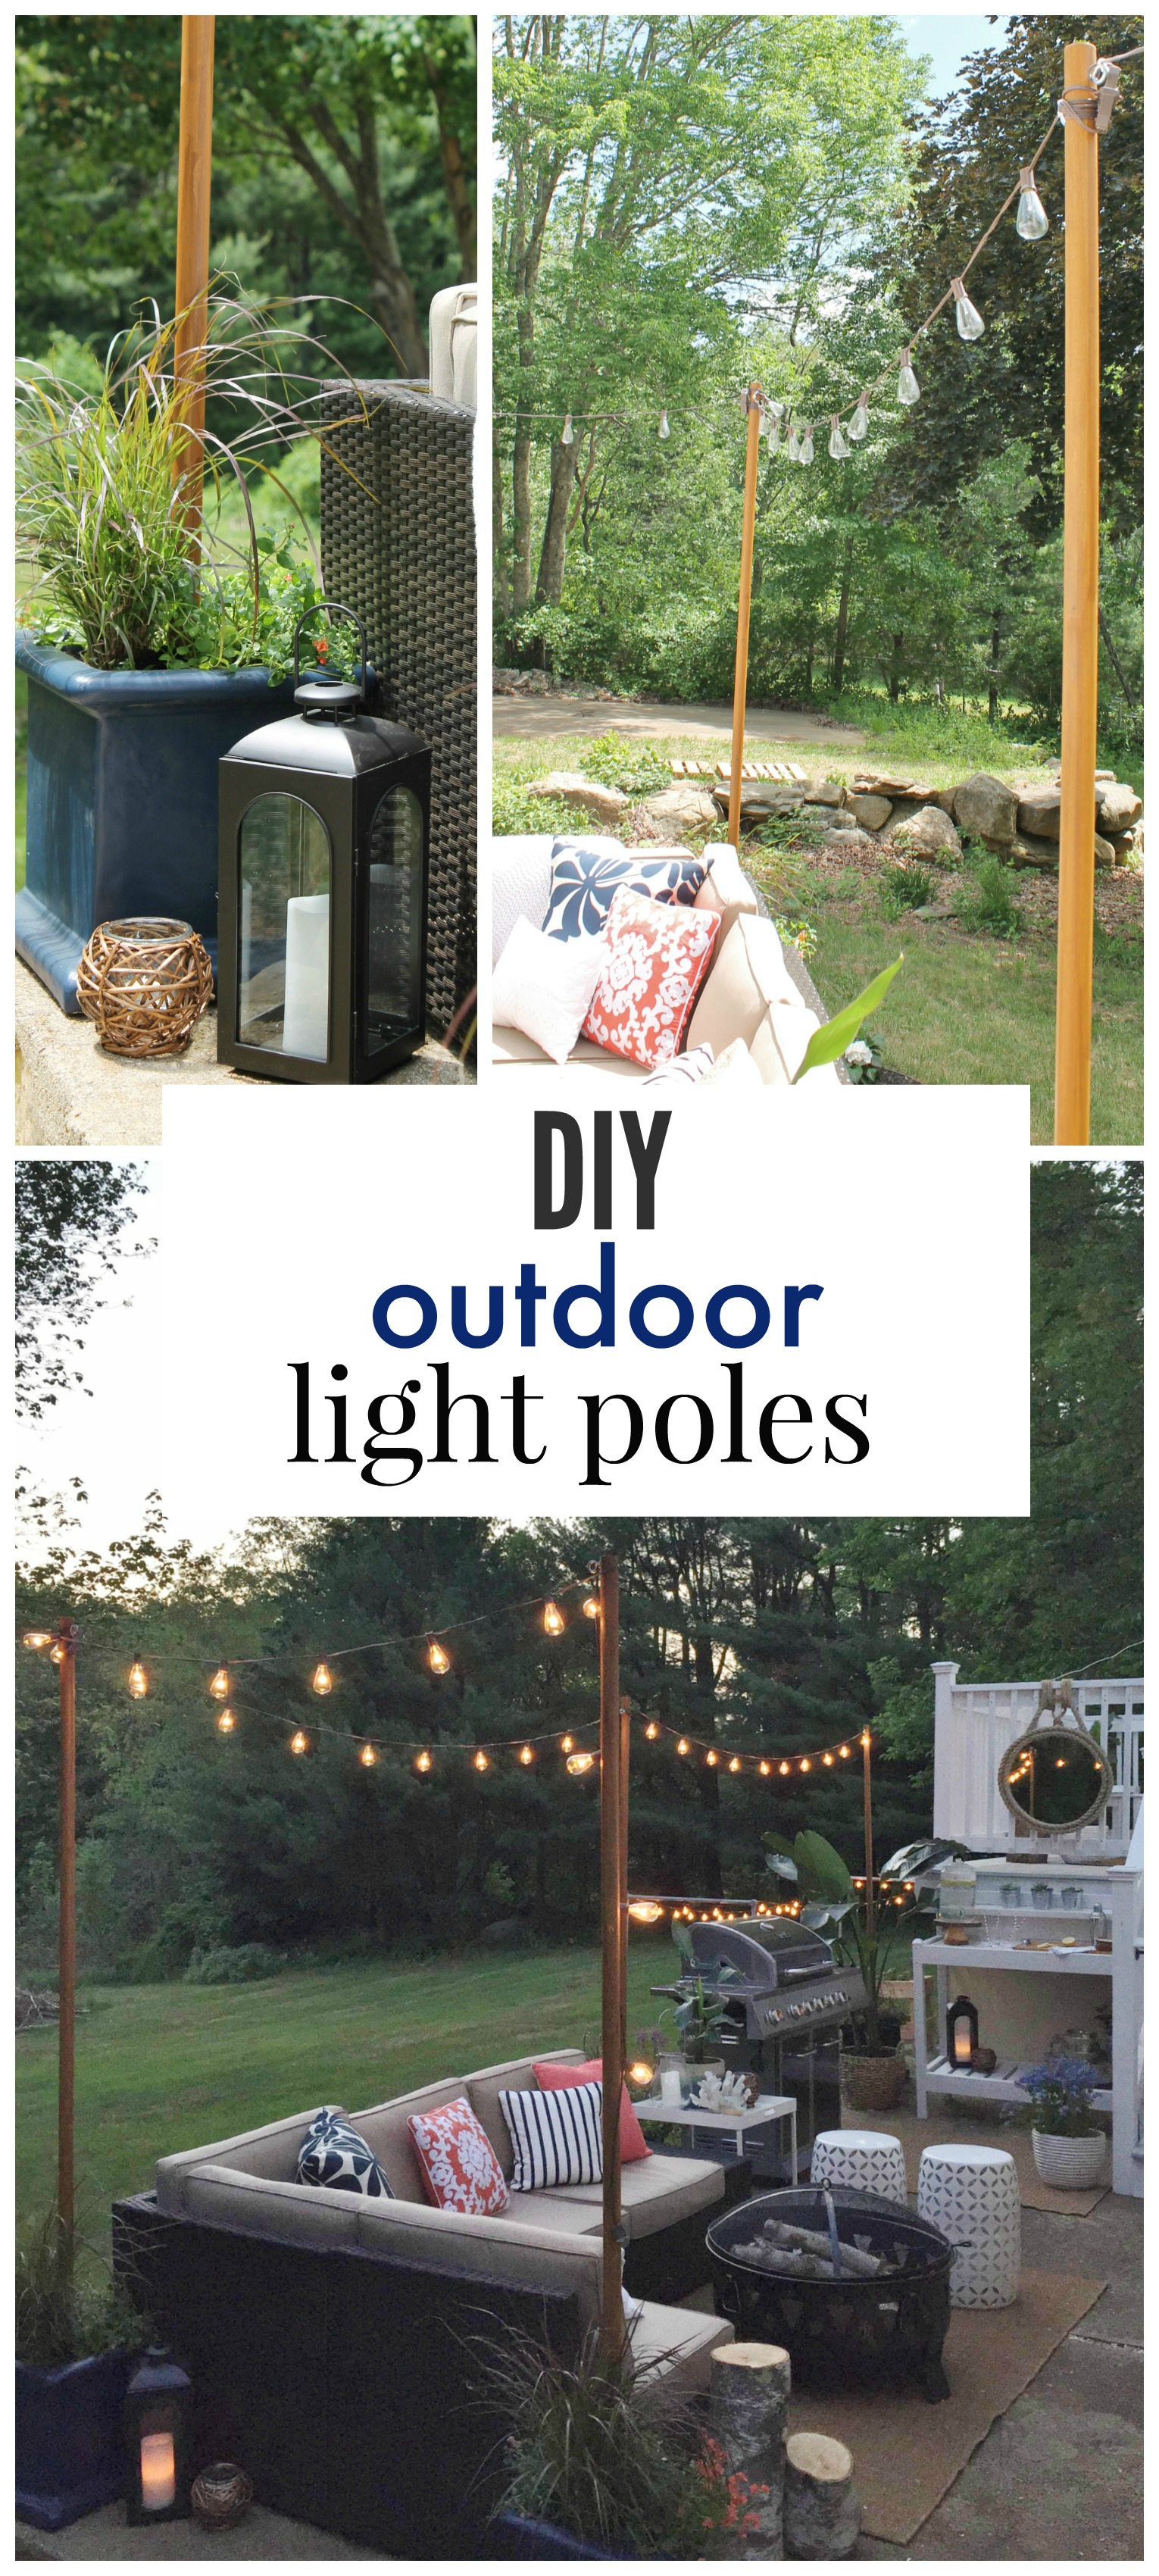
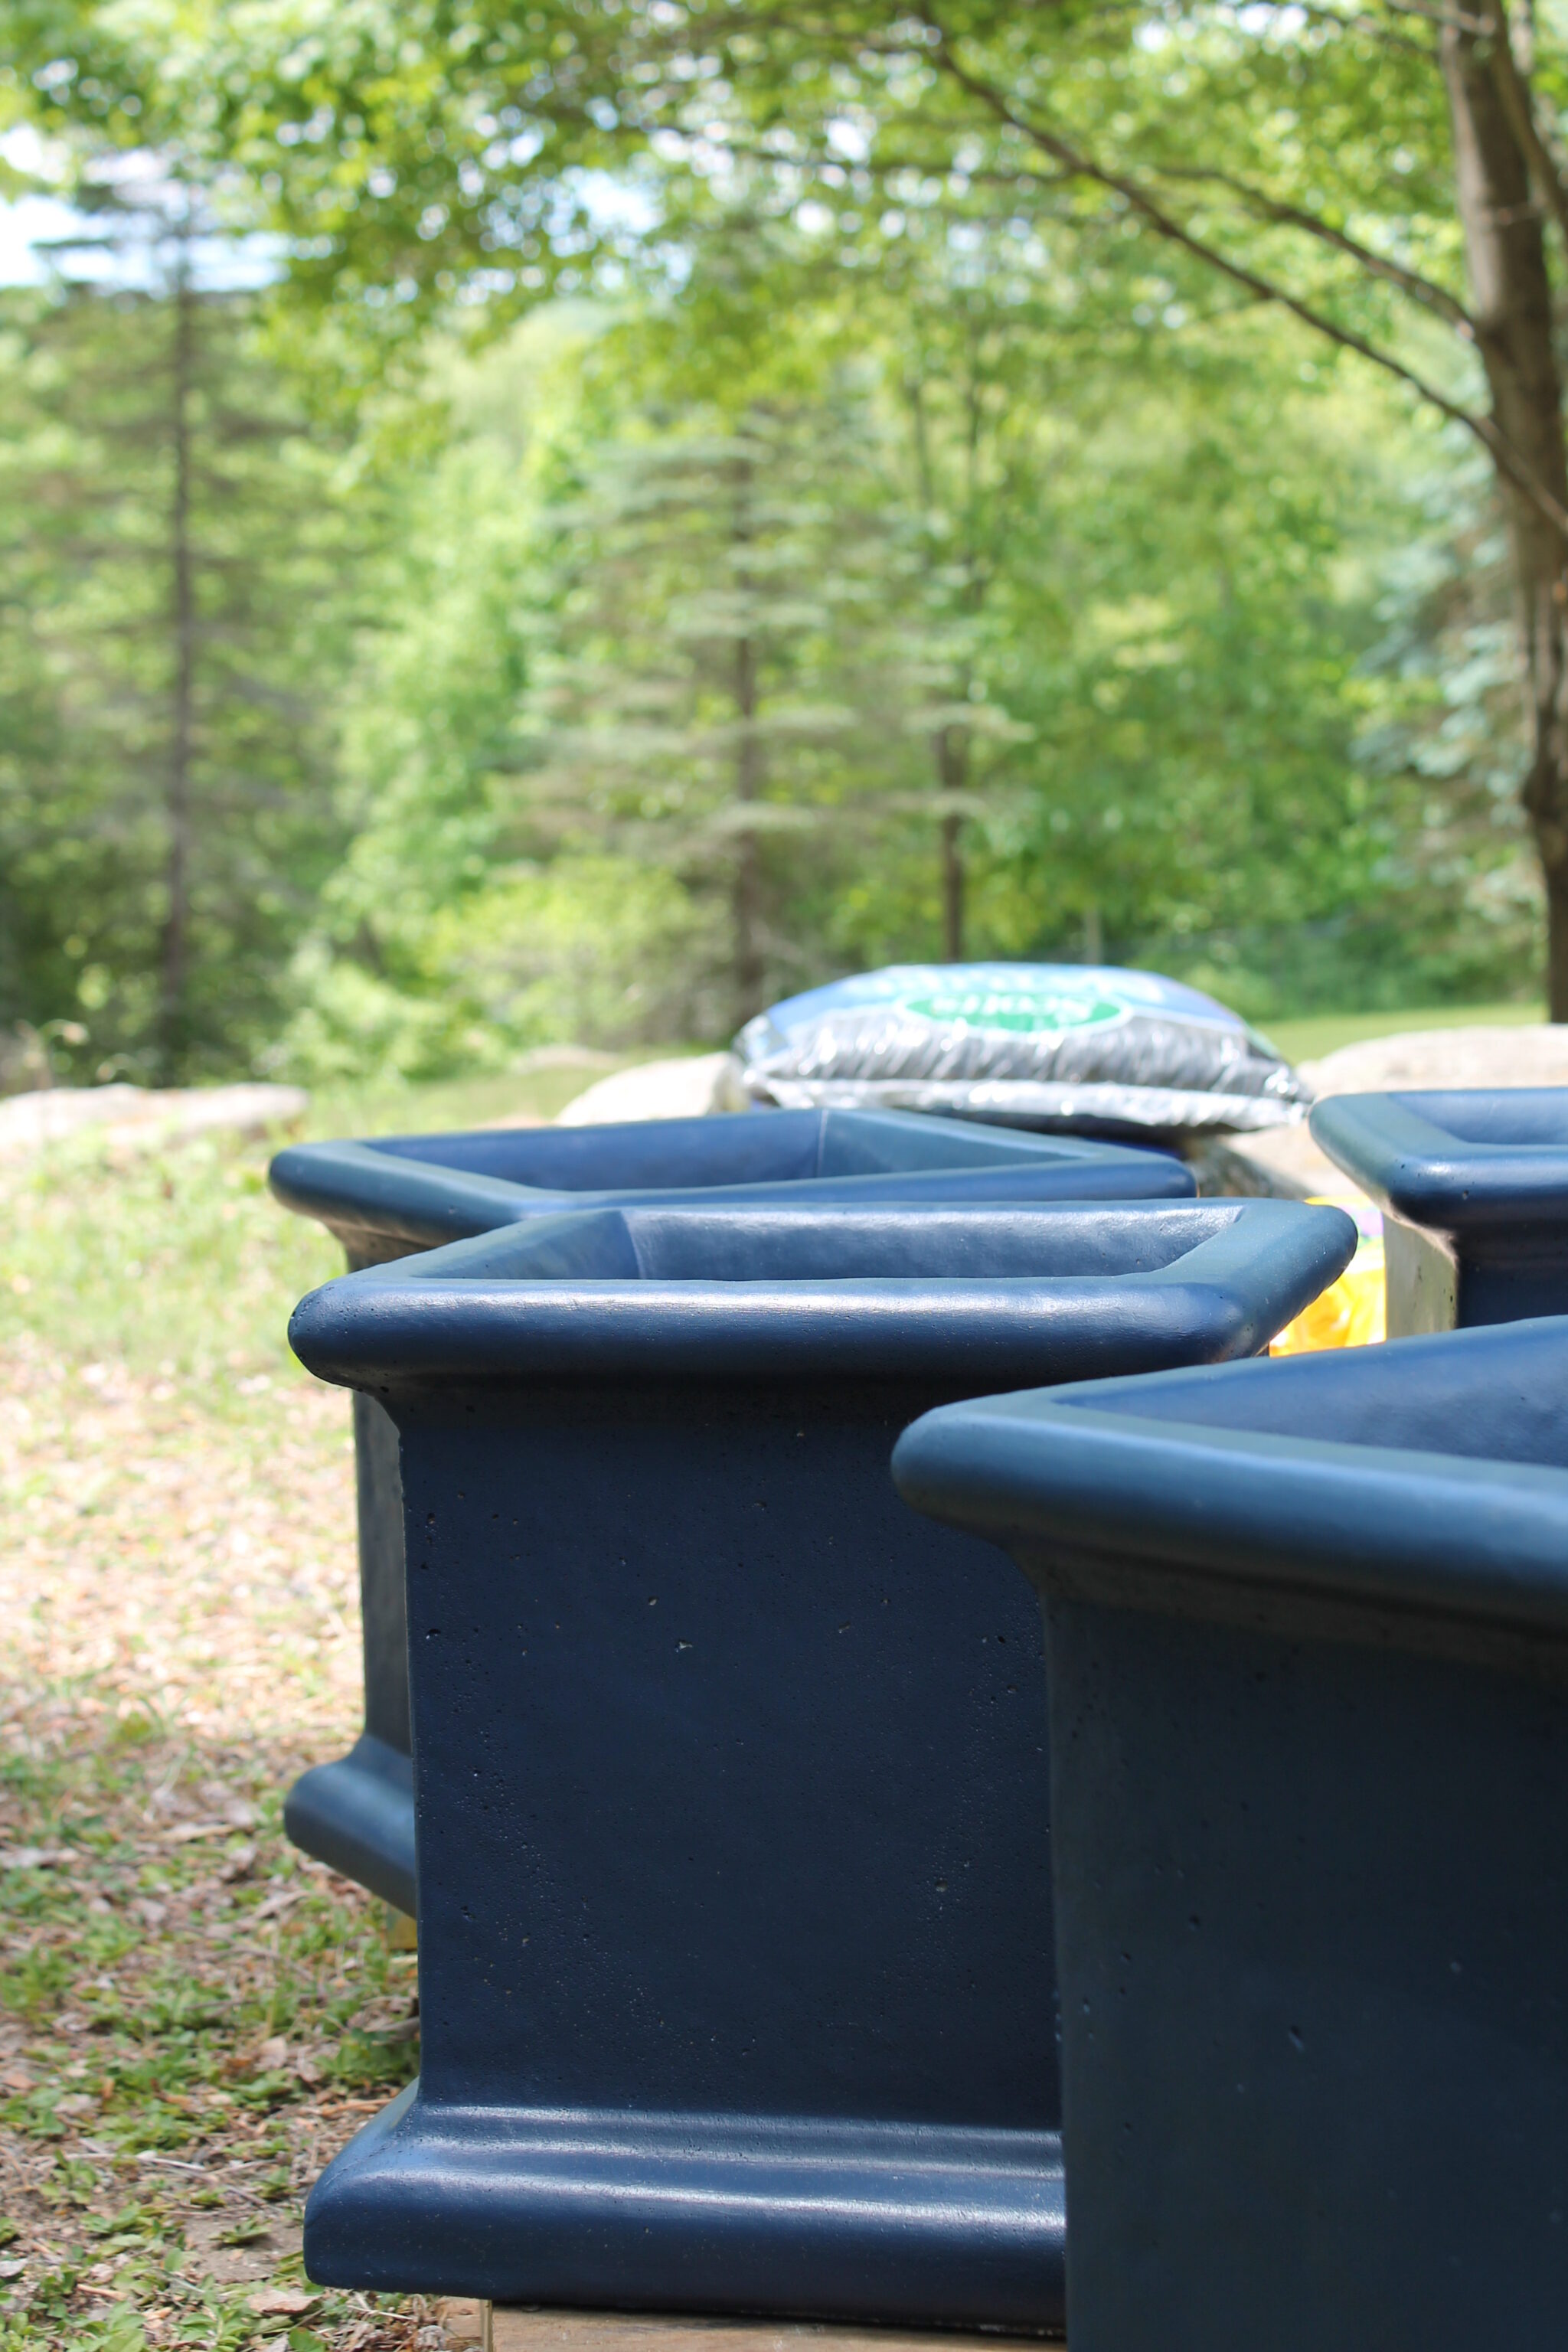
This project all began with the idea of giving Amanda & Keith {the homeowners} outdoor lighting, that wasn’t permanent or didn’t block the view of their beautiful yard. The lift from the back edge of the patio was high, my wheels began to turn, thinking about what I could add to the patio itself that would be sturdy enough to hold up against wind, so I came up with the concept of DIY Outdoor Light Poles. I found a VERY sturdy, concrete planter from Lowe’s & once filled with cement it would be perfect for what I had in mind.
This is what you will need for this project….
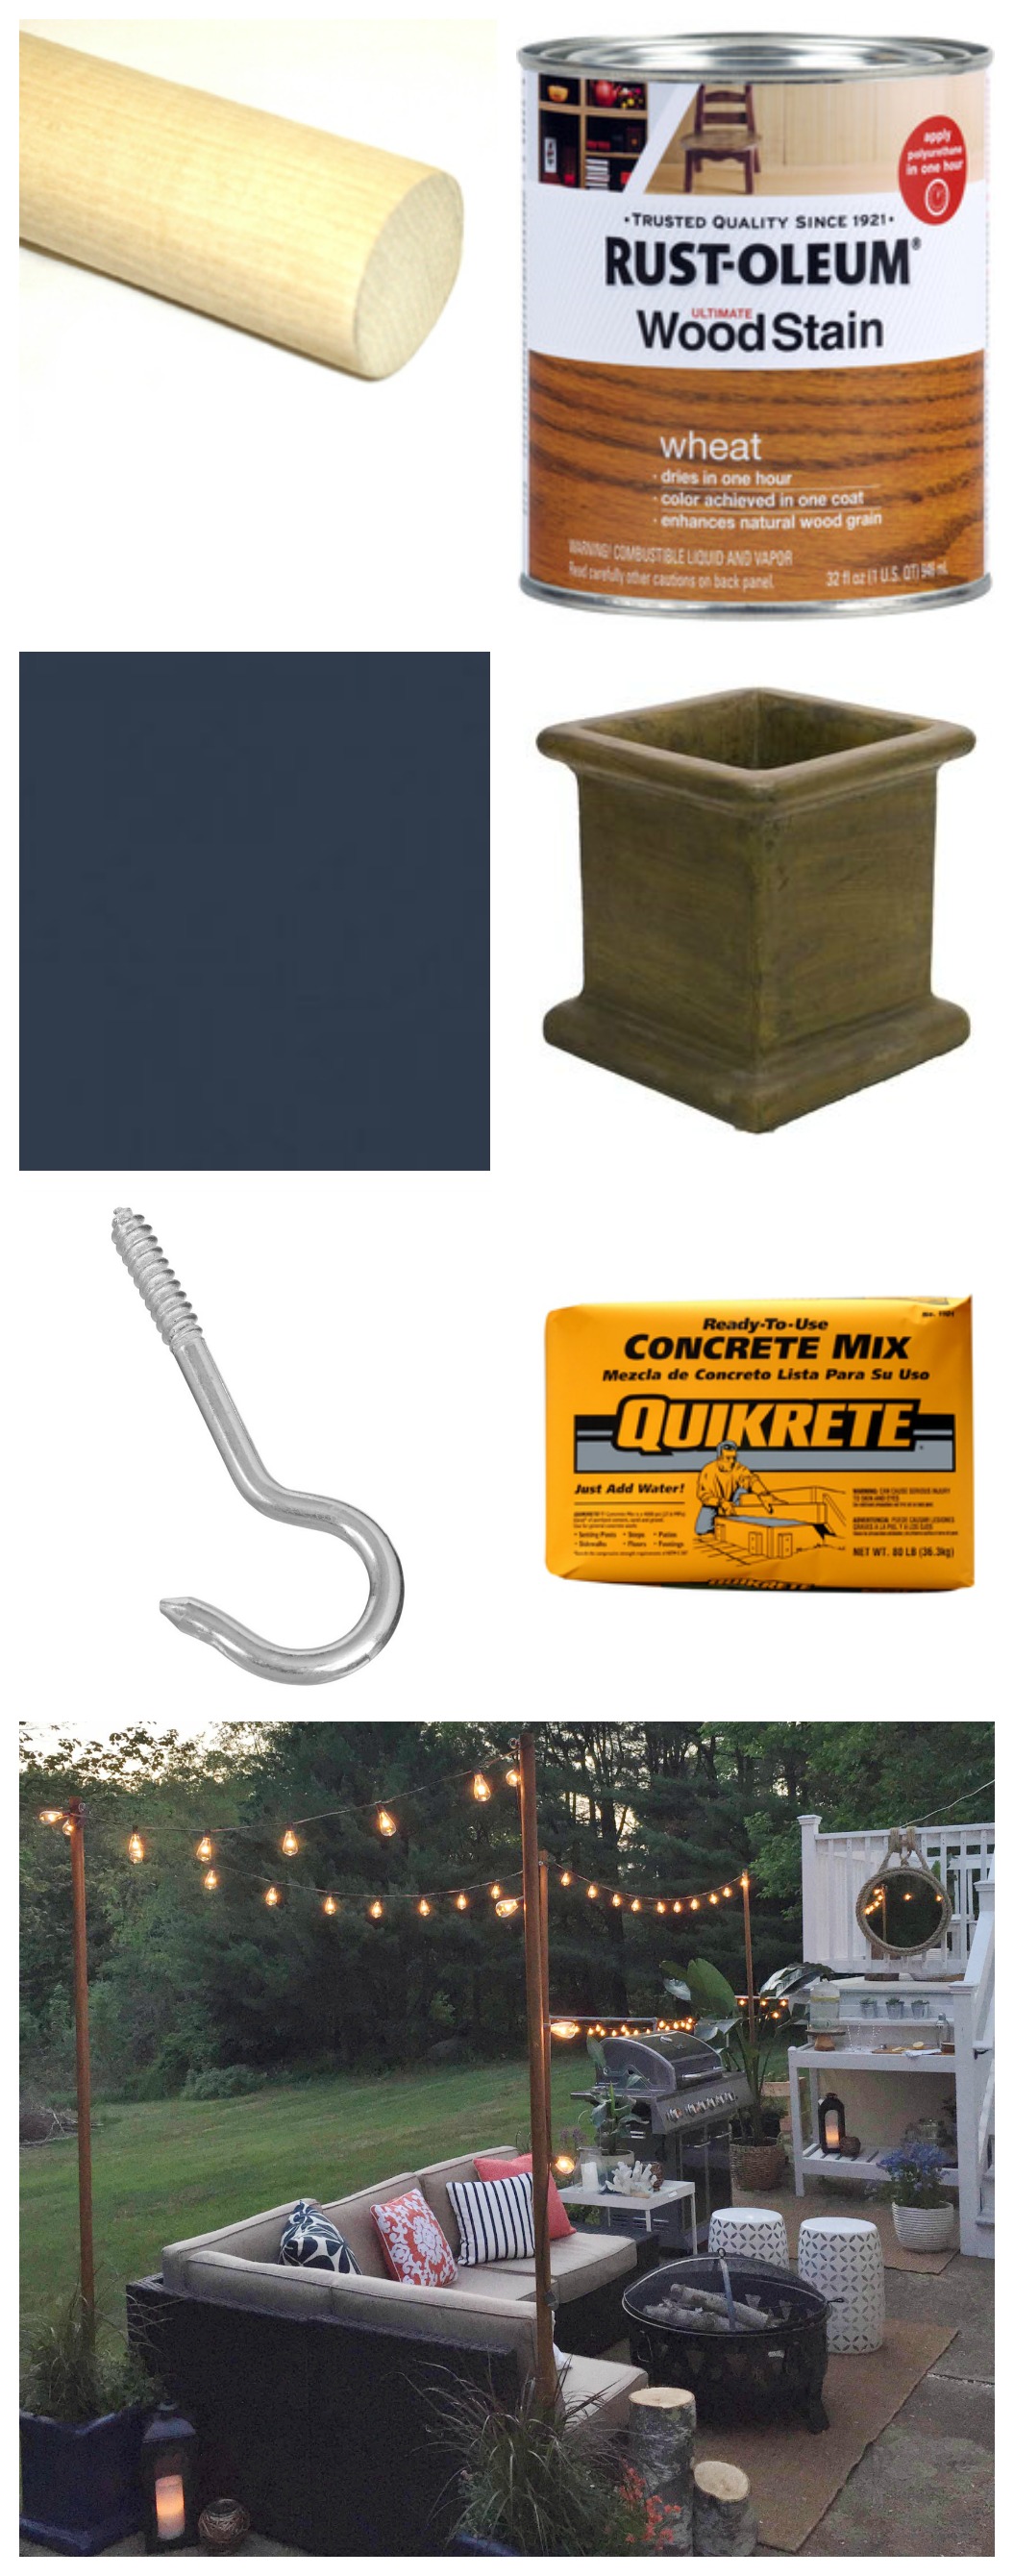
8 ft dowels that are 1 3/8″ wide {we cut ours to 7 ft}
Rustoleum-Wheat stain
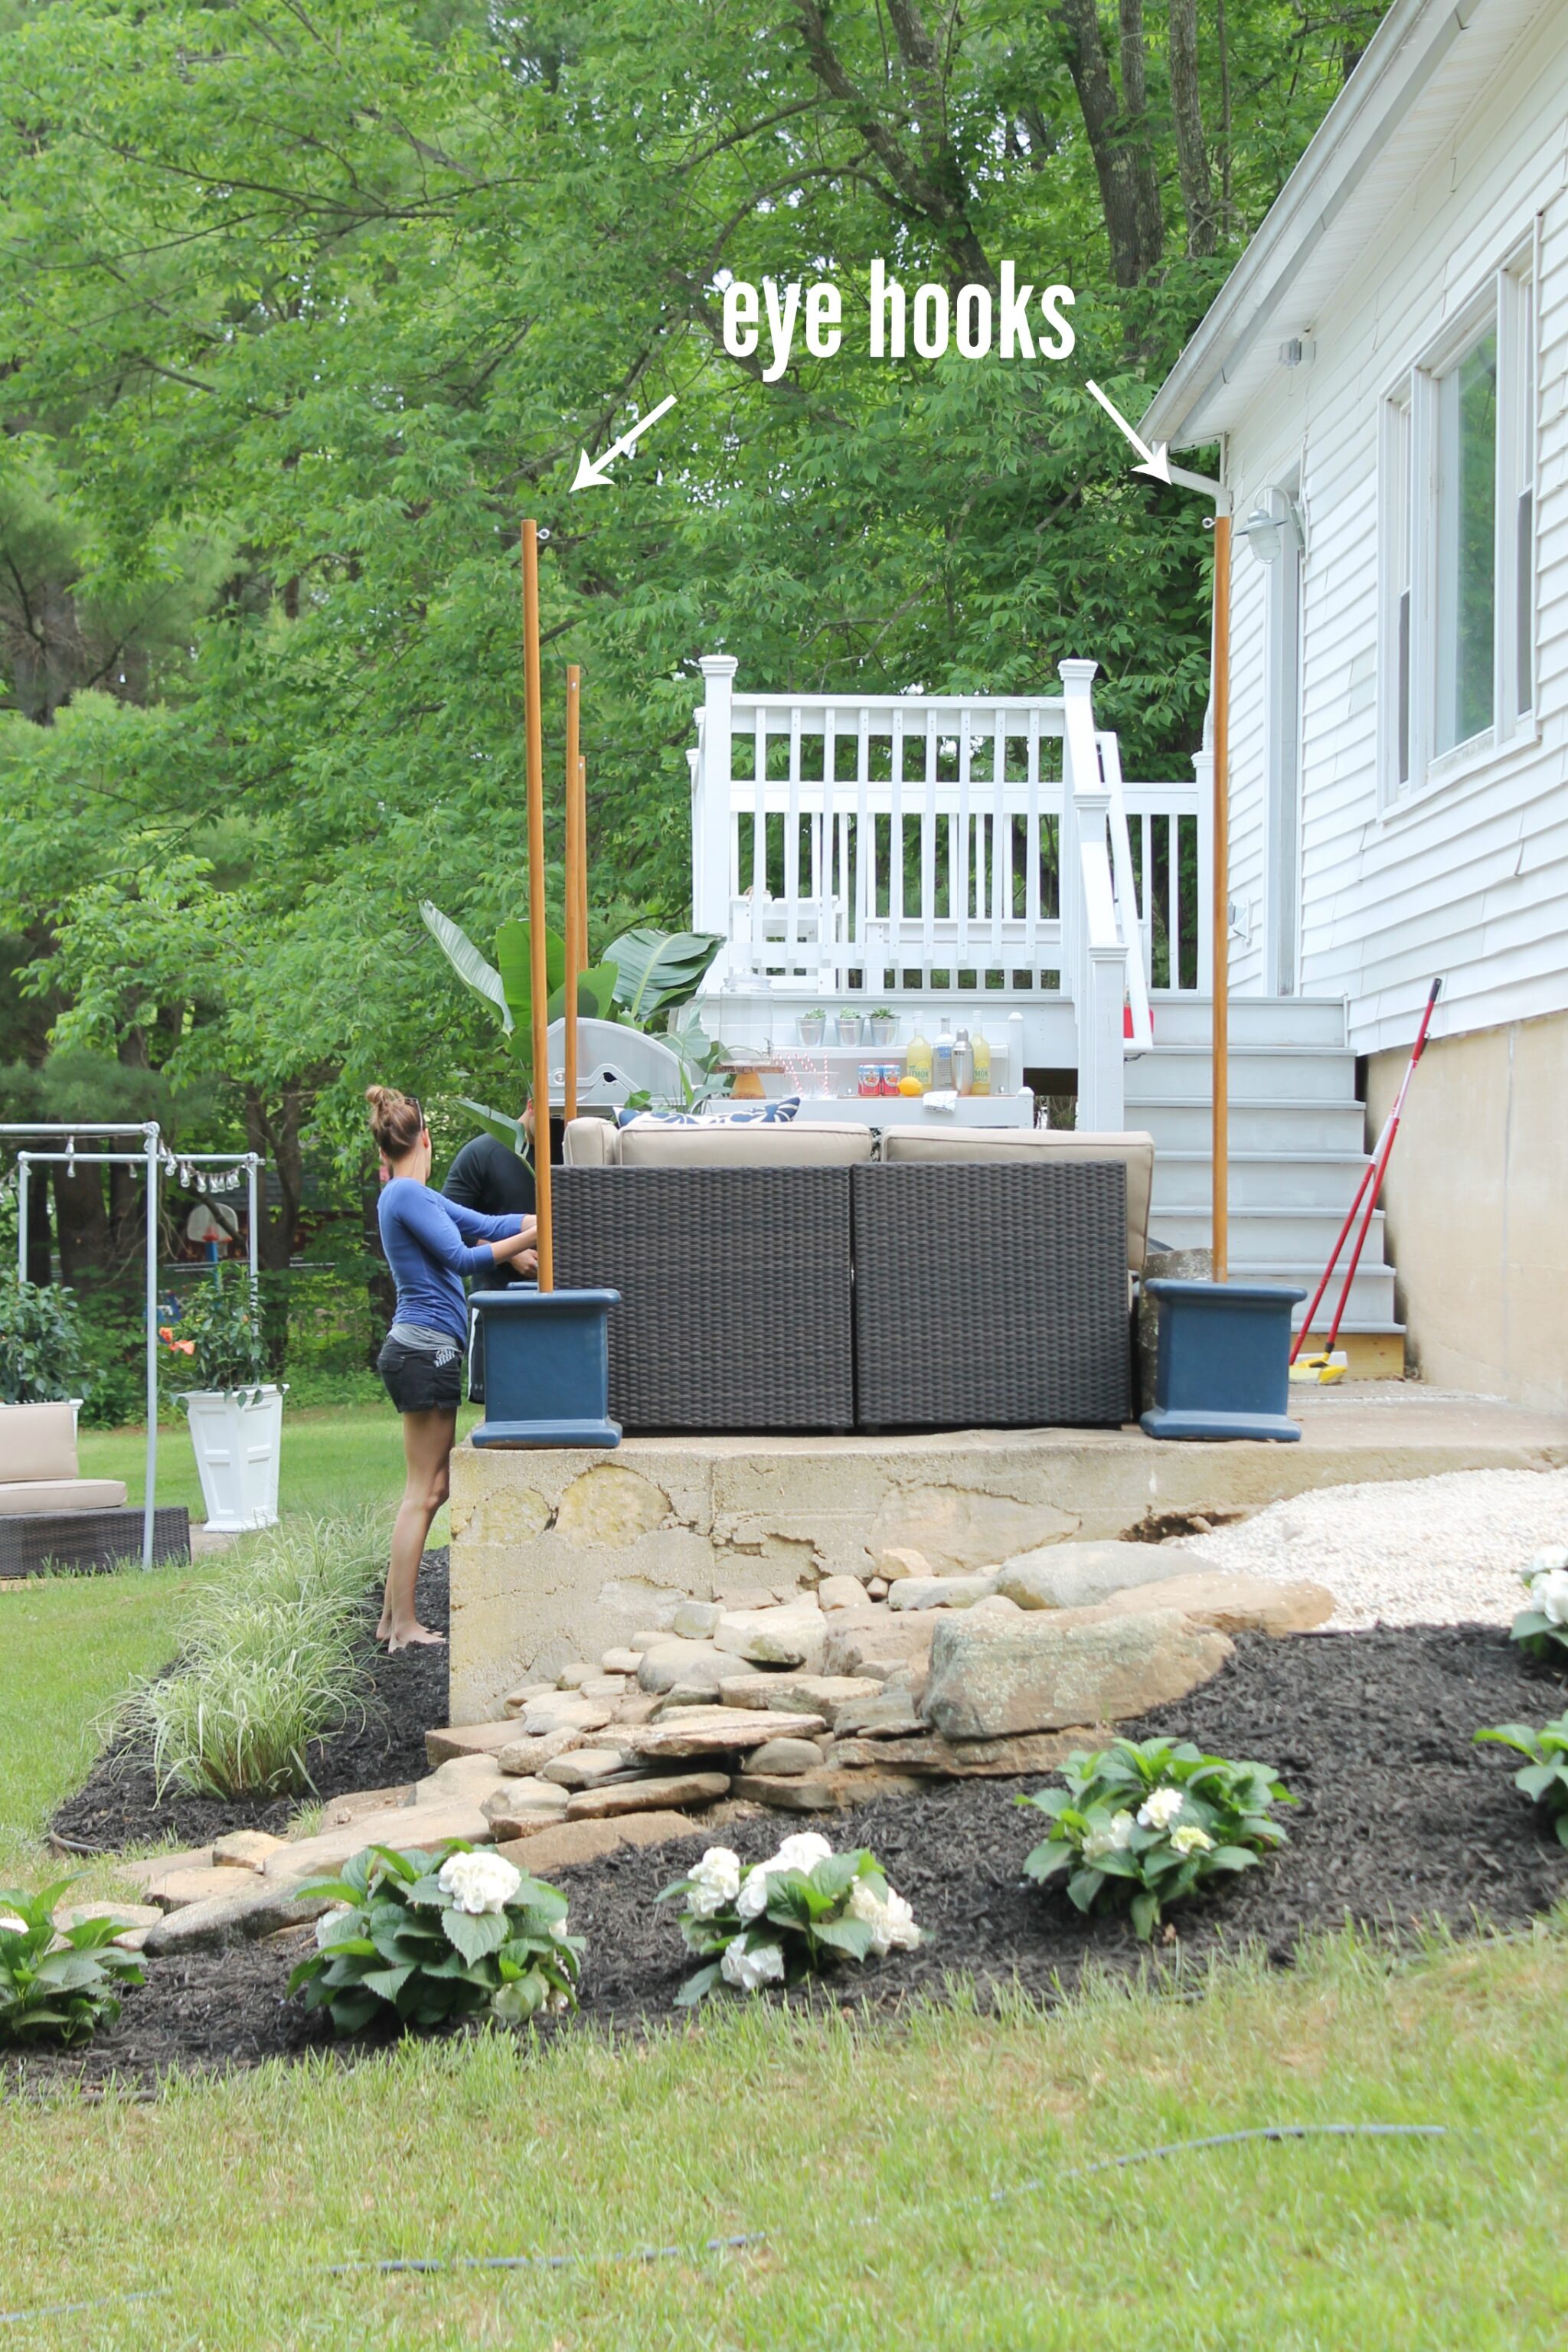
eye hooks or cup hooks
paint-Sherwin Williams Naval
cement
pea gravel
Gorilla Glue tape
foam brush
drill
zip ties {optional]
potting soil
plants
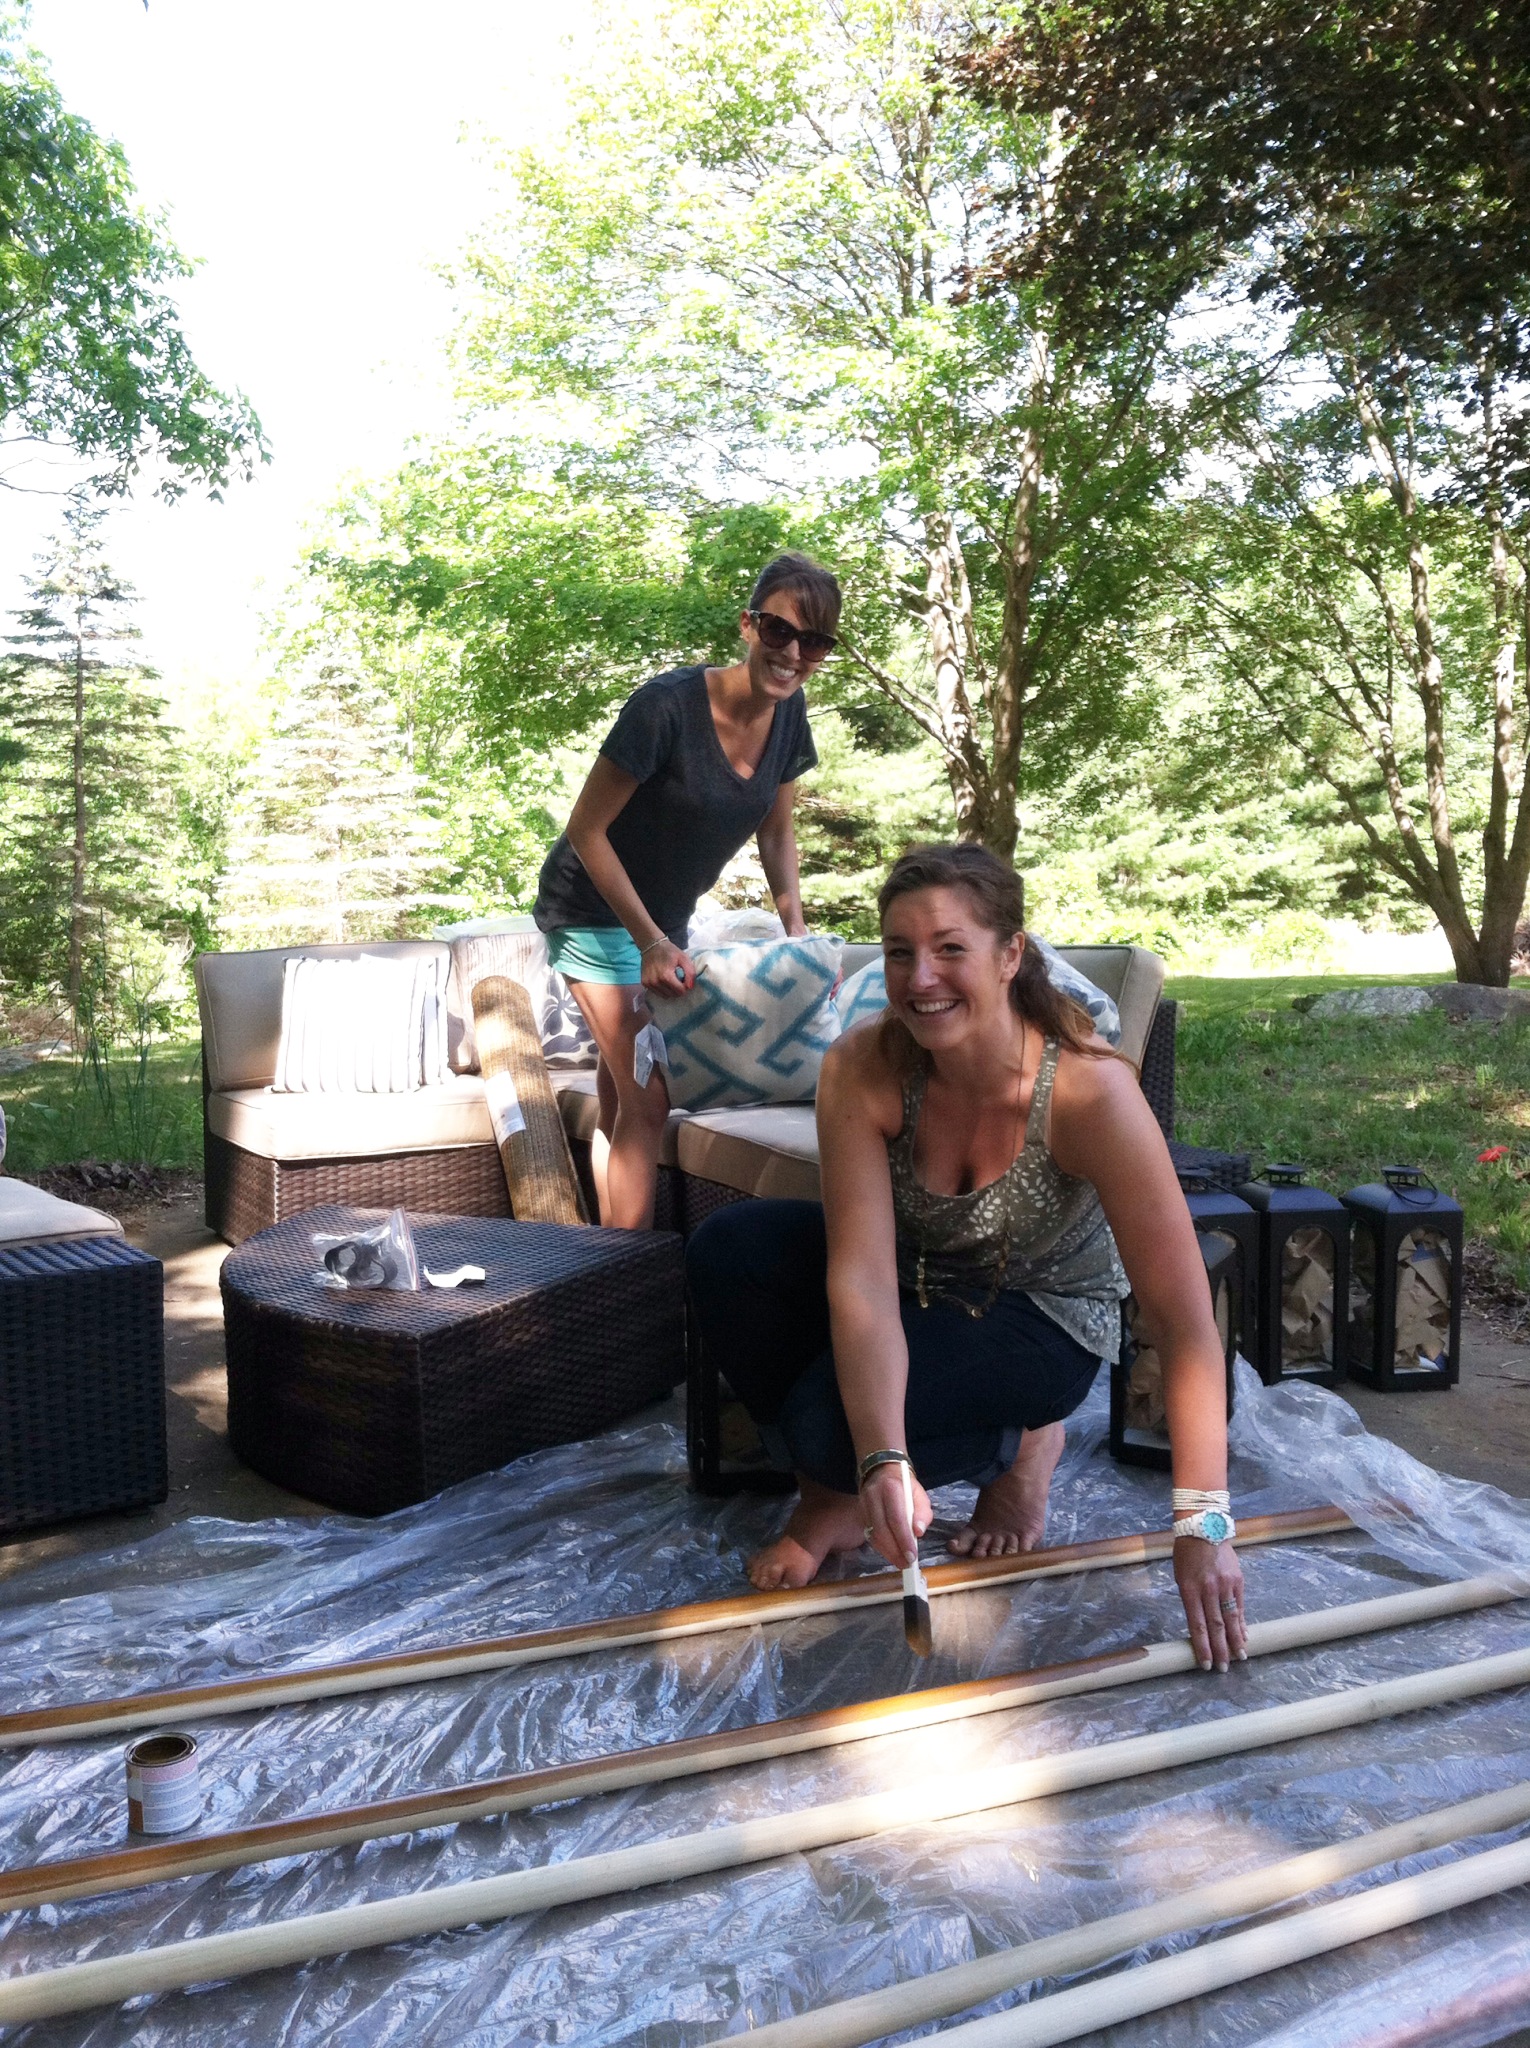
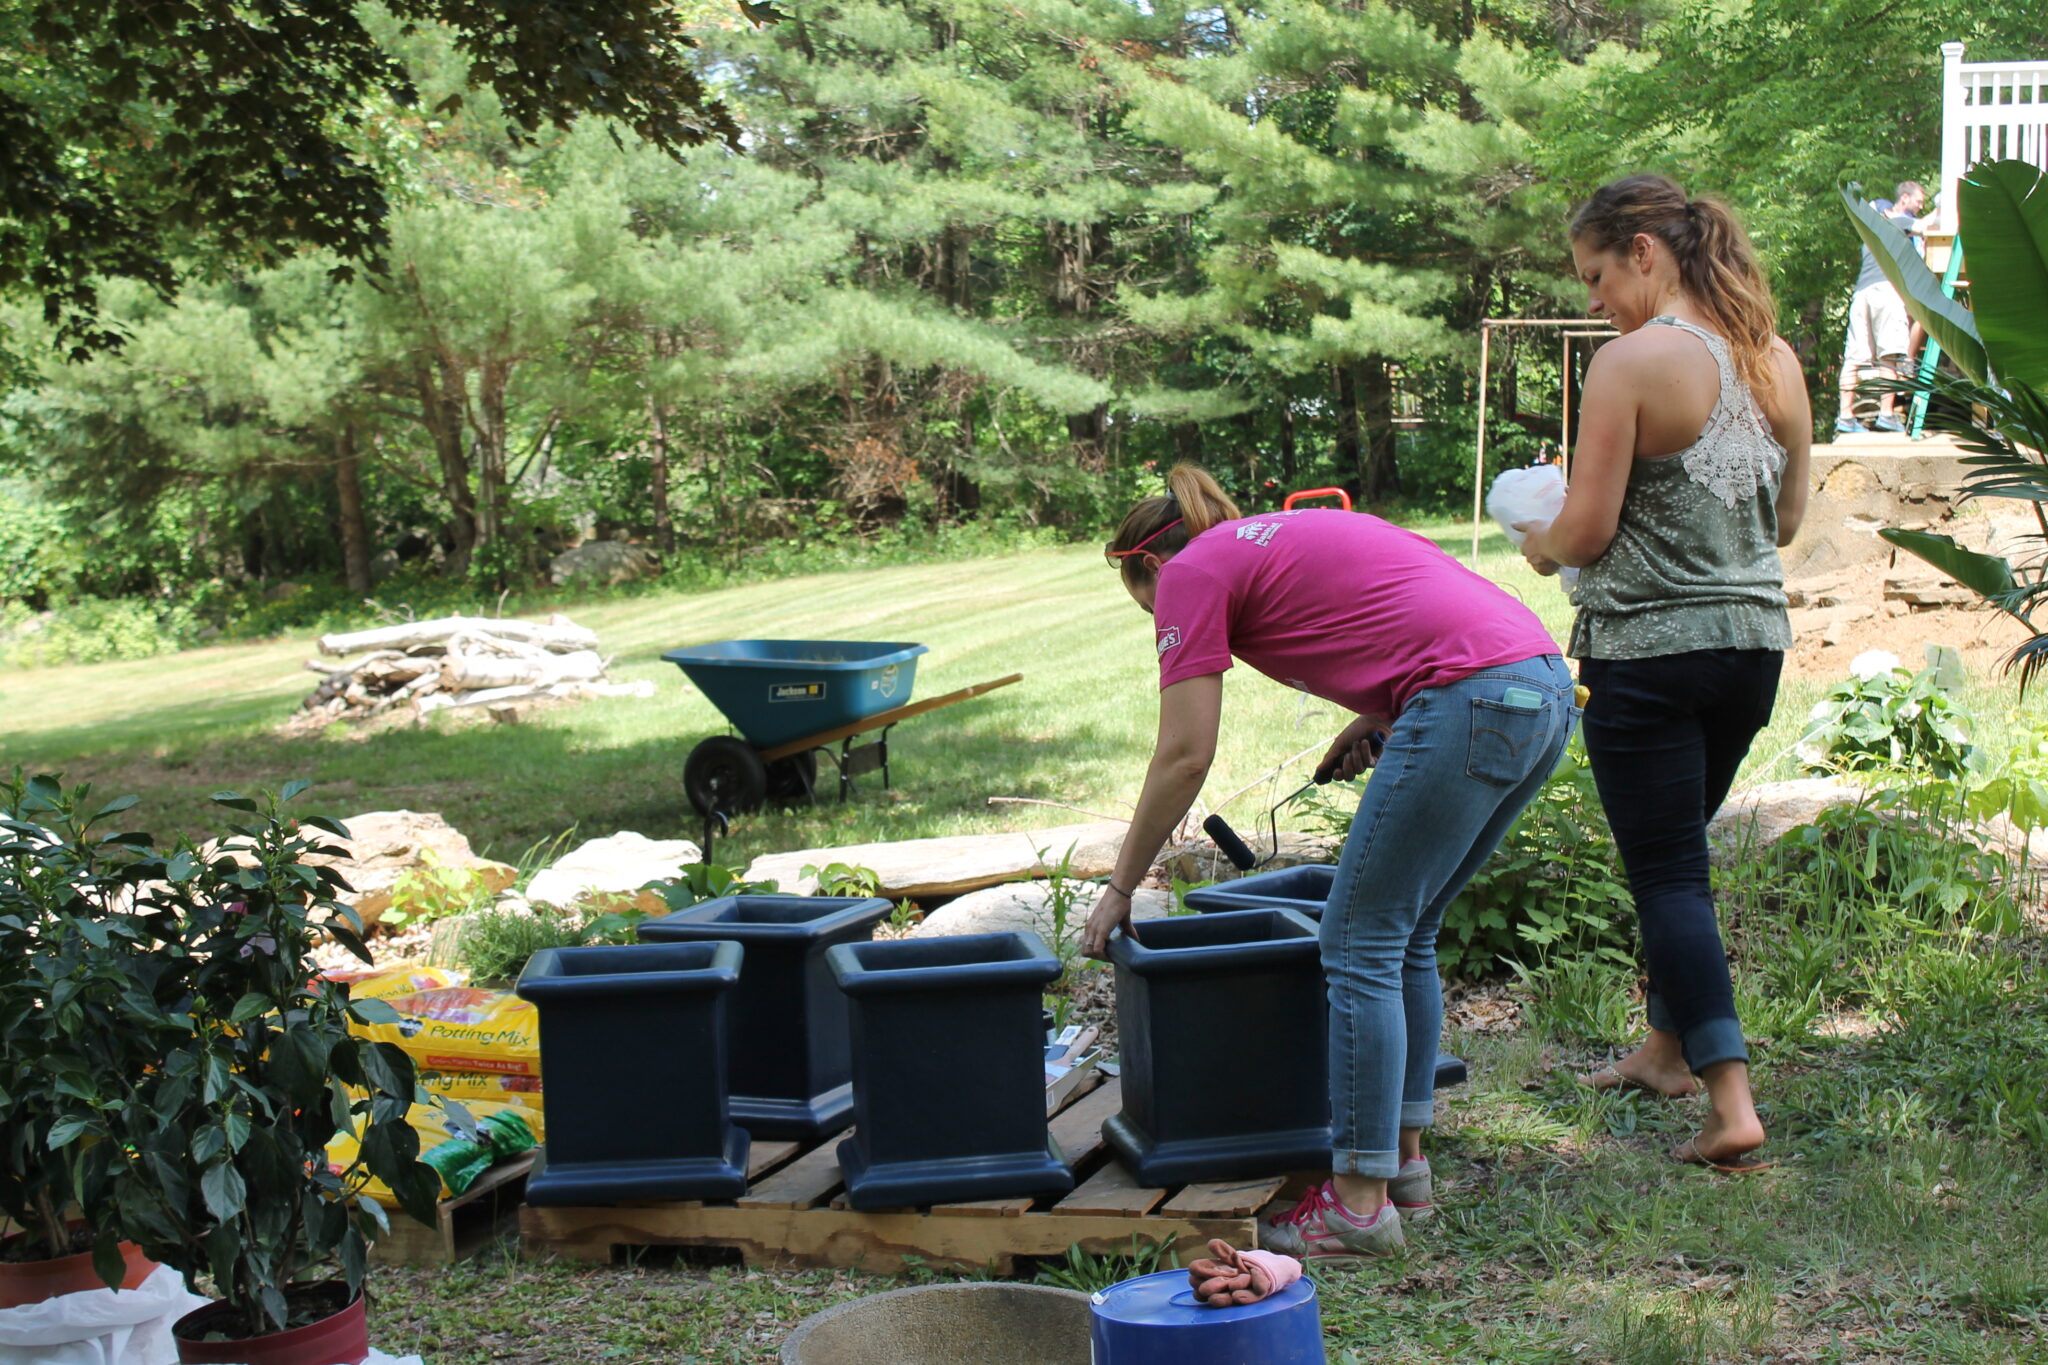
Here is Bre & Amanda {the homeowner} staining the rods. I LOVED having Bre’s help with this makeover, we were such a fabulous team! After these rods dried, we pre-drilled holes for the hooks and screwed those in, one on each pole is fine.

paint-Sherwin Williams Naval
This is the color we used on the planters, it is an exterior, 2 in one {paint & primer} paint so it will hold up to the outside elements. We also used it on the back door, you can find it HERE.
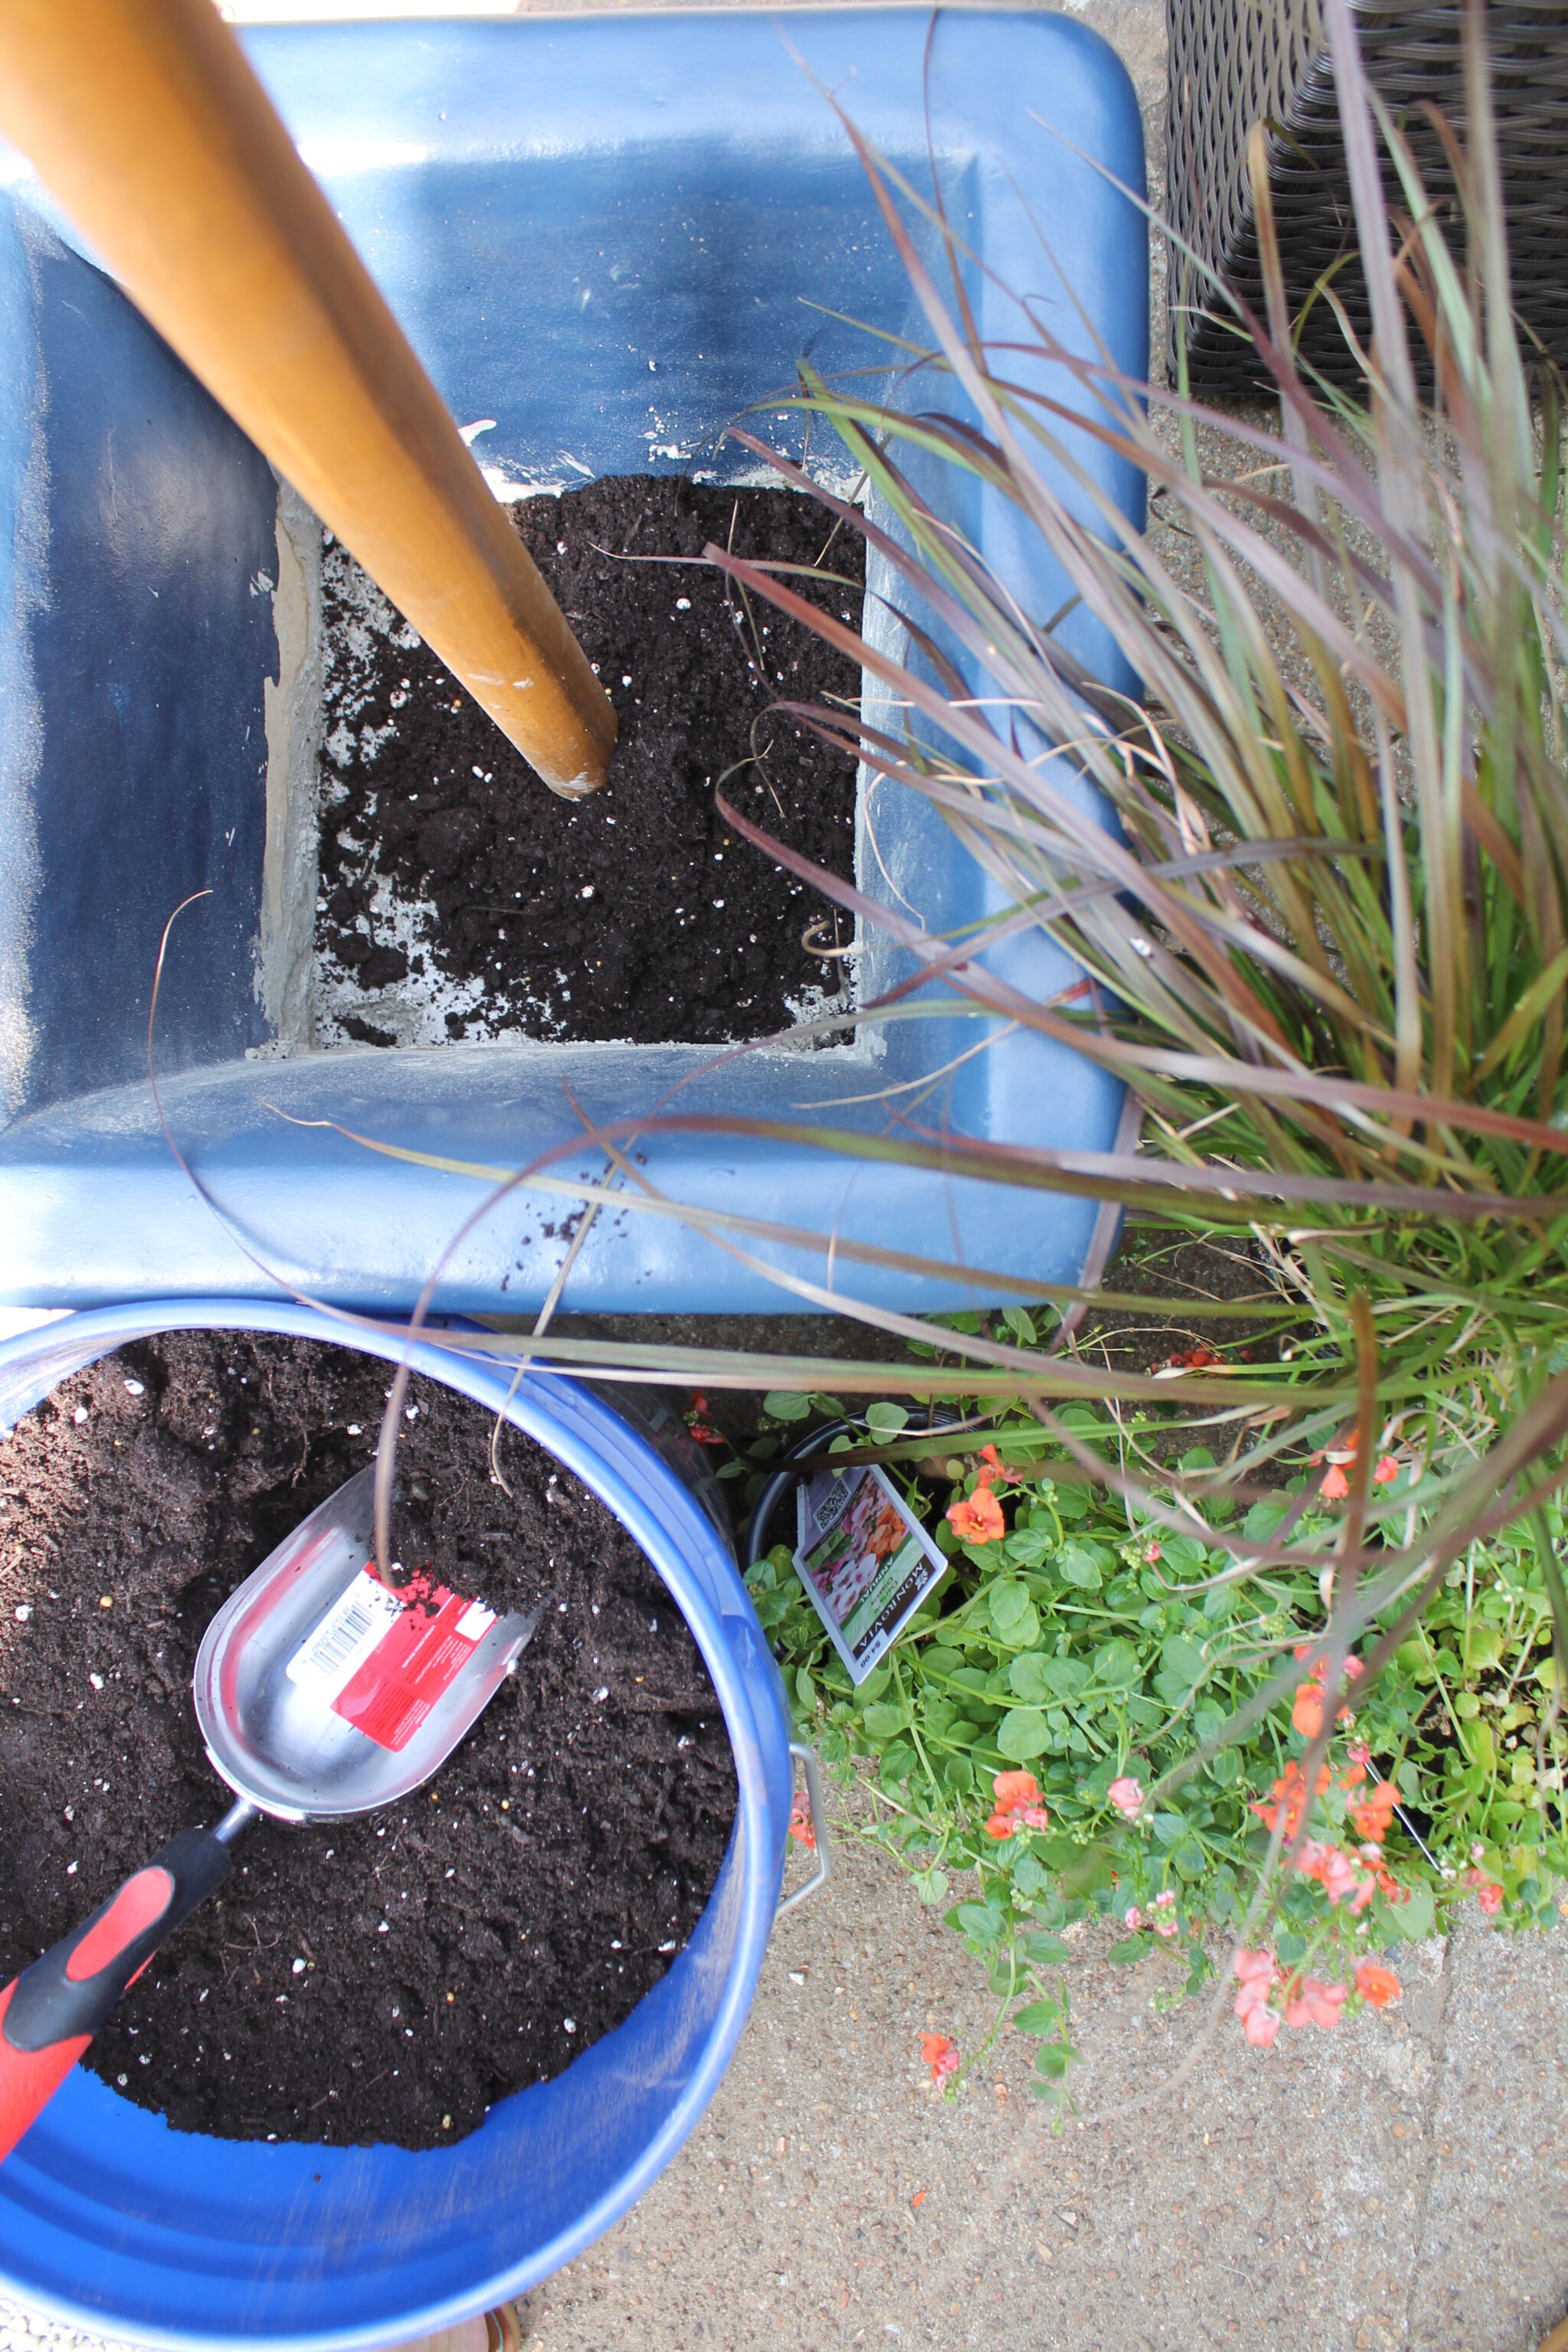
After the planters were dry we moved them to the patio, where we filled the bottom with cement {around 4″}, placed the poles in the center and leveled them vertically. We taped each with Gorilla Tape & left them for the night to set.
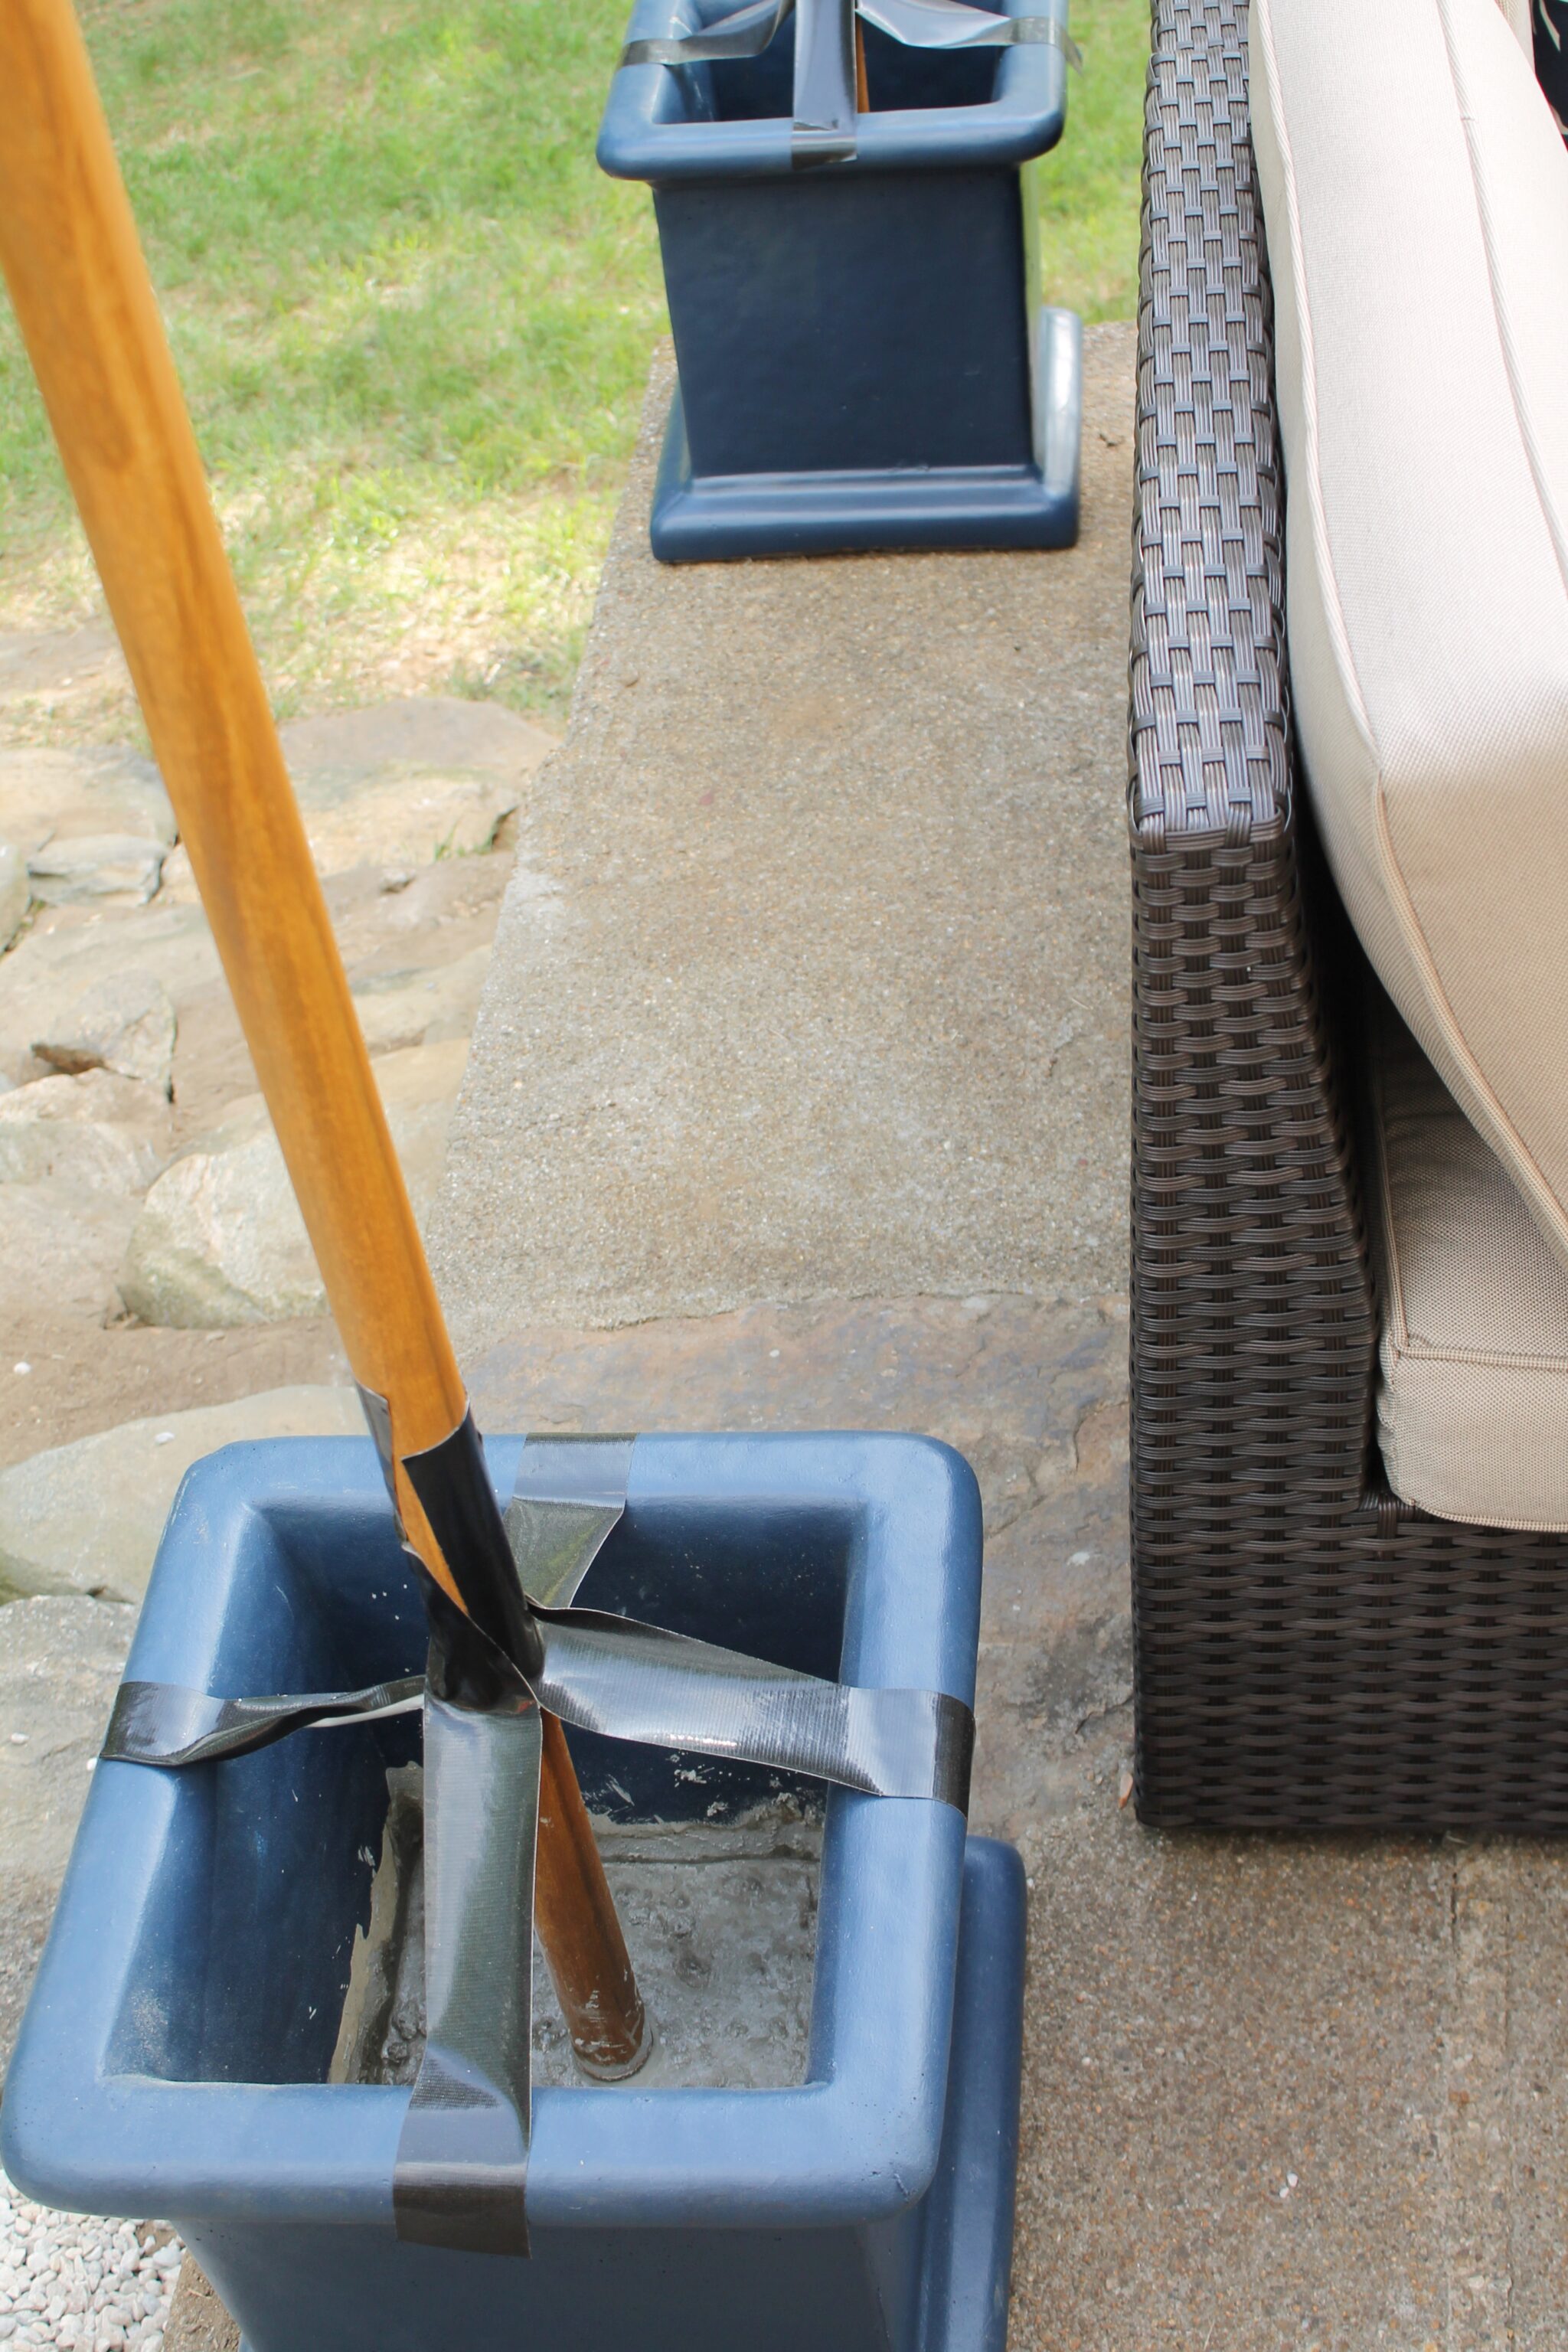
We used eye hooks with zip ties in case we decided to hang drapes but large cups hooks are perfect also. Tip-be sure those hooks are facing in before you set the poles in the cement.
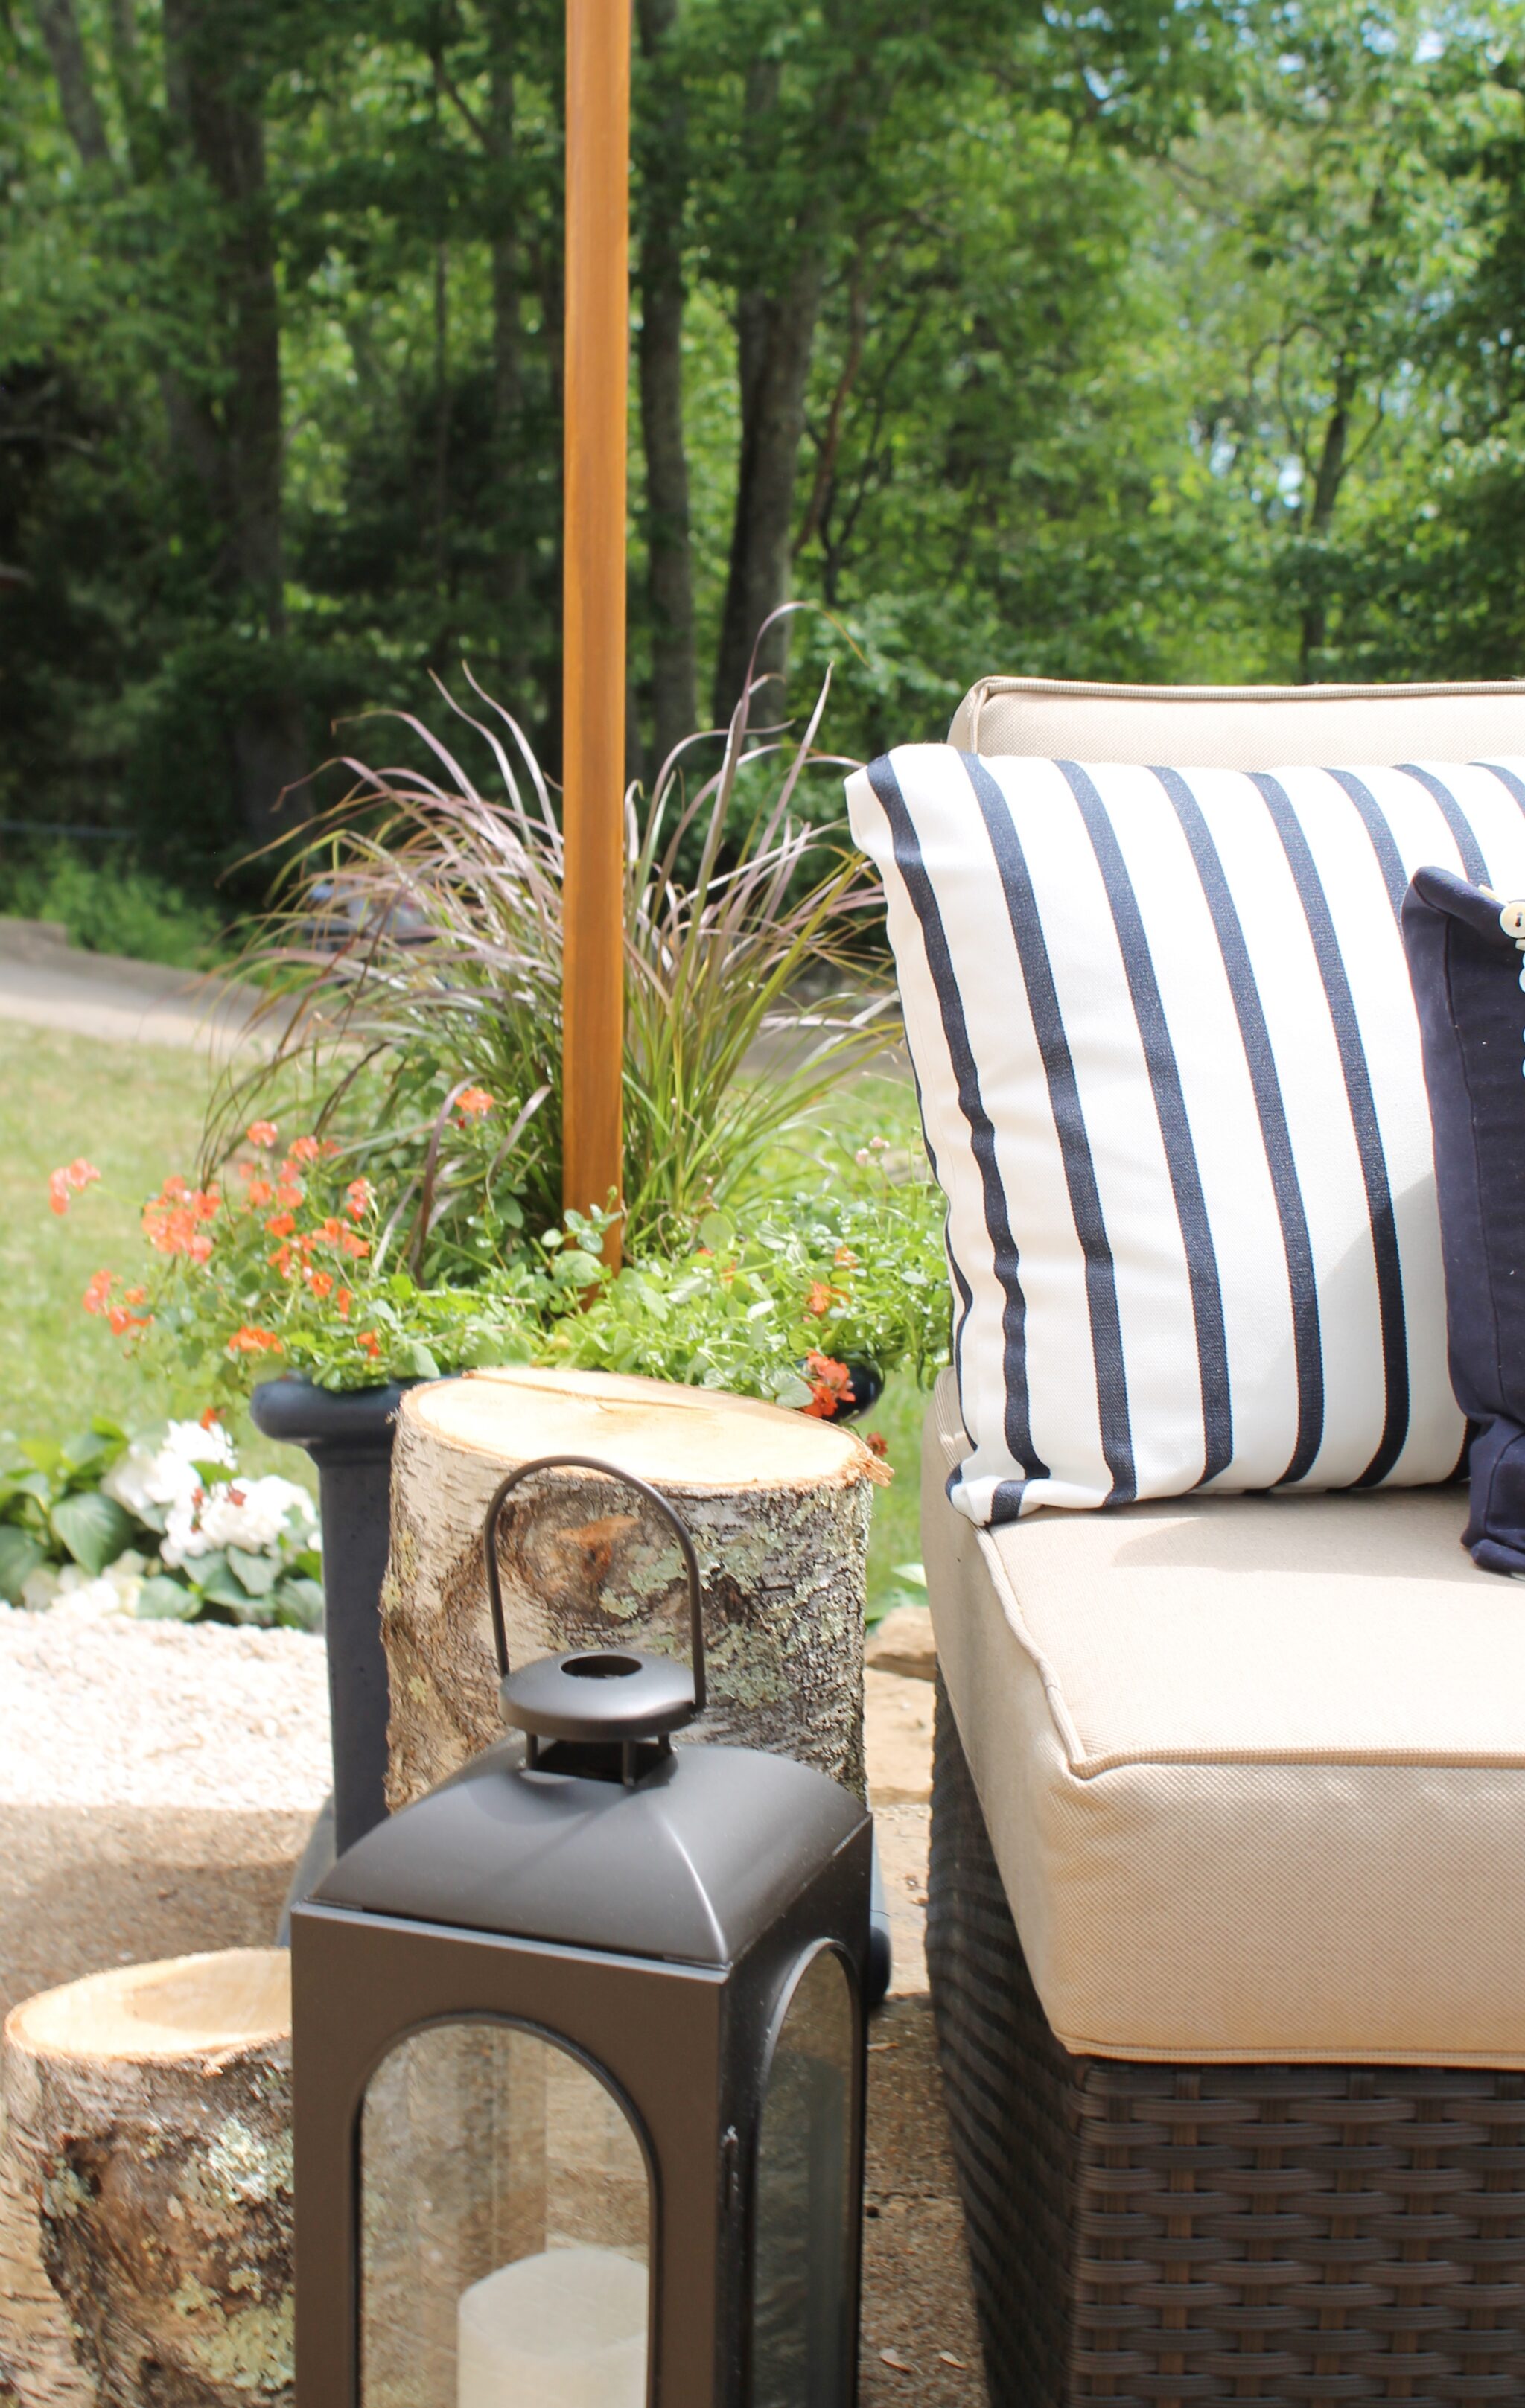
Fill the bottom of the planter with a little pea gravel for drainage, then add your potting soil and plants.
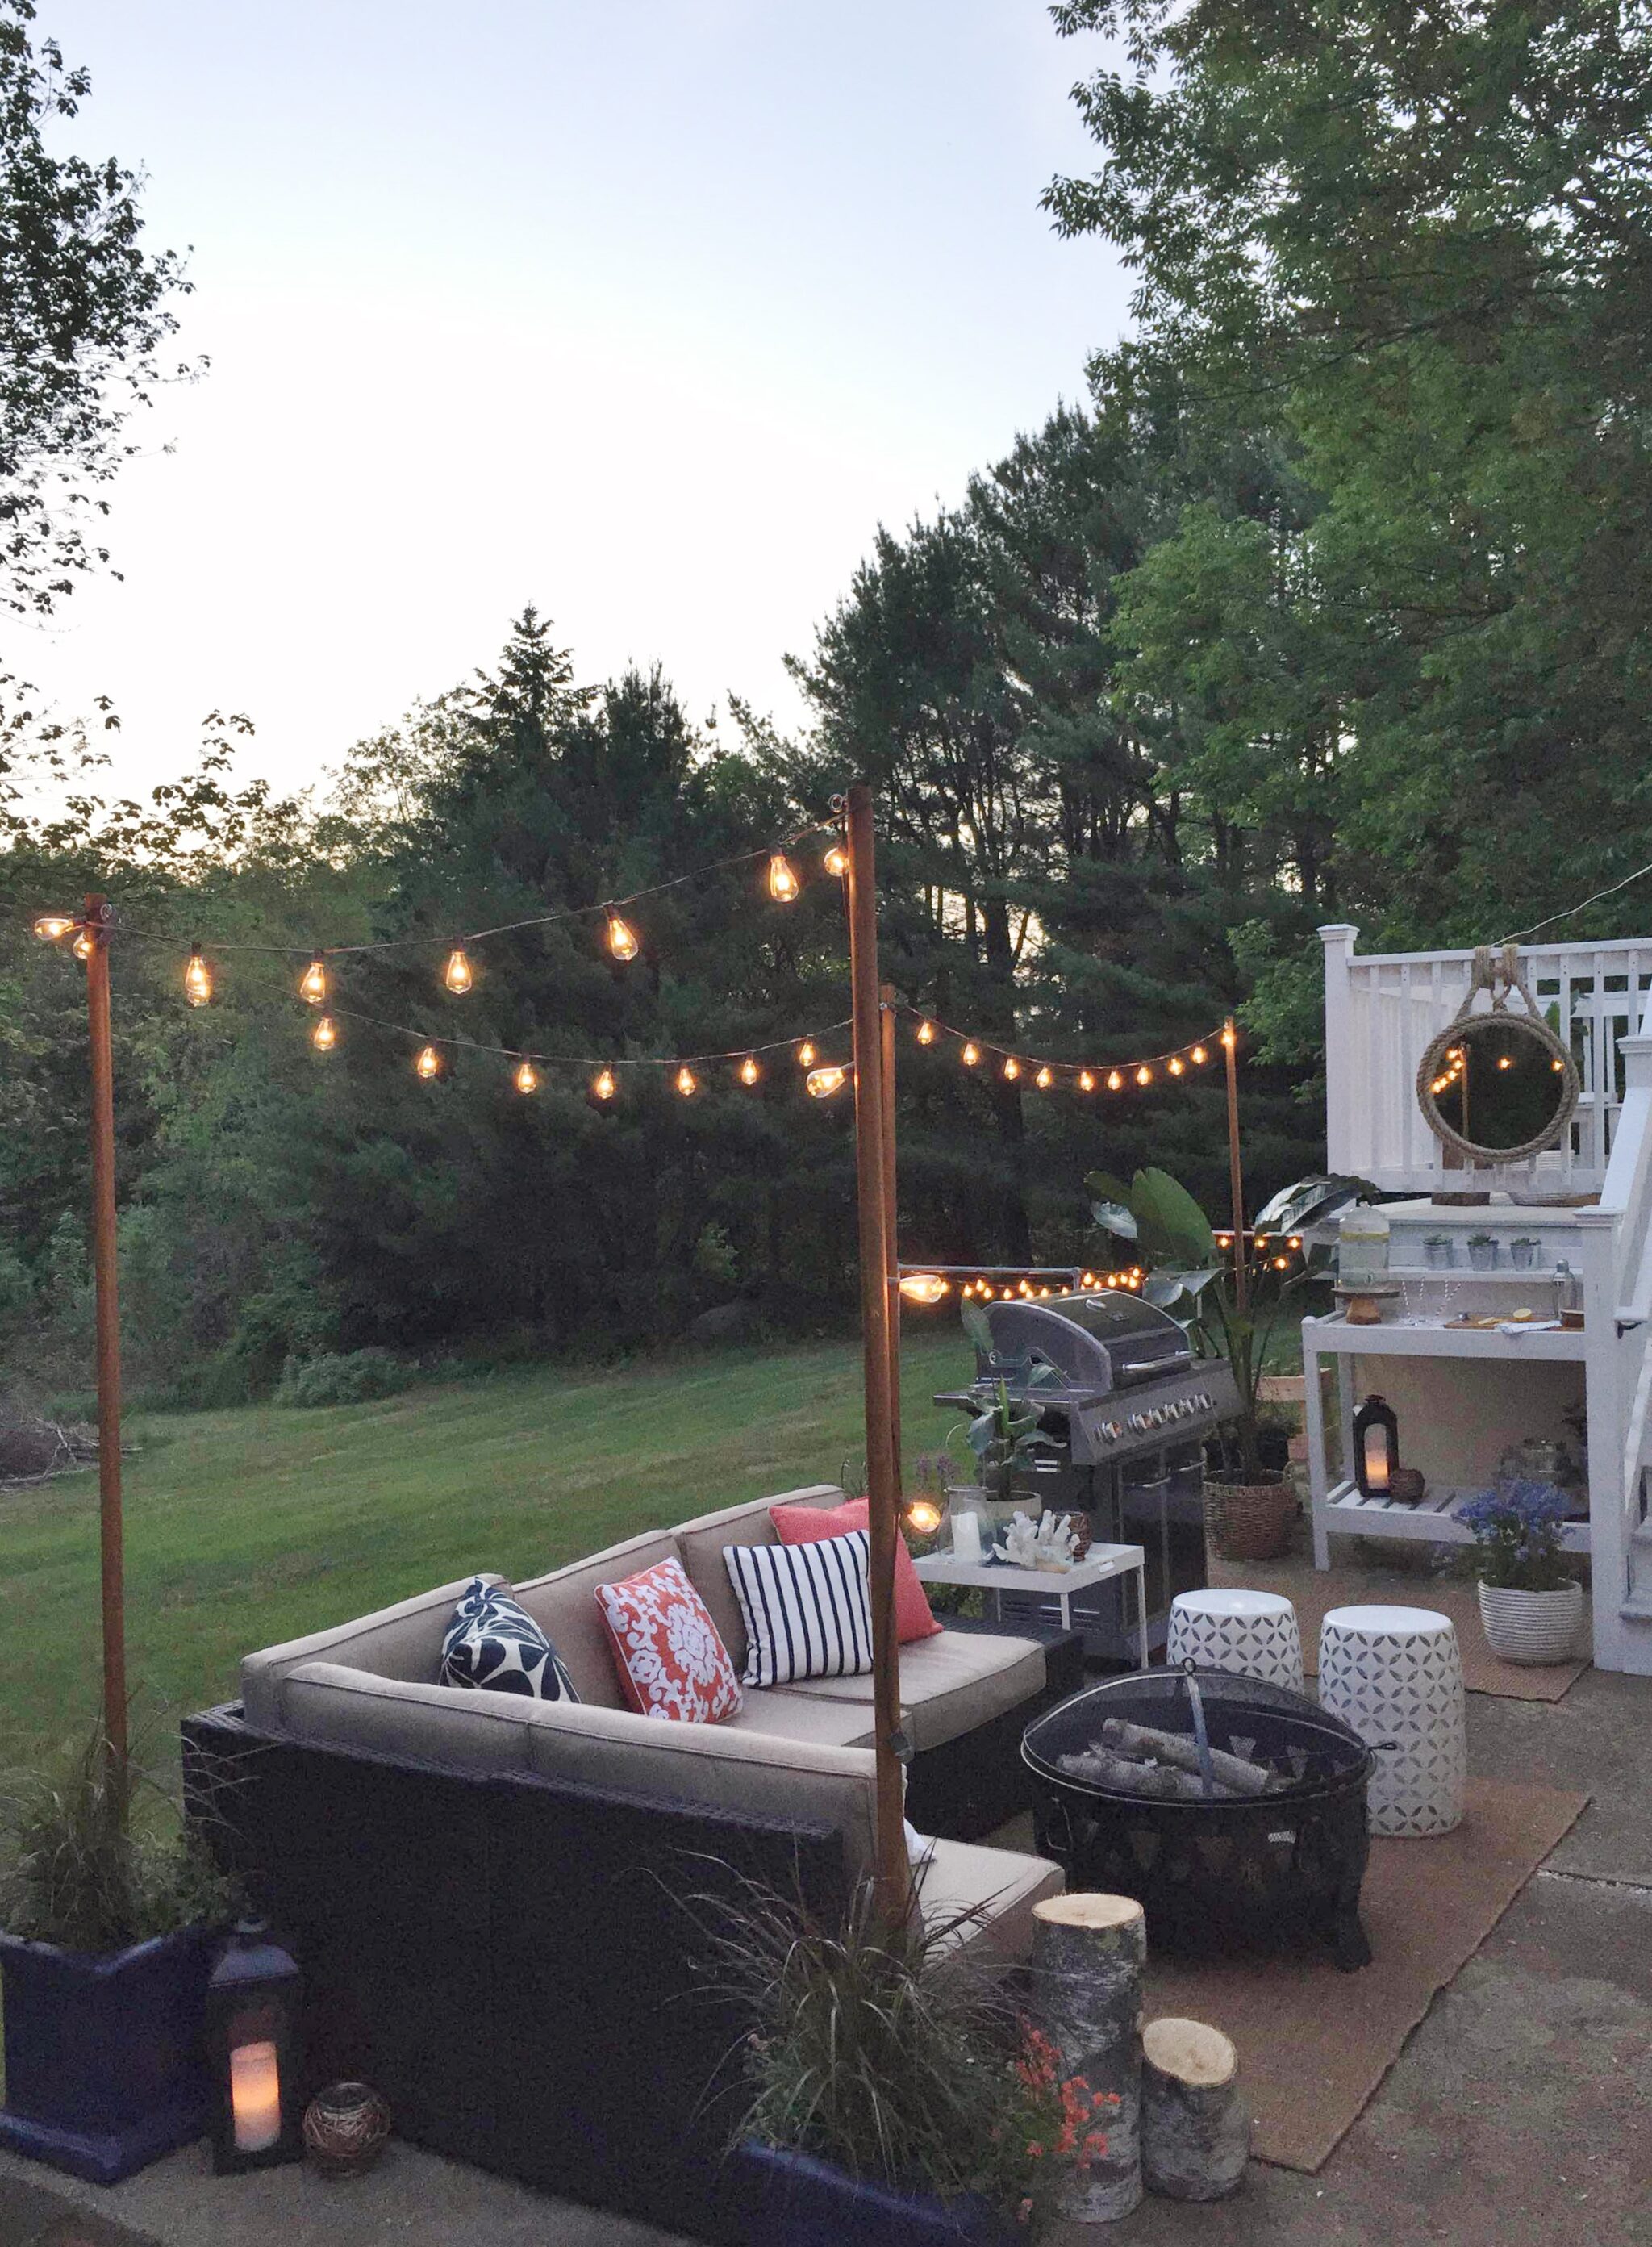
There will be extra line when you plug multiple sets of lights together, we just wrapped the extra around the poles.
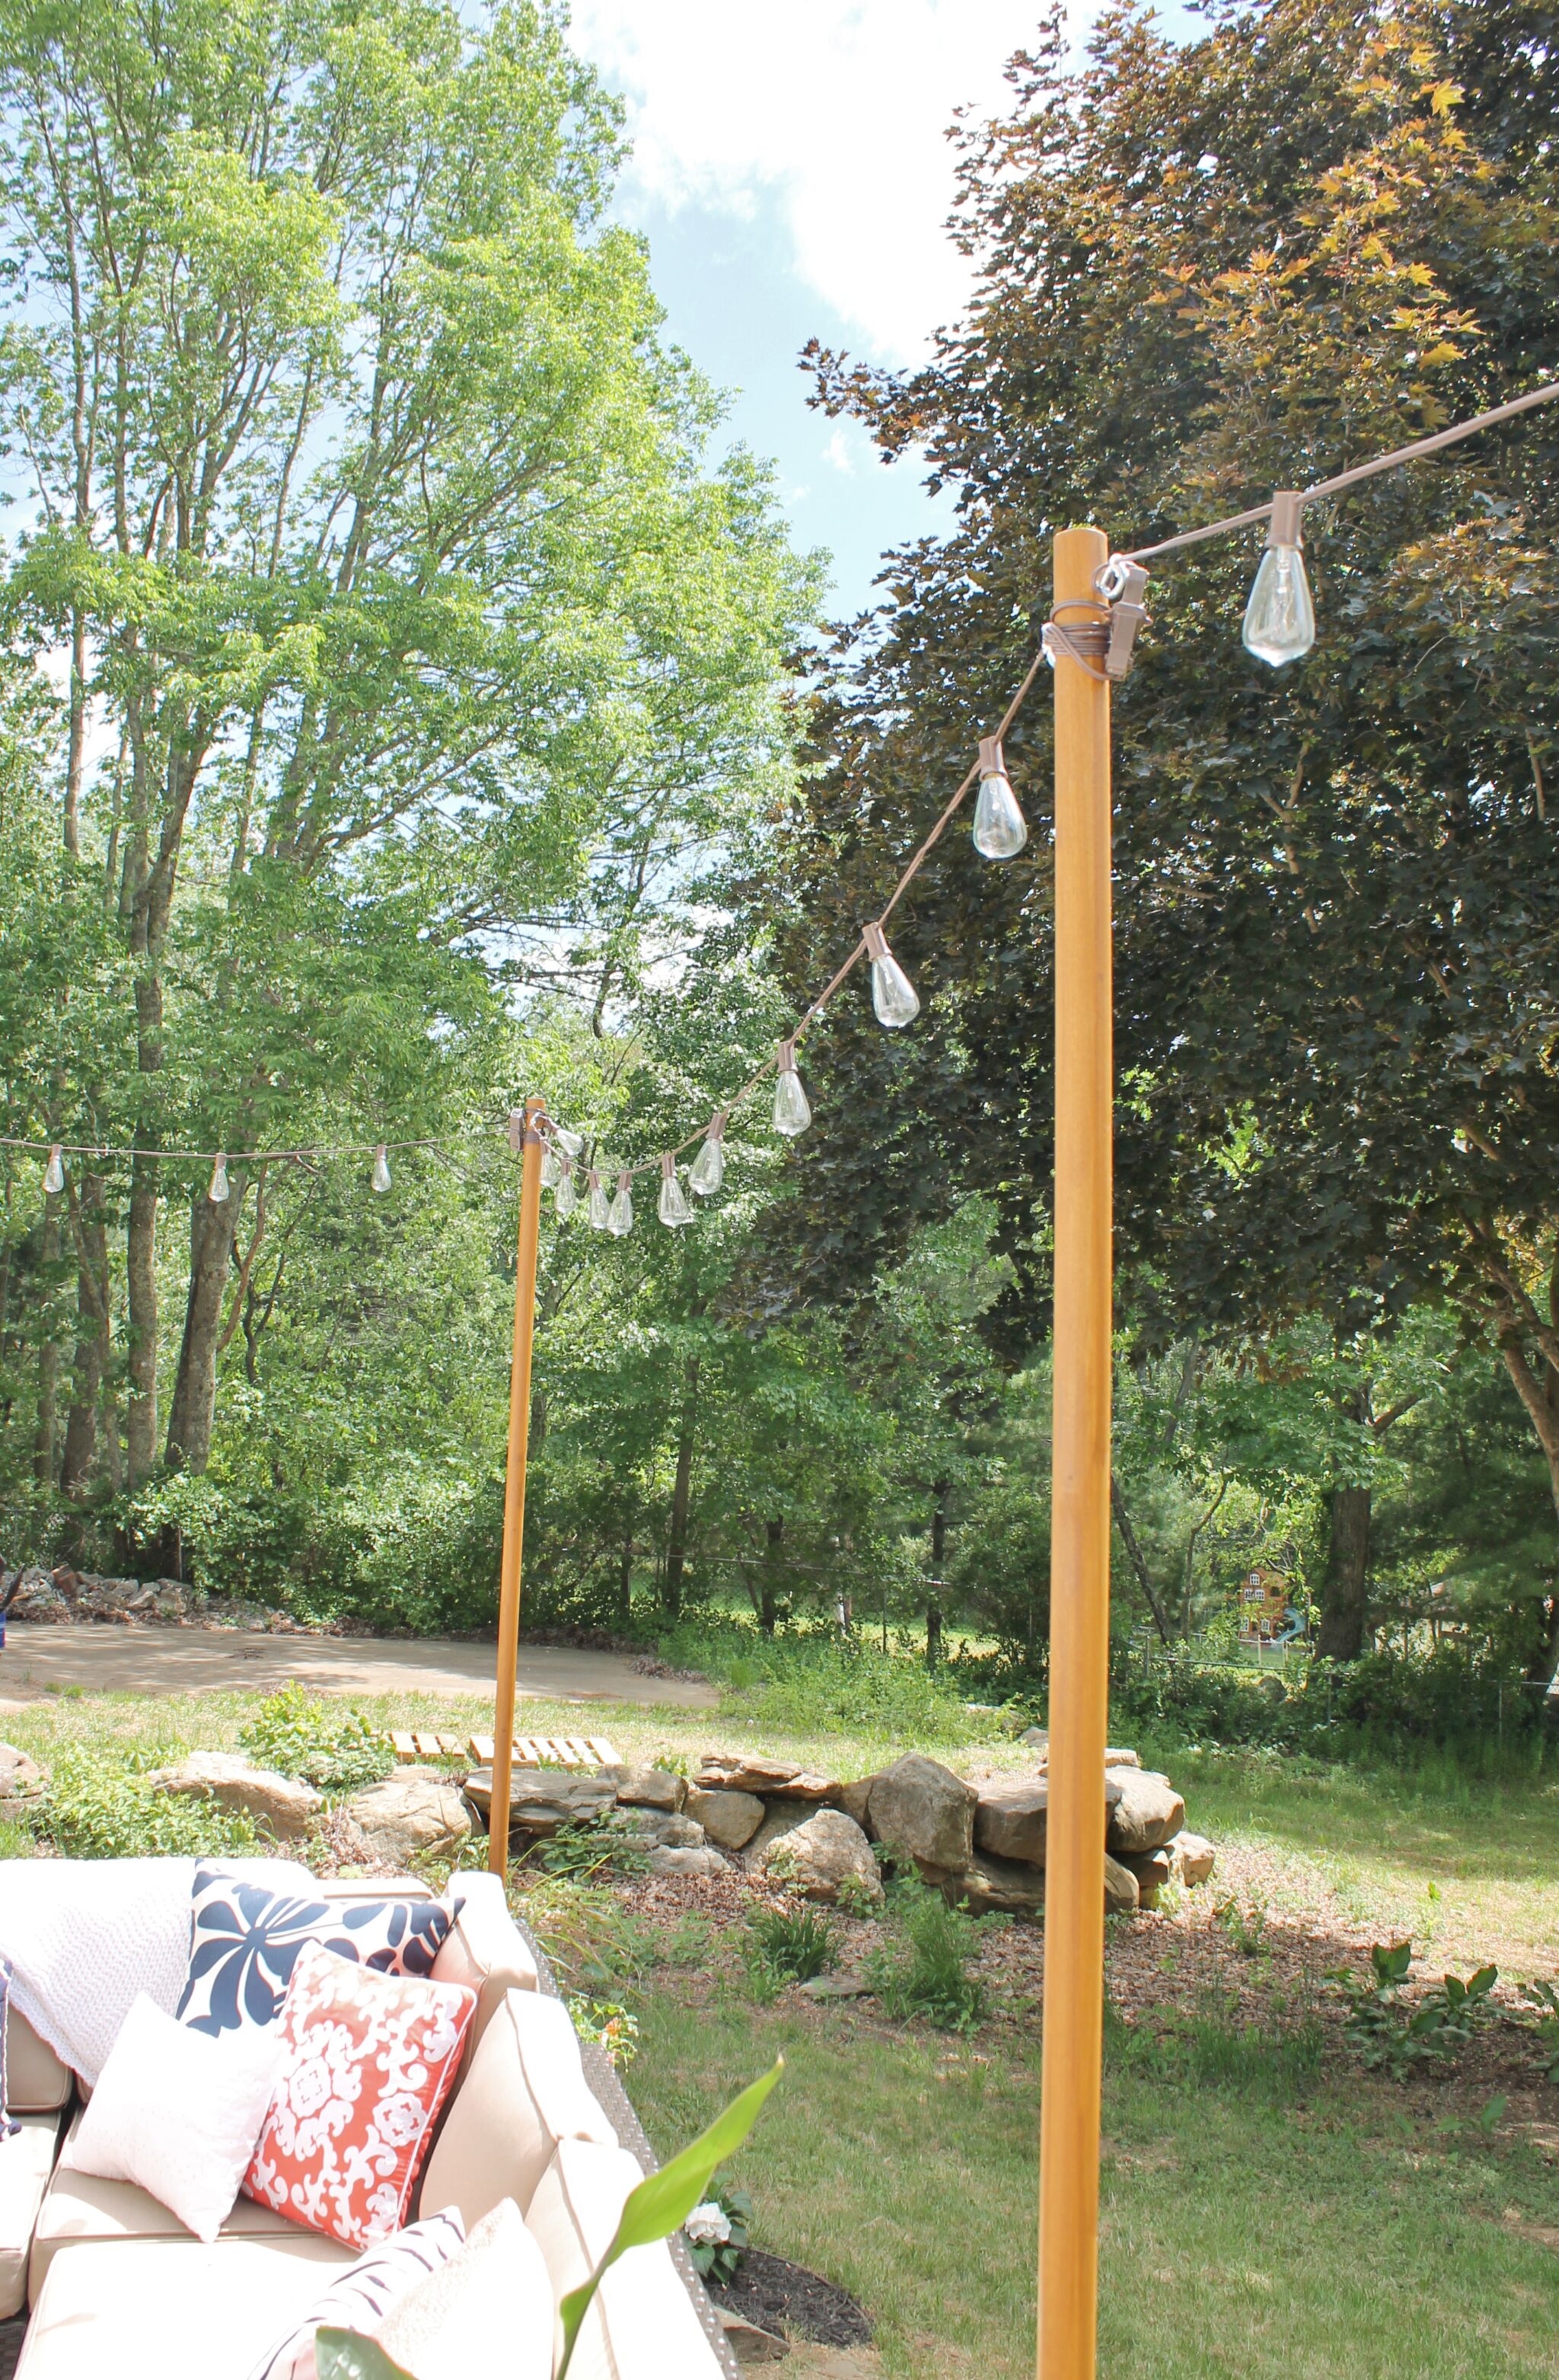
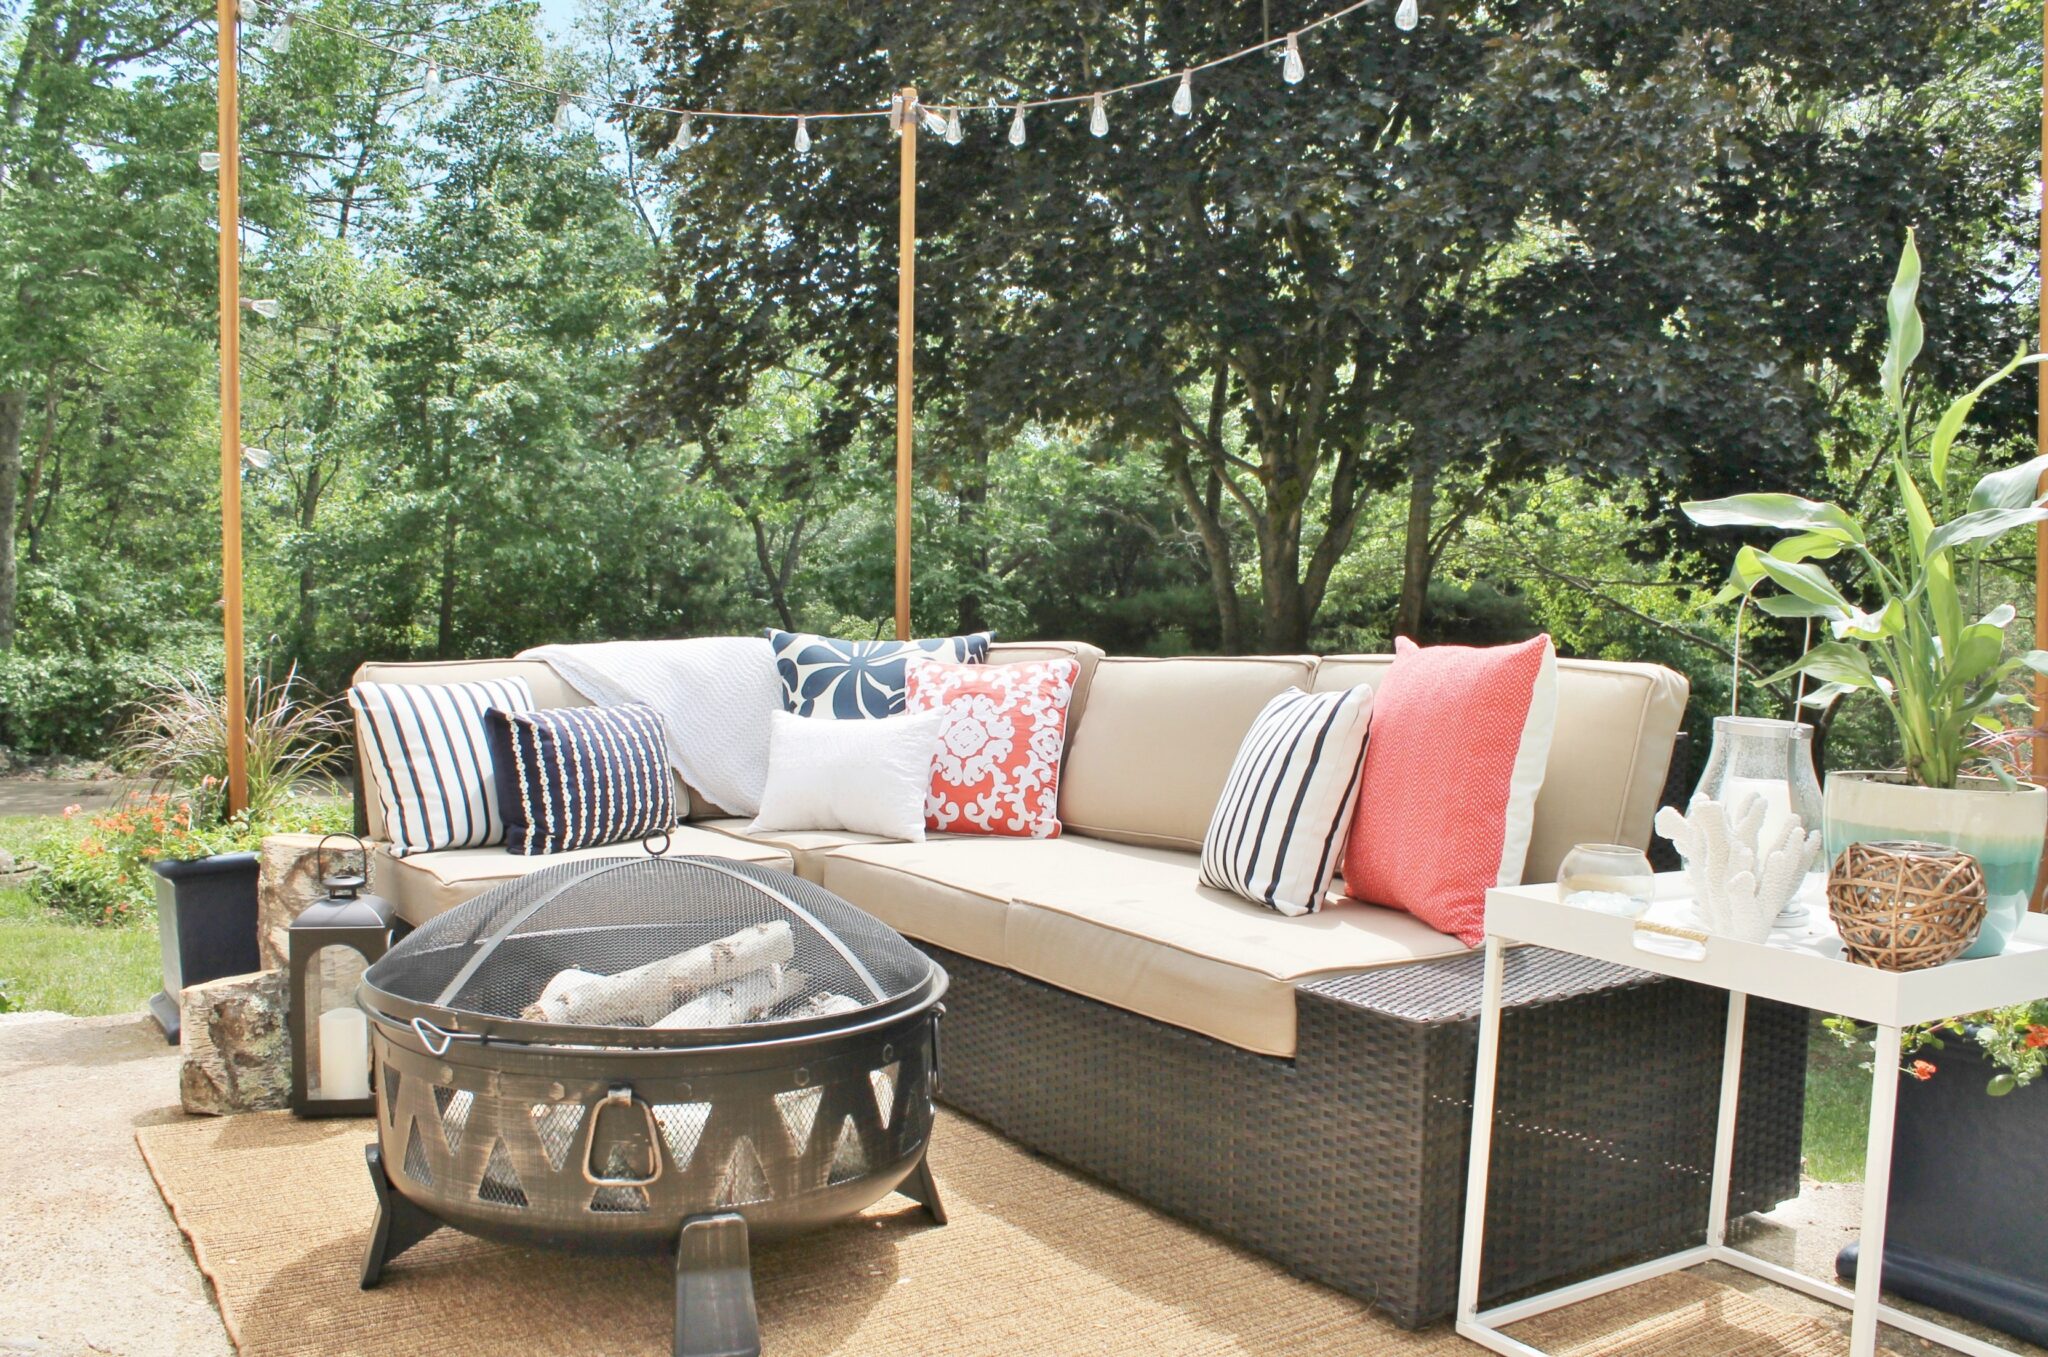
This project came out WAY better than I had ever dreamed. You know when you plan something in your head, you pray it actually looks good and functions the way you hope, well it did and more. The big win, the homeowners LOVE it! 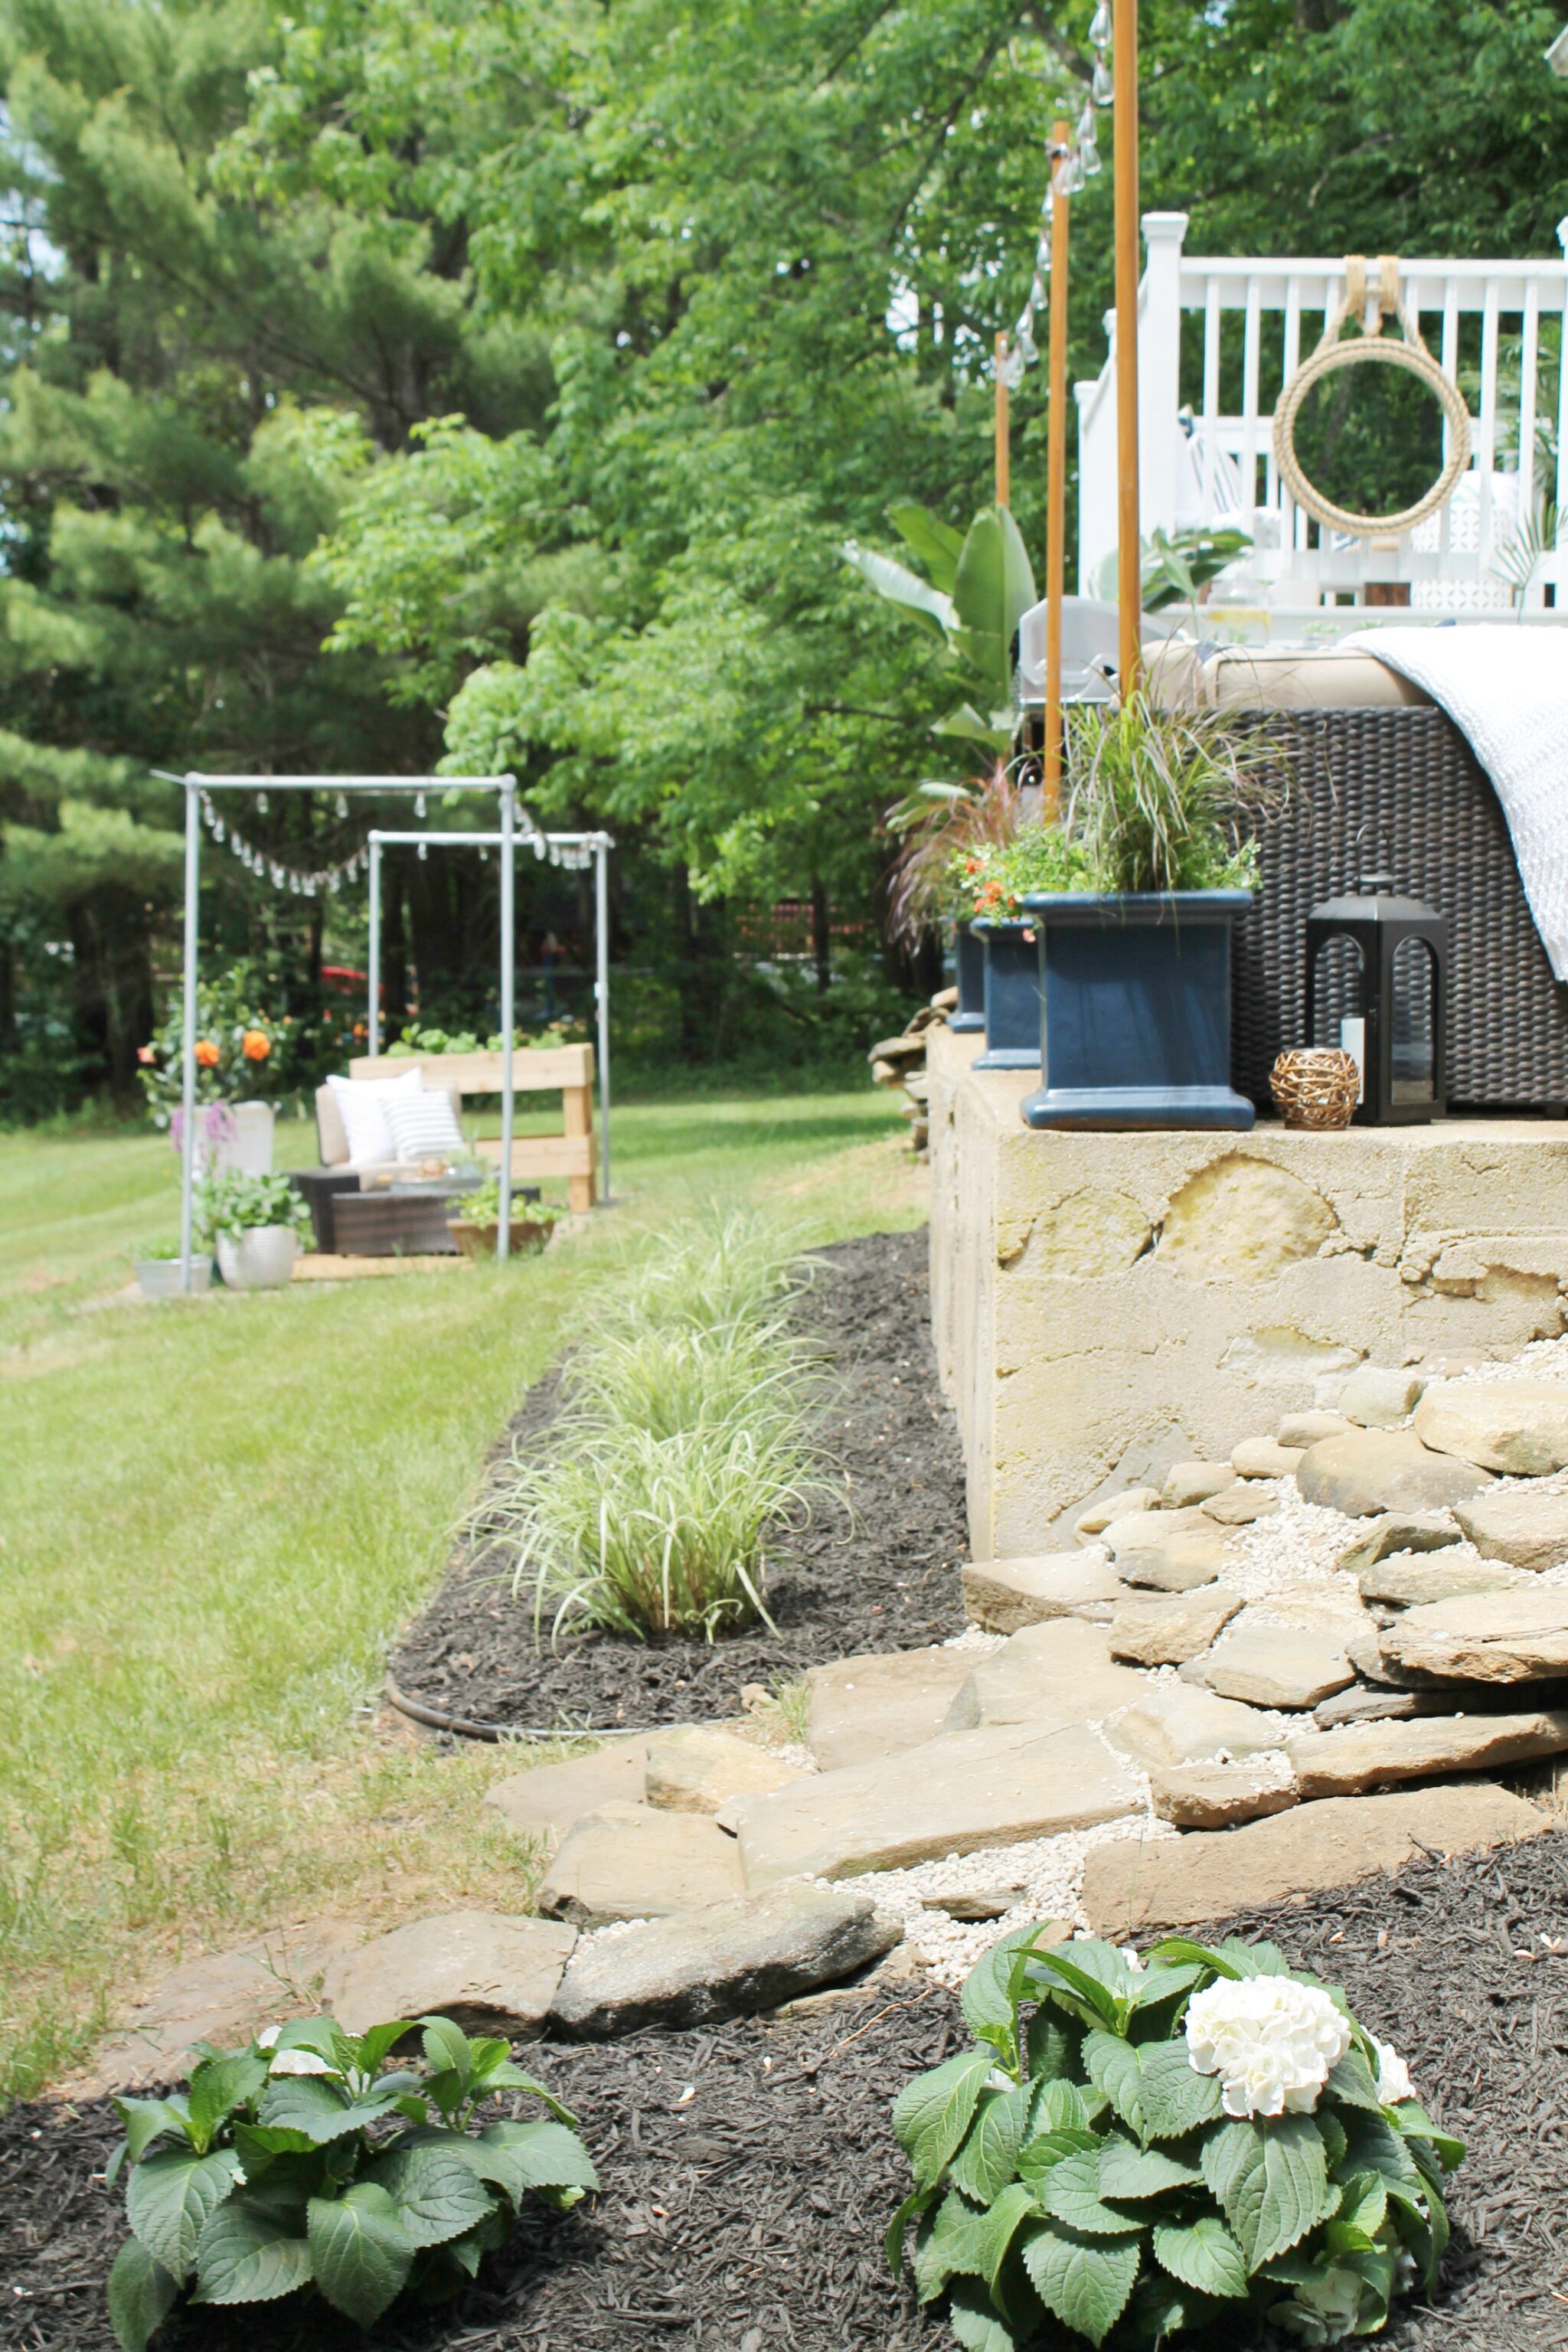
 In cased you missed the Lowe’s Spring Makeover, you can find it HERE.
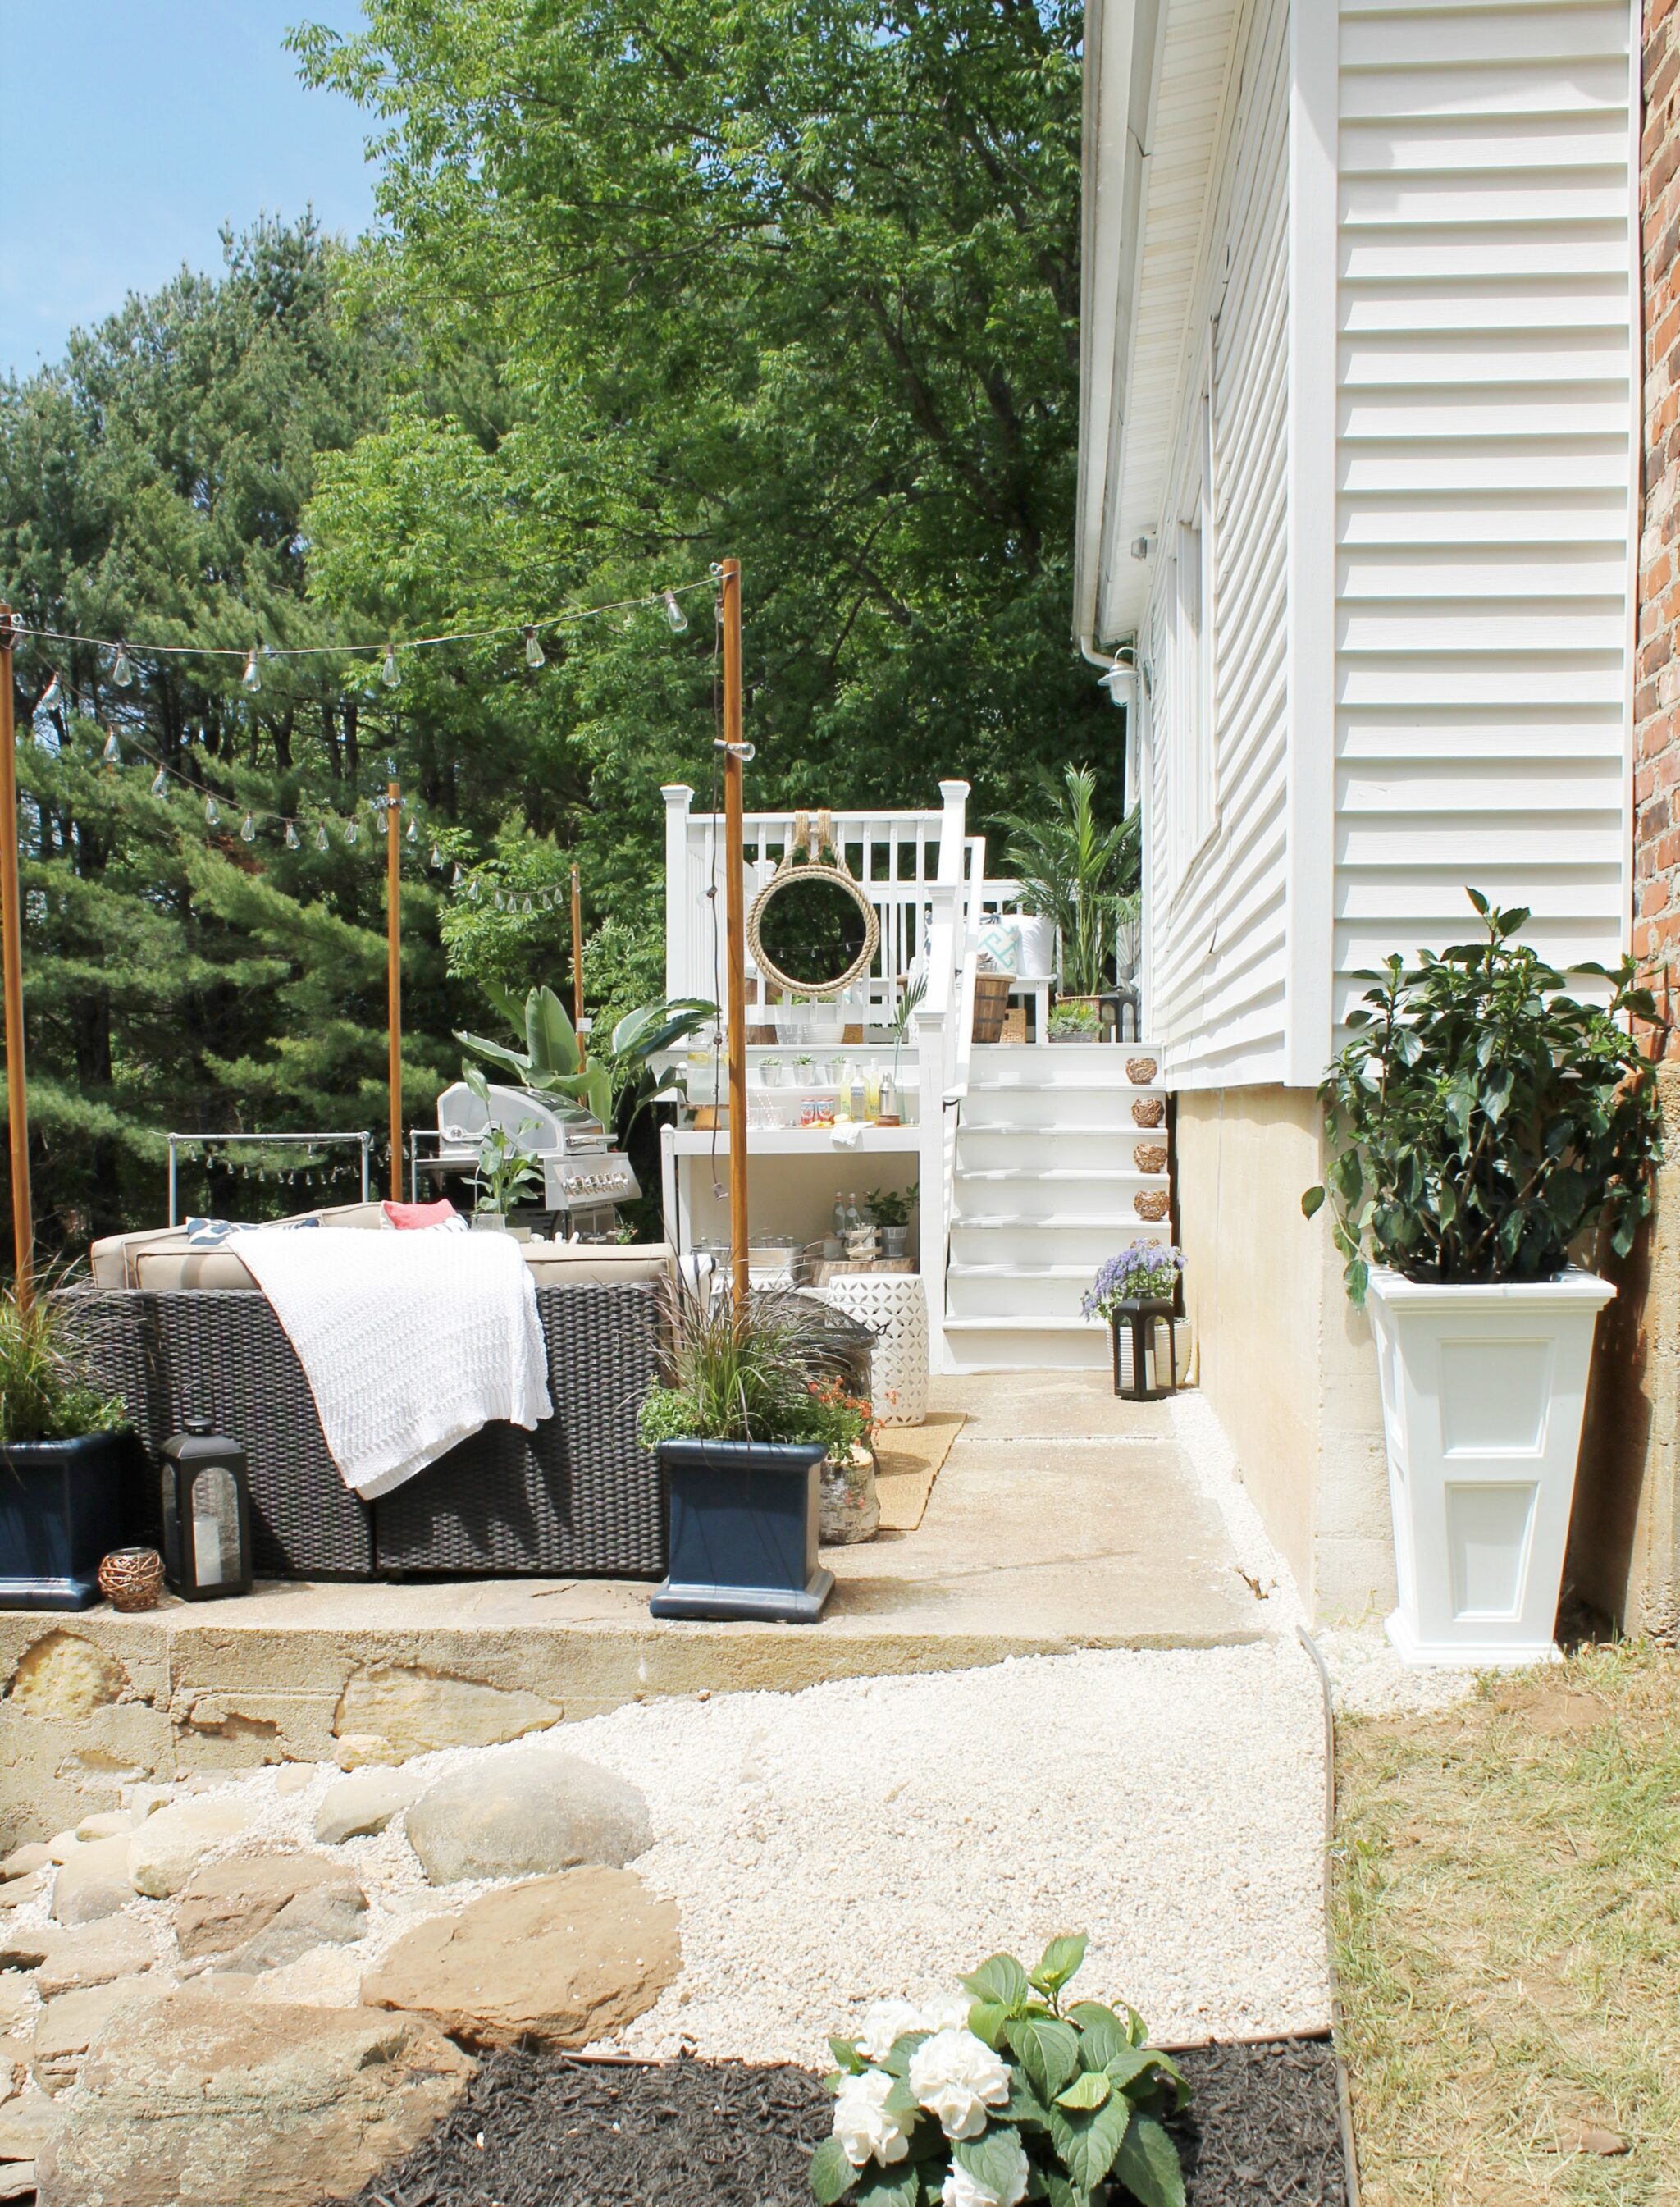
the before….

the after….
ahhh, and at night…
**********************
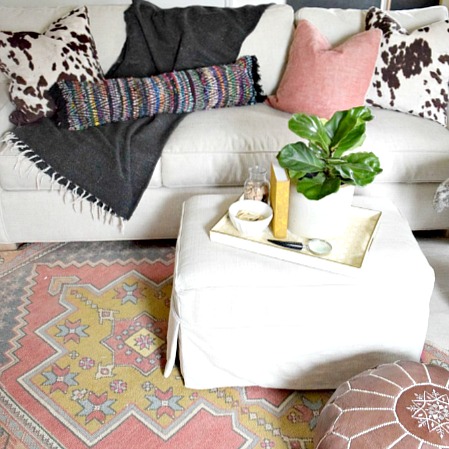
Are you looking to refresh your space this summer? I have just the thing! I am sharing tips & inspiration on layering rugs and connecting your color palette over at BHG Style spotters, you can read the article HERE.
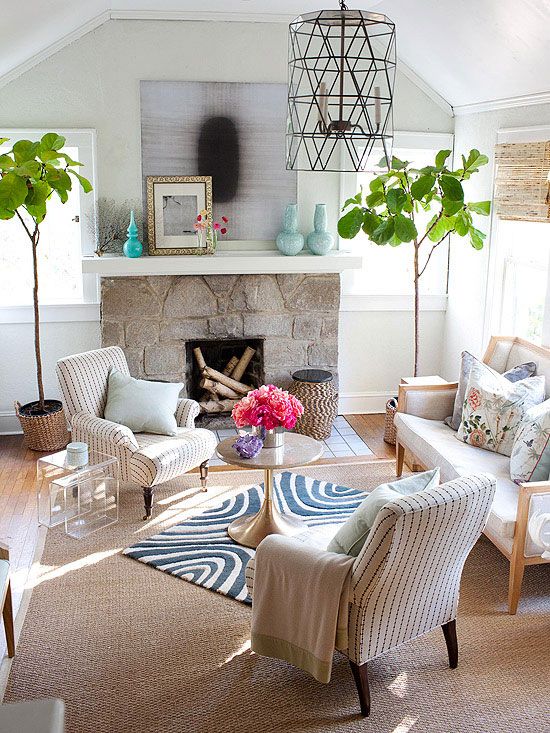
{BHG}
Have a beautiful weekend & happy summer!!!

Love this! It’s really the perfect little space for entertaining. I’m gonna have to steal the light post idea too 😉
Oh it is so pretty out there!! Looks so nice!!
One question: after the pots are filled with cement and they dry, you fill with pea gravel for drainage, then potting soil and plants. Since the bottom is sealed with cement, how and where does the water drain (from watering the plants)? did you drill holes in the side of the planter? thank you. I love this idea and would like to do it.
The gravel will allow the water to settle at the bottom of the plant so the soil isn’t damp all the time.
Love this idea and planning on doing something similar for my yard. One question. The article suggest using pea gravel, then soil to allow for drainage, but how exactly will water be drained if there is concrete sealing the bottom? We’re concerned that heavy rains may cause the planters to overflow. Thanks!
Personally, I’d drill some holes in the side of the planters, just above the cement, to allow for drainage. Just having pea gravel in the bottom might work in a fairly dry climate that gets the occasional shower, but here in NY where we can get a few days of rain in a row those planters are going to get waterlogged pretty quickly.
So for so good Heather, hasn’t been a problem yet with the rain in NY but couldn’t hurt to try it:). Have a good day! Jen
I LOVE this! Great job! did you have an outlet near by to plug the lights in at? How Did you hide the cords? I don’t see where they come down on the pole to plug in.
Hi Krystle, yes the outlet was under the deck so we ended the lights there, it worked out perfectly! Thank you so much! Jen
Ah, what a dreamy outdoor space! I just love those lights – we are planning to do something similar at our house and I’m so glad I found your specific plans for making it work!
Thank you Erica!!!
Hi there! I love this and I am attempting to recreate this project on my roof deck 🙂 My major concern is wind… I live in the “windy city” and I think it is windier up on my roof than on the ground. Do you think 4 inches of concrete will be enough to support the 8ft. dowels? Or should I used more concrete? I was thinking of using 10-12 inches of concrete. What do you think? I bought the exact same planters which are HEAVY, so I feel good about that. Thank you!
Hi Laura,
I think you should be fine with 4-5″, we live on the water and we have had 60-65 mph gust this past week and they were ok. Once they are set they should not go anywhere, but if it makes you feel better to add a few inches it wouldn’t hurt:). Good luck, that will look beautiful, you will LOVE it!!! Jen
Great project! That’s exactly what I’m trying to do in my yard. You mentioned hanging drapes with zipties. How would that work?
Hope it’s okay, I linked to your post from my blog post at http://www.the208group.com/2016/05/31/5-ways-to-patio/.
Great tutorial, thanks for sharing!
Love this idea! Where did you find the 8 ft. dowel rods? I am finding ones that are 48 inches at local hardware stores, but not 8 footers. Thanks!
Hi Amber, I found the 8ft rods are Lowe’s. Good luck, you will love these!! Jen
I also second the question above. How can you use zip ties to hang curtains?
I love this and am planning to make my own poles this weekend. If water sits at all on the concrete for a long period of time, the concrete will expand and crack. Did you drill any drainage holes? How did they hold up over the course of a year?
Hi Kate, I put pea gravel in for drainage and that seems to be enough. They held up well even through cold temps. Good luck! Jen
How to these hold up during the winter? I assume you don’t move them into a shed for storage? Thanks!
I love how you added the string lights to the seating area. I hope to use that method to add lighting to my home’s patio!
Would a big clay pot work the same as a cement pot?
I think that would work ok, the cold weather might crack it though, that is my only concern.
In the works of replicating this same DIY. 🙂