This gel-stained staircase post has been two years in the making. And it’s a good thing I waited because now I get to do an honest review after two years of hard use. I’ve had so many questions about this product, including how to use it and whether it will last. Before giving too much away, I’ll say this is an incredible product.
Disclosure: This post may contain affiliate links. As an Amazon Associate, I earn from qualifying purchases at no additional cost to you. See full Disclosure Statement HERE.
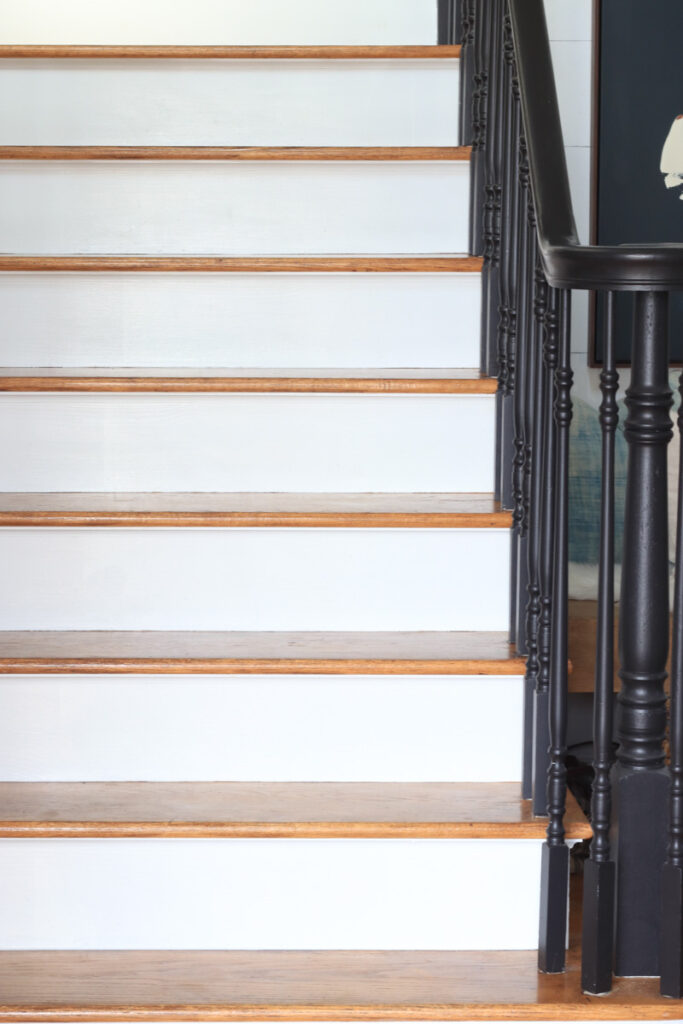
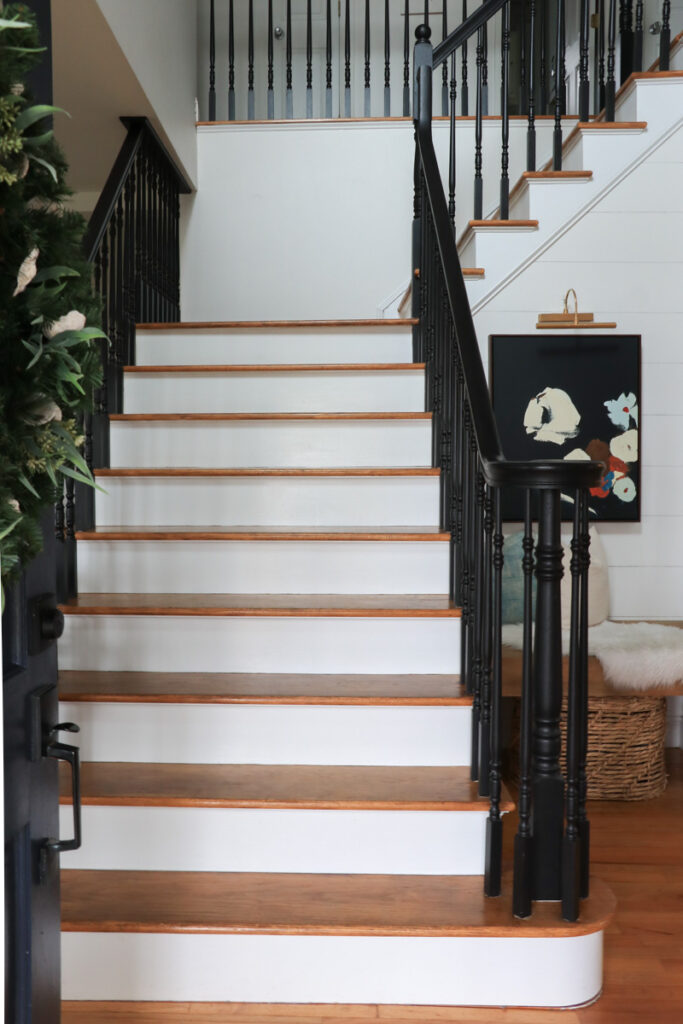
Below, you’ll see the before on the left and the after on the right. A house painter friend told me years ago that he used Gel Stain on his staircase and boasted about how well it turned out. He said it was easy to use and NO SANDING! I was sold from that point on, but I had to decide where I’d use it. Eventually (5 years later), I decided on black banisters and spindles and gel-stained stairs with white risers.
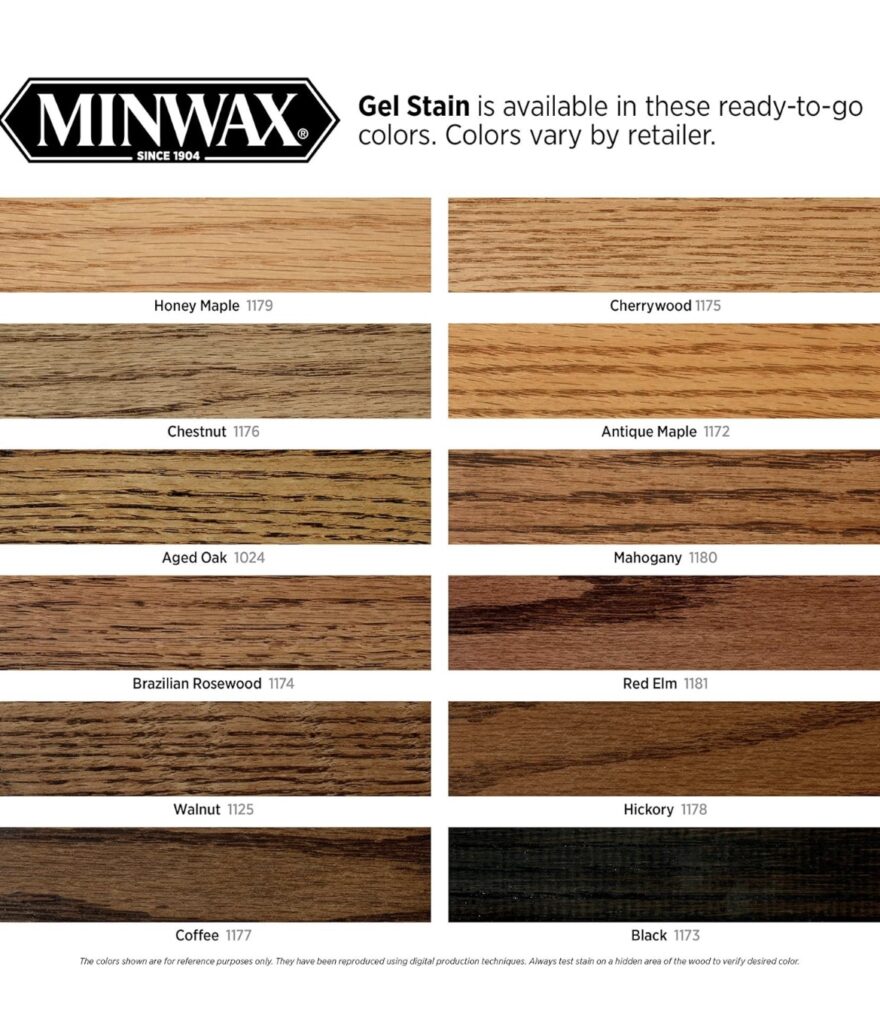
I tested different stains and decided on Walnut. It tones down the orange in the wood and brings out a darker tone in the main wood floor that runs throughout the first floor. It took a little finessing to get the right rhythm, but I did. If you decide to tackle a project using Gel Stain, follow these simple tips below.
- Clean the steps well and let dry.
- Get a sample piece of wood that has varnish on it to practice.
- You’ll need two lint-free rags, a small artist’s painting brush, and a small foam brush for tight spaces.
- If you have a sample piece of wood, this is the time to use it. The rhythm and quantity are important. Take a quarter-size amount and work into the wood, going with the grain. The amount you use is important. Too little will not be enough, and too much will be too dark. It will dry fast, so try to work in sections. If you use too much and need to use the dry cloth to lightly pass over the top, again, go with the wood grain.
- Now you’re ready, and guess what? No sanding is necessary! Yes, you heard right. This stain is meant to sit and harden on top of the sealed finish.
- Start at a place that is forgiving, maybe at the top. And do every other step. It will be hard to walk up as it cures, but it is worth it. This was done in the fall, so it wasn’t hot or humid, and it still took 24-48 to cure. You will know it hasn’t cured because it will still be tacky to the touch.
- Then go back and stain the other even steps.
- To clean, use a gentle, natural cleanser.

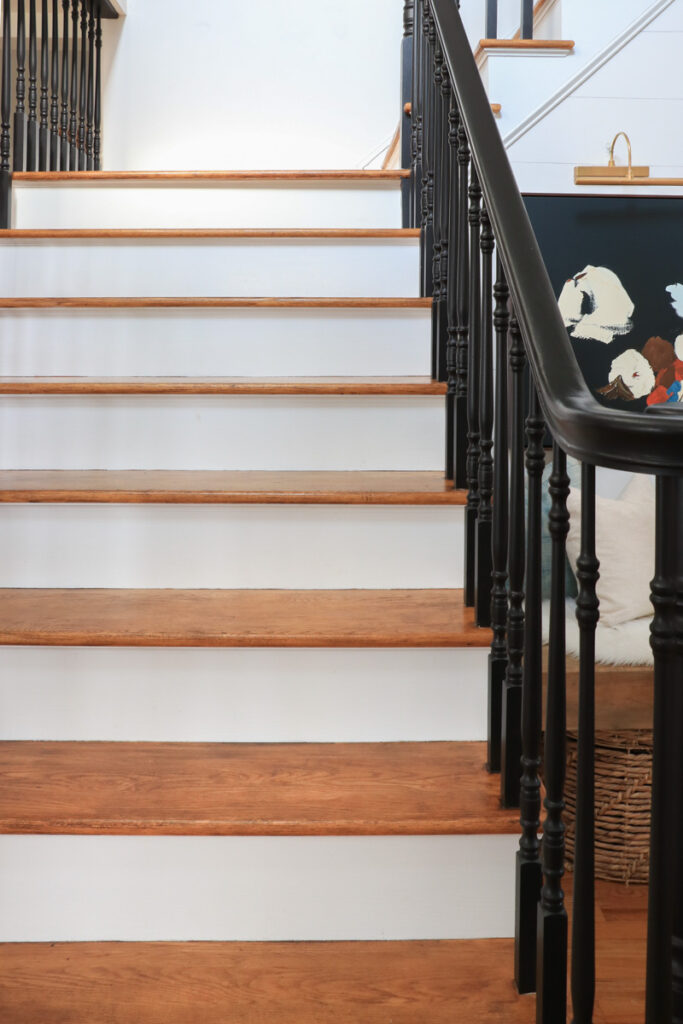
This was one of the best things I did for my home, so YES, I would do it again. It still looks as good as it did when I first stained the stairs. I would highly recommend using this product, but I can’t stress enough the importance of using a sample piece of wood to practice.


It looks different in different lighting but it’s not too dark. I swear, it’s really the perfect shade.


You can find the Black Painted Staircase Makeover With Sources HERE. All in all, it cost me less than $200 and a few days of labor.
Have a happy day, friend!