
Disclosure: This post may contain affiliate links. As an Amazon Associate, I earn from qualifying purchases at no additional cost to you. See full Disclosure Statement HERE.
Hi friends, the biggest happy Friday to you! Last week I was in Boston for Wayfair’s Heart Home Conference & I have to say, it was amazing! It was a great event for so many reasons, 1st-I love Boston, what a beautiful & charming city! Second, the speakers and session were different from most conferences I have attended, I got so much information from it & list of who was there blew me away, so many editors, omg! And you actually got to chat with them because the sessions were intimate. You can see the full list HERE. 
Even though it was a packed conference the flavor and tone was still very inviting, everyone was talking with one another, making new friends, exchanging lots of business cards, it was really nice to be a part of that. Another reason I loved this event was they did a great job treating us like guests in their home. The food, the breaks, the snacks, so much thought went into every little detail and the Wayfair team was so delightful and helpful beyond words! I even got a chance to spend time with my blogging buddies old & new.
My partner in crime for this conference was Michael from Inspired by Charm, we taught our DIY session together {Dueling DIY’s} and hung out most of the time. He is such a great guy!!! Do you ever meet people and just know right away they are genuine, yup, that is him.
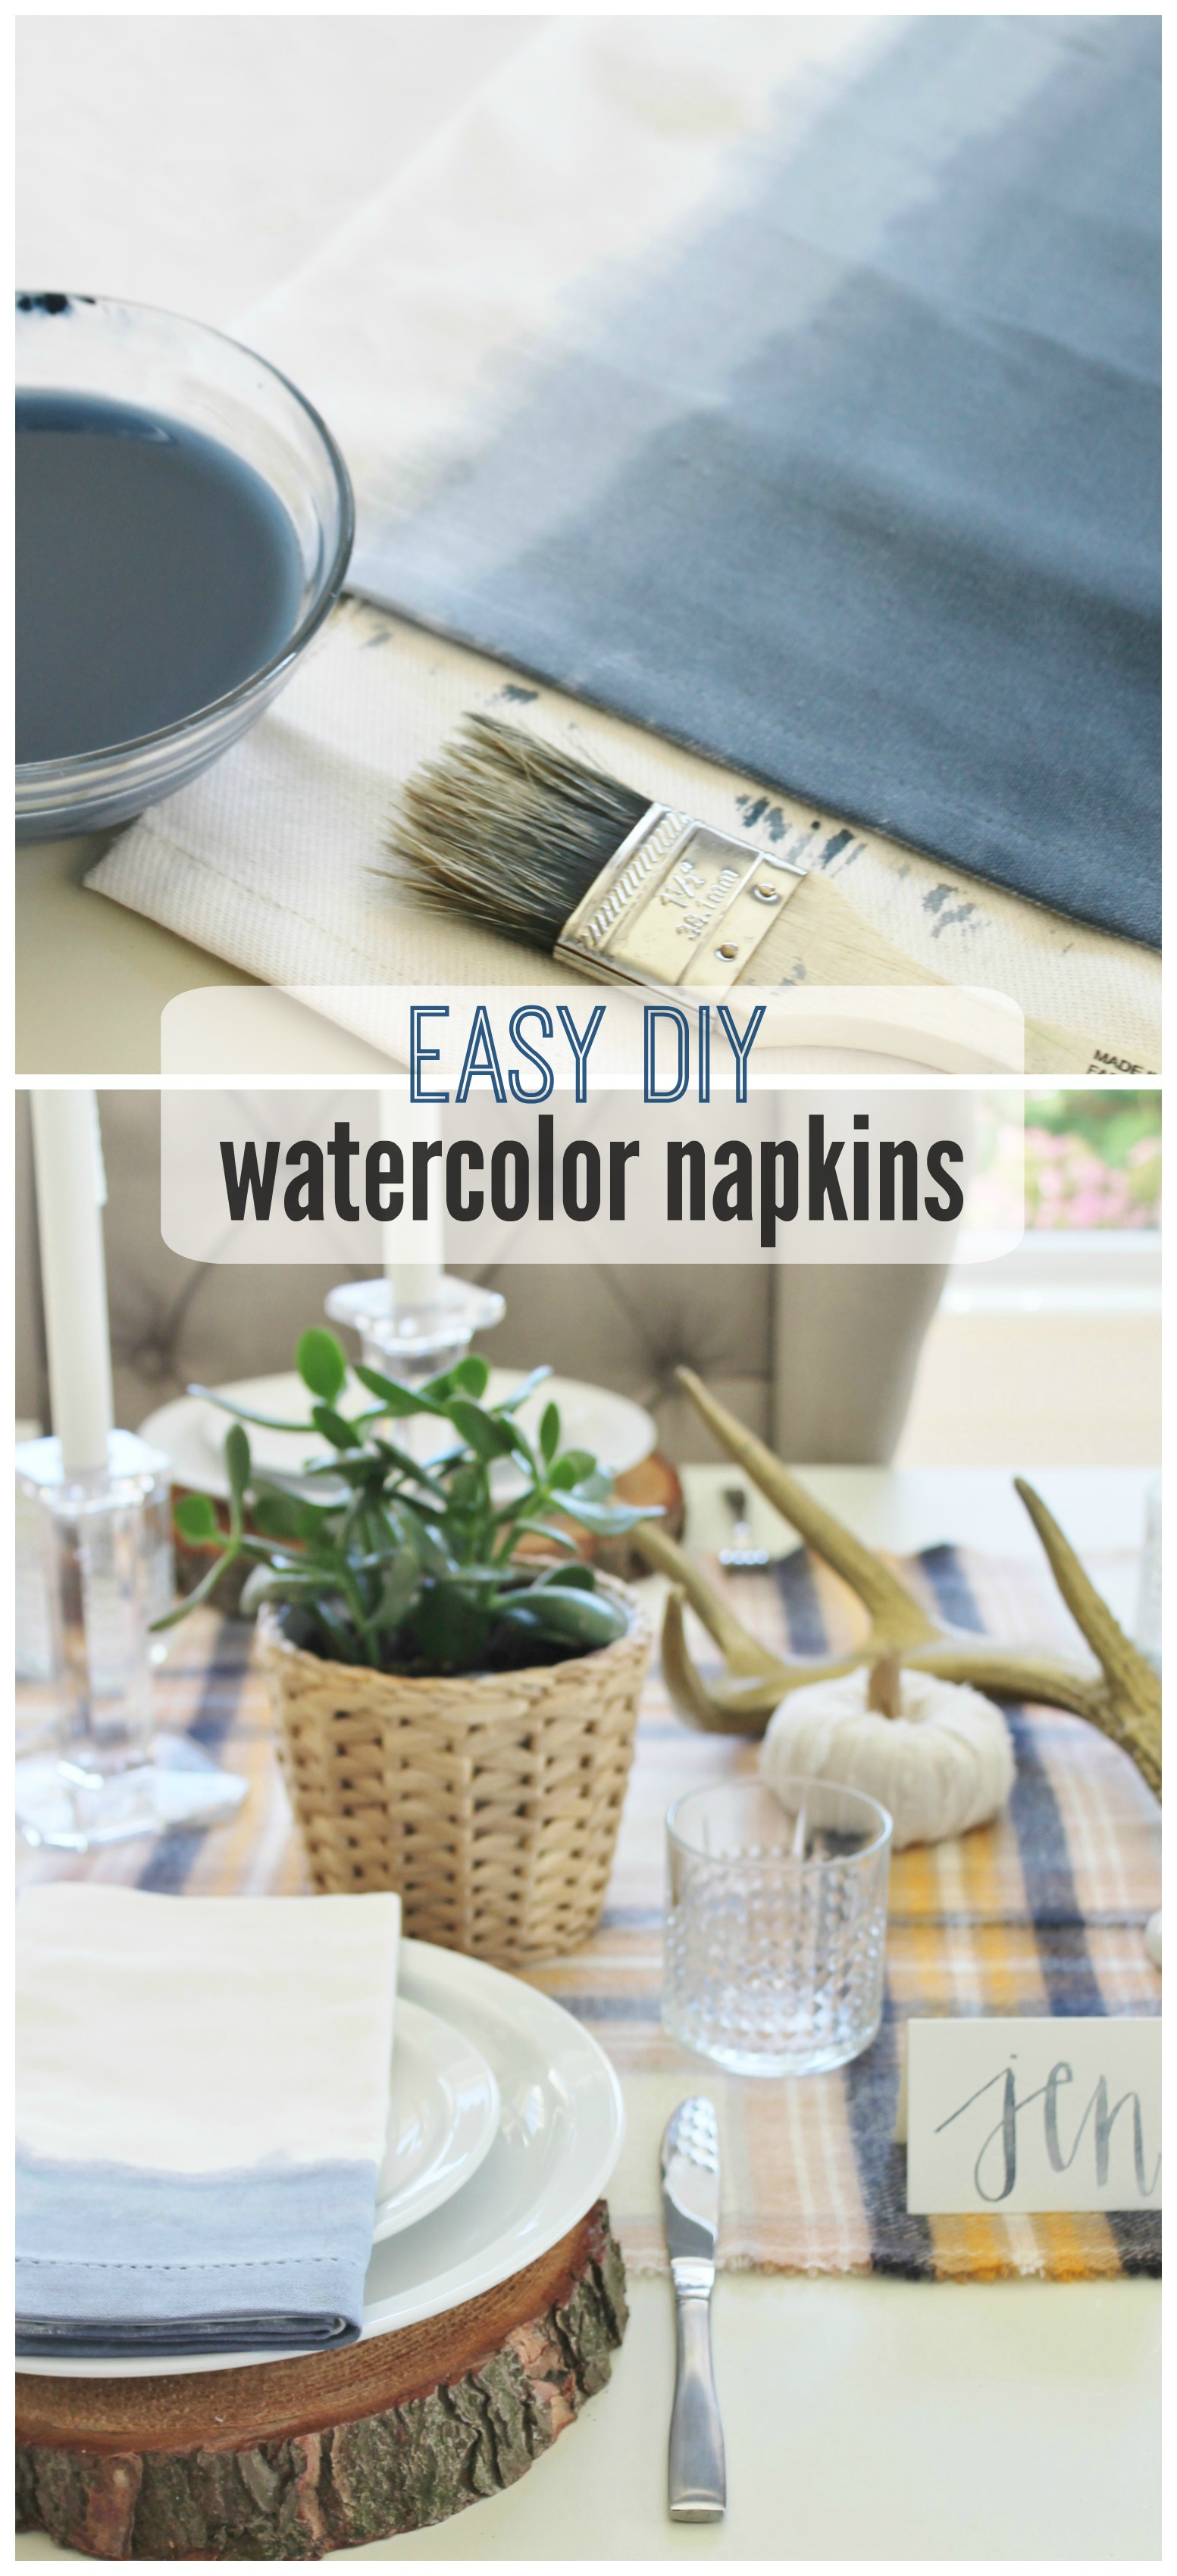
Our class was set up to show how to create a DIY Napkin in your own style. Since the holidays are just around the corner we thought it was a good DIY to have some fun with. I taught how to get a dipped look using watercolor and Michael used a gold leaf technique to add a little glitz. 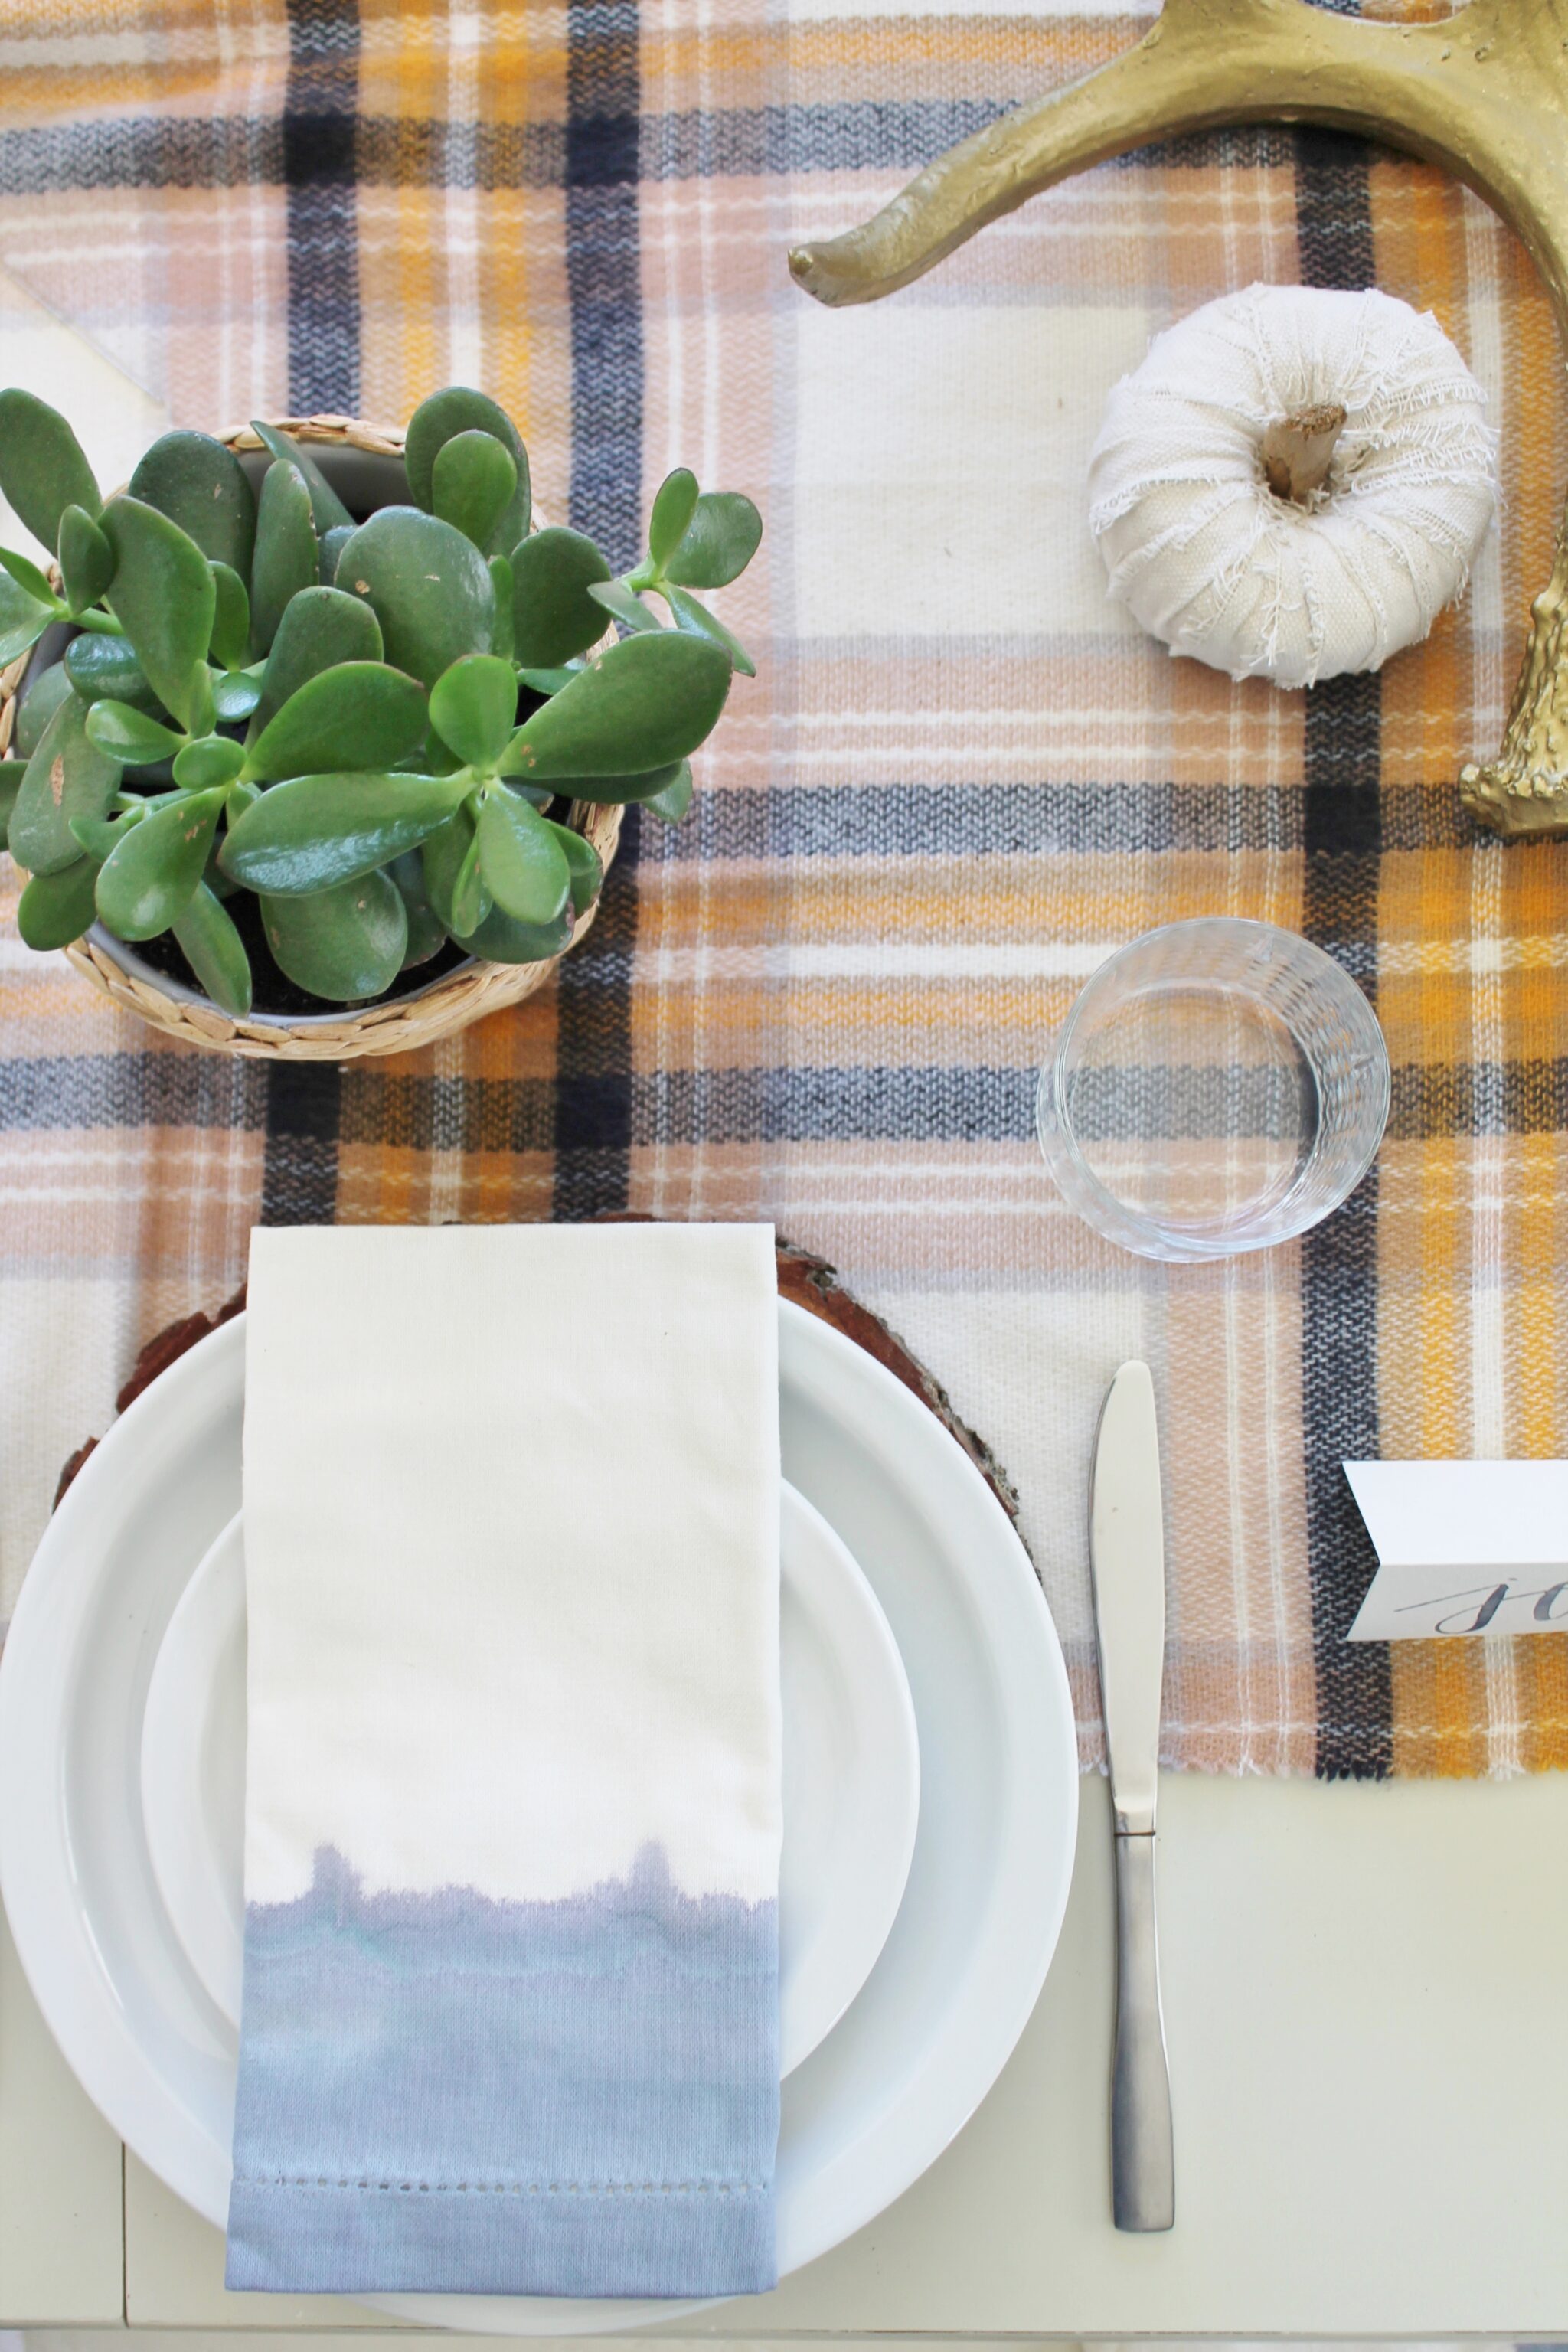
This is what you will need….
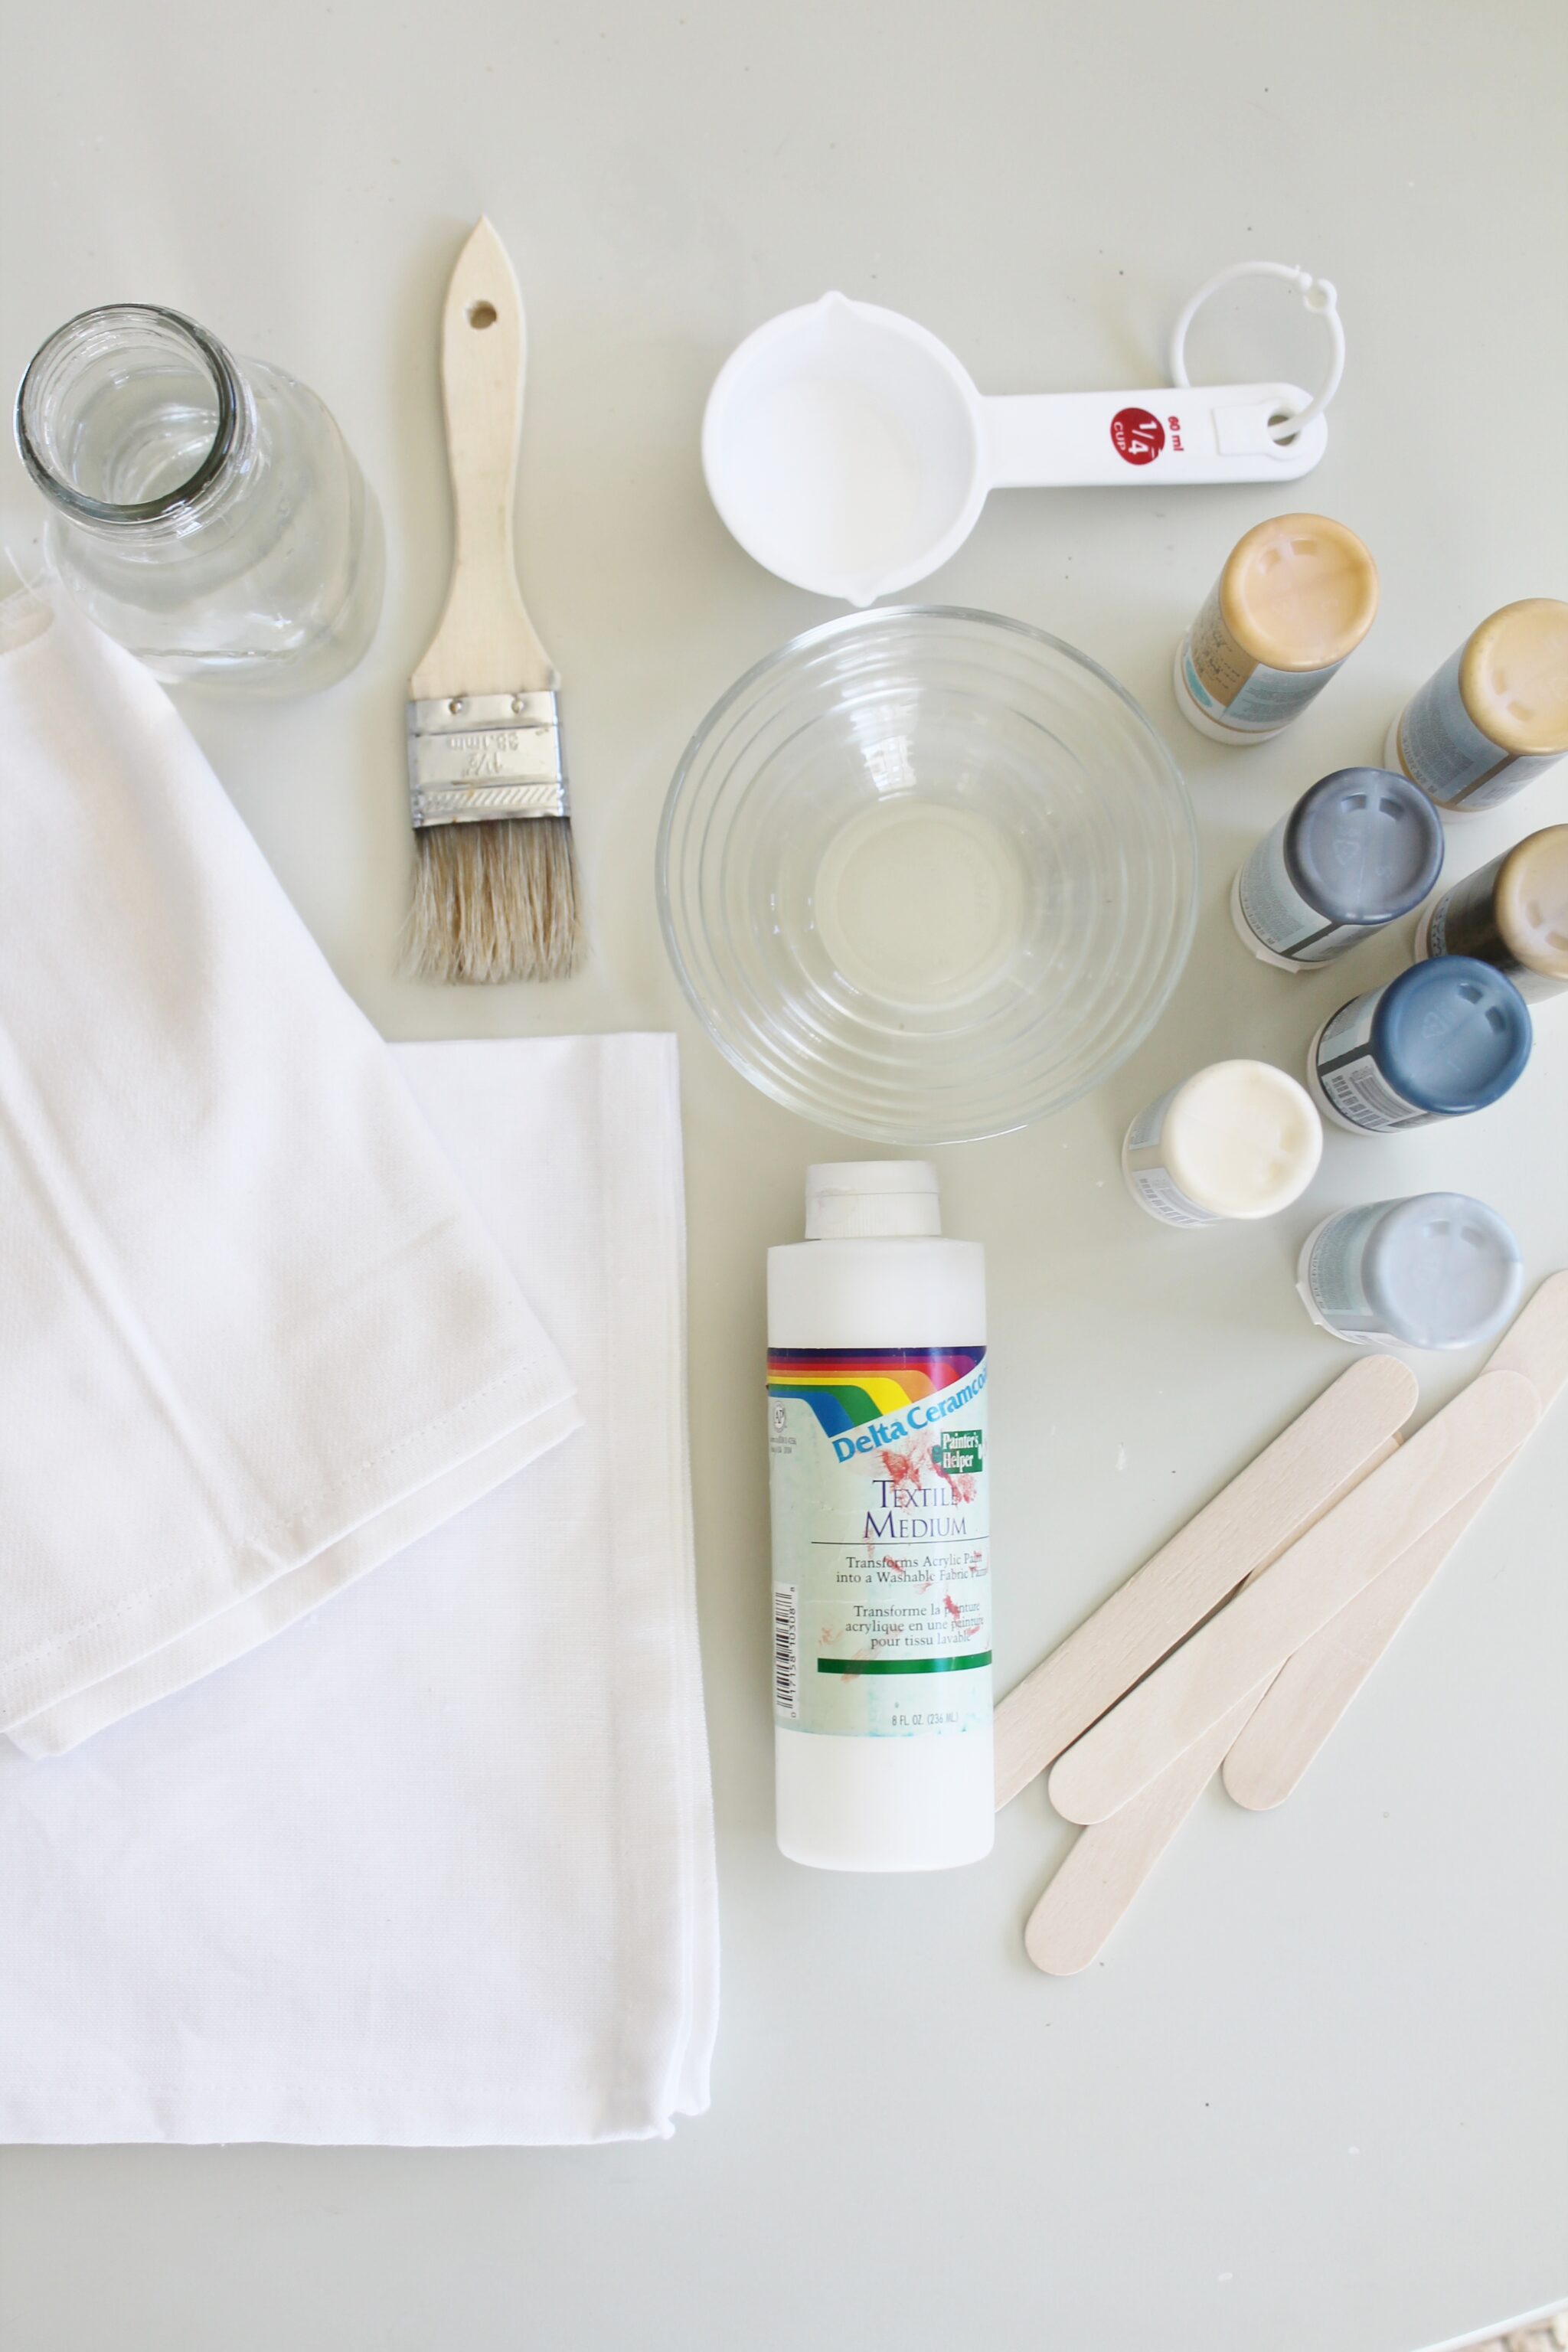
6-8 napkins, I like a cream cotton/linen blend
test cloth
craft paint, I used Martha Stewart, favorites being deep sea {shown}, gold and black.
fabric medium
a large cup
a stirrer
water
measuring cup
craft brush {1.5″-2″}
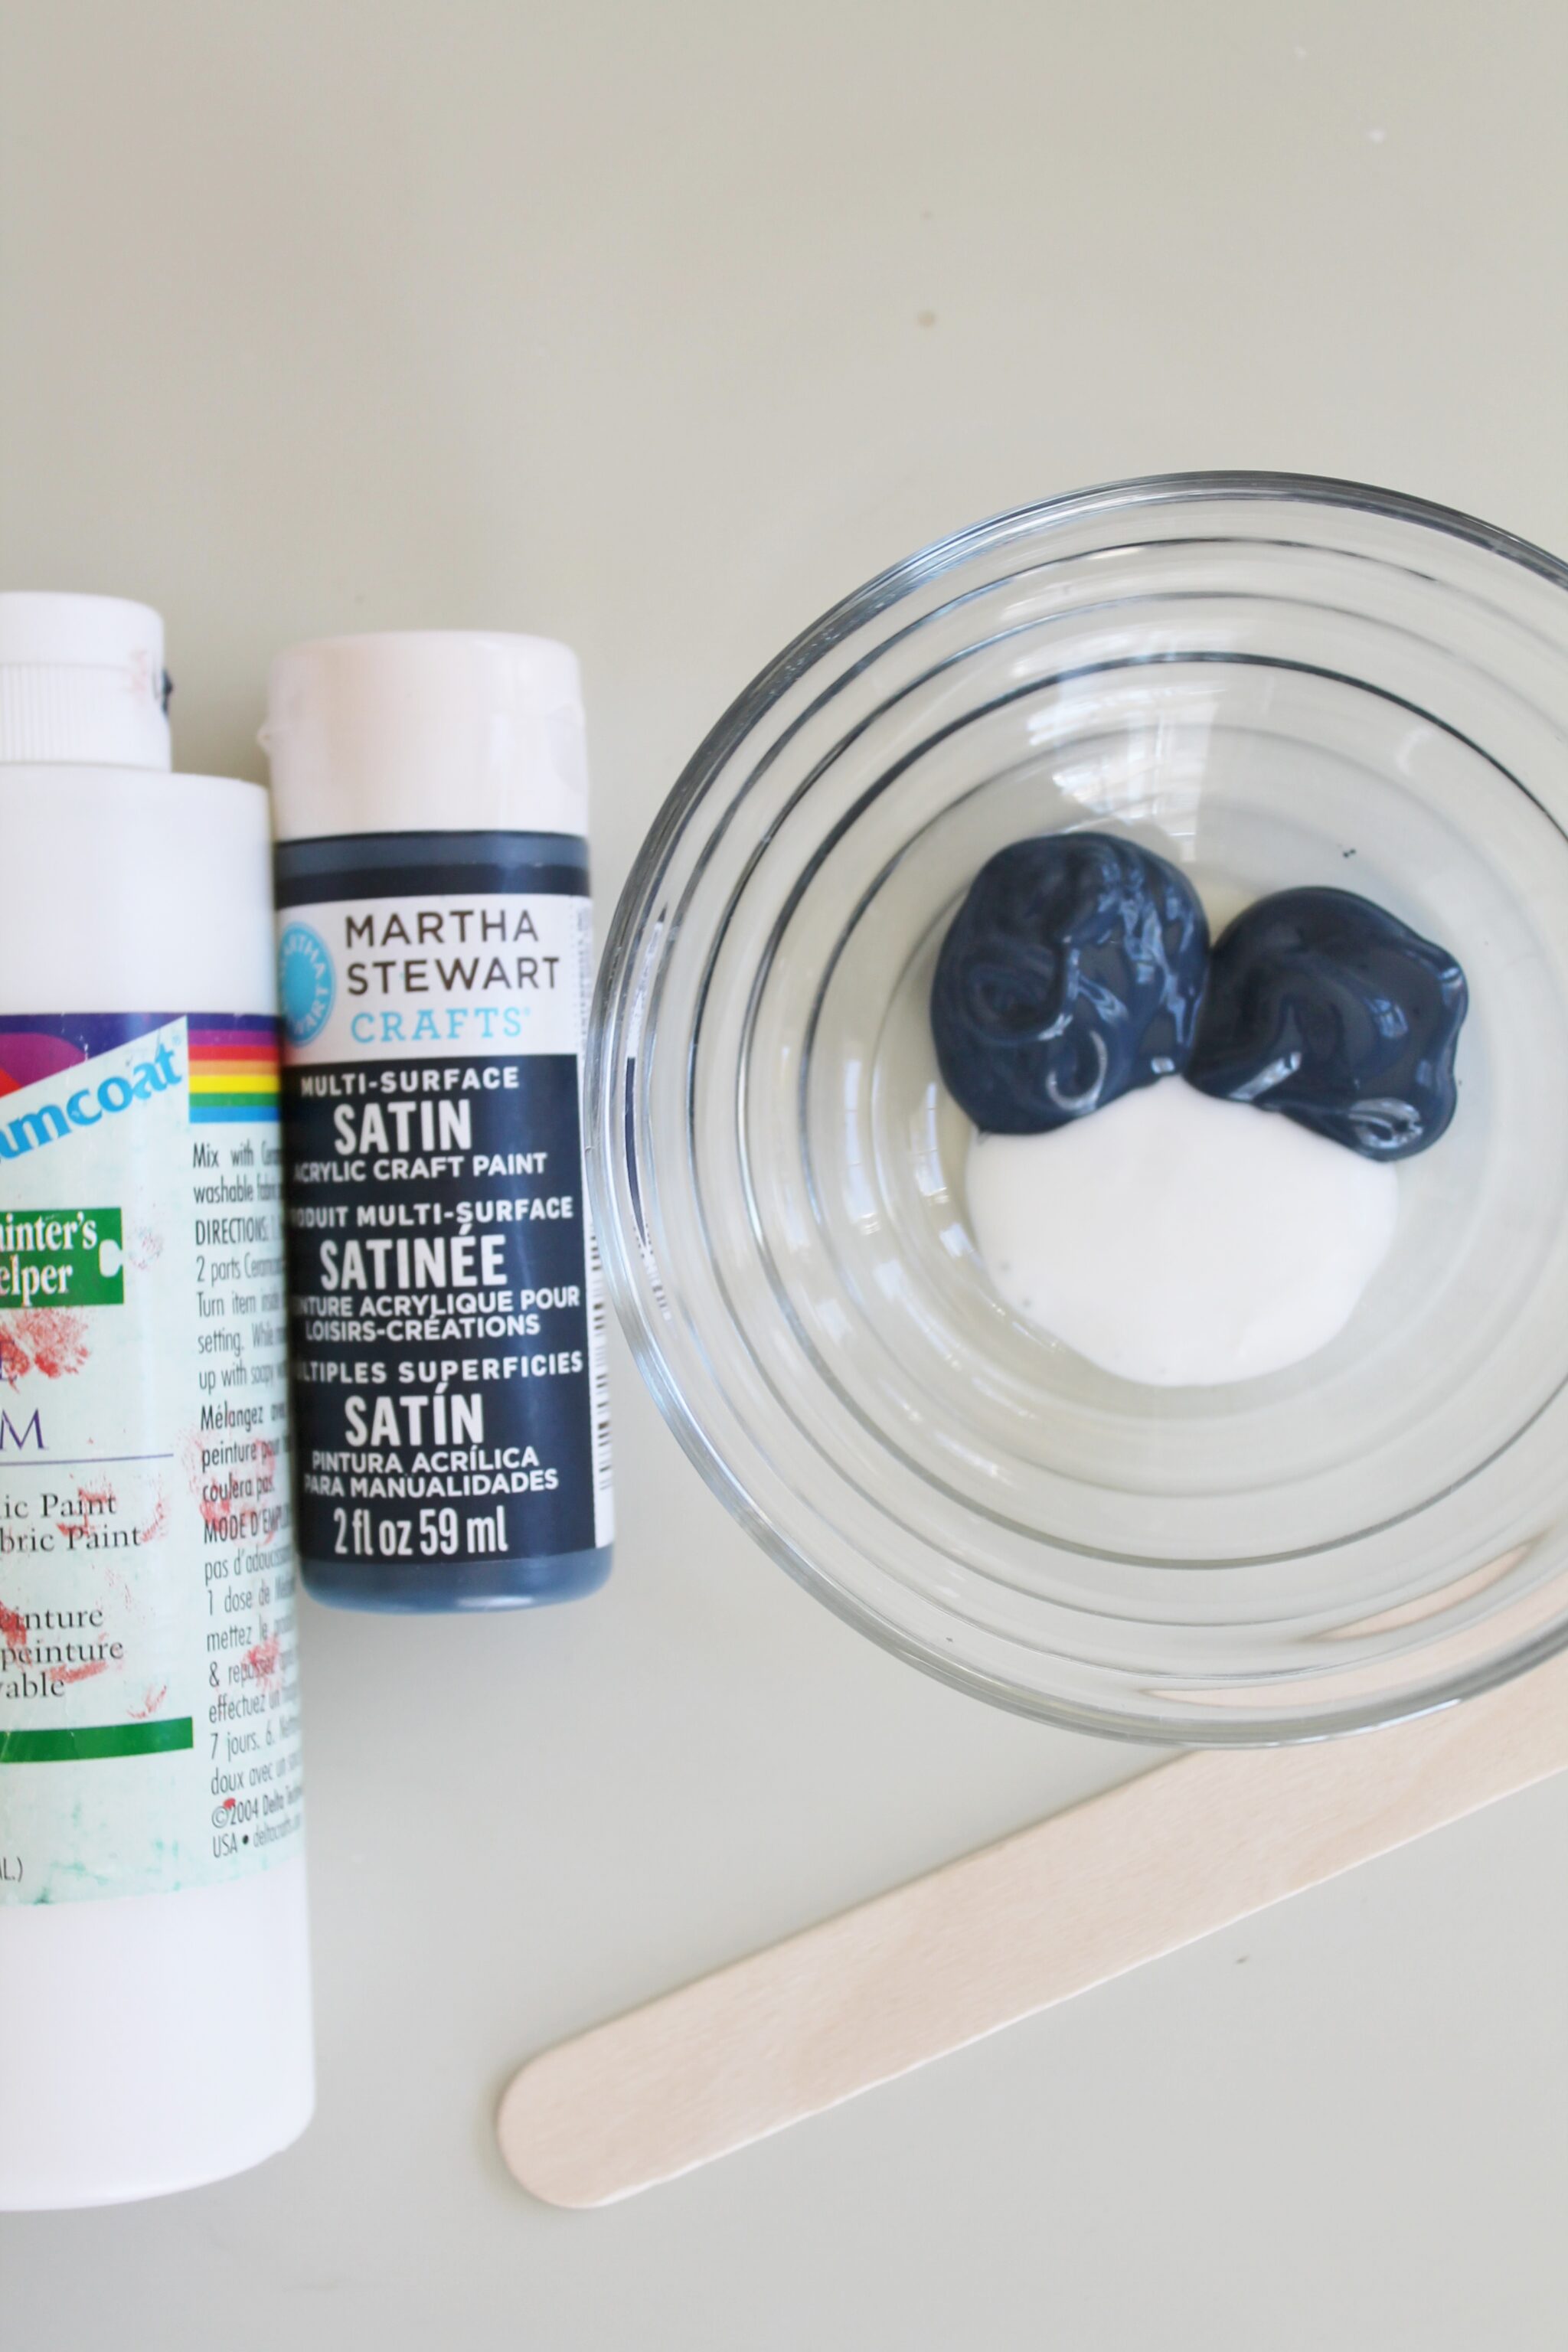
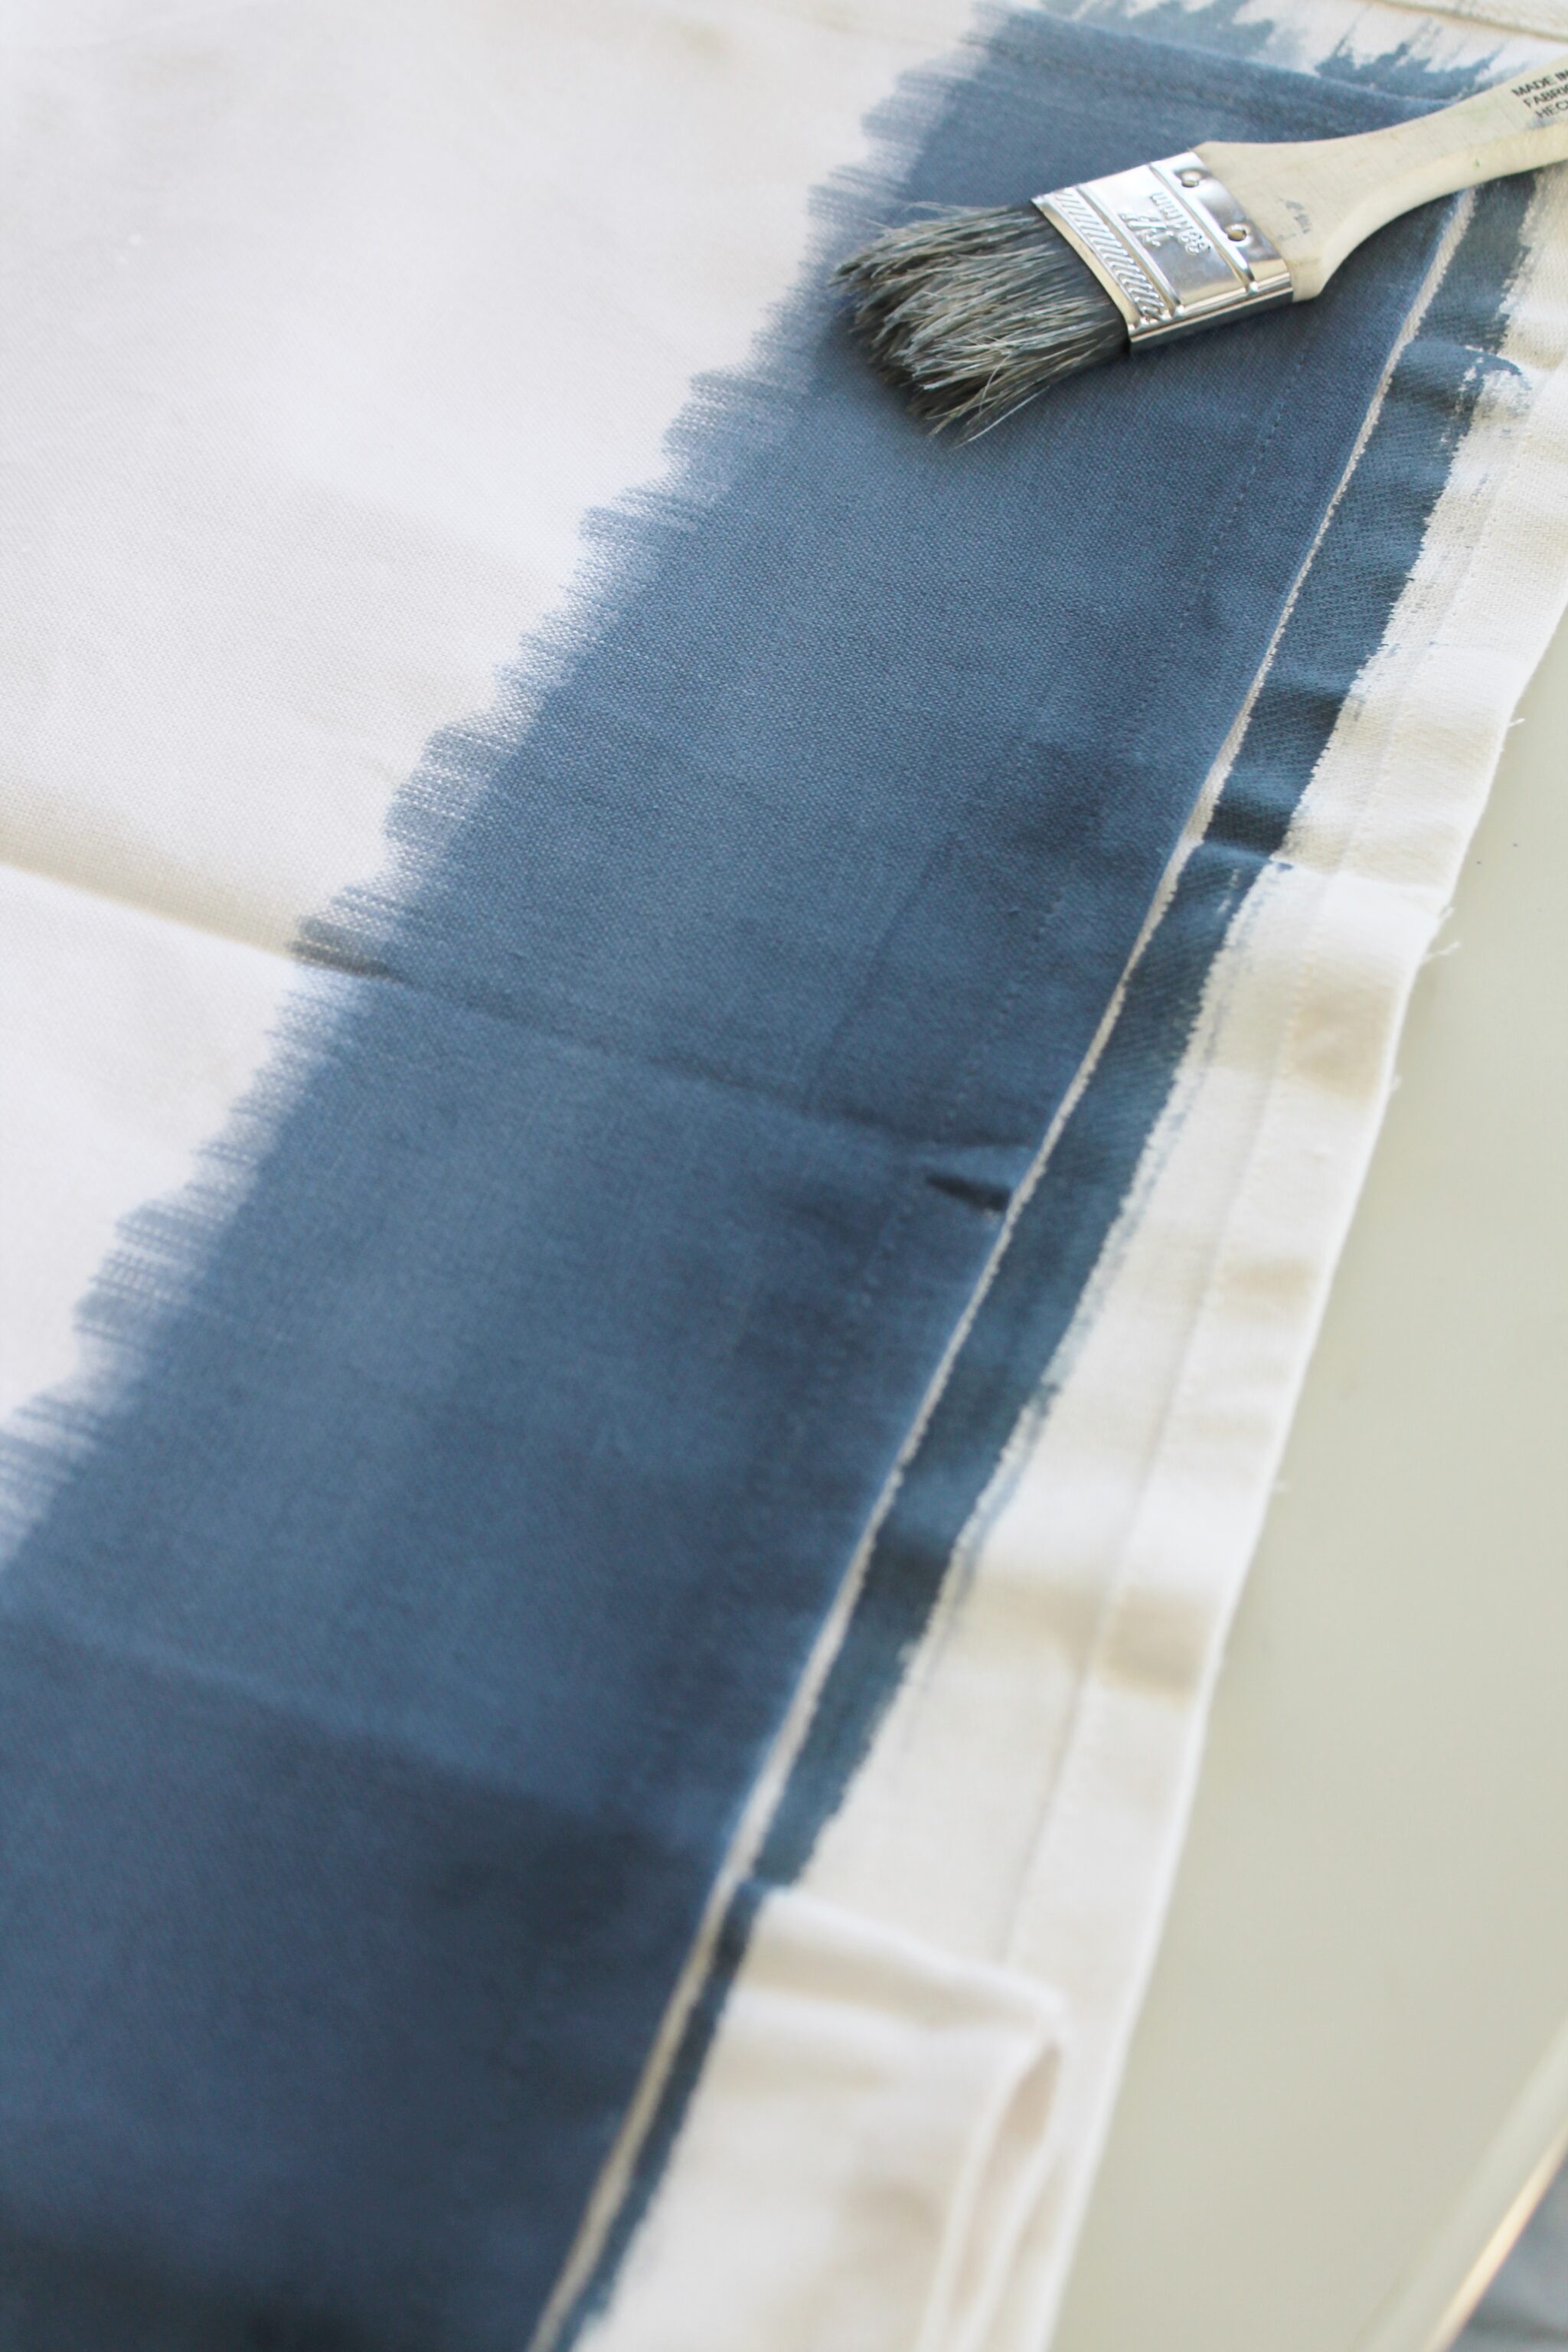
This isn’t the best picture but it gets the point across on how much:). So it’s a 2-1 ratio, I do 2 big quarter size of paint to 1 quarter size of fabric medium. Stir well.
To add your water start with 1/4 of a cup, you can always add more and this will allow you to achieve an ombre look.
 Remember, when choosing paint, it will always look lighter on your fabric than in the bottle, so this is a great time to test color and consistency.
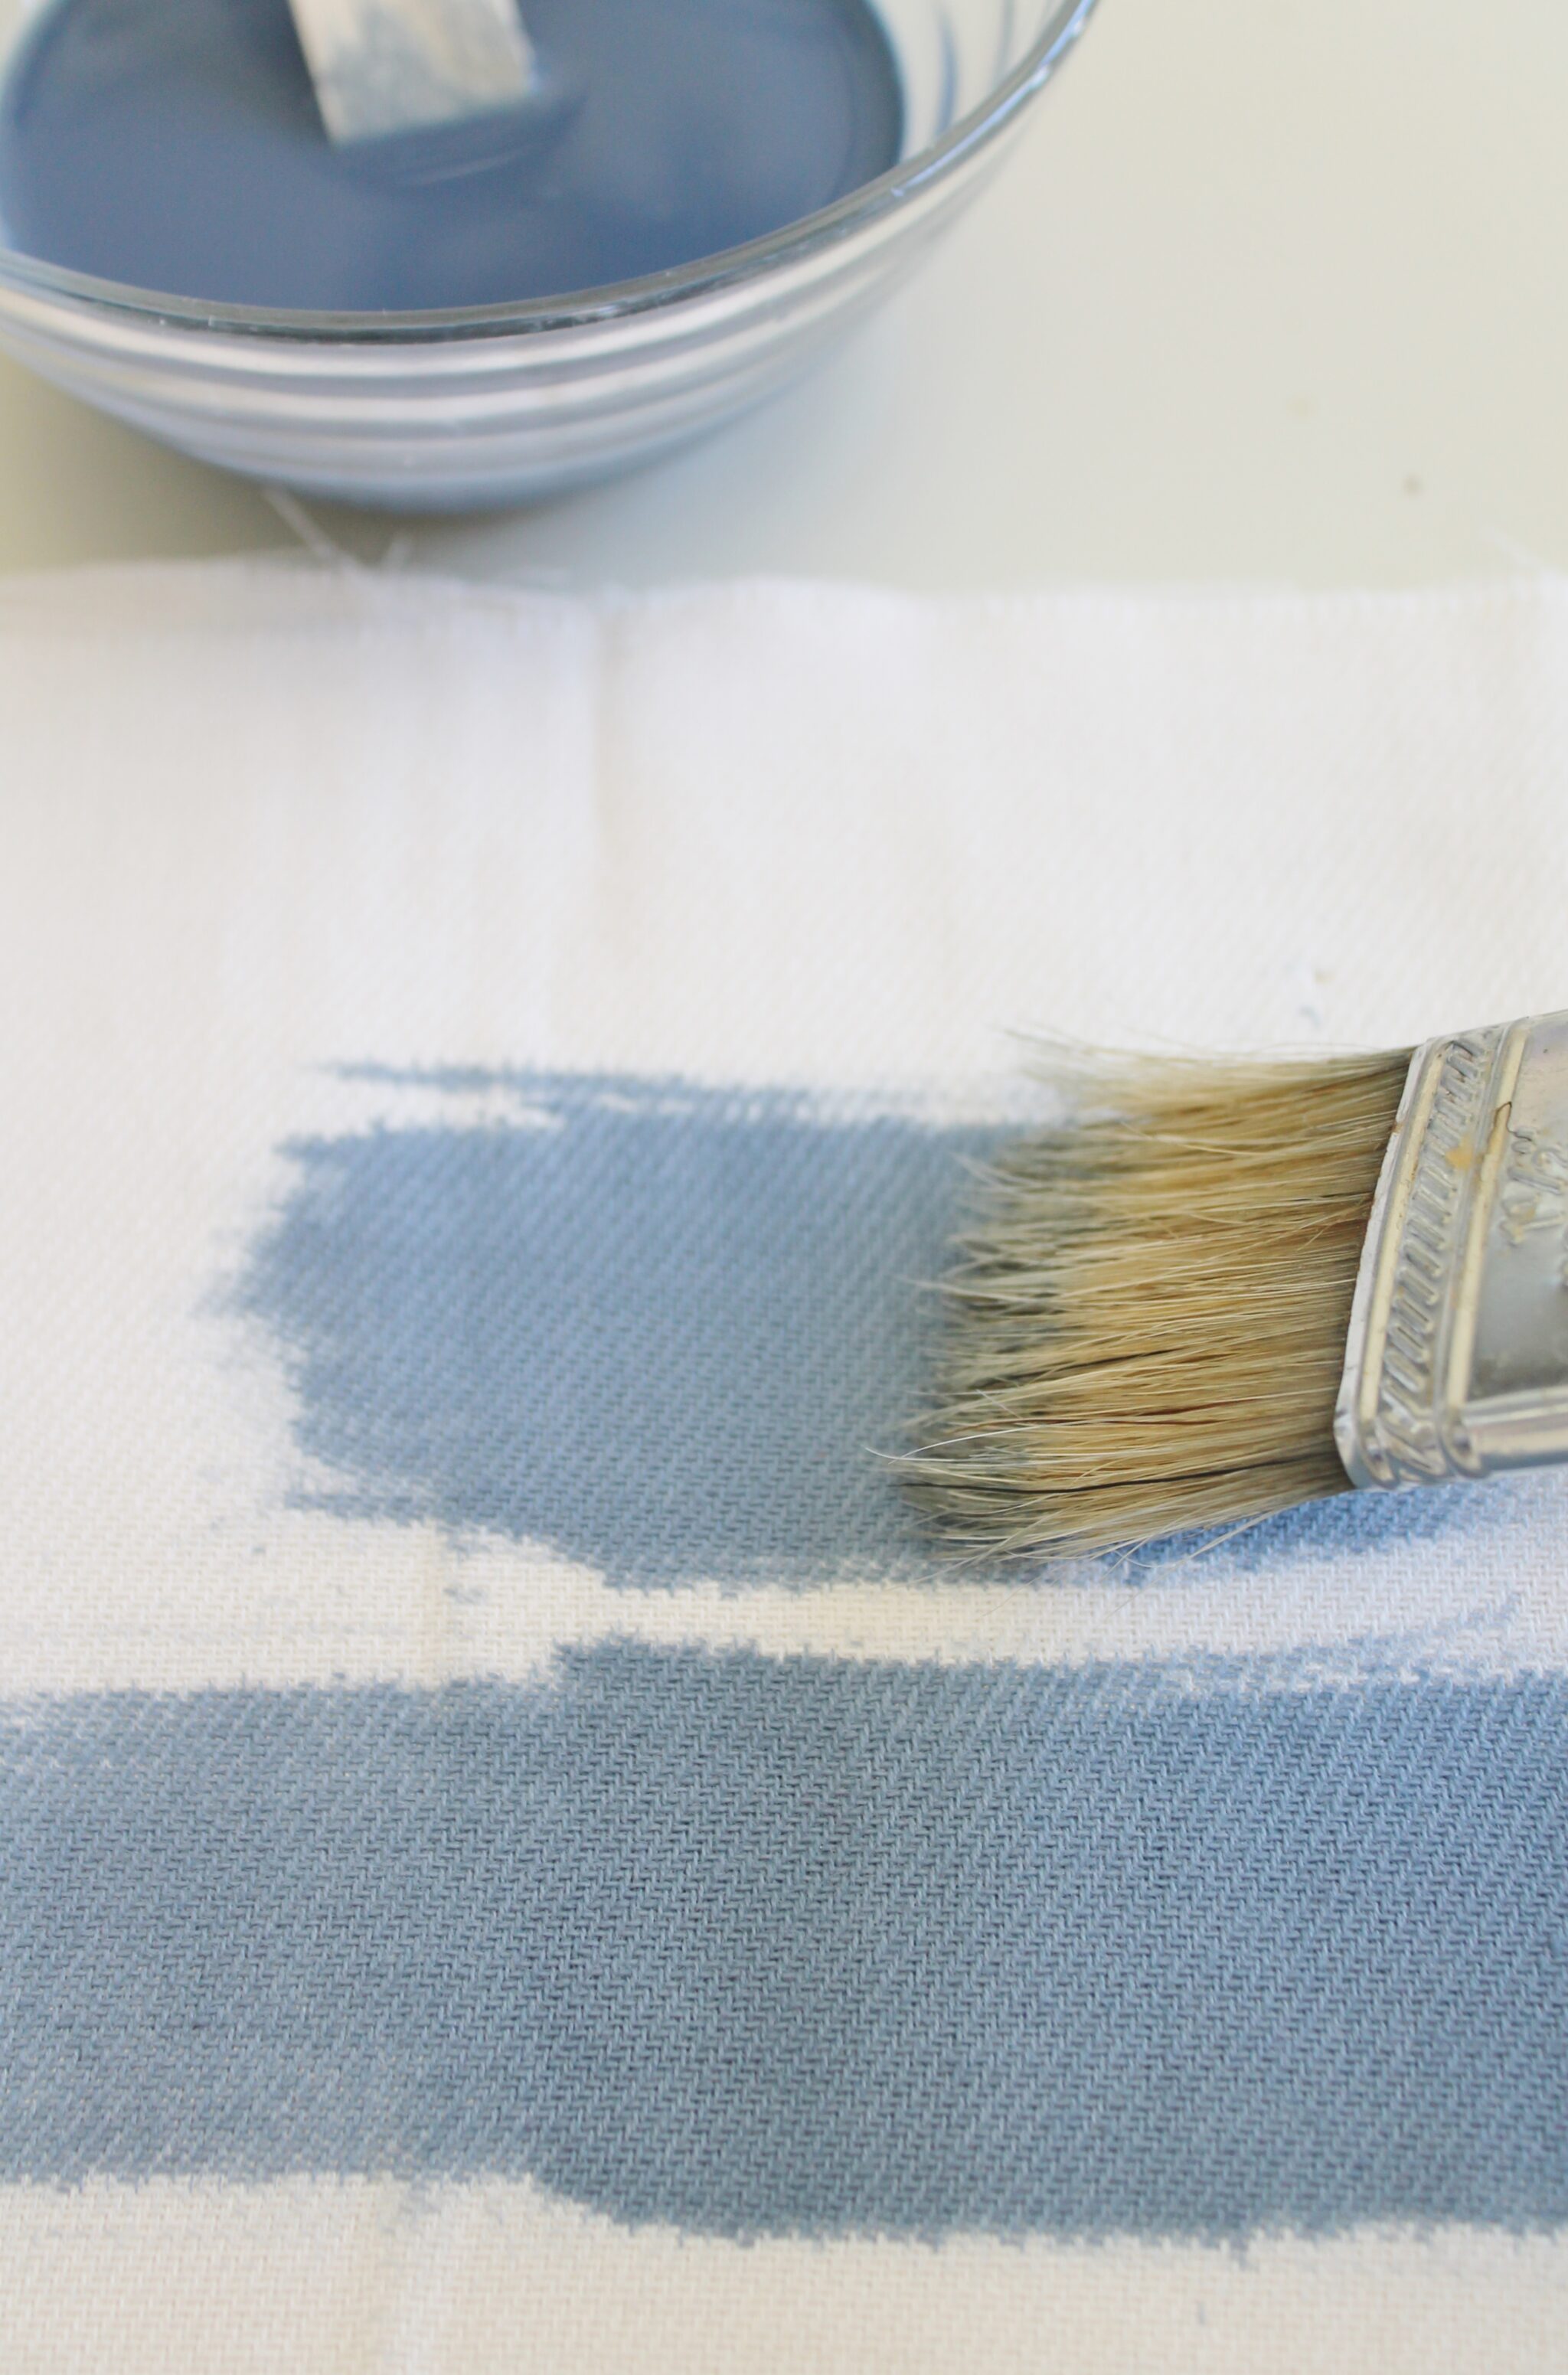
Now it’s time to paint. Do one row at a time then add more water. Tip-make sure your container is large enough to hold the water as you add it.
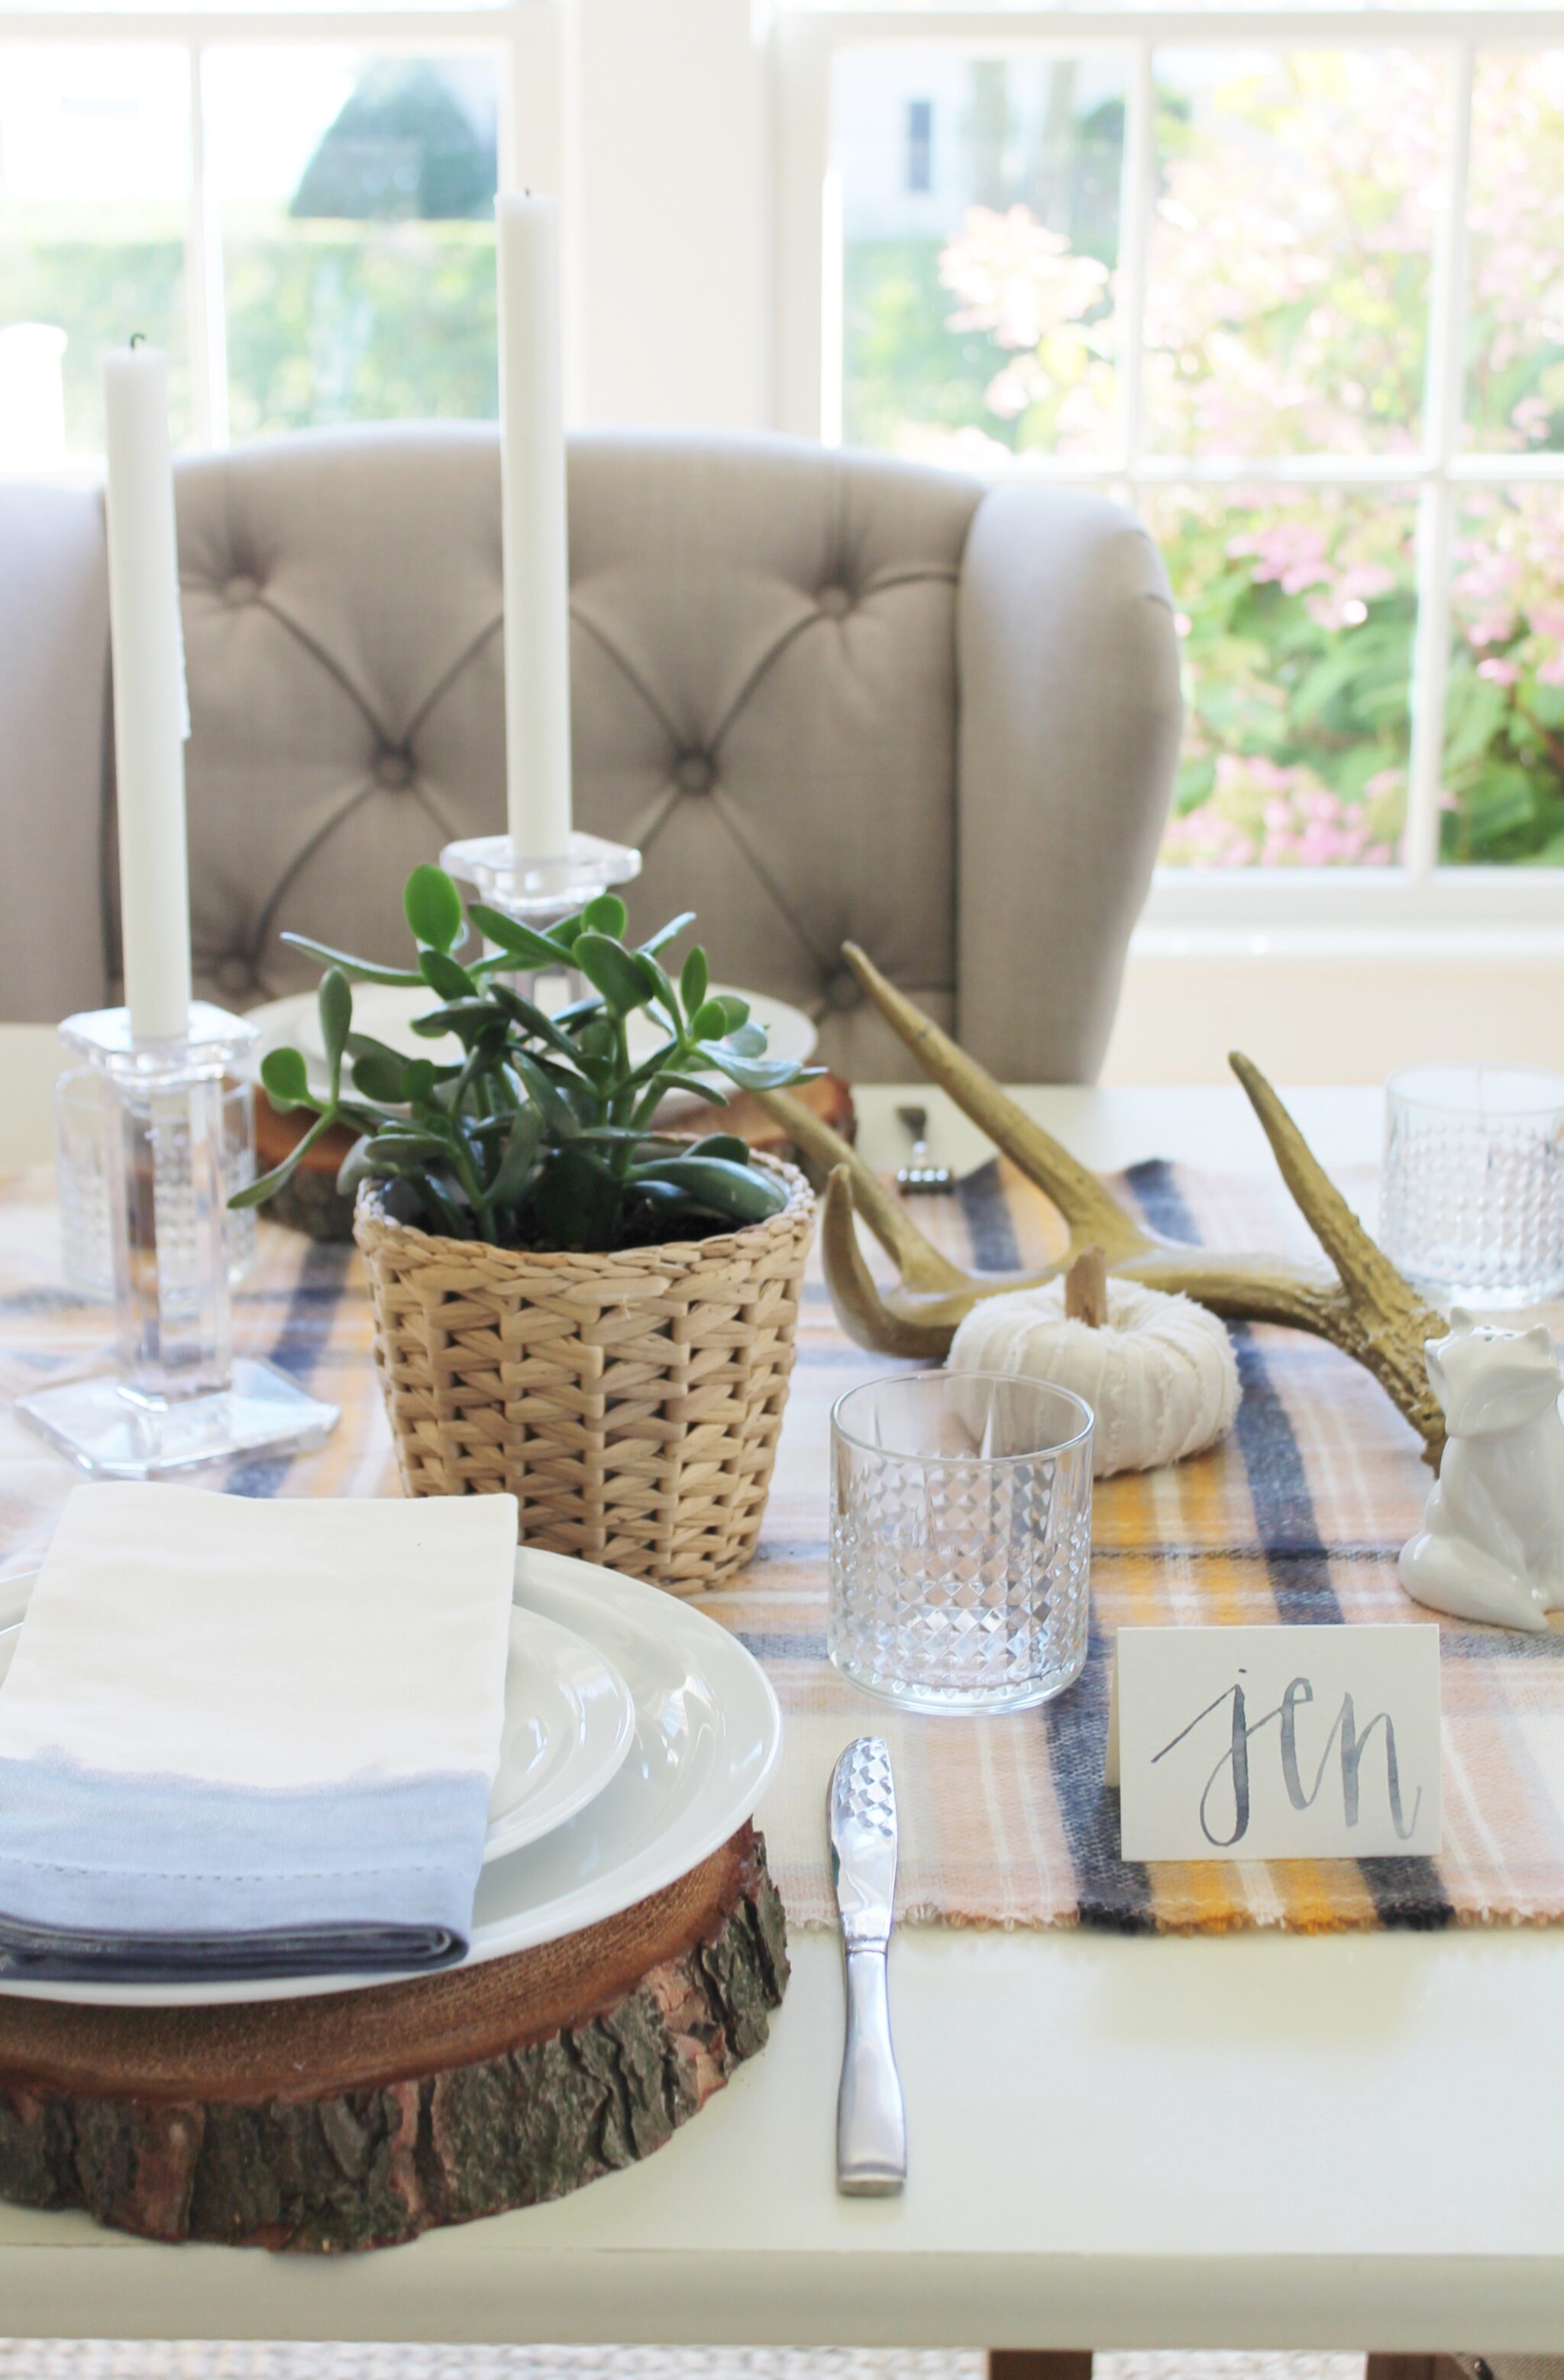
Do you see how each layer is getting lighter? You do not have to do it this way, you can do one mixture all the way through but be sure you only do it at the bottom, so it looks dipped. When your napkin is folded you want it to show the contrast between the cream of the napkin and your color.
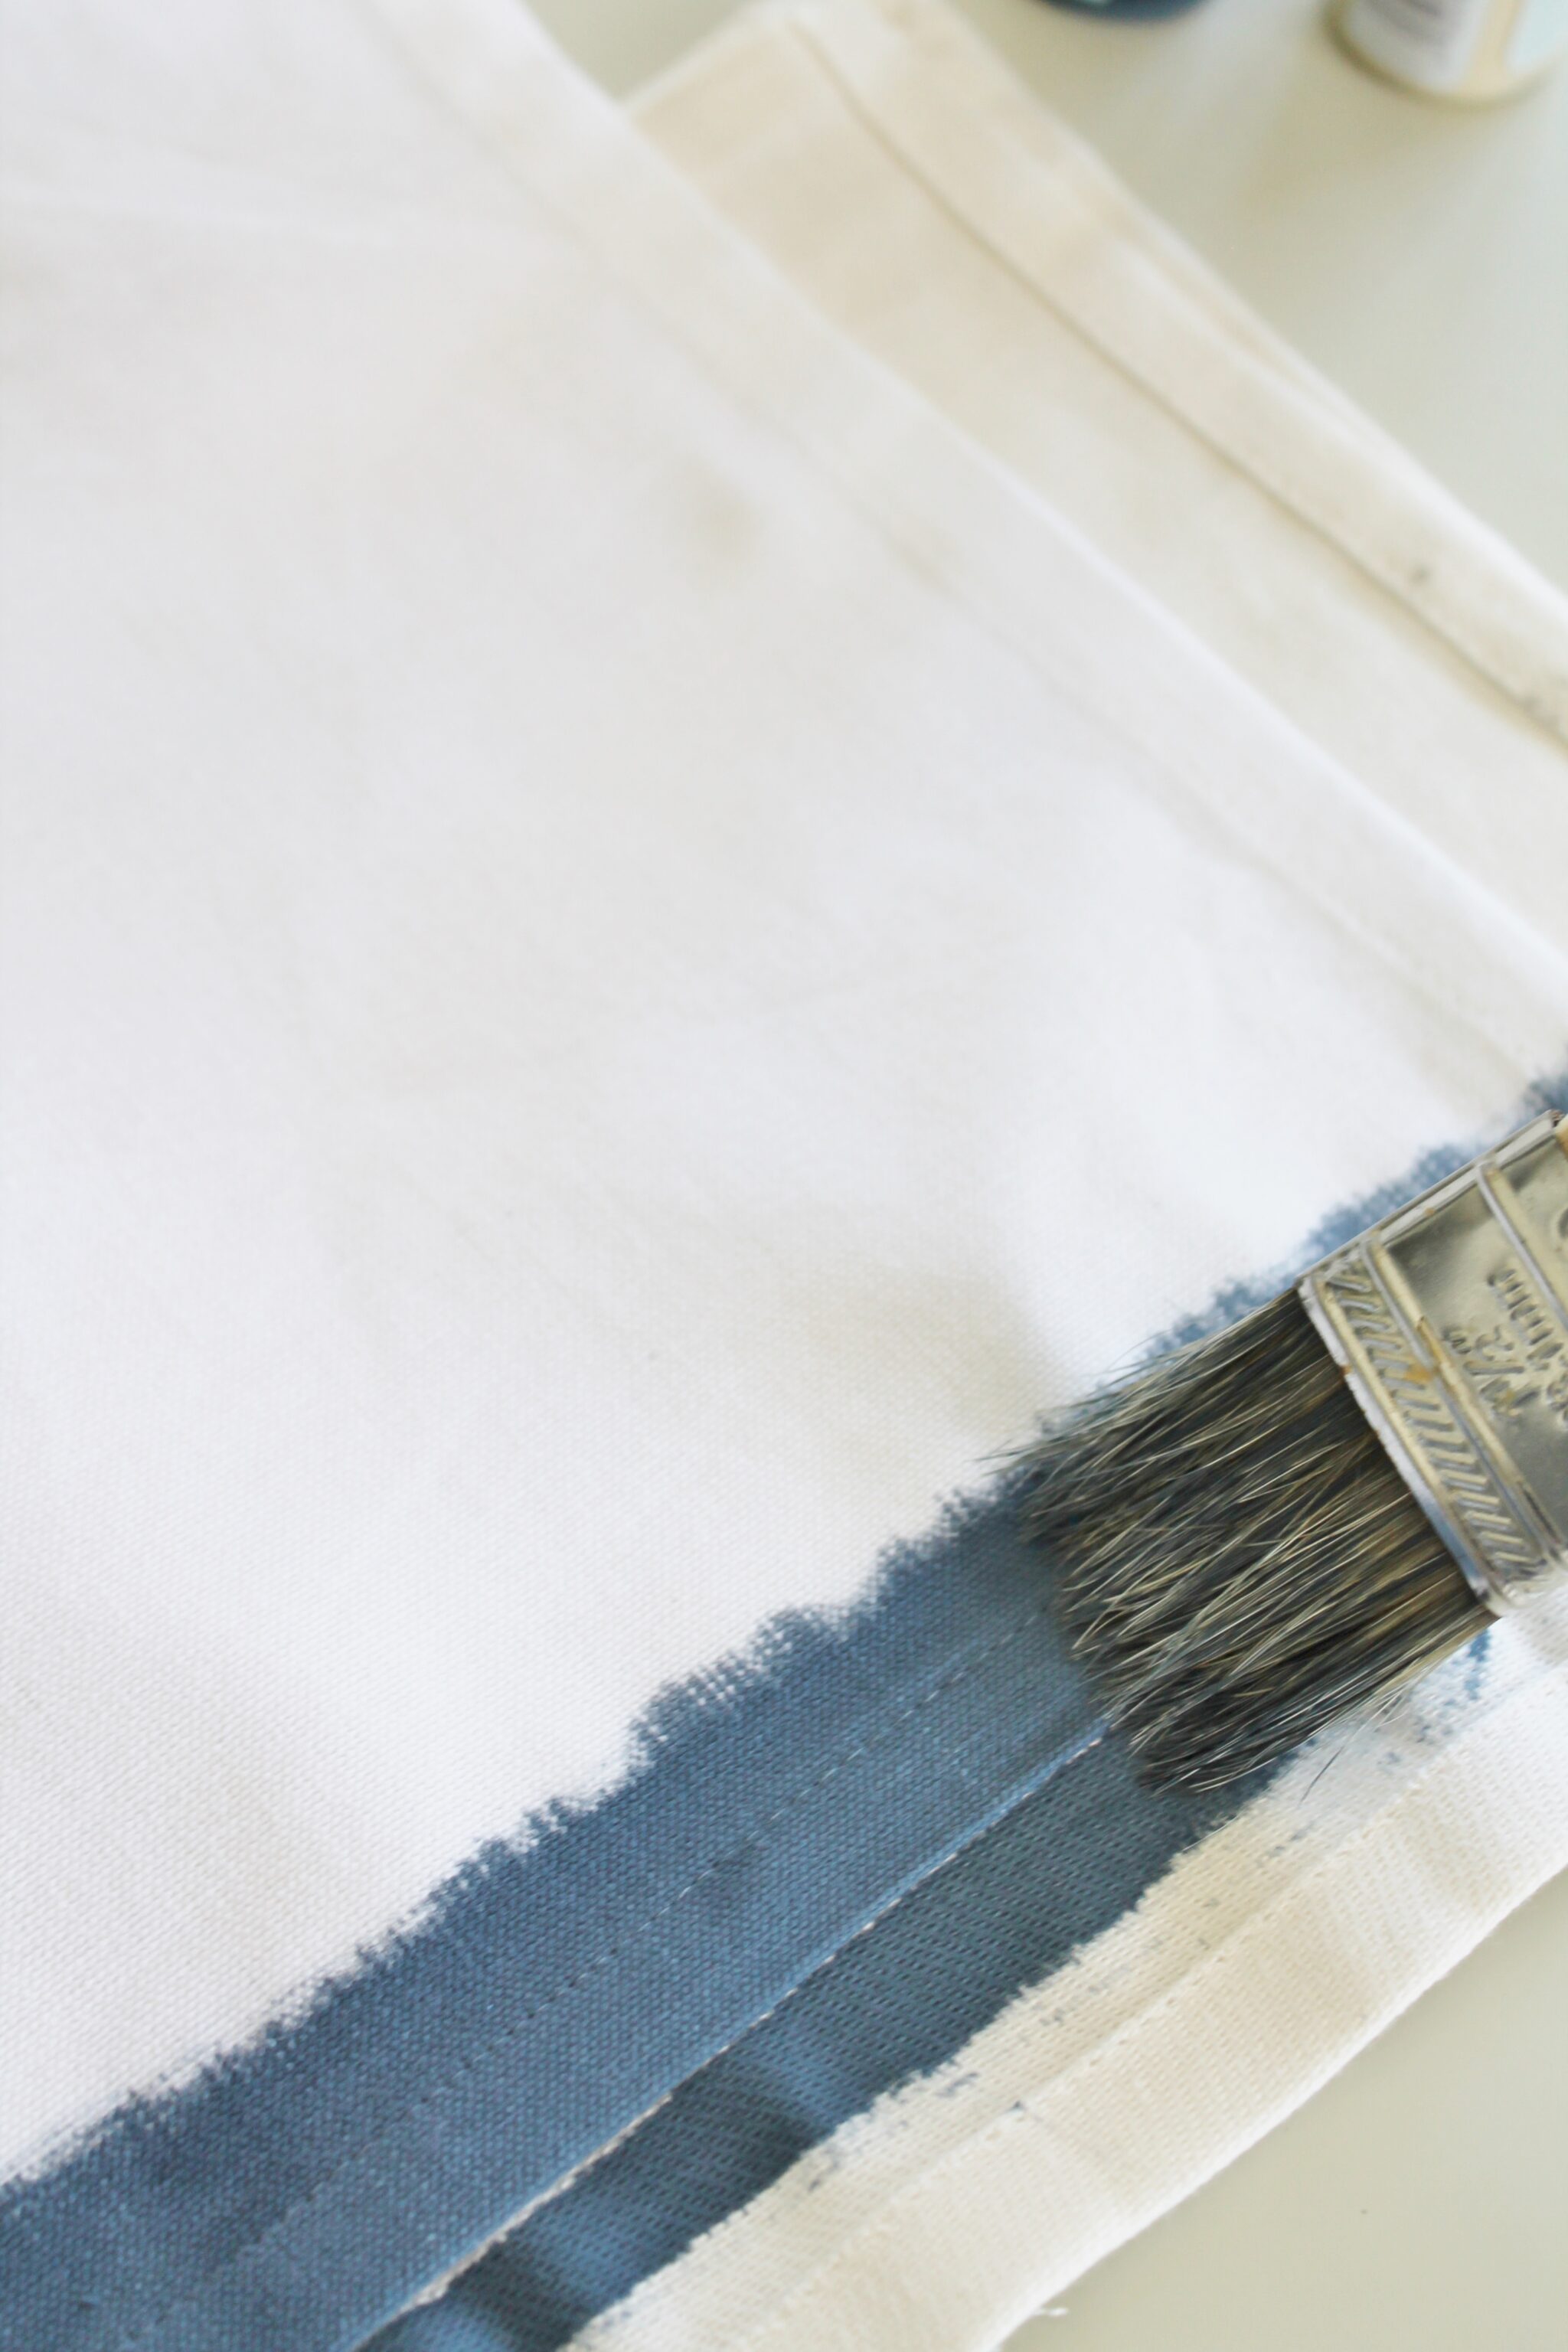
 Just keep adding more water for each new layer.

Last step, once these are dry, iron them to set the color. The best way to clean these would be to hand wash or to put in the delicate cycle, ALONE, in cold water.
Each one cost around $4.00, so much cheaper than buying them {I know I bought them:)}. Plus, your guests will praise you for your craftiness and I am sure give you tons of compliments.
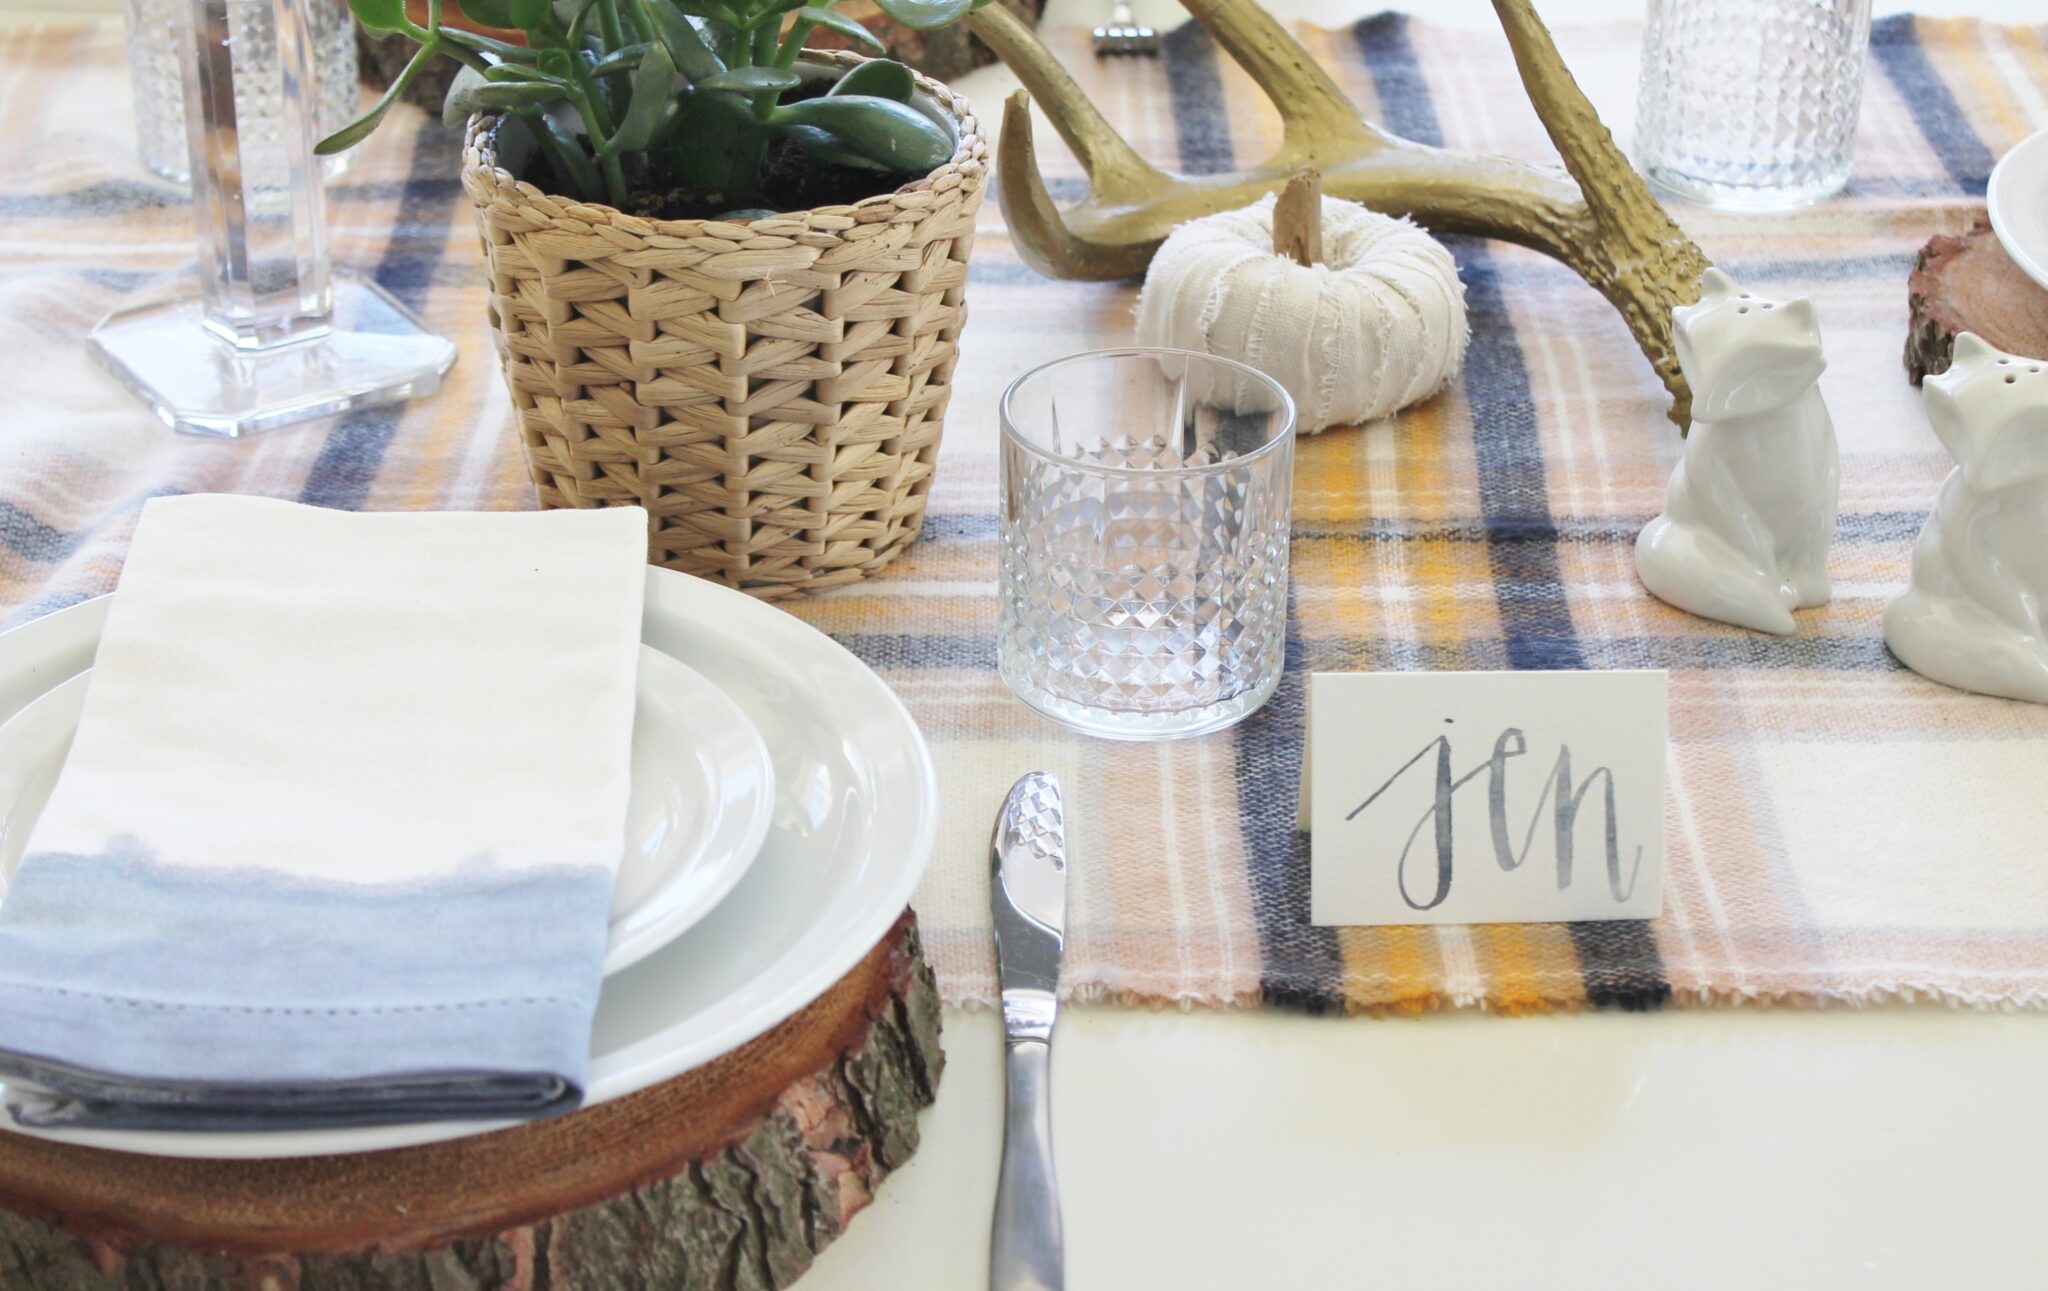
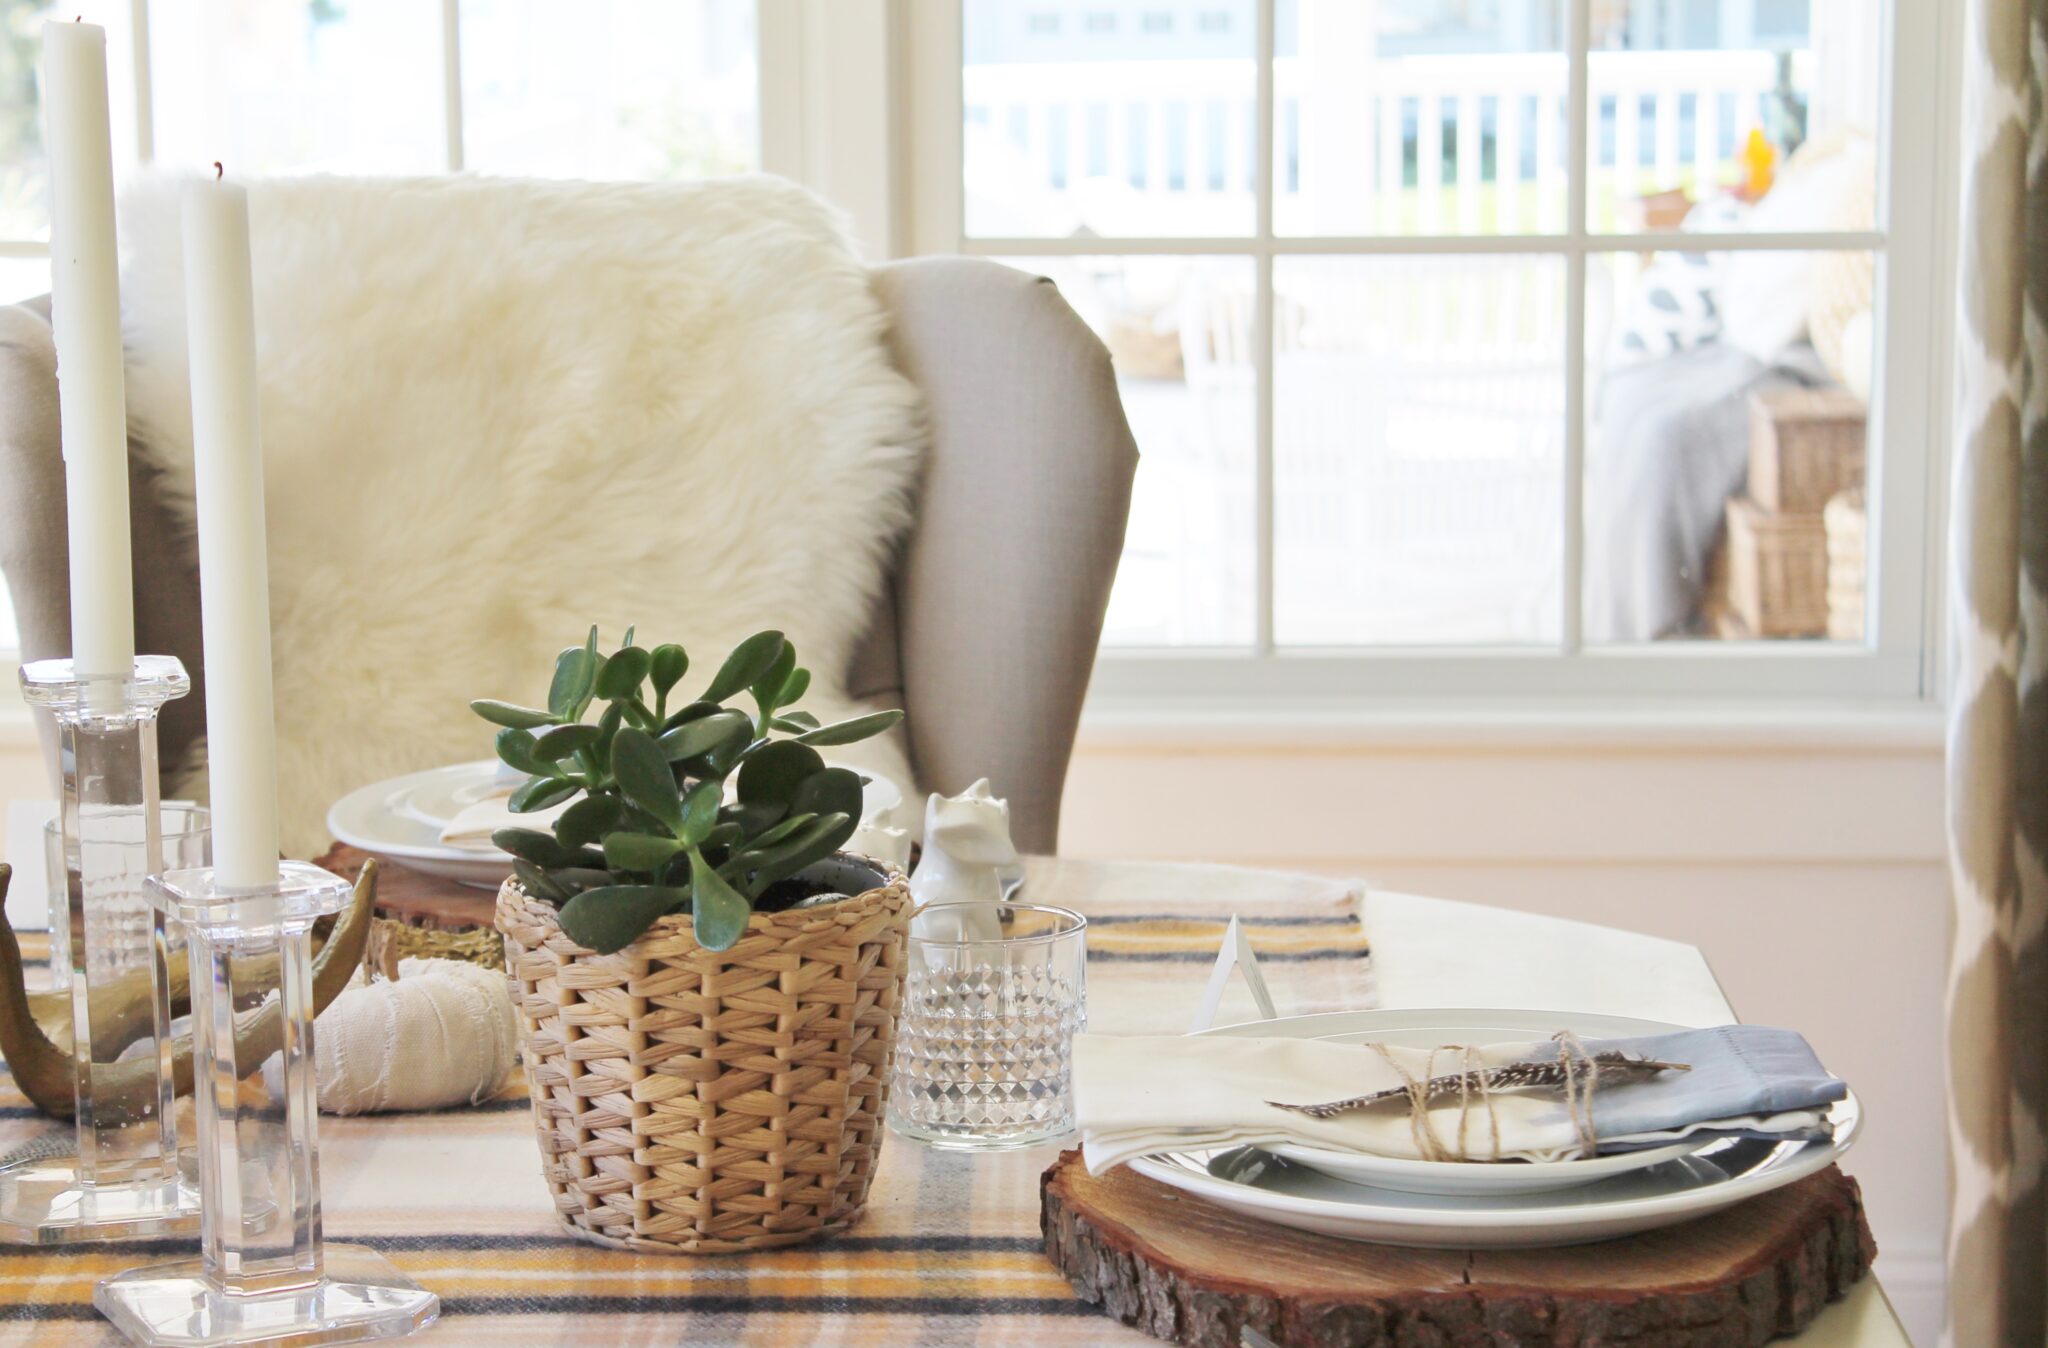
Here is another way to show off your DIY Watercolor Napkins…

By simply adding jute and a feather from the craft store you have created a festive way to highlight your napkins.

Adding height at different levels keeps the tablescape interesting.

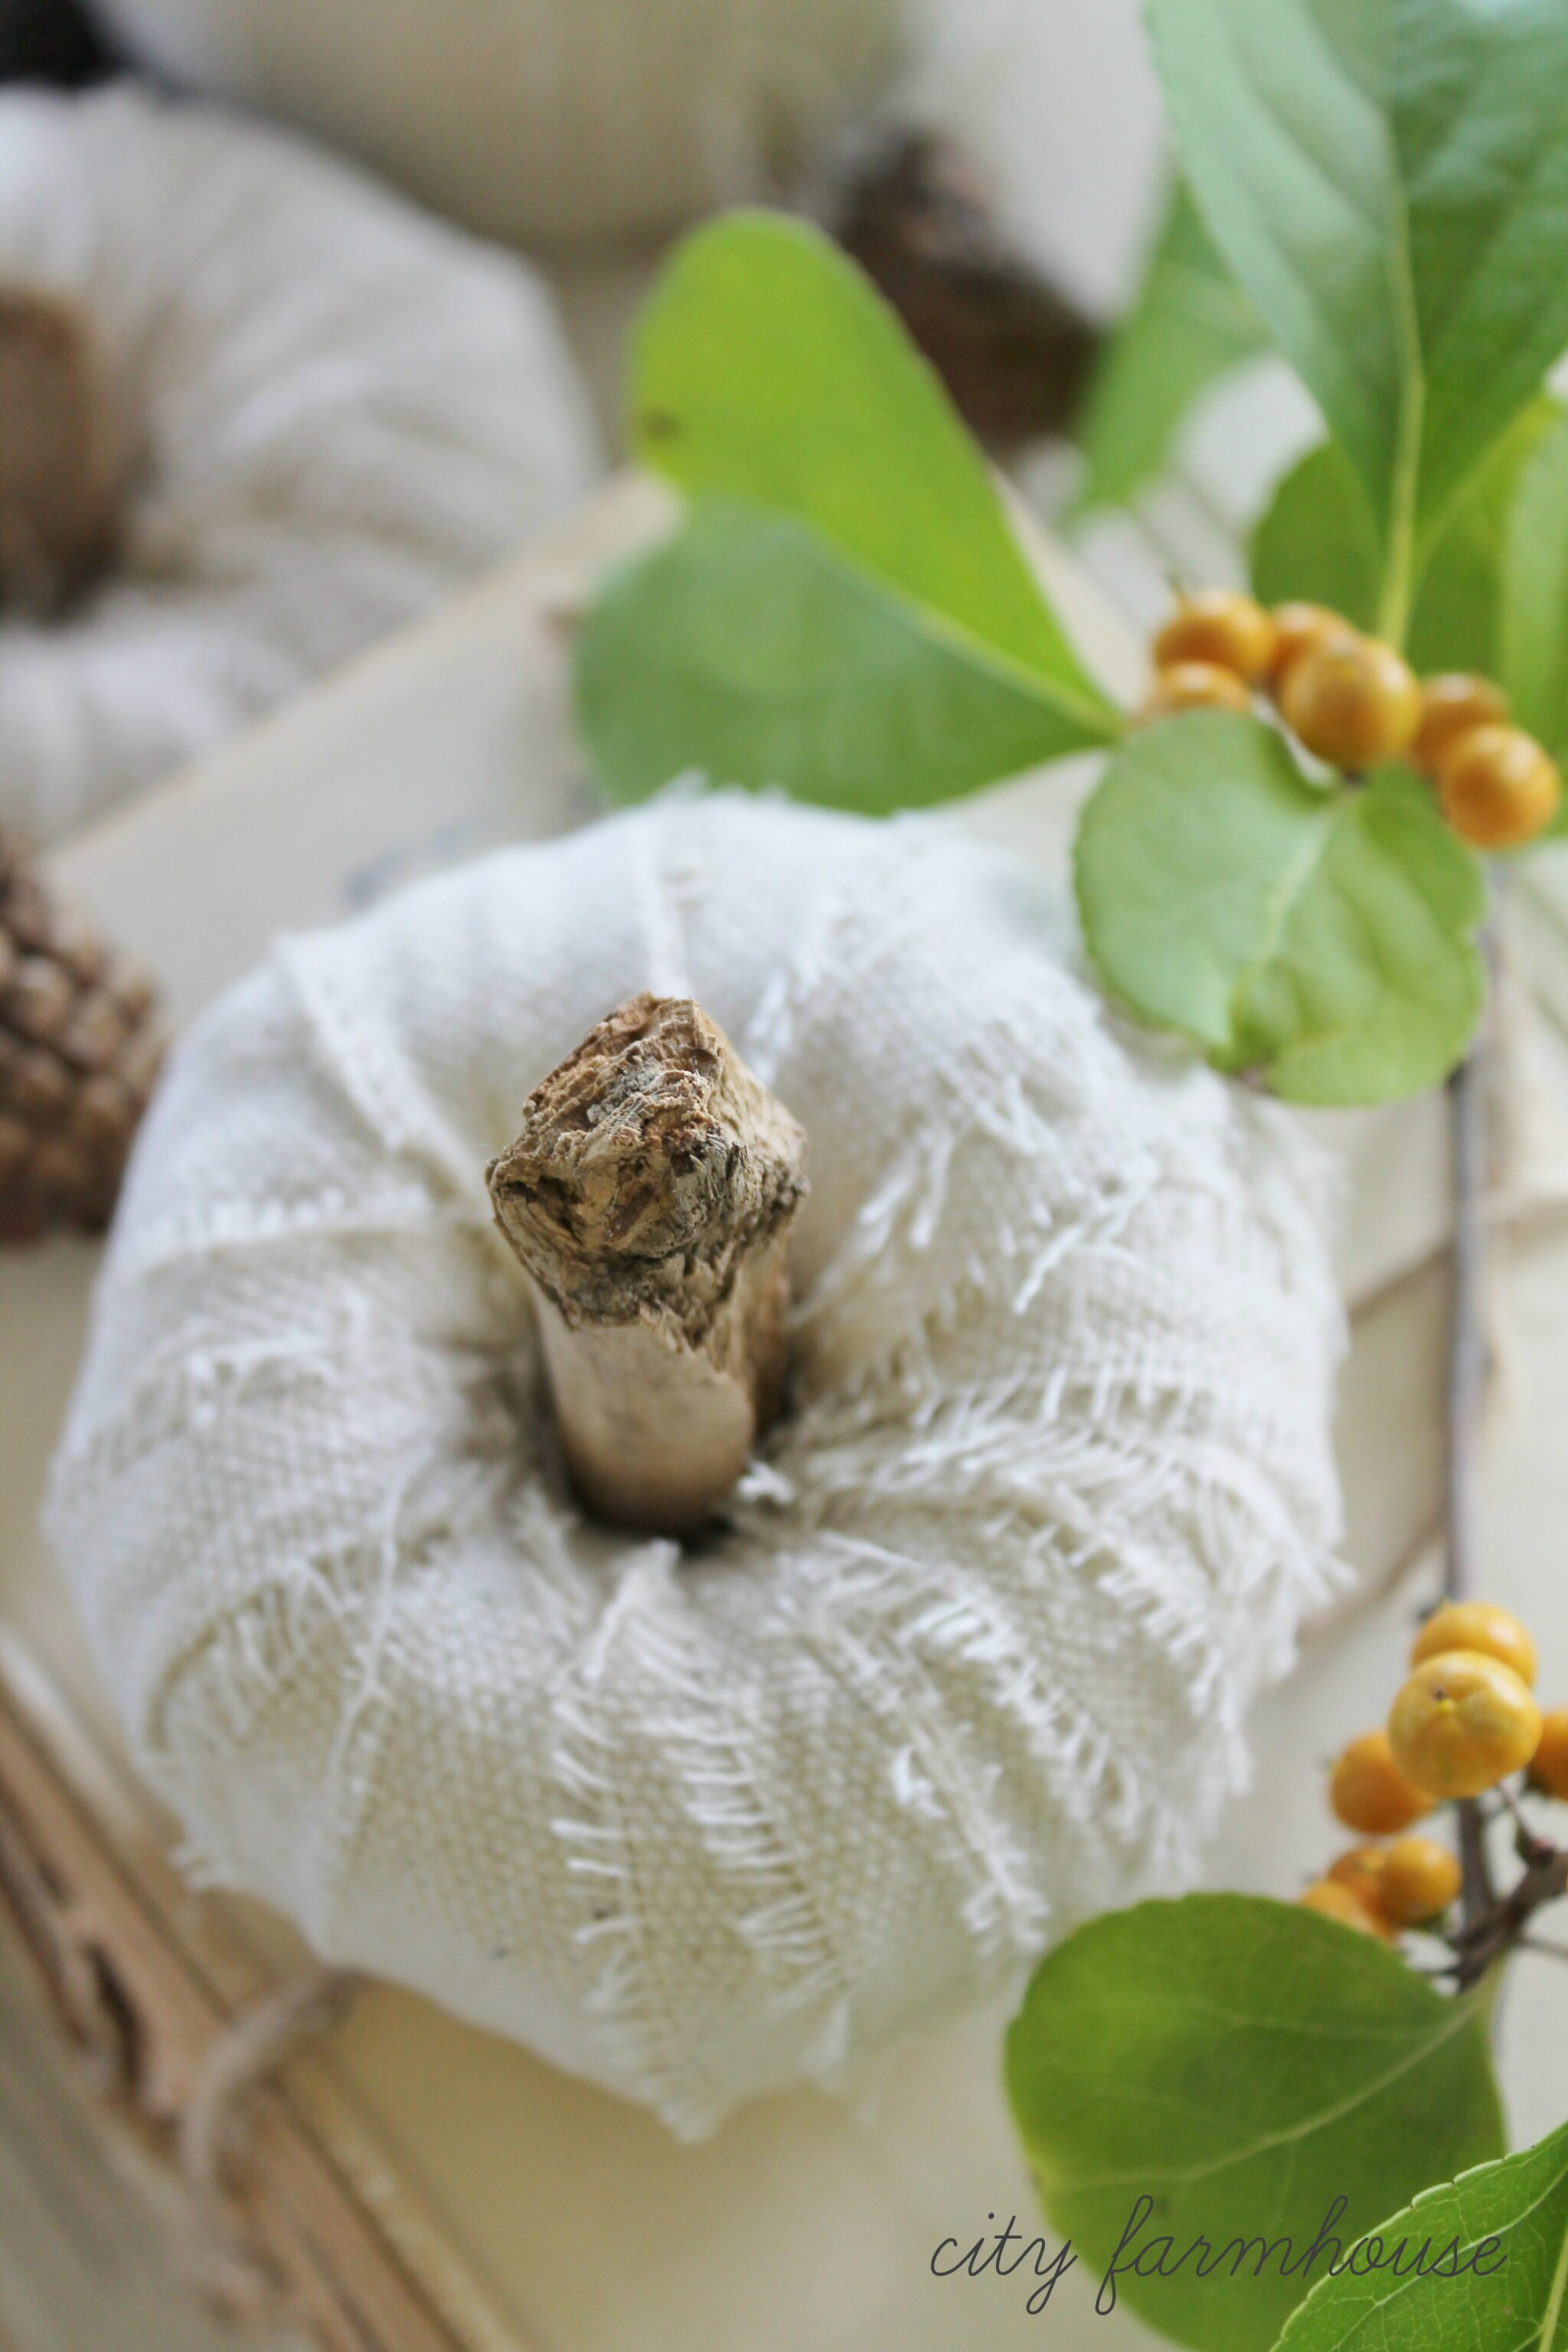
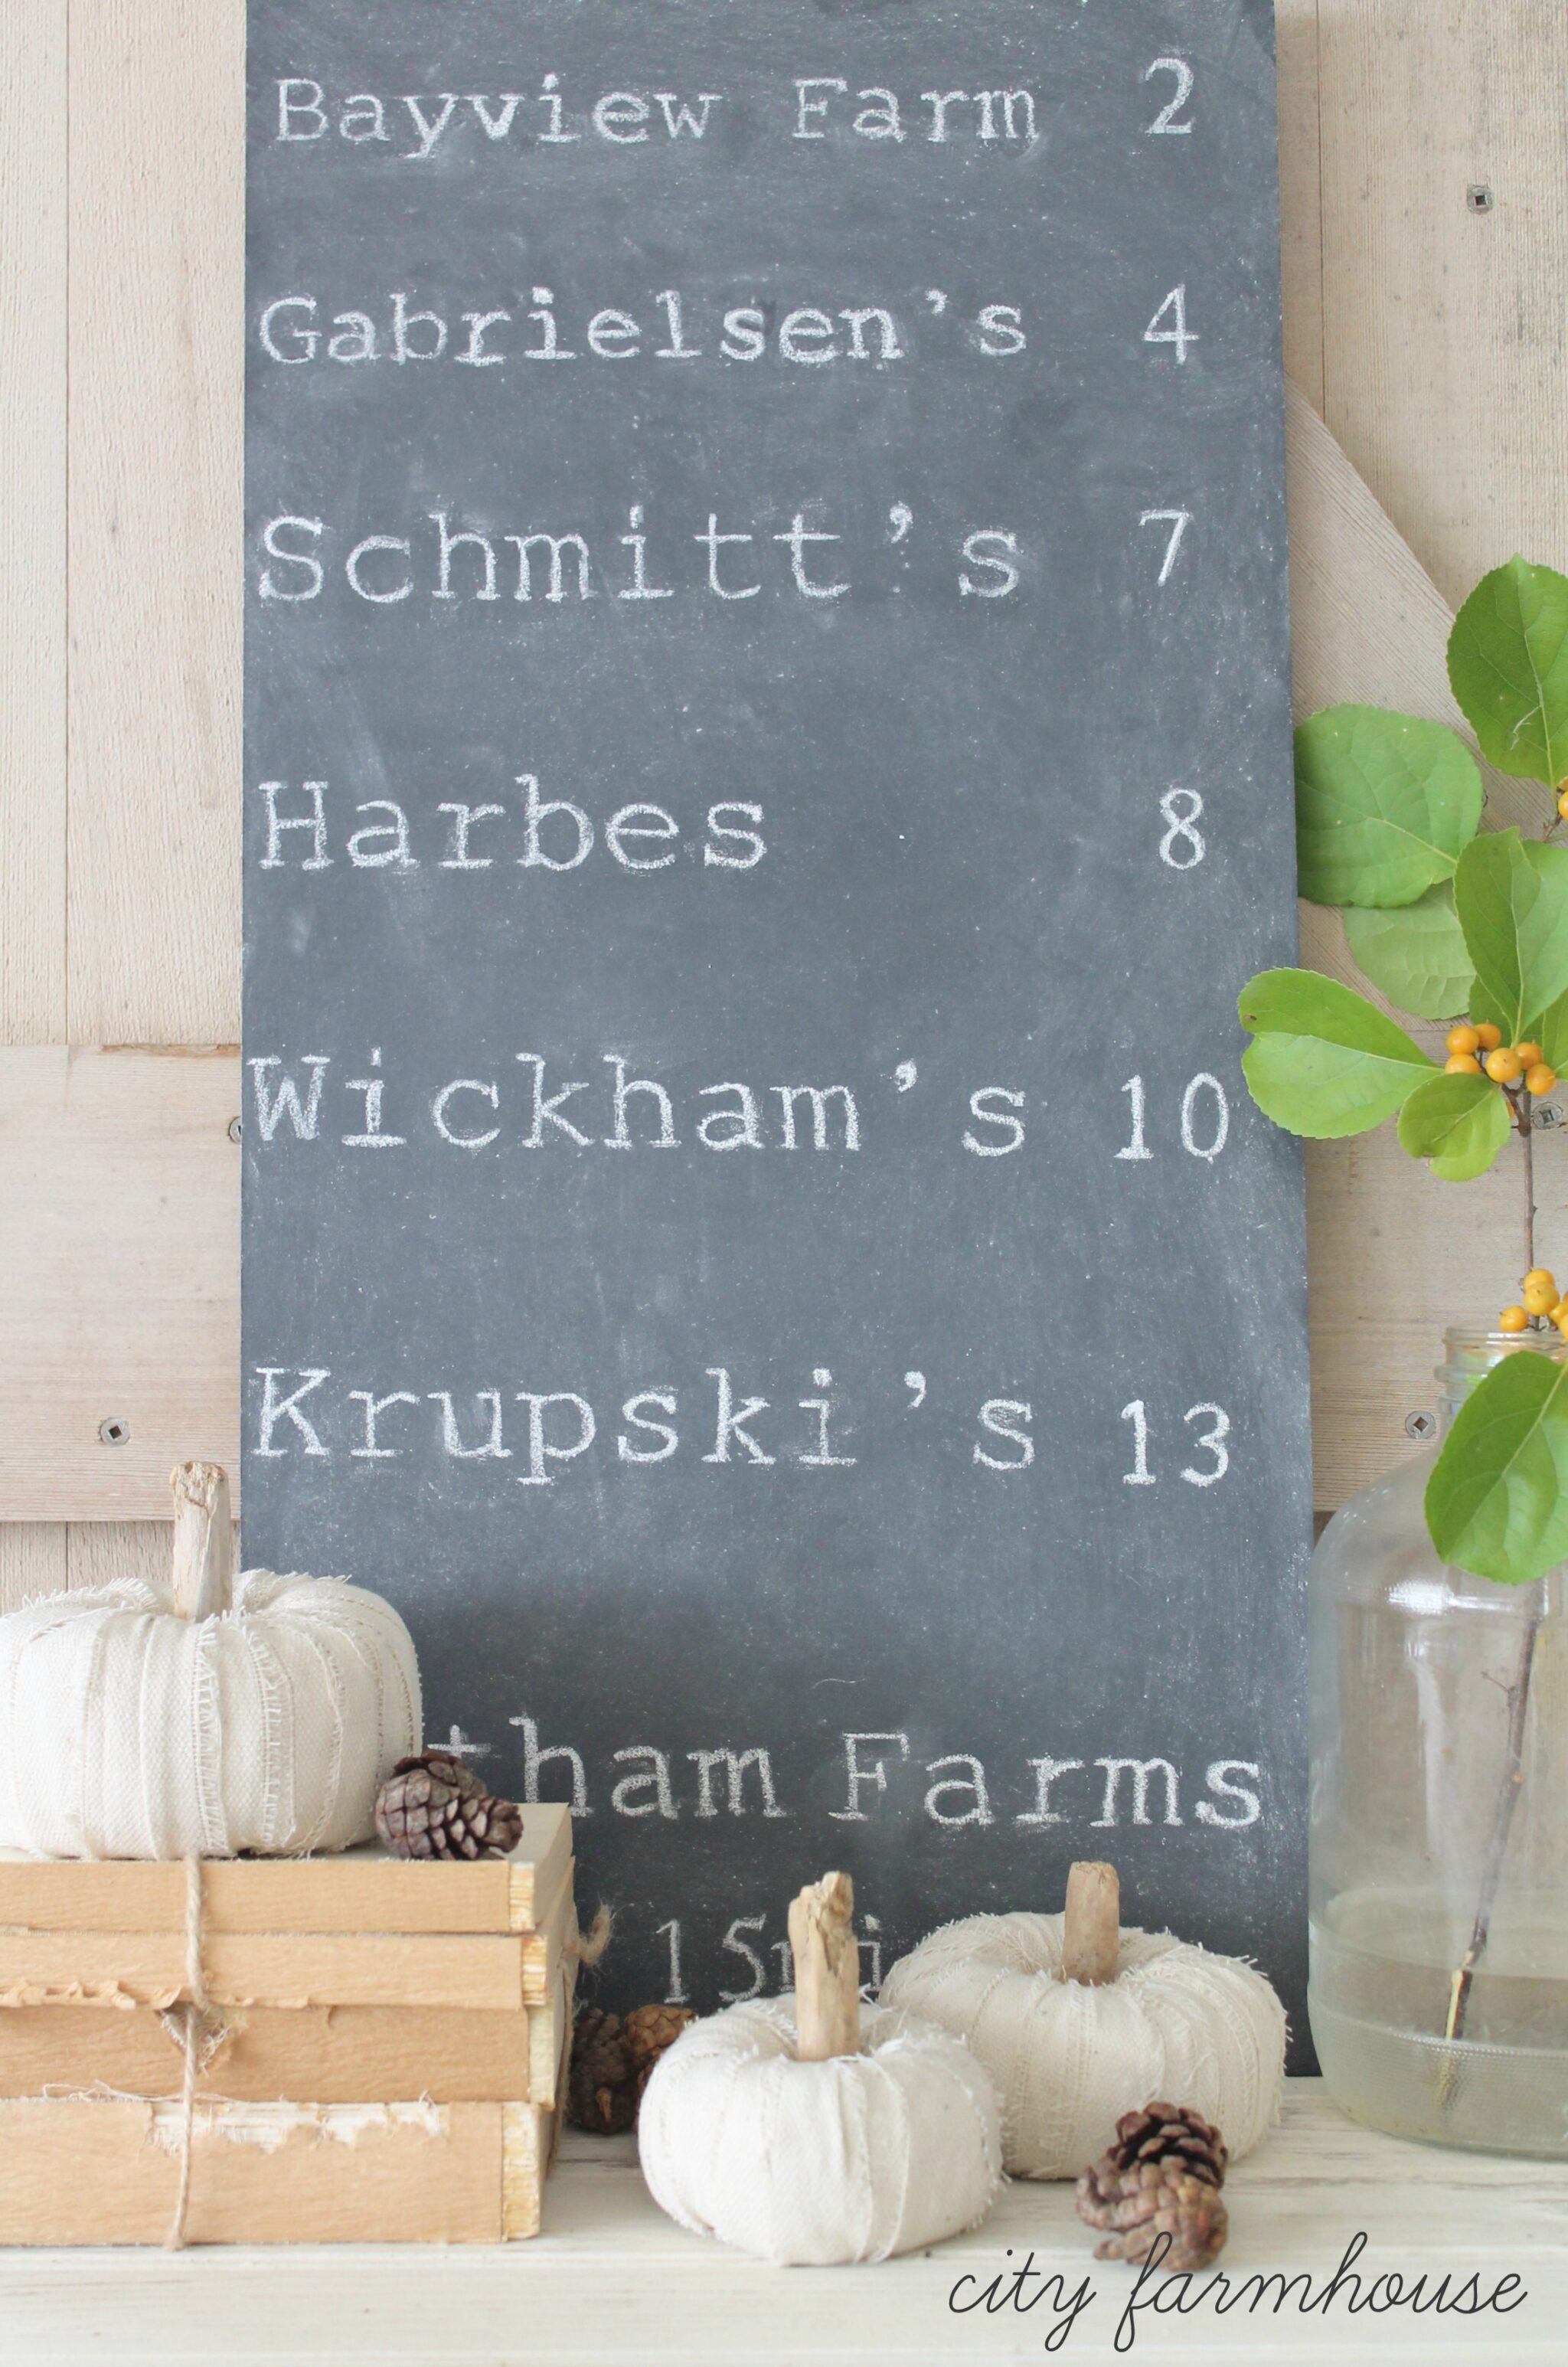
You can also find the “how to” for these easy White Dropcloth Pumpkins.
Thank you for stopping by today! We are off to have some fall fun this weekend, hope you are as well!
Have a beautiful weekend!
Jen, these are adorable. I can’t wait to try them out. It was so nice to see you at the conference. xx
Thank you Danielle, you too!! Jen
this is such a cool idea!
Thank you Shawnna!
You are too sweet Jen! Thank you so much! There’s no one I would have rather done this with that you! 🙂 LOVE the napkins too!!
Oh thanks Micheal, you too!!!