
I have the cutest holiday knock-off for you that you will not want to miss! It’s these woodland creature candlesticks. I initially saw them on Terrain, and they weren’t that expensive, but now they’re sold out! So, it’s a good thing I figured out how to make a DIY version. A big thank you to Kristen from Ella Claire for hosting the first-holiday post of Seasons of Home.
Disclosure: This post may contain affiliate links. As an Amazon Associate, I earn from qualifying purchases at no additional cost to you. See full Disclosure Statement HERE.
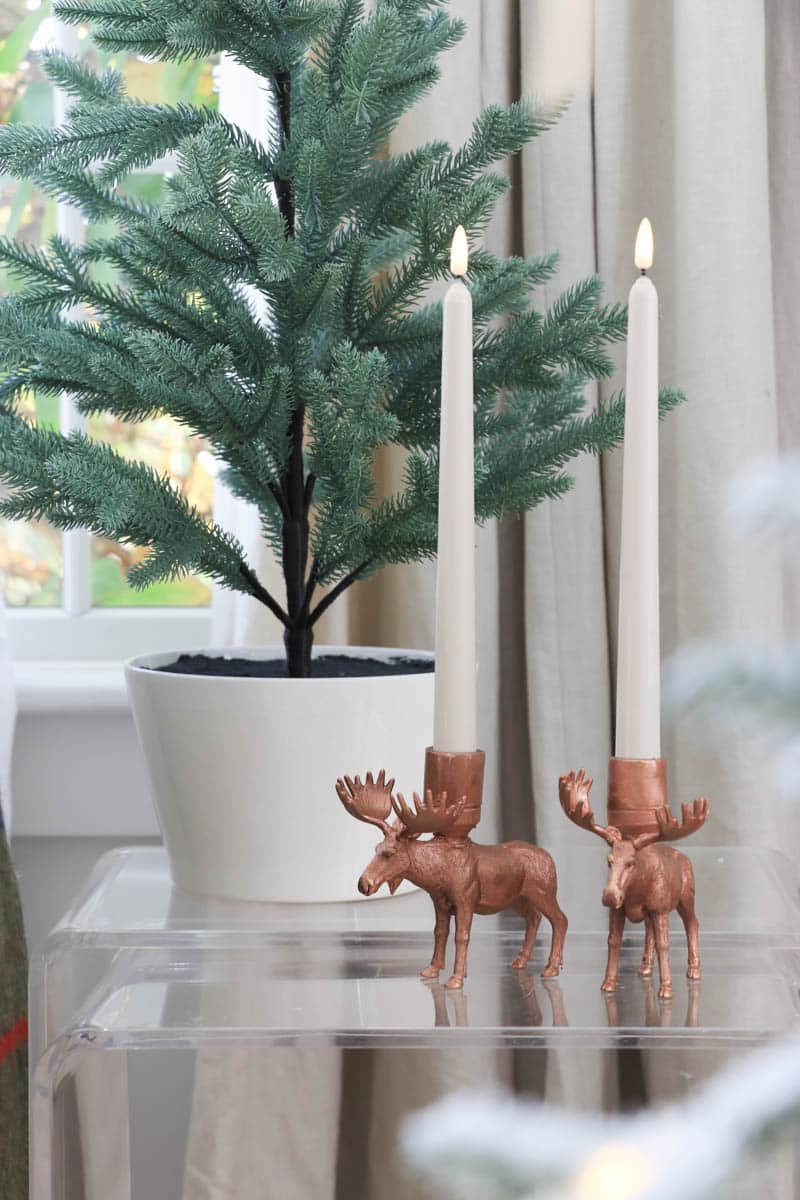
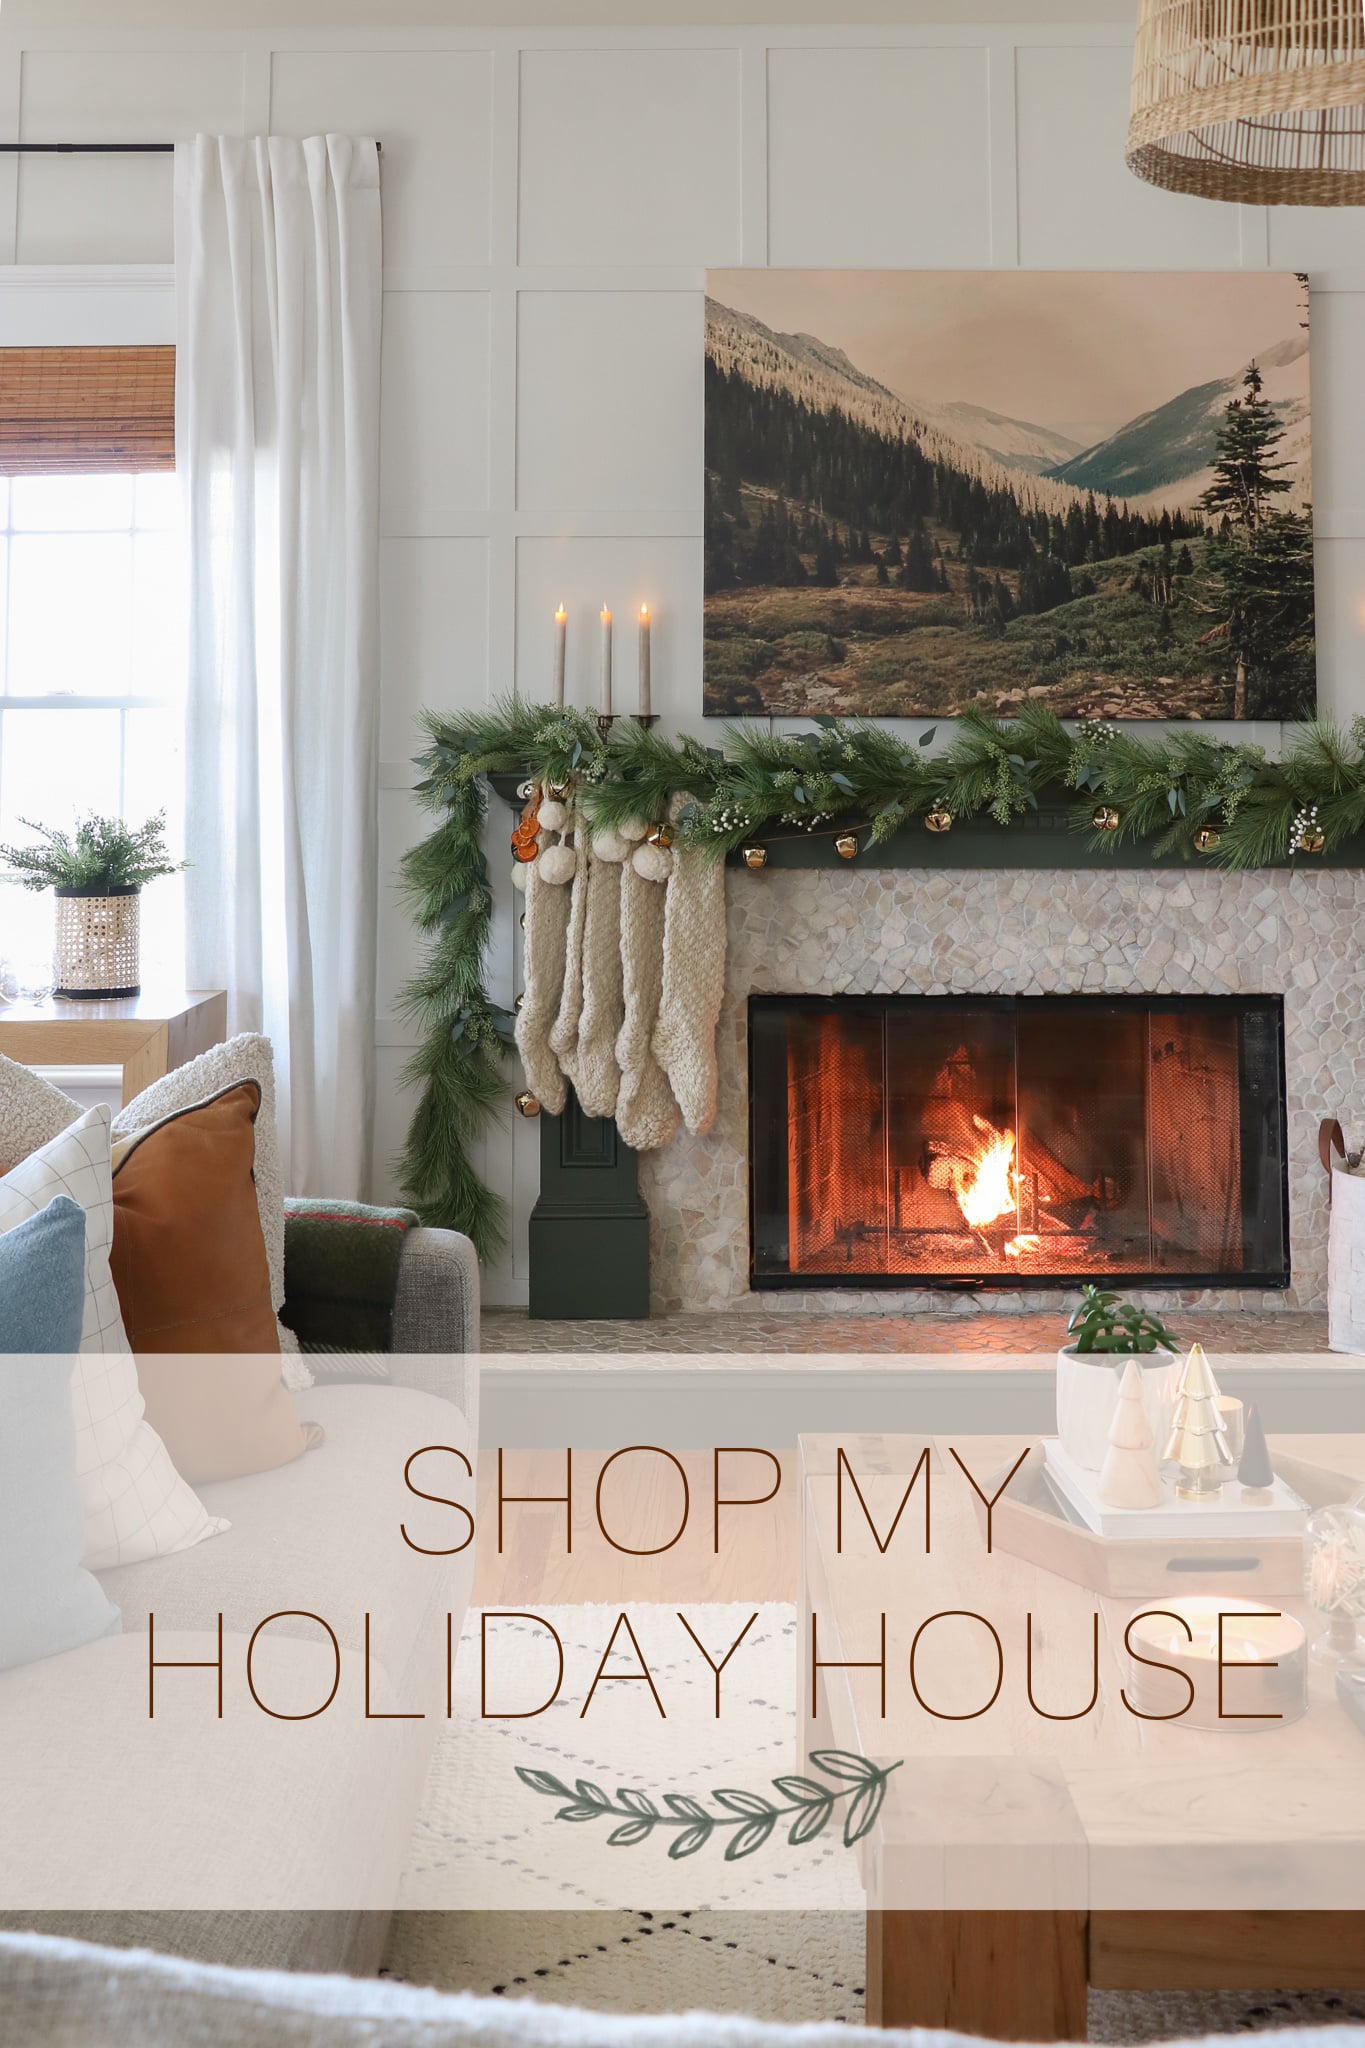
I do want to preface this first. While they are sturdy, I would ALWAYS use LED TAPERS with this or any candlestick holder. Don’t get me wrong, I do love the look of real candles and flames, but children and pets, they make me nervous. You can shop my Amazon Favorites and my Holiday House.
You will need woodland creatures; I bought the largest one, which happened to be a moose. My thought was the larger, the more sturdy. Plus, deer decor is everywhere. I purchased mine at Hobby Lobby at 50% off, even better! You will also need a wood piece, copper or gold spray paint, E6000 glue, Sculpty Clay, a hot glue gun, and sandpaper.
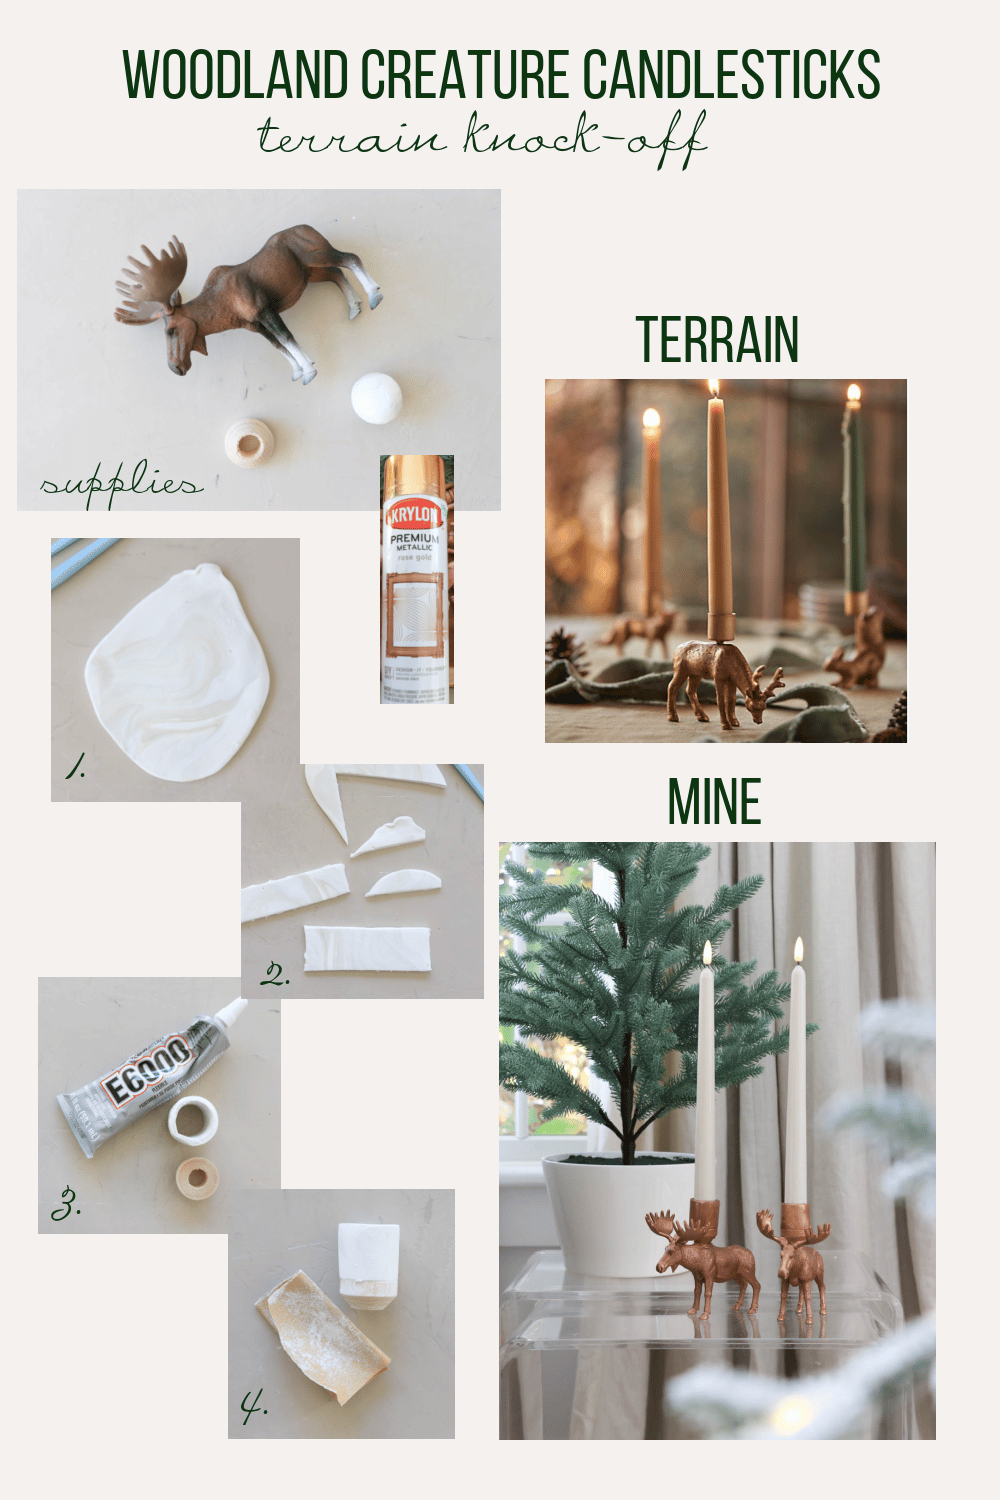
I know this seems complicated but trust me, it’s not. First, you’re going to roll out your clay and cut it into two strips. I used a ruler width; you can use a household knife to trace along the edges. Then take your doll pin stand or wood piece and make a cylinder on top of the wider diameter with the clay. The small hole will sit on top of the creature’s back.


Make sure your cylinder fits perfectly on top. Bake at 225 for 15 minutes and let them cool. Glue to the wood and let set. Once it’s dry, you can sand the clay if it’s not perfect. Take your glue gun and make a pocket or perch for the clay/wood cylinder. I did this by adding hot glue, setting it on, and then removing it before it dried. I layered more hot glue, set it on, and glued the sides with E6000. The most important thing is that the hold is strong. However, you chose to glue it. Then, when it’s dry, spray paint it.
This post contains affiliate links.
Be sure to check out the fun and creative posts below.
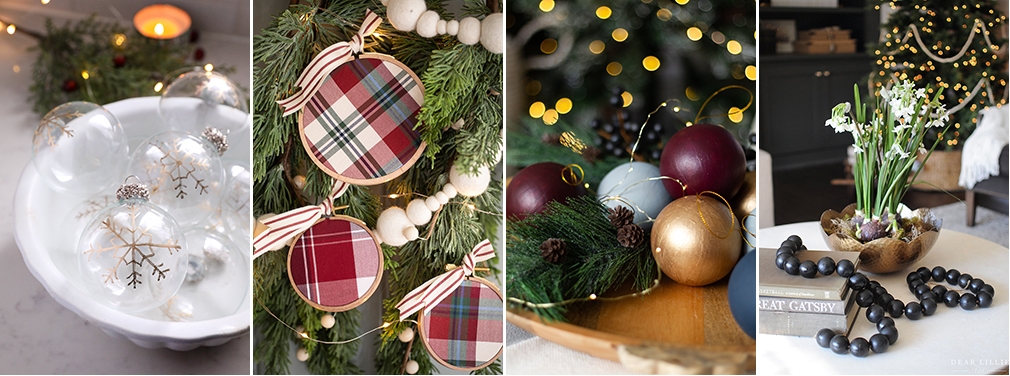
Elegant DIY Gold Snowflake Ornaments by Ella Claire & Co. | DIY Embroidery Hoop Christmas Ornaments by Inspired by Charm | Hand Painted Ornaments With Custom Colors by Zevy Joy | DIY Wooden Bead Garland and Homemade Christmas Decor by Dear Lillie
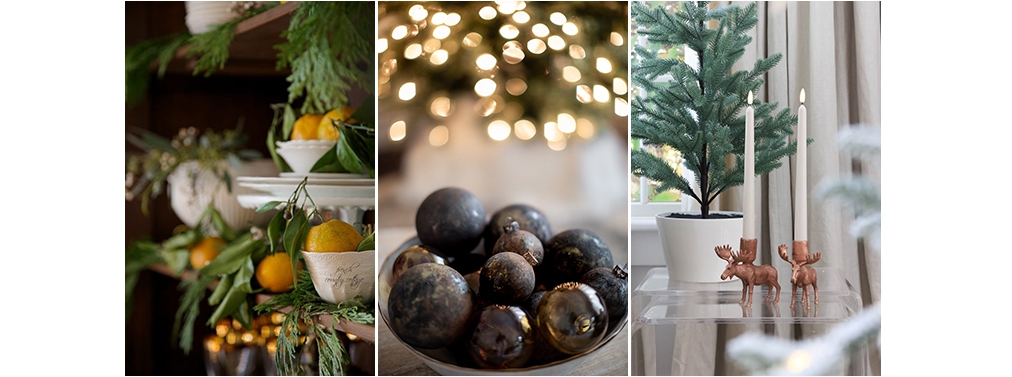
Foraged Christmas Decor by French Country Cottage | Faux Iron Ornaments by Craftberry Bush | DIY Woodland Creature Candlesticks-Terrain Holiday Knockoff by City Farmhouse
Questions, drop them below. Have a happy day, friends!

My mother-in-law collects things with a moose theme. I never would have guessed those were plastic and painted. So cute.
Thank you, Julie!