Ivar IKEA Hack-Library Cabinet
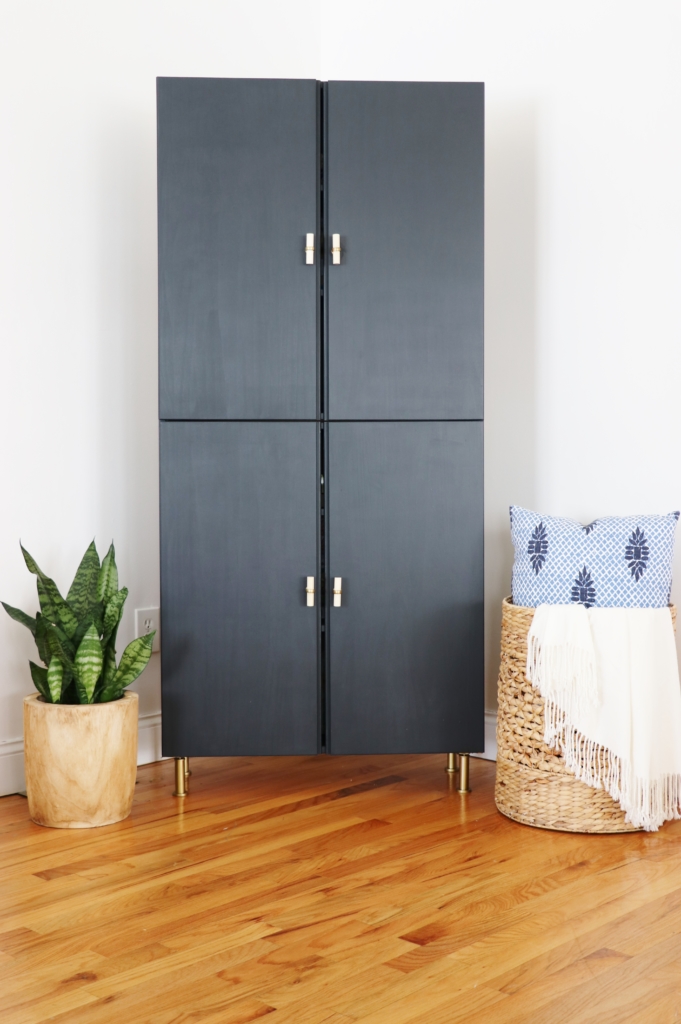
Hi friends, happy Friday!!! My search for a mid-size cabinet for the corner of my family room has come to a end. When I realized I wasn’t finding what I was looking for, although it was really pretty simple, I began to think of affordable wood options. An IKEA hack came to mind!! By putting 2 Ivar cabinets together vertically I could create a simple, yet chic library cabinet for the corner of my family room. Win, win!!!
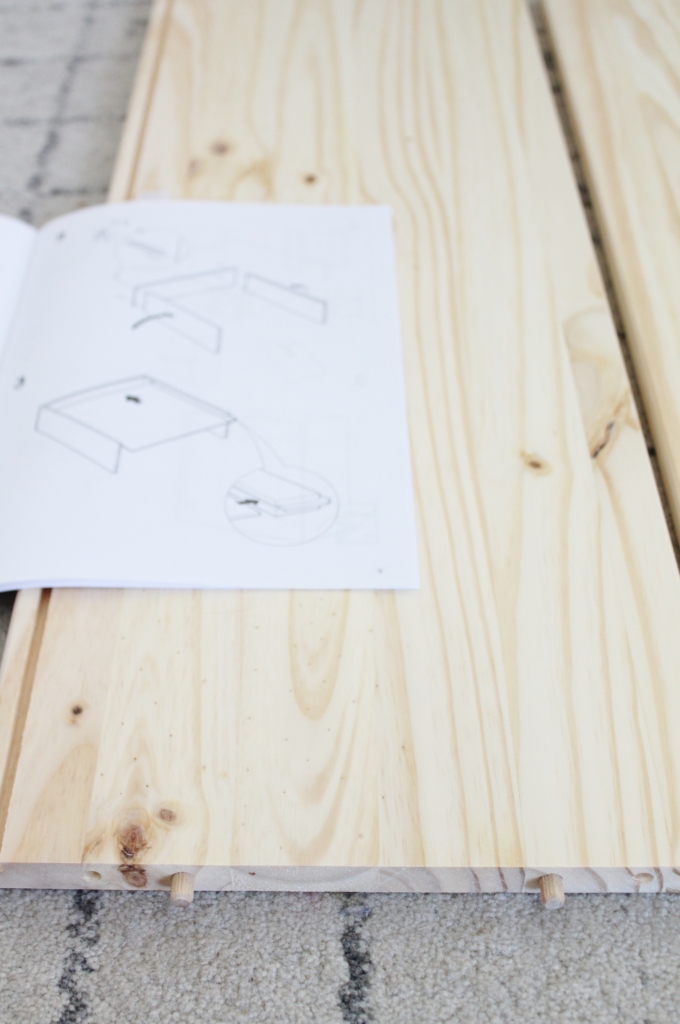
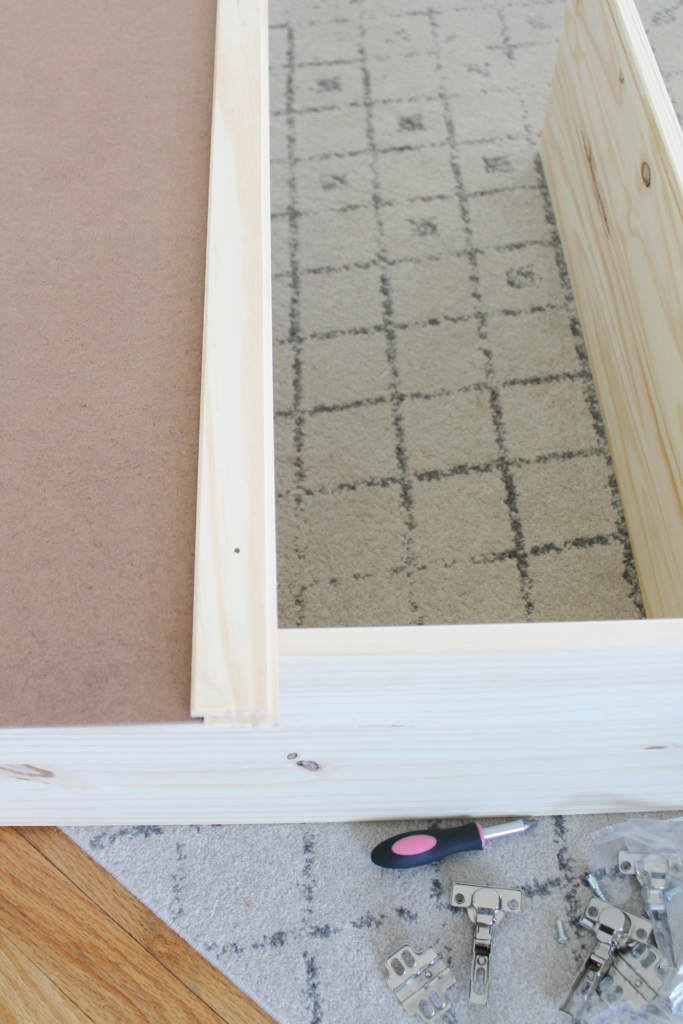
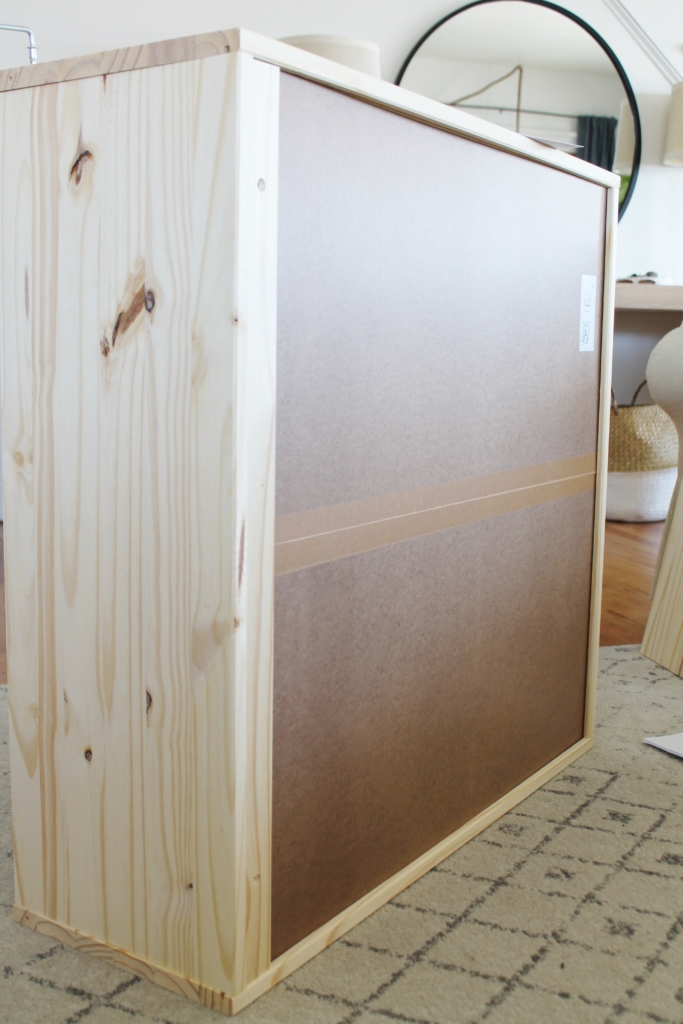
The instructions are very simple to follow. The only hiccup I had was the particle board back, I realized after 30 minutes that the seam went horizontal, not vertical. John came in with fresh eyes and flipped it, I was like “ohhhhhhh…..”
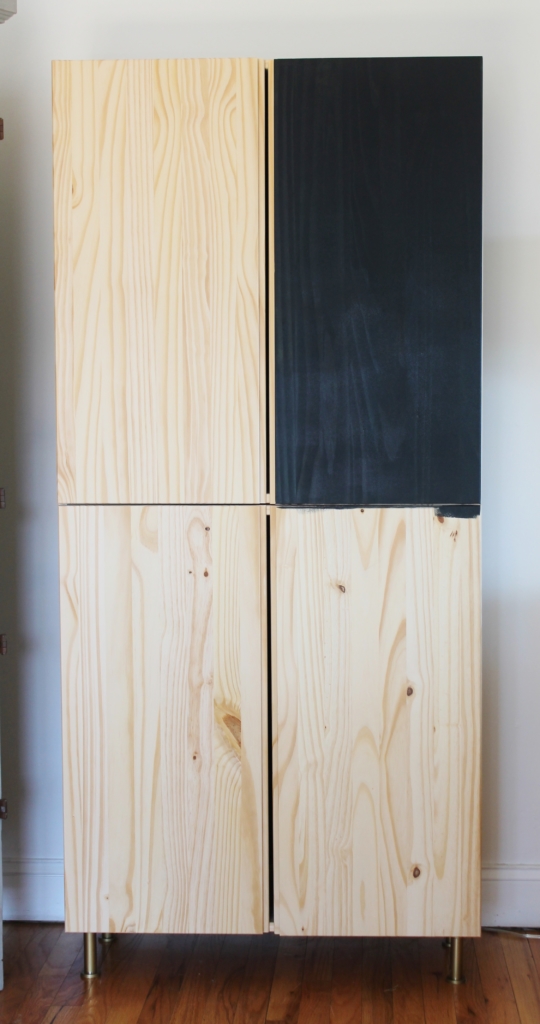
Ok, I seriously stink at before shots. I admit it!!! I get started with a project and I am like “oh shoot, I forgot to take the before shot, again!” Well this was me remembering, only after I painted one door. Hopefully you get the idea?
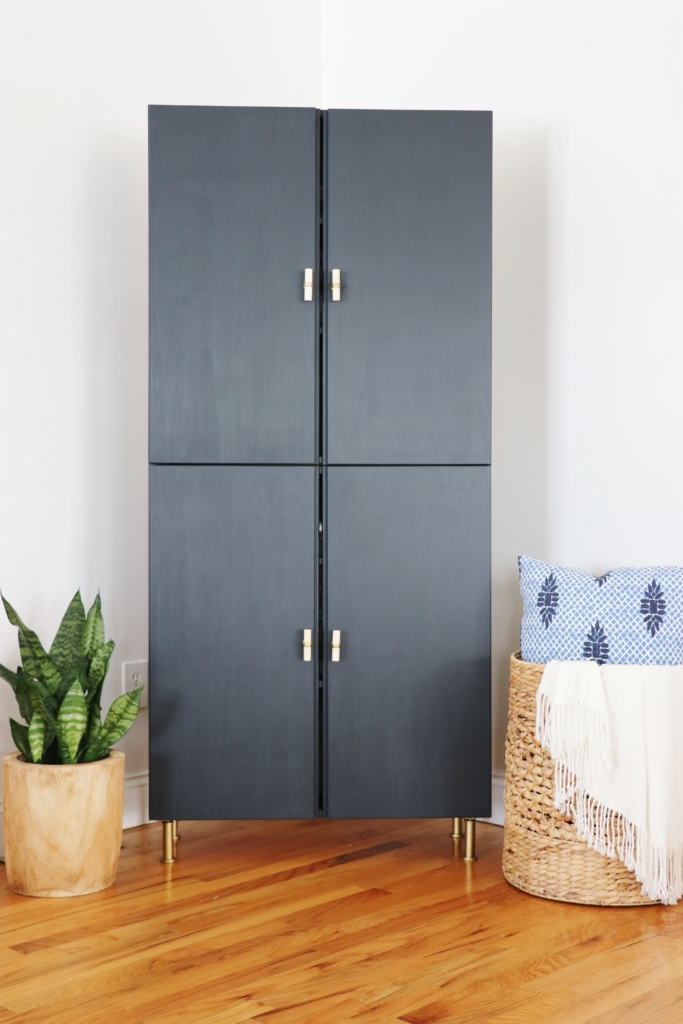
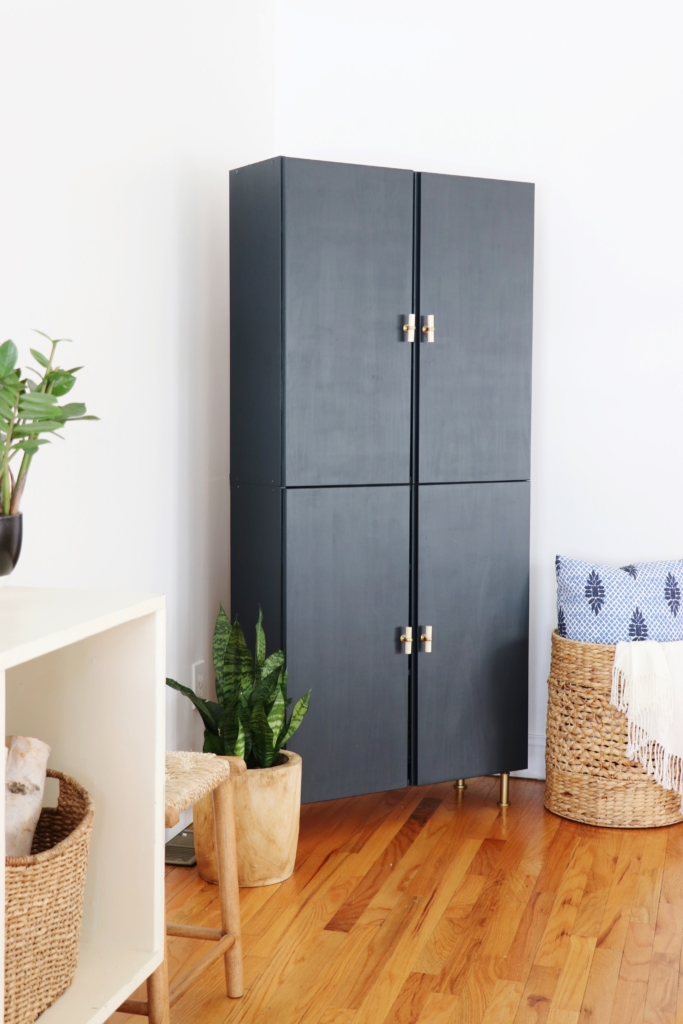
After….
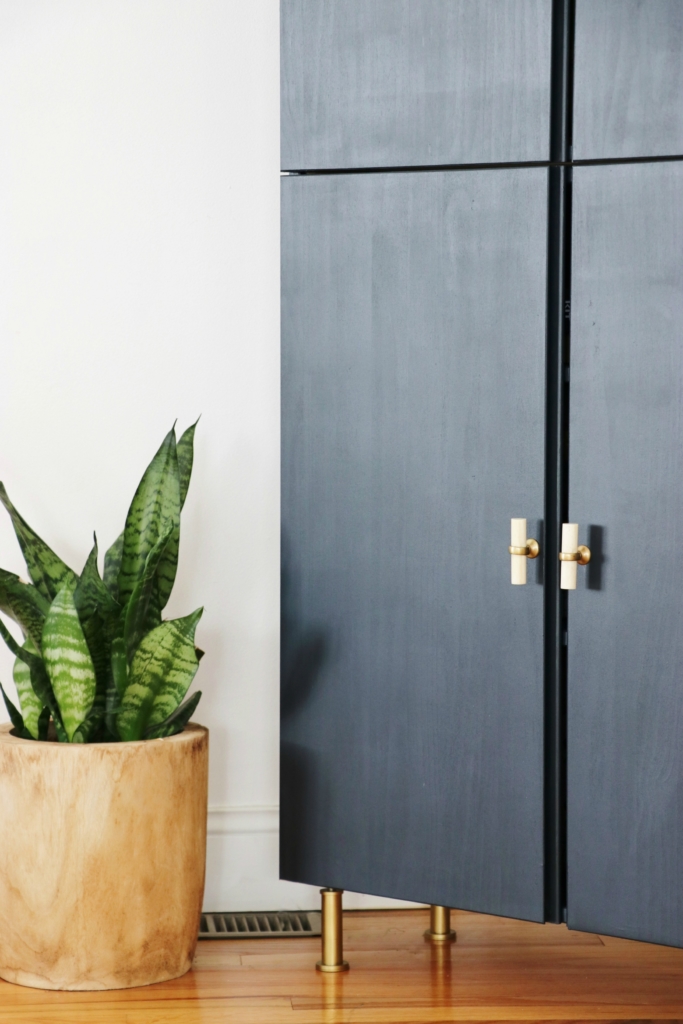
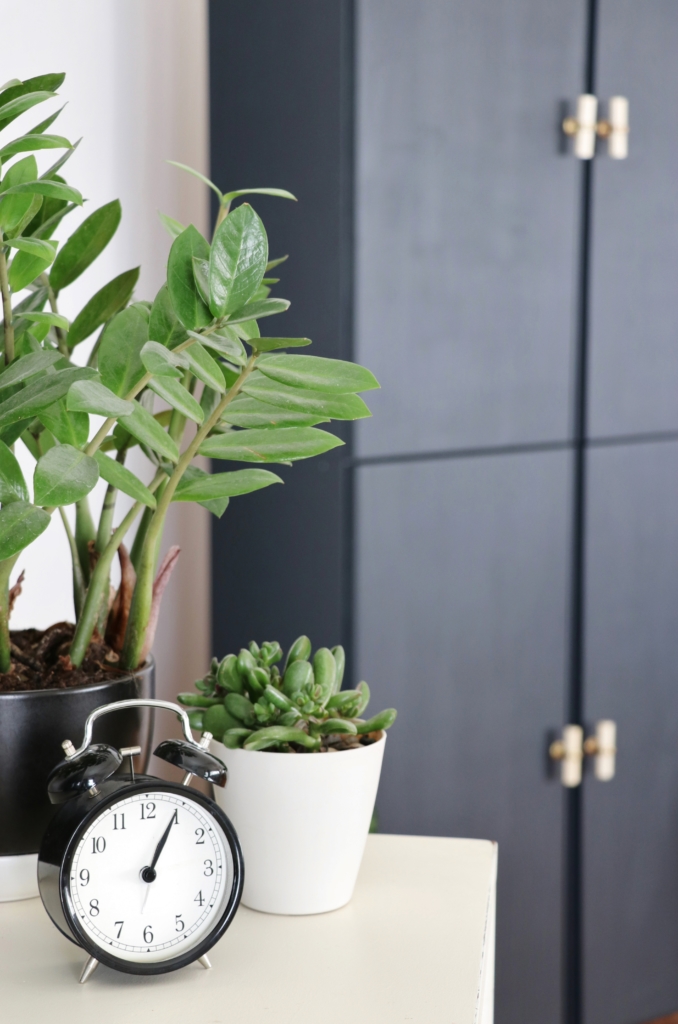
The hardware was the splurge. It’s from Anthropologie, but of course!! I also painted the legs brass, which are also from IKEA. Good hardware can make most things look way more expensive.
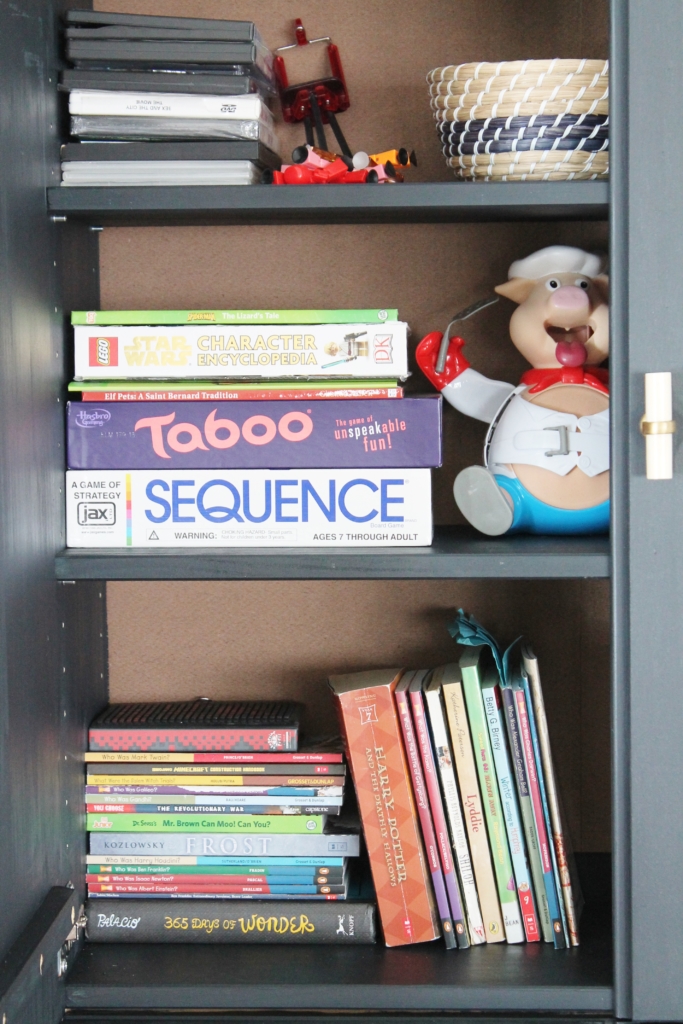
You get the idea of why I needed storage here, lots of books, games and little items. It needs some tweaking still but it’s much better!
The only negative that I found with the Ivar cabinet is that the doors don’t come to a full close. I tried to adjust the hardware but after looking online I realized this is the way it was intended. Maybe so that it doesn’t close on fingers, maybe?
One little tip, the doors may not perfectly line up horizontally, so take that into account when you add the hardware.
The legs adjust if your floors are uneven, which is a bonus for stability.
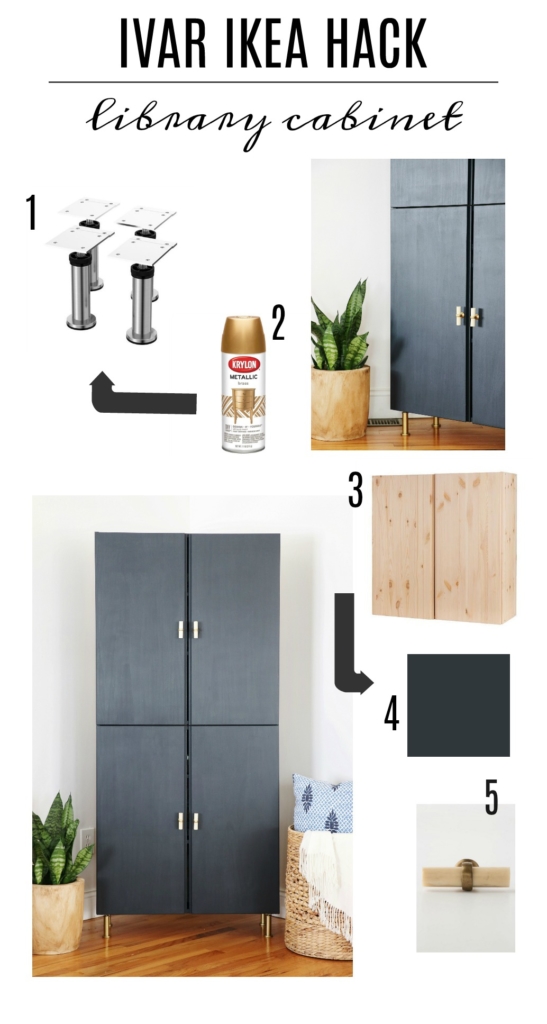
The paint color is Sherwin-Williams Inkwell in satin, which l LOVE!!!
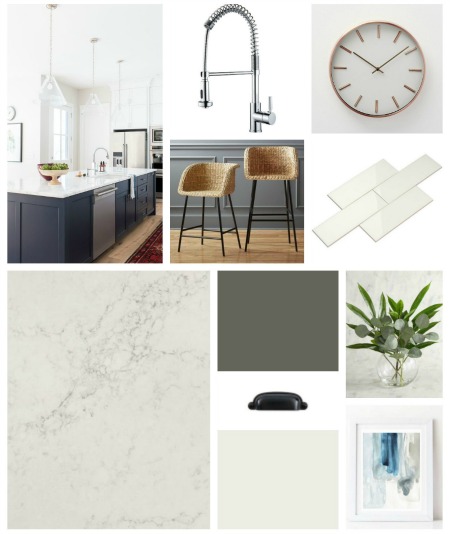
Here are all the details….
Again, if you make this piece, fasten it to the wall, it is imperative!!!
Have a fantastic weekend!!





Looks fantastic! Curious – how did you attach it to the wall with it in a corner?
Thank you! Eye hooks into the studs & into the back of the unit with 60lb wire on each side.
Looks GREAT – always need extra storage – this is a very smart idea!
Love it! Great job “elevating” it to this look!
I love it! If the fact that the doors don’t close snugly together bother you, you could add a thin strip of wood, painted to match, down the middle. That way the gap between the doors is covered.
I attached a length of screen molding on the inside of one side of my doors to fill the gap. Worked perfectly. Screen molding is used on screen doors and is easy to find
Whoooa! This is so fabulous! Lots of unique details here. I love the colors and the cool vibe in every piece that went into your room! 🙂
Love the planter and the pillow. Can you share where you found them.
Thank you!
Love your looks. Can you share where you got the wooden planter and the pillow.
Thank you!
Hi Cee, thank you! The planter is from Target and the pillow is Etsy, here is the link, https://www.etsy.com/shop/PopOColor?ref=l2-shopheader-name . Good Luck! Jen