
Disclosure: This post may contain affiliate links. As an Amazon Associate, I earn from qualifying purchases at no additional cost to you. See full Disclosure Statement HERE.
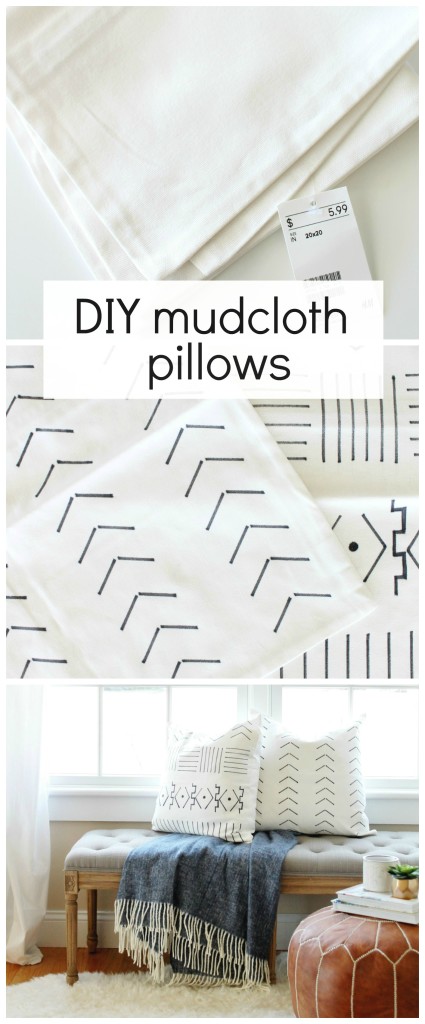
I have been loving the look of hand dyed indigo & mudcloth pillows lately. Recently I bought a few indigo pillows from THIS Esty shop and they are beautiful. So I thought it might be fun to pair them with a fun DIY to complement the look. The best part, these mudcloth pillows cost just $6 each, which is a nice way to balance a splurge.
African mudcloth is a beautifully crafted material that originated with the Malian community and had been a part of their culture for centuries. It is a traditional process where strips of cotton are woven into cloth, then submerged into soaked leaves to yellow the fabric. After which the material is painted using fermented mud and metal & wood objects. Then it is bleached and laid in the sun to make it a crisp white once again. In a day where everything is mass produced, to know a piece is handcrafted with such love and attention to history is a sweet thing.
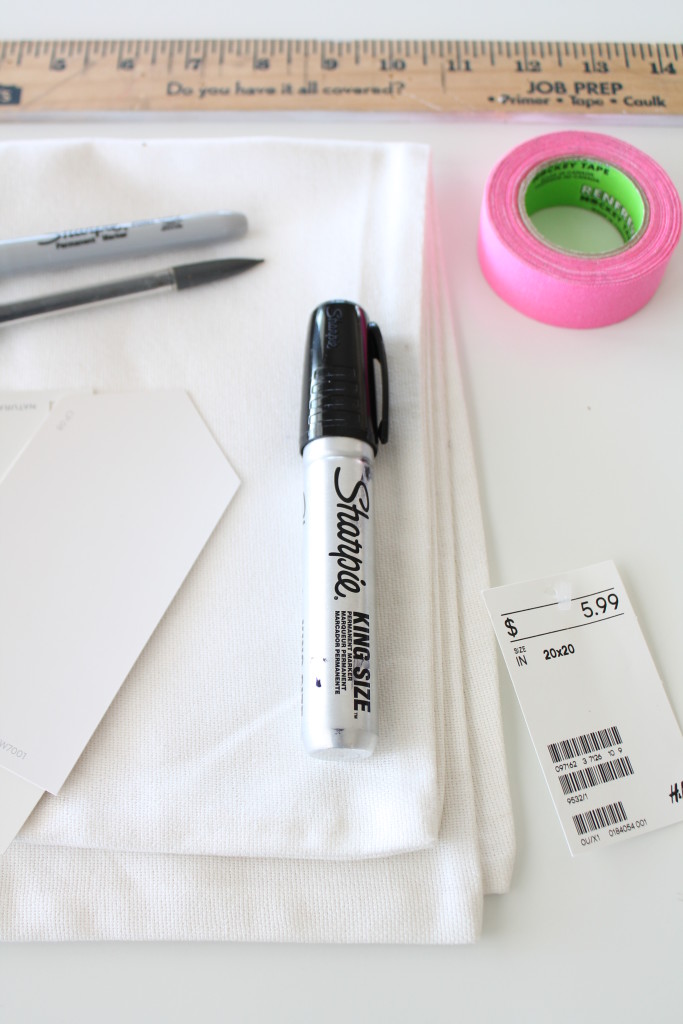
This is what you will need for this DIY….
plain white pillows, I bought mine HERE.
ruler
sharpie
pencil
tape
paint swatch from Sherwin Williams
paper for doodles
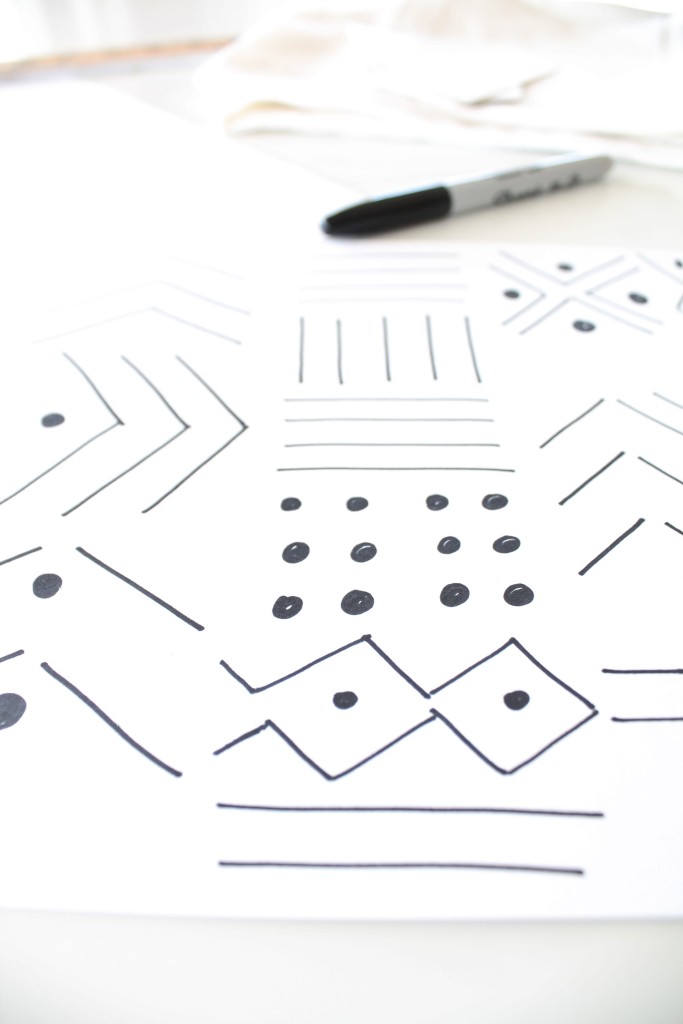
First, you want to make sure you doodle some designs. I googled mudcloth and then began to draw & mimic some of my favorite simple patterns on paper. Then I chose which I liked best. These are meant to look hand drawn, so have fun with it and don’t worry about it being perfect.
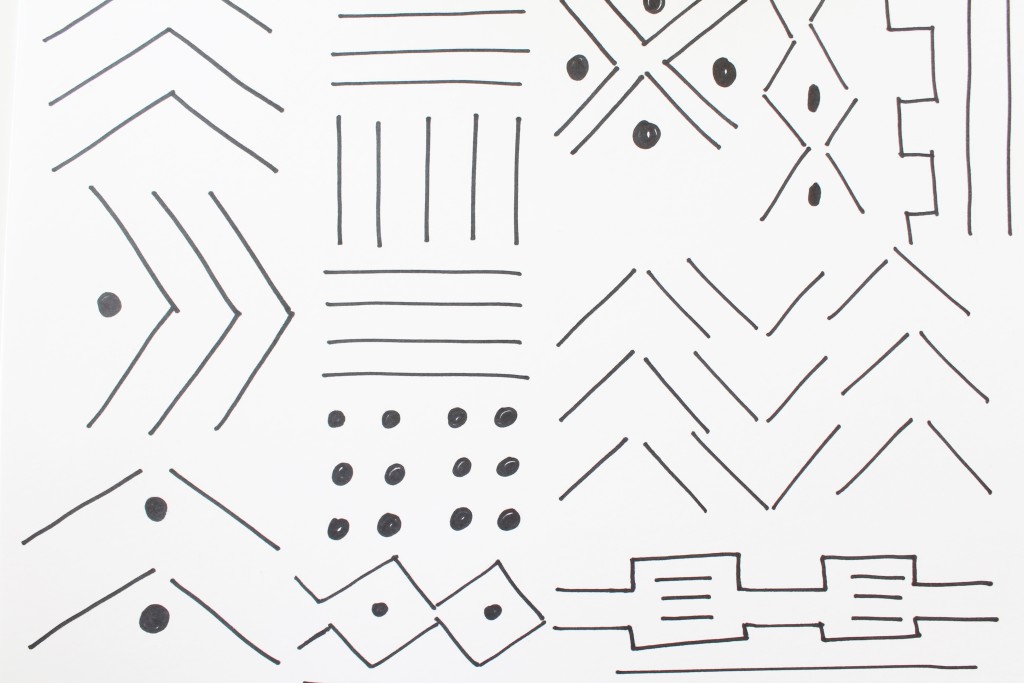
I then divided each pillow in 4 sections. I used a pencil to draw the design, very softly. It can be tricky to erase, be sure to use a white eraser to remove.
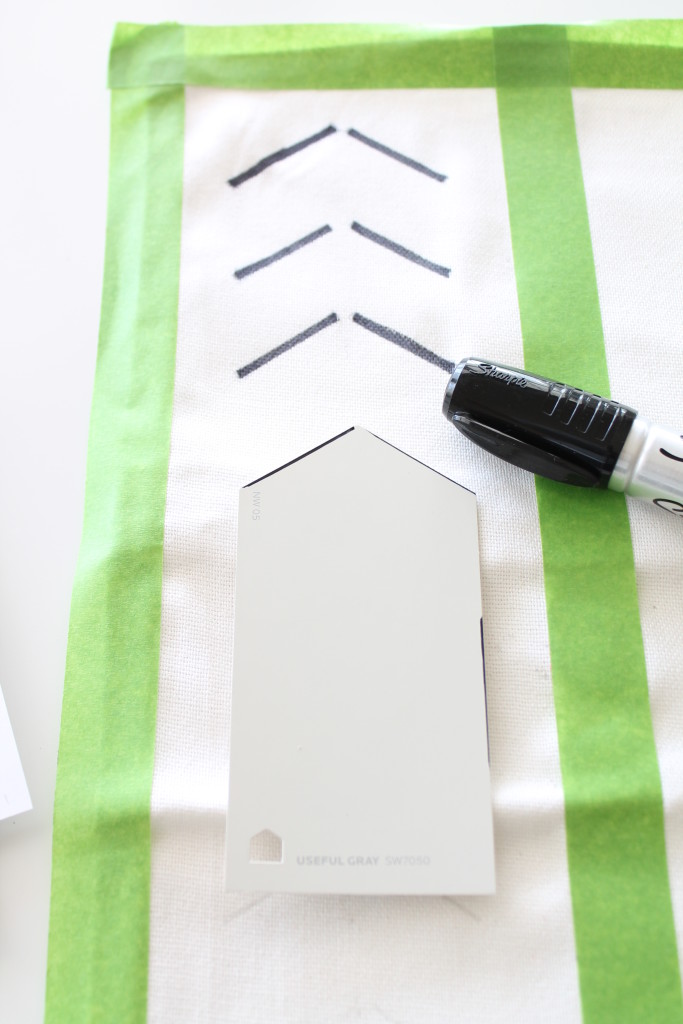
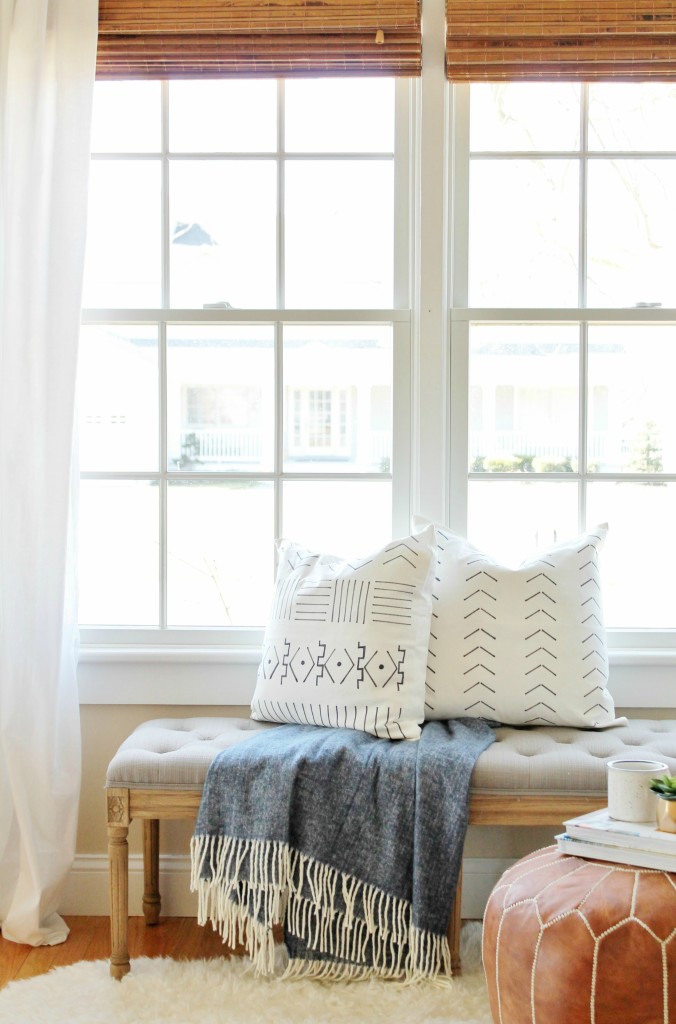
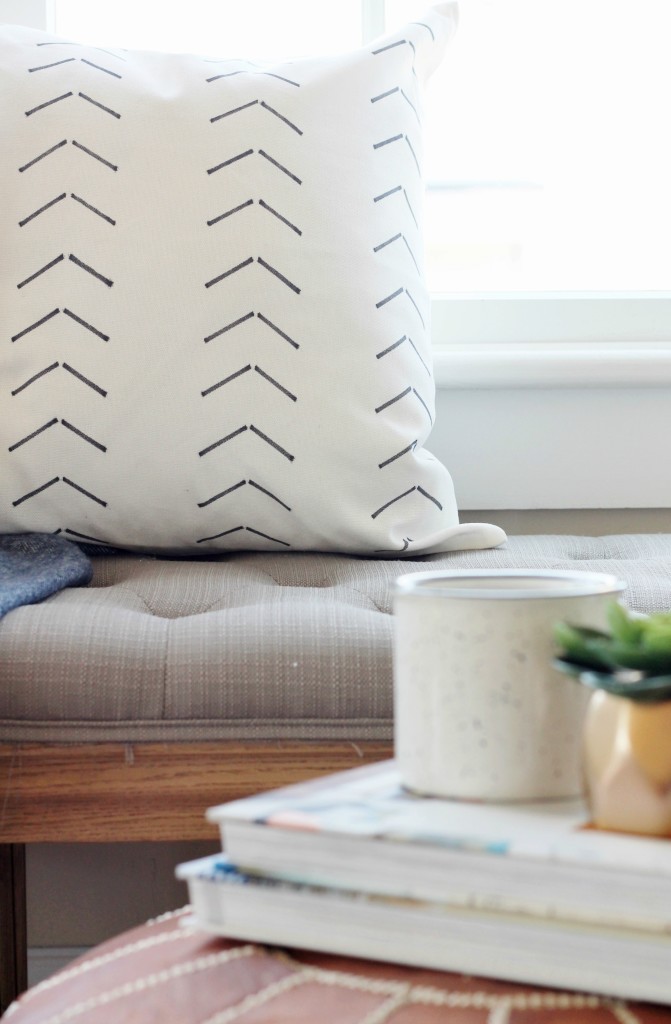
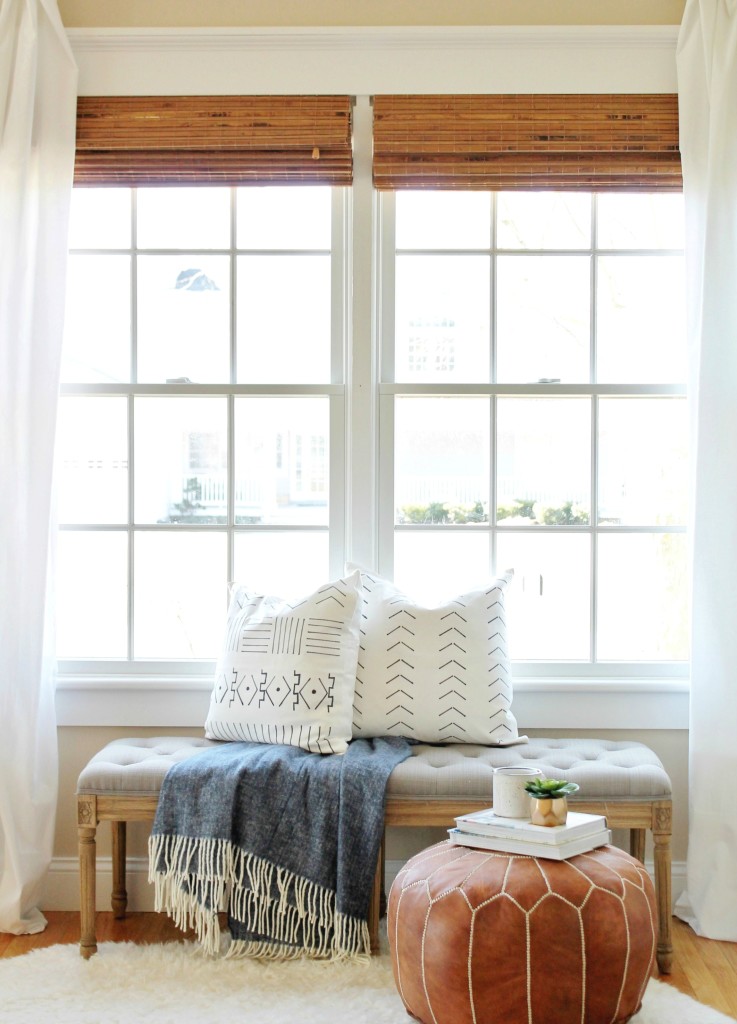
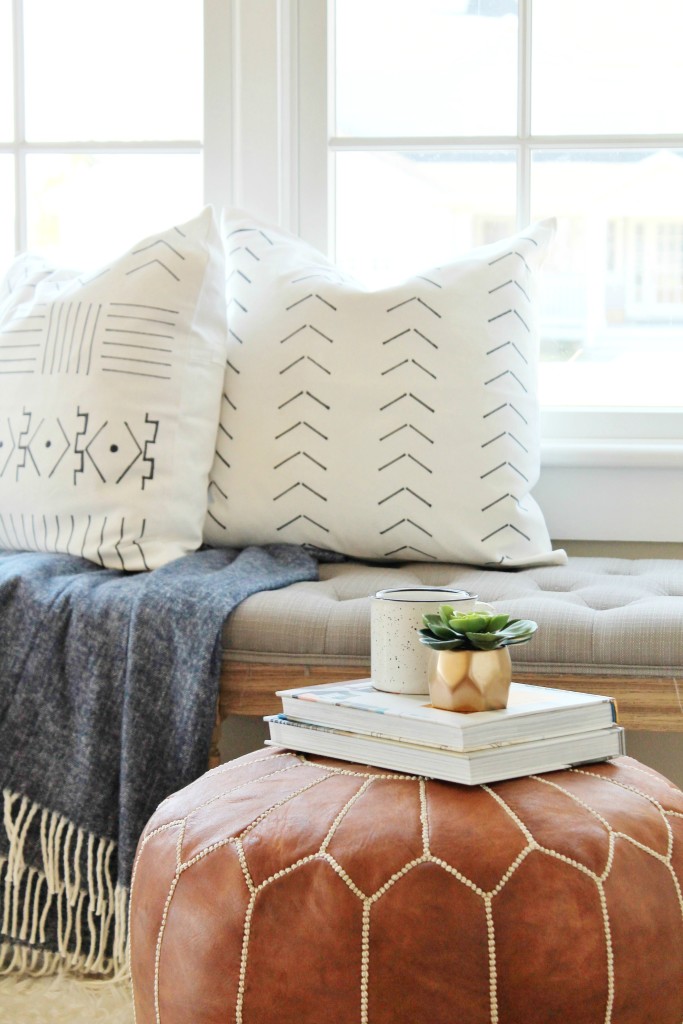
I used a paint swatch from Sherwin Williams to create an arrow design, isn’t it perfect?! I couldn’t believe how easy it made this project. I did the first pillow with 4 vertical rows, arrows pointing up but you can design it however you wish.
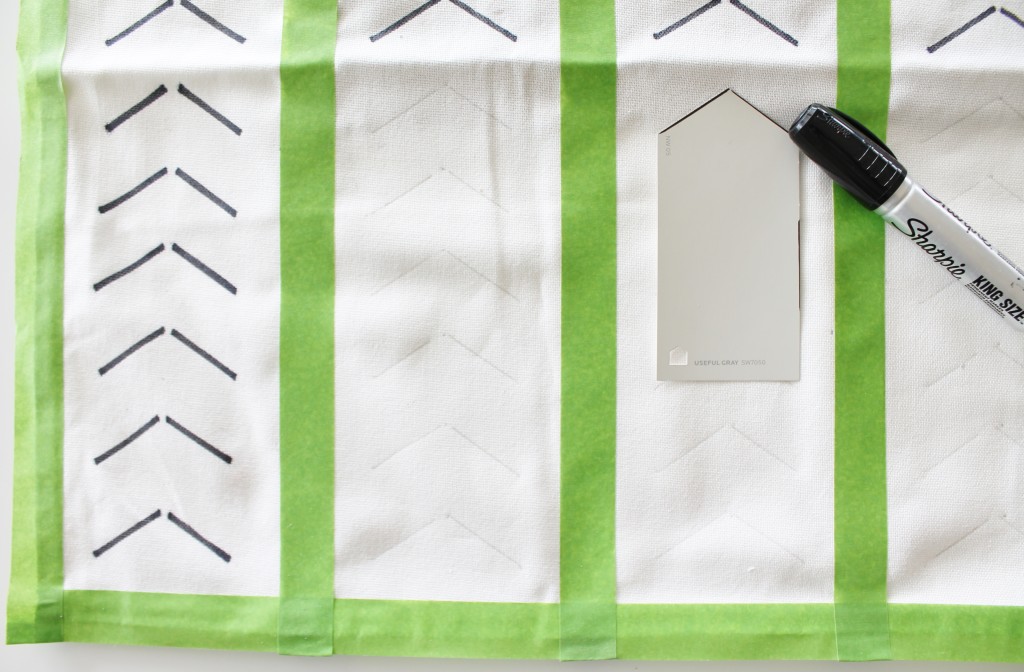
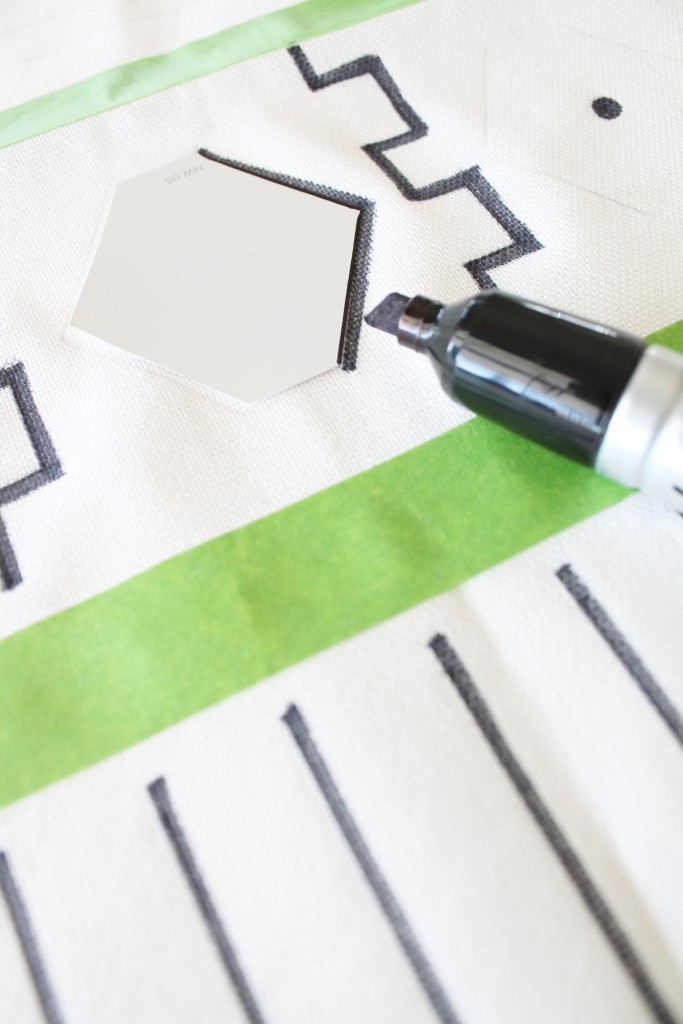
I then took that same swatch and used it as a ruler for my straight lines on the 2nd pillows and then layered 2 on top of each other to create a polygon shape, then traced only the arrows and left the top open. The other designs I free handed. By breaking the pillows into sections, it makes it simple to create a new design on each new line.
Last thing, be sure to iron them to set the ink and be sure it won’t run. I took a cloth and laid it over the pillow to ironed each piece.
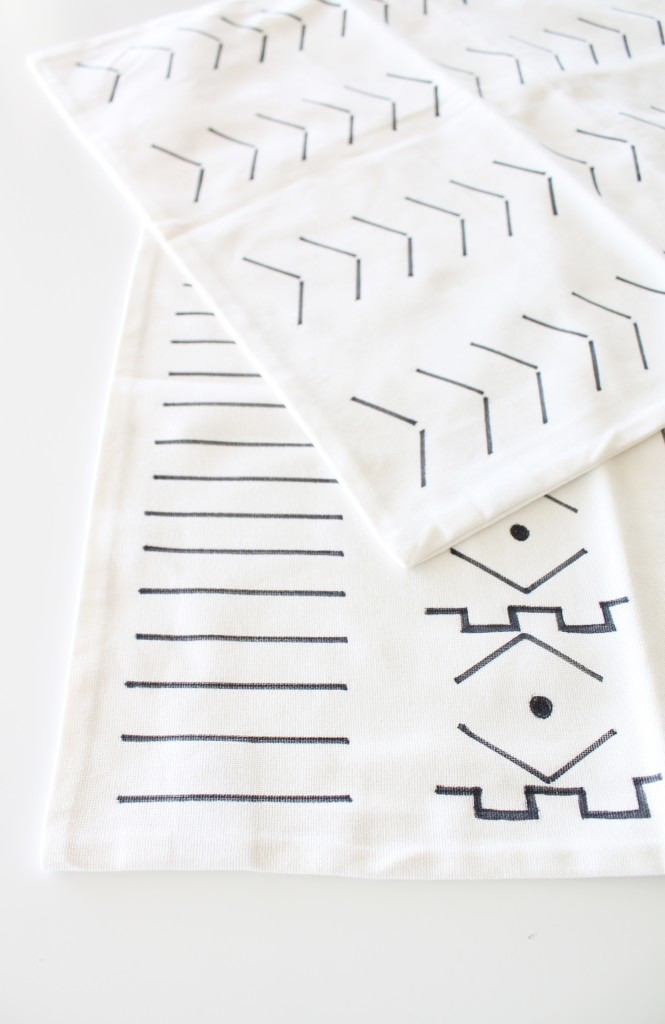
They turned out really good, I cant wait to pair them with my indigo pillows for a bohemian coastal look for summer.

If DIY is not your thing, you can find the real thing HERE.
You can also find my DIY Sharpie Grid Pillows HERE.
In cased you missed my BIG Hamptons Inspired Outdoor Reveal in my TINY backyard, you can find it HERE.
Have a beautiful weekend,


What fun!! I can’t wait to try these!
Thank you Jamie!!
Really cool and clever!
Where is that gorgeous navy blanket from?
Love the idea! I’m going to try this tomorrow. Where is your blue throw from?
Did you buy $6 pillow covers or am I missing something? If so, where? I’d sure like to know.