Wood Palette Gilded Sign & Nook
Hi friends! The sun is shining today & it finally feels like spring here so I couldn’t be happier! Thank you ALL who voted for me over at BHG for Top Decorating Blog, I am so appreciative for you support and the time you took out of your day to vote. I did not win but I do feel like a winner for just being nominated and to know how far I have come over the last 3 years.
There has been more progress made on my dining room/kitchen areas and I cant wait to show you more! I do feel torn some days because I have a ton of ideas I hope to make happen and of course want to share them with all of you but the reality is I am a mom first and foremost. My husband is many wonderful things, handy is NOT one of them, he fully admits this btw. Most days I am grateful for the challenge because it allows me to grow creatively. But other days I just want to pay someone to do it ALL {big smile}! Do you ever feel that way?
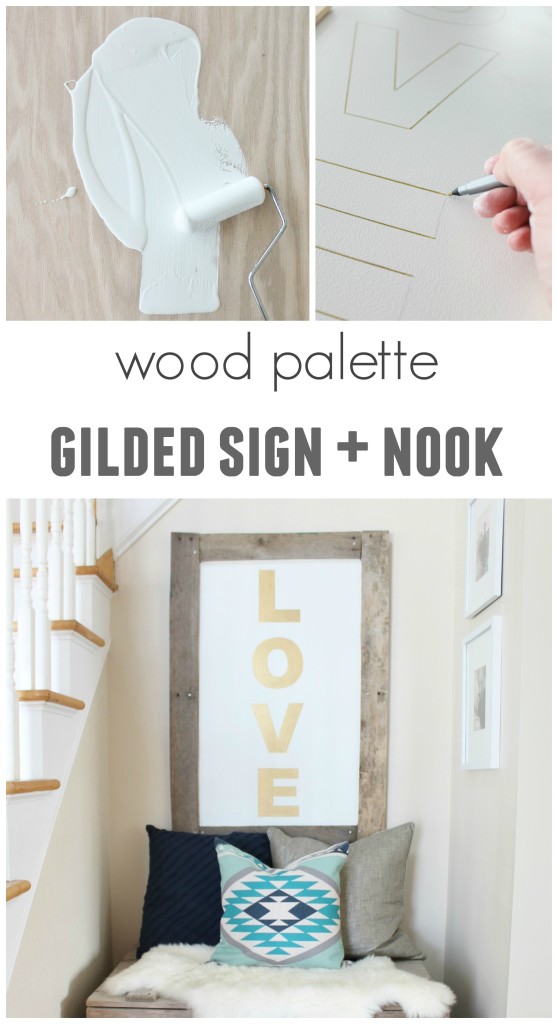
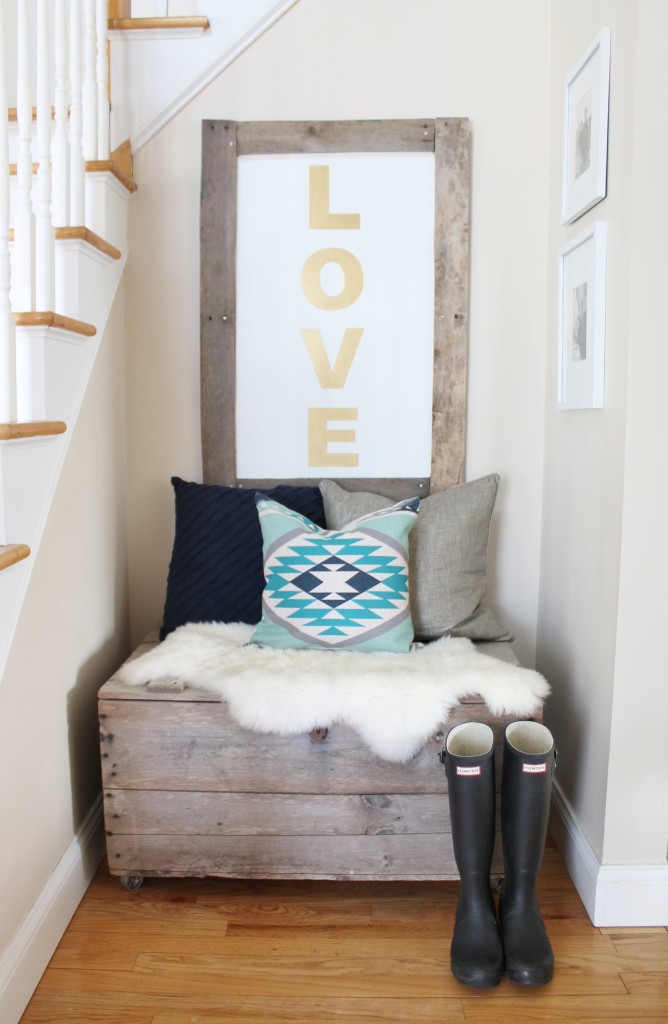
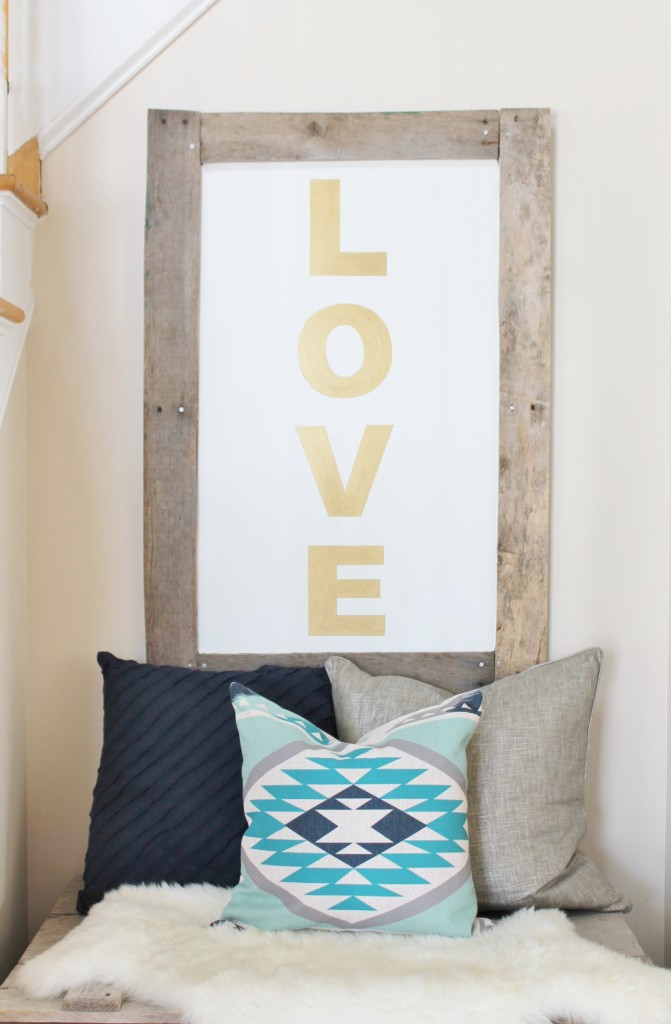
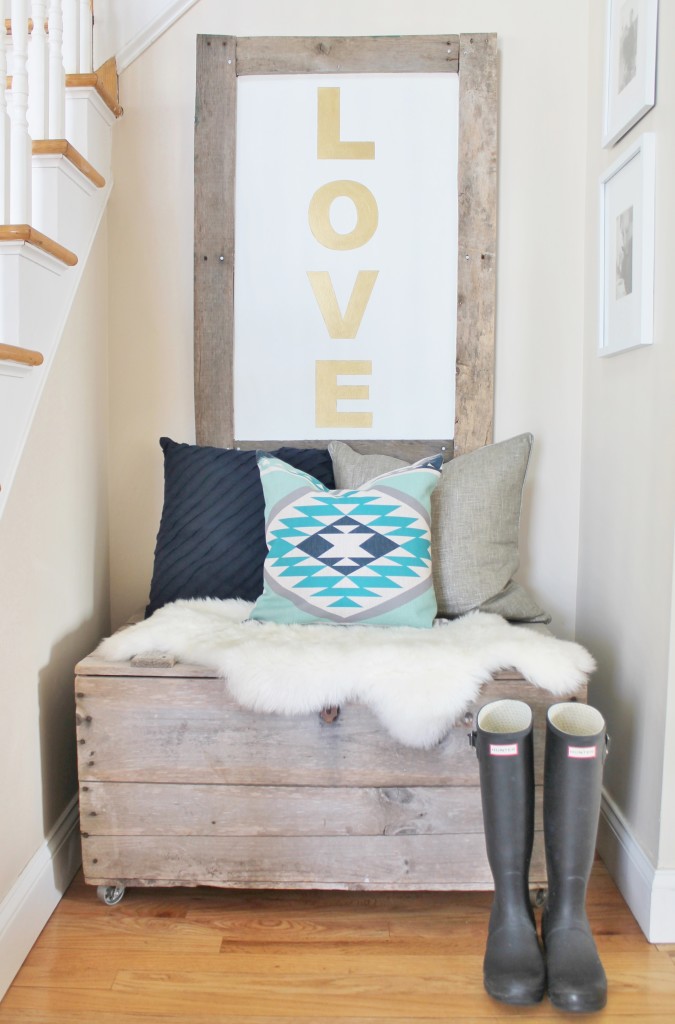
I love topography and handmade signs, I think it adds such a meaningful touch to any home. My little nook under the stairs is the perfect place for a large sign, so it got me thinking about words I want my family & friends to see when they walk in my front door. And most importantly FEEL when the come in. LOVE was the word that kept repeating over & over in my head. I knew I wanted to more modern feel to the sign so I selected chunky & bold letters. By adding gold gilding to my wood palette frame it gave the perfect blend of rustic & chic I was looking for.
This is the EASIEST way to make a sign, really!
What you will need for frame:
Paintable mdf cut to size, I like the 1/2″
[tip-ask your home improvement store to cut it]
pieces of palette wood
[you can use new wood as well and stain it a weathered tone]
gorilla glue
clamps
roofing nails
what you will need for sign:
white paint
small roller
letters printed from Pic Monkey
pencil
tape
pen
paint pen
gold craft paint
Lets get started.
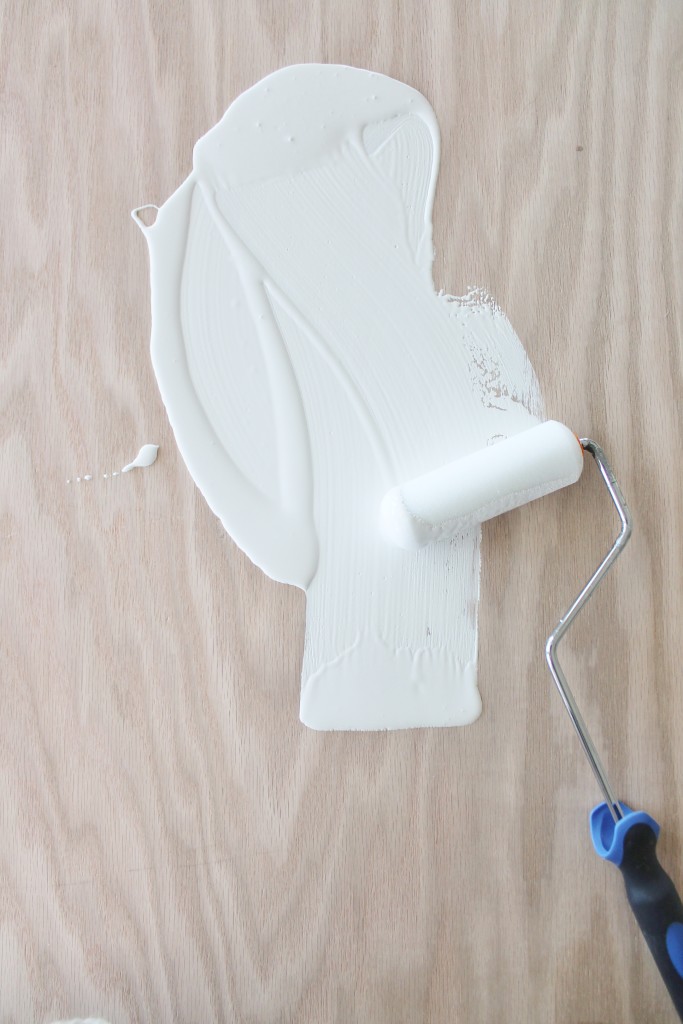
You will need to paint your wood. I used white, you can choose any color, grays & black work nice too.
I had my palette frame already done but I can walk you through it. The frame was created by simply using 2 longer pieces as is and my husband cut the 2 shorter pieces. He actually used a miter saw box but it was tough, often that wood is solid and hard to cut, an actual table saw would work best.
Once you have your palette pieces measured & cut you can be sure to have your mdf cut correctly. I over lapped the board from behind so the glue had a place to adhere to. My frame size is 40″ x 27″. Inside measurements are 33″ x 20″, so my mdf was 36″ x 24″.
Paint your mdf & let dry. You may need to touch up later but saves you from having to tape the frame.
Lay your pieces out on top of mdf. Predrill a few holes for the nails. This was mainly to give a rustic touch since the palette boards are usually filled with holes anyways.
Spread glue, hammer nails, clamp & let dry. Use the gorilla glue sparingly as it does turn into a foam, especially towards the inside frame edge.
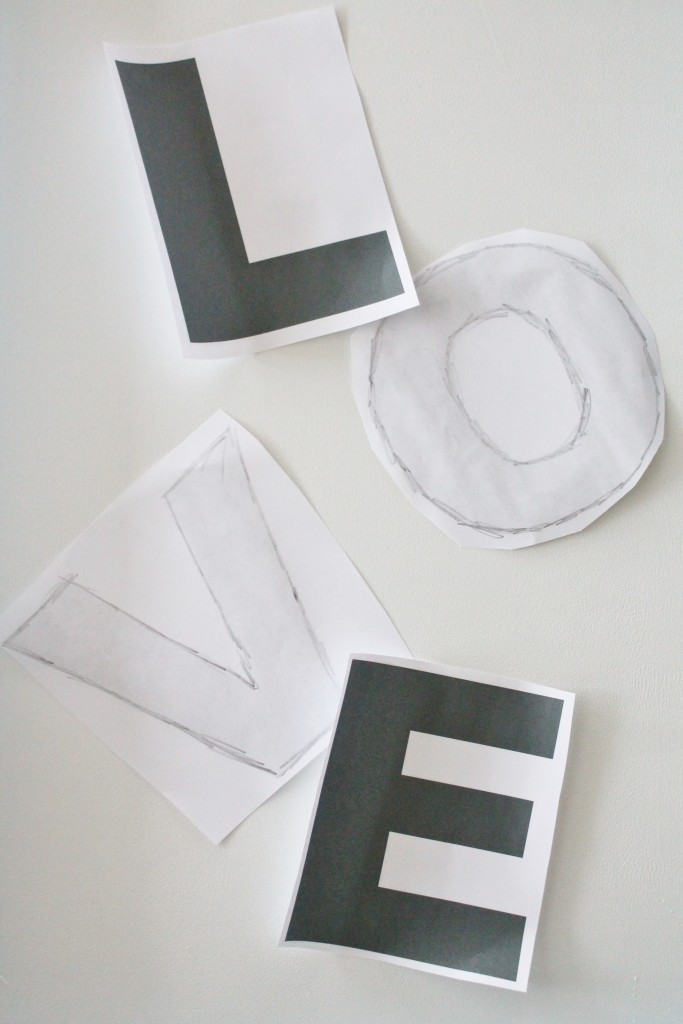
You are ready to print your letters. I took a visual with a sheet of computer paper on how large I wanted them. This is trial and error. I would print it 1 letter at a time from Pic Monkey until you get the right size.
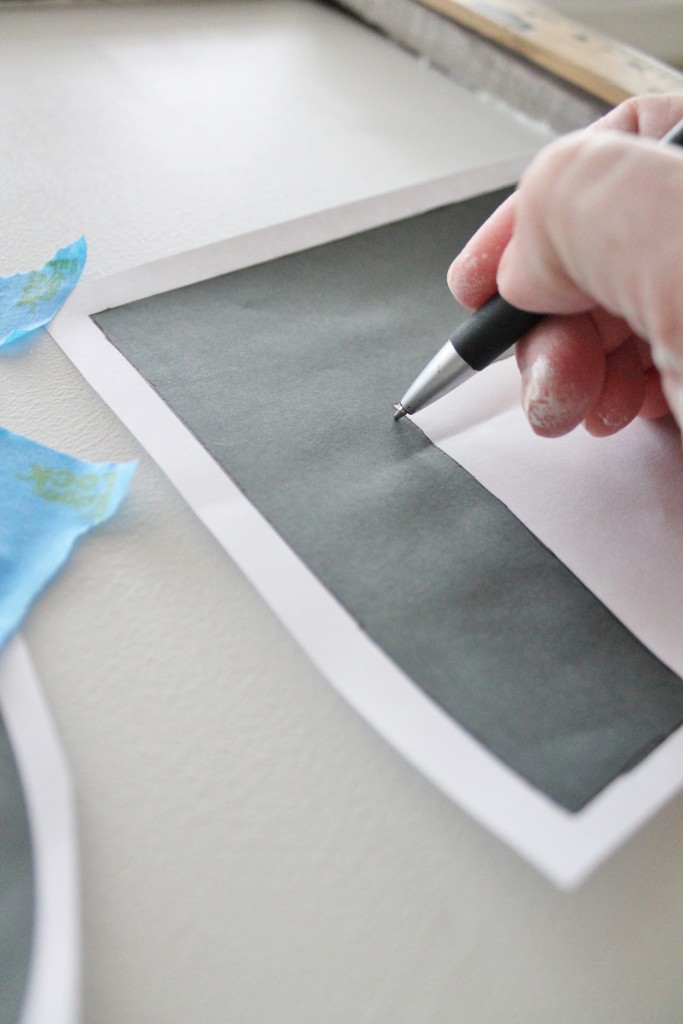
Once you have them printed them, flip them over & trace the outline with a pencil. Hold up to a window if you can’t see. You can also use chalk if your base color of your board is dark, you always want a contrast so you can see the letters after you trace.
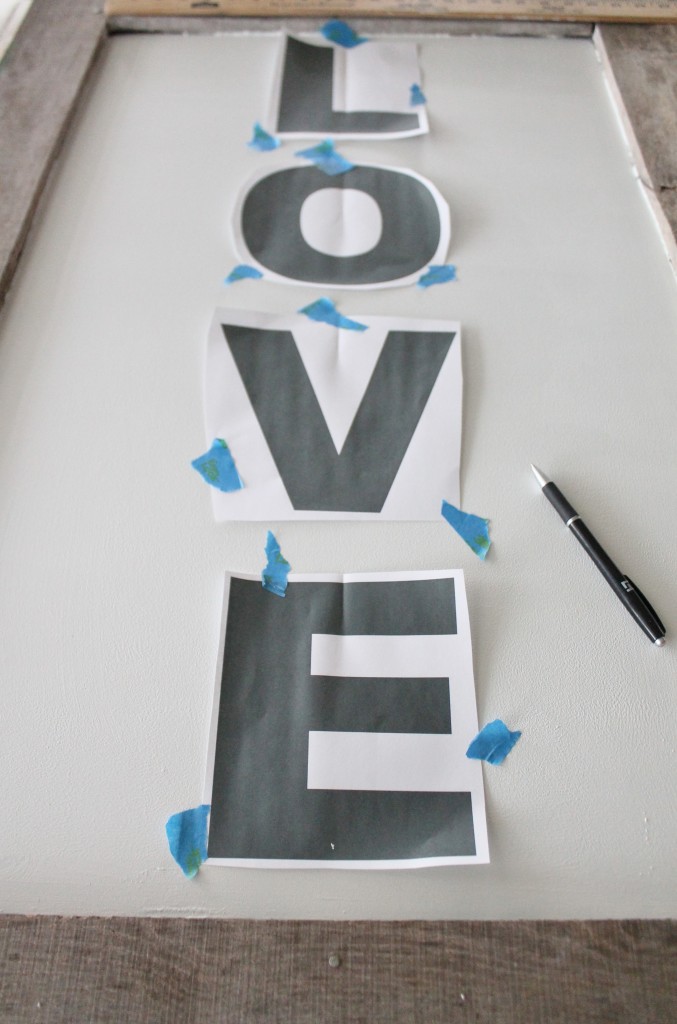
Find the middle and tape them to your board. Take your pen and trace the outline.
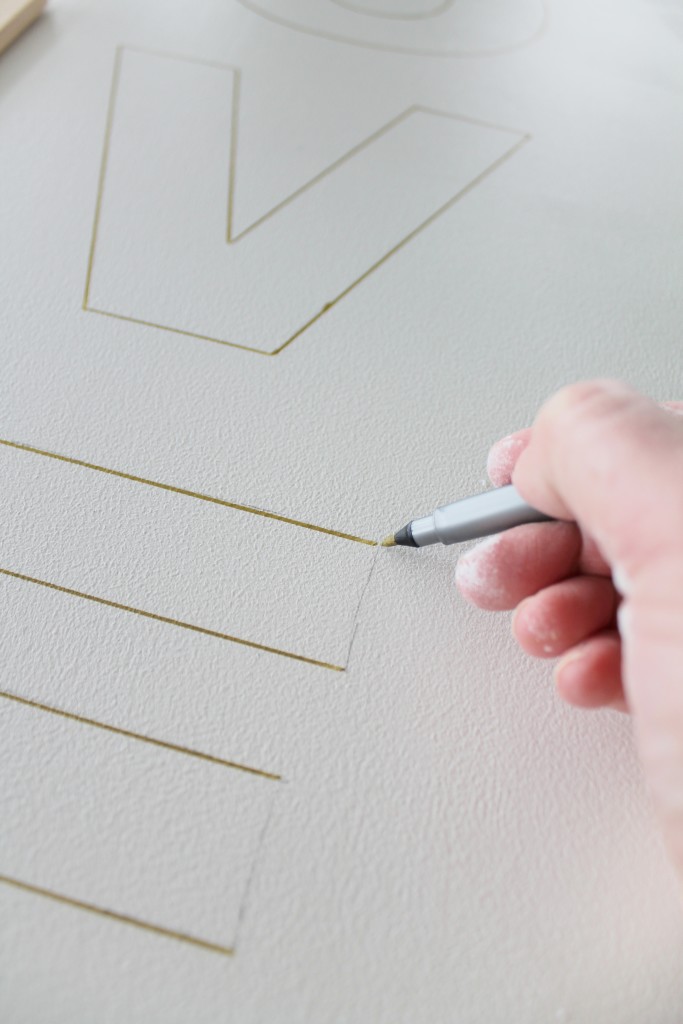
Once you have traced them all you will get a pencil line. Take a gold pen & trace, this is a forgiving way to stay in the lines.
Then take your gold craft paint and paint inside your lines.
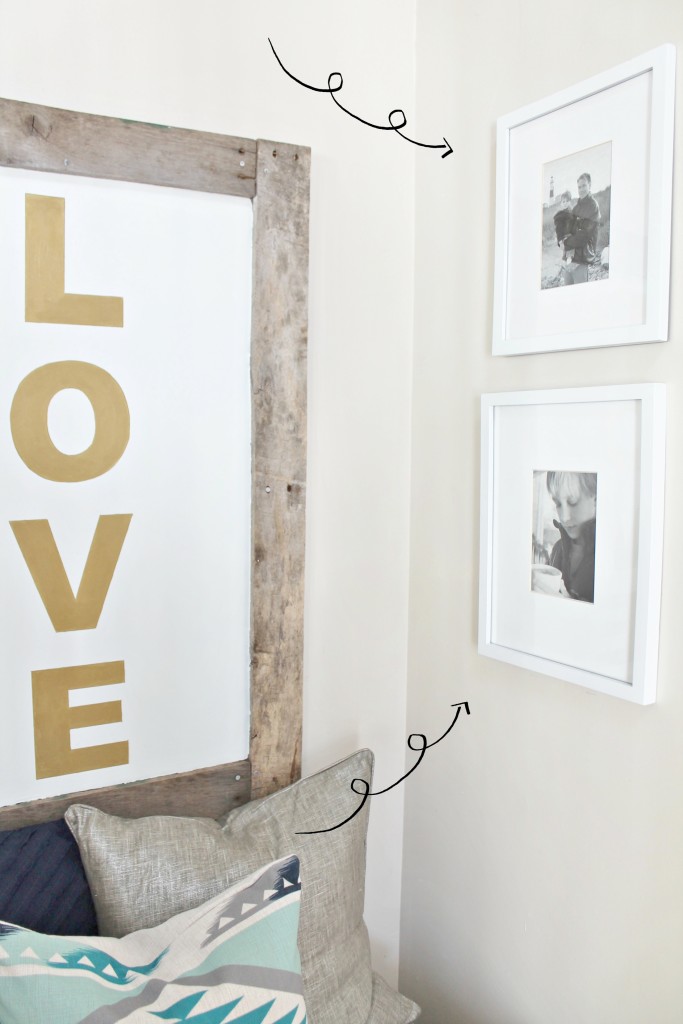
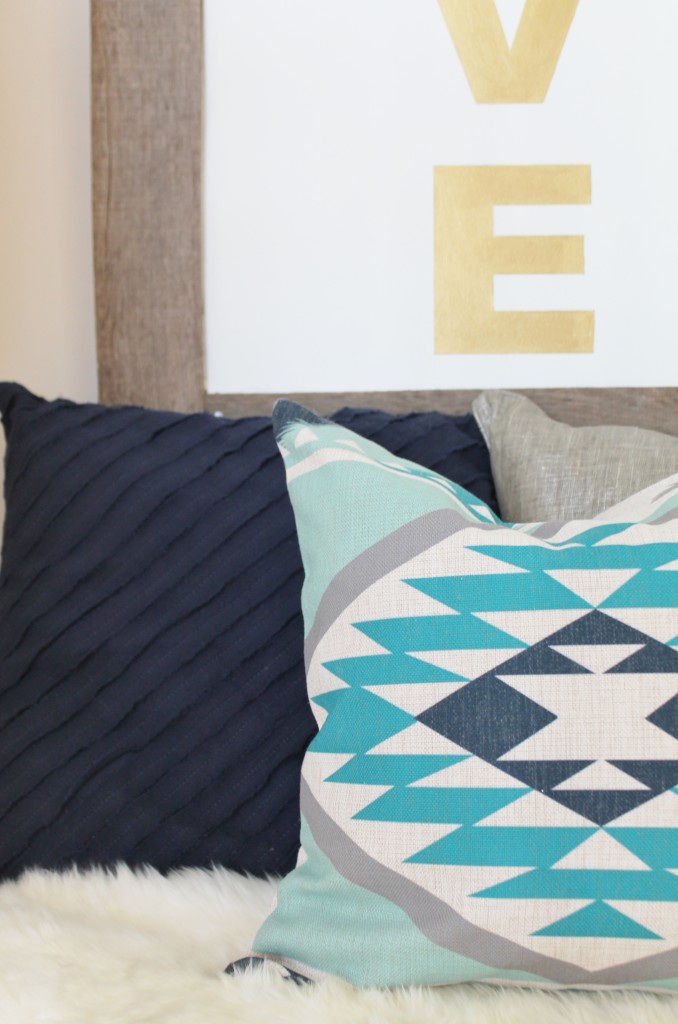
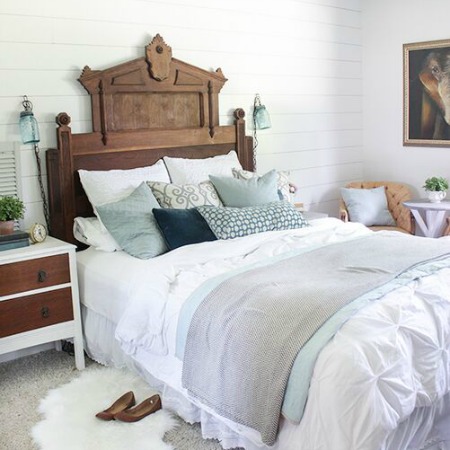
Navy pillow from West Elm, Aztec is from HERE and gold is from H& M.
**********************
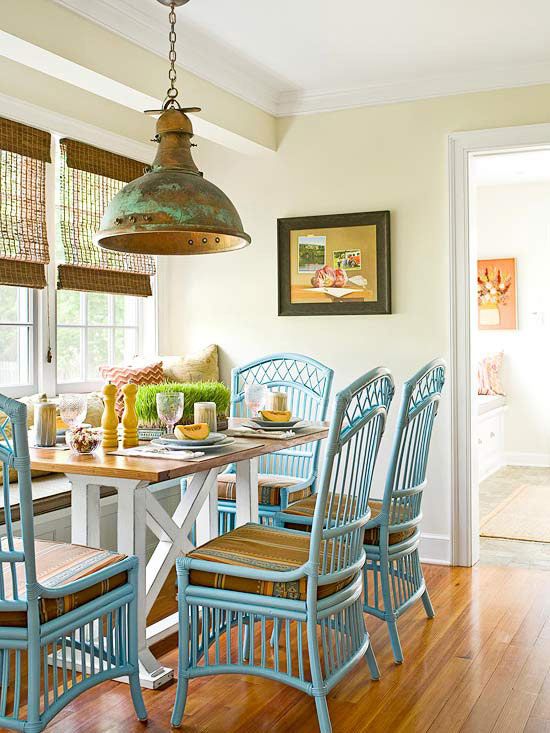
I am over at Better Homes & Gardens today sharing a little coastal inspiration and ways you can use rattan in your home. With summer almost here {I know I am pushing it a little} this is one you don’t want to miss!
{photo courtesy of BHG}
Have a beautiful week friends!

I love this Jen (no pun intended!). The hit of gold there is so pretty and I love it mixed with the rustic wood frame. The rattan inspiration at BHG is gorgeous – I love that first image with those blue rattan chairs. I need those in my dining room!
Krista, thank you for your sweet words. You are such an inspiration, love your style! Happy Easter! Jen
Just wondering what brand of gold craft paint you used. Thanks!
Hi Rachel, it was Martha Stewart, great question! Have a good night! Jen
This a really easy DIY project with minimal tools. The palette wood looks great with the gold. Thanks for sharing the post.