
Disclosure: This post may contain affiliate links. As an Amazon Associate, I earn from qualifying purchases at no additional cost to you. See full Disclosure Statement HERE.
Hi friends! A big happy Thursday to you! My boys have been sick for the past week, so it has been a little rough around here but I have to say I am getting some things done. I am currently working on my dining room and making some updates, I am replacing the curtains, rug, chairs, maybe paint, art, etc.. Its exciting but also a little nerve racking, I find I lay awake at night when planning a space, trying to visualize different colors, patterns and styling ideas. Do you do that too? To add to that quickly, I found a cool tool over at Valspar, you can upload a picture of a room and you can see how different paint colors will work. I had some fun over there yesterday, you can check it out HERE.
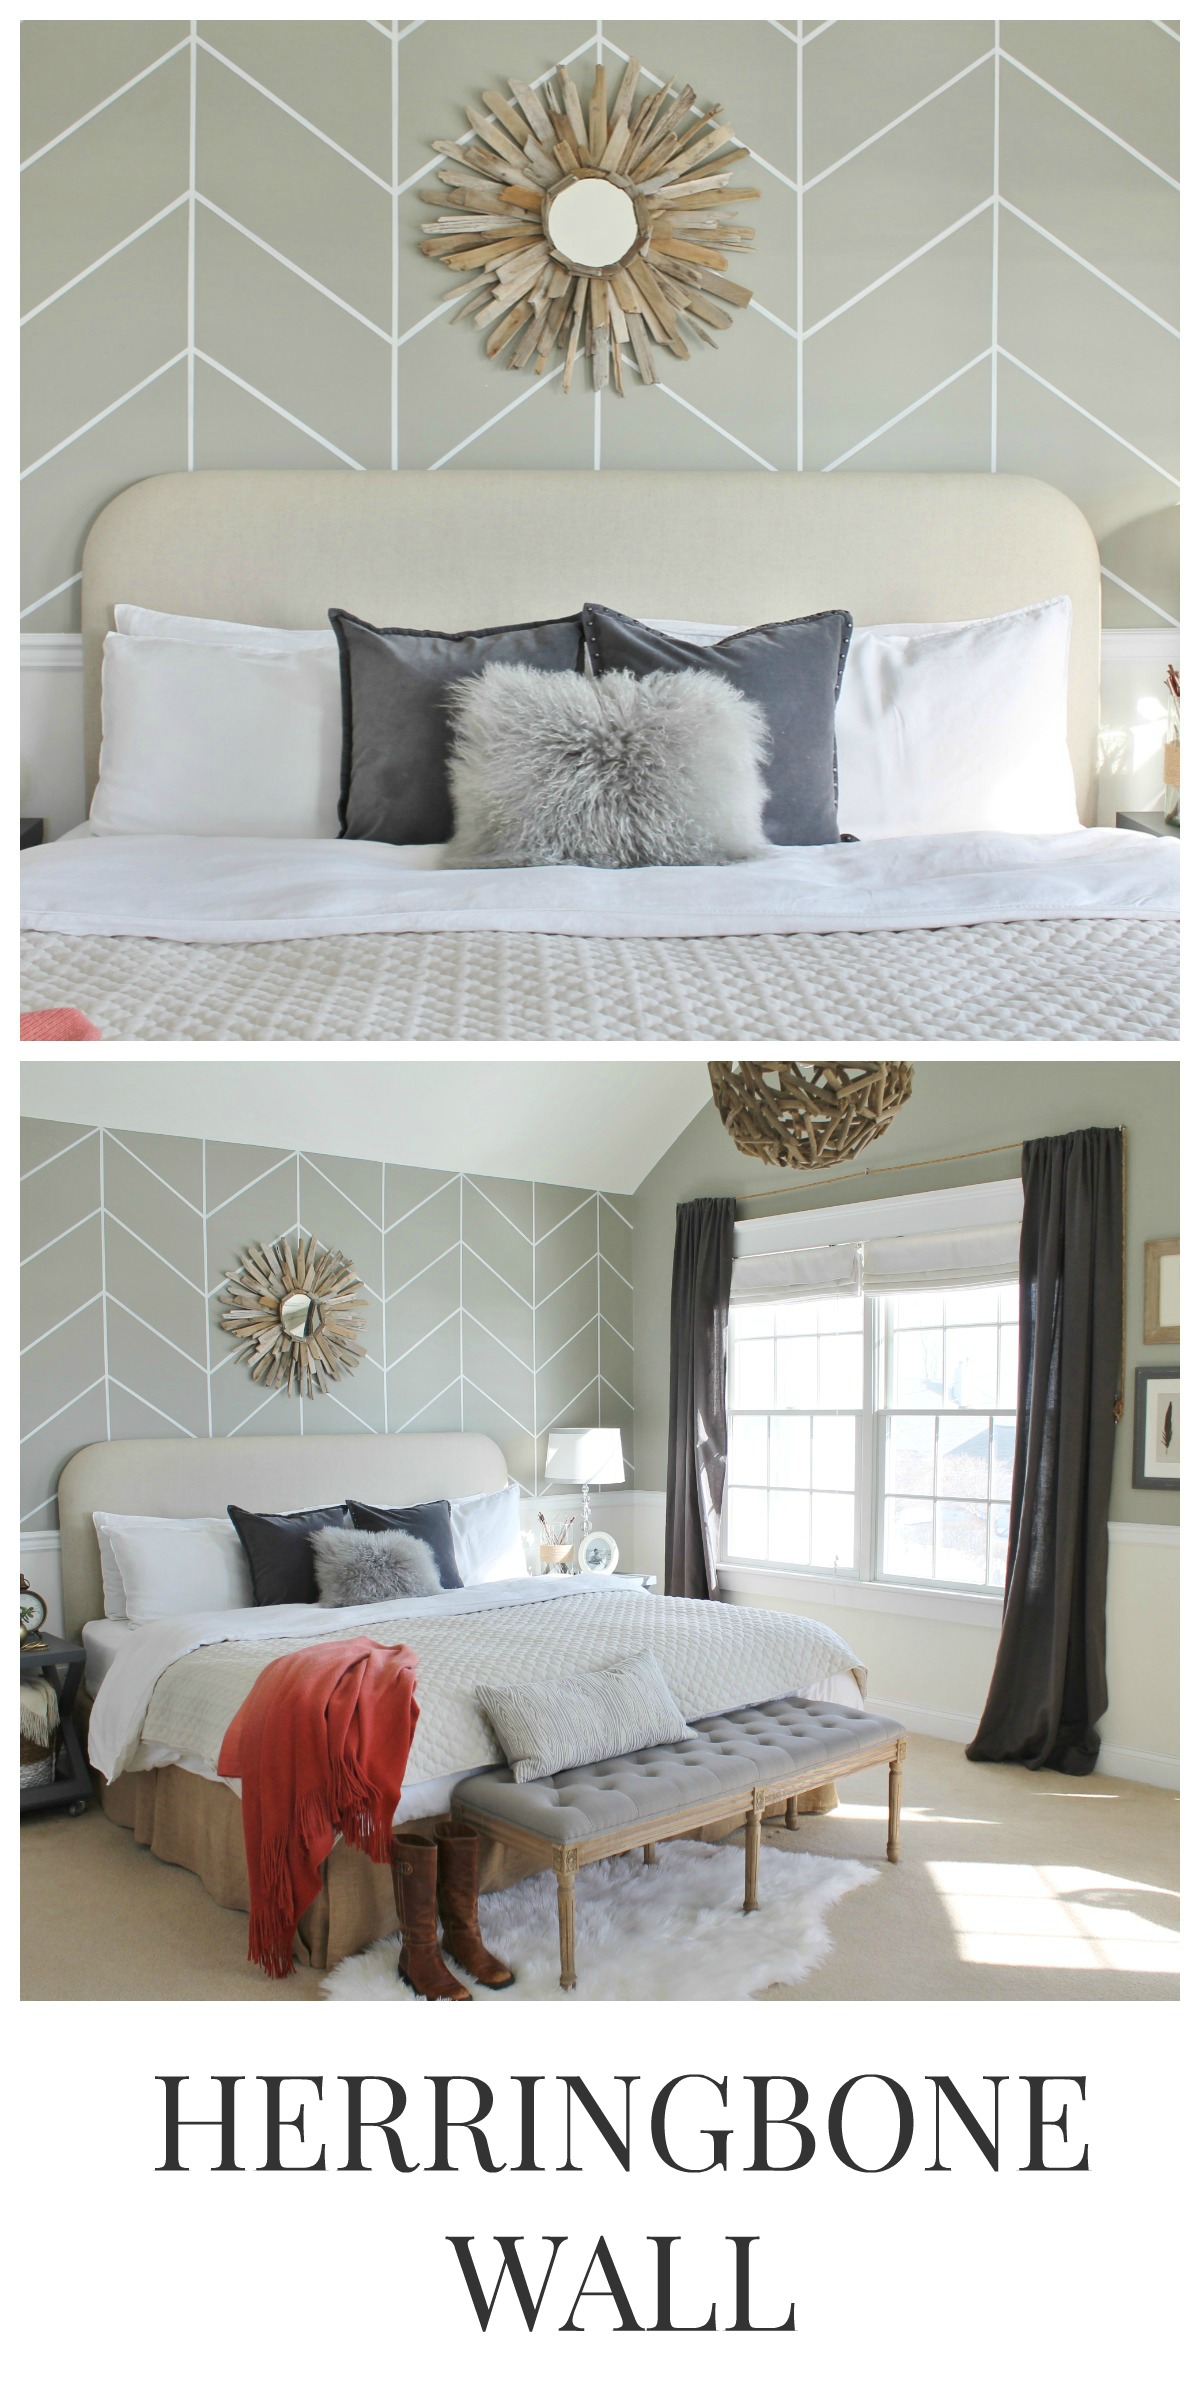
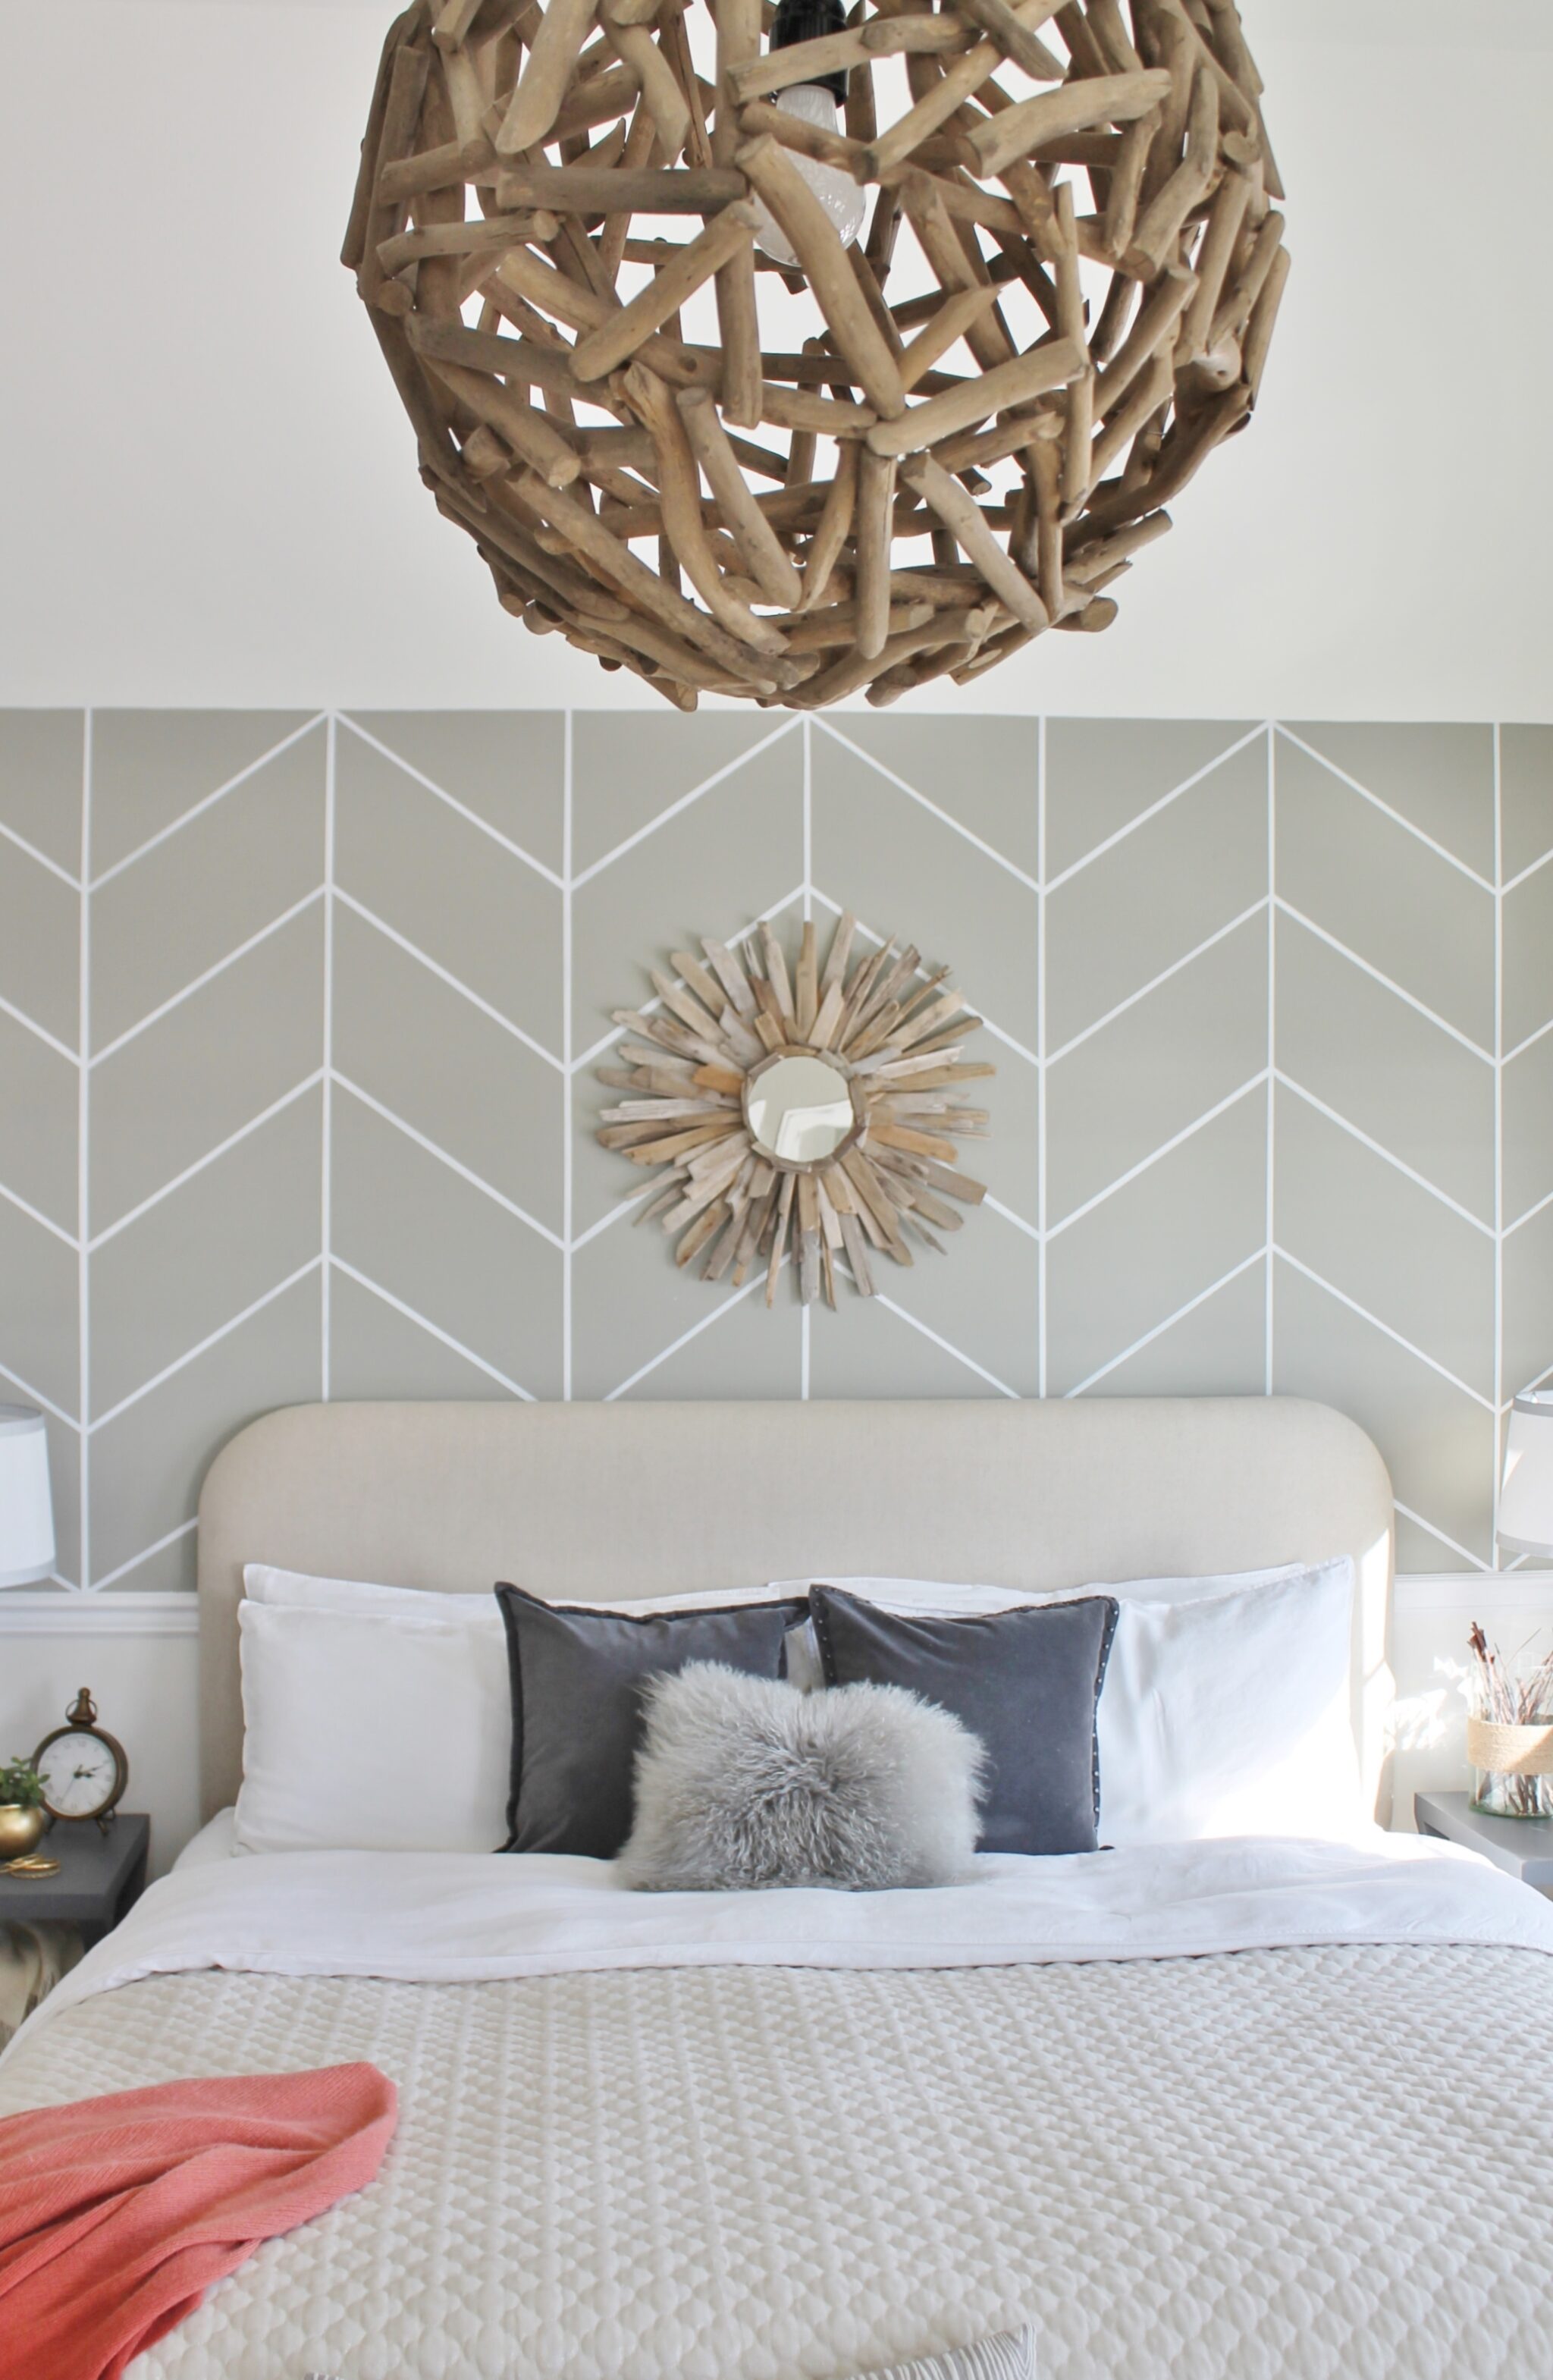
Ok, I know you have been waiting for this post- DIY Herringbone Wall, so thank you for your patience. I wanted some punch behind my headboard but didn’t want wallpaper. Although I LOVE wallpaper, I change things too often in my house and once you have taken it down a few times, you are over it. So I thought why not hand draw a pattern. I had been planning this and sketched out my herringbone design so it was ready to go when I had time. My original idea was to do it with a white paint pen-like a sharpie, but guess what they don’t make one. So I went & bought every kind of white pen at 3 different craft stores and had them on hand when I was ready to tackle it.
But none of them worked, they were either too light or too heavy and clumped & ran. So I went to plan B, which was when all else failed break out the painters tape.
This is the before, I apologize, I guess I never took the “in the process” pictures but I will walk you through it. 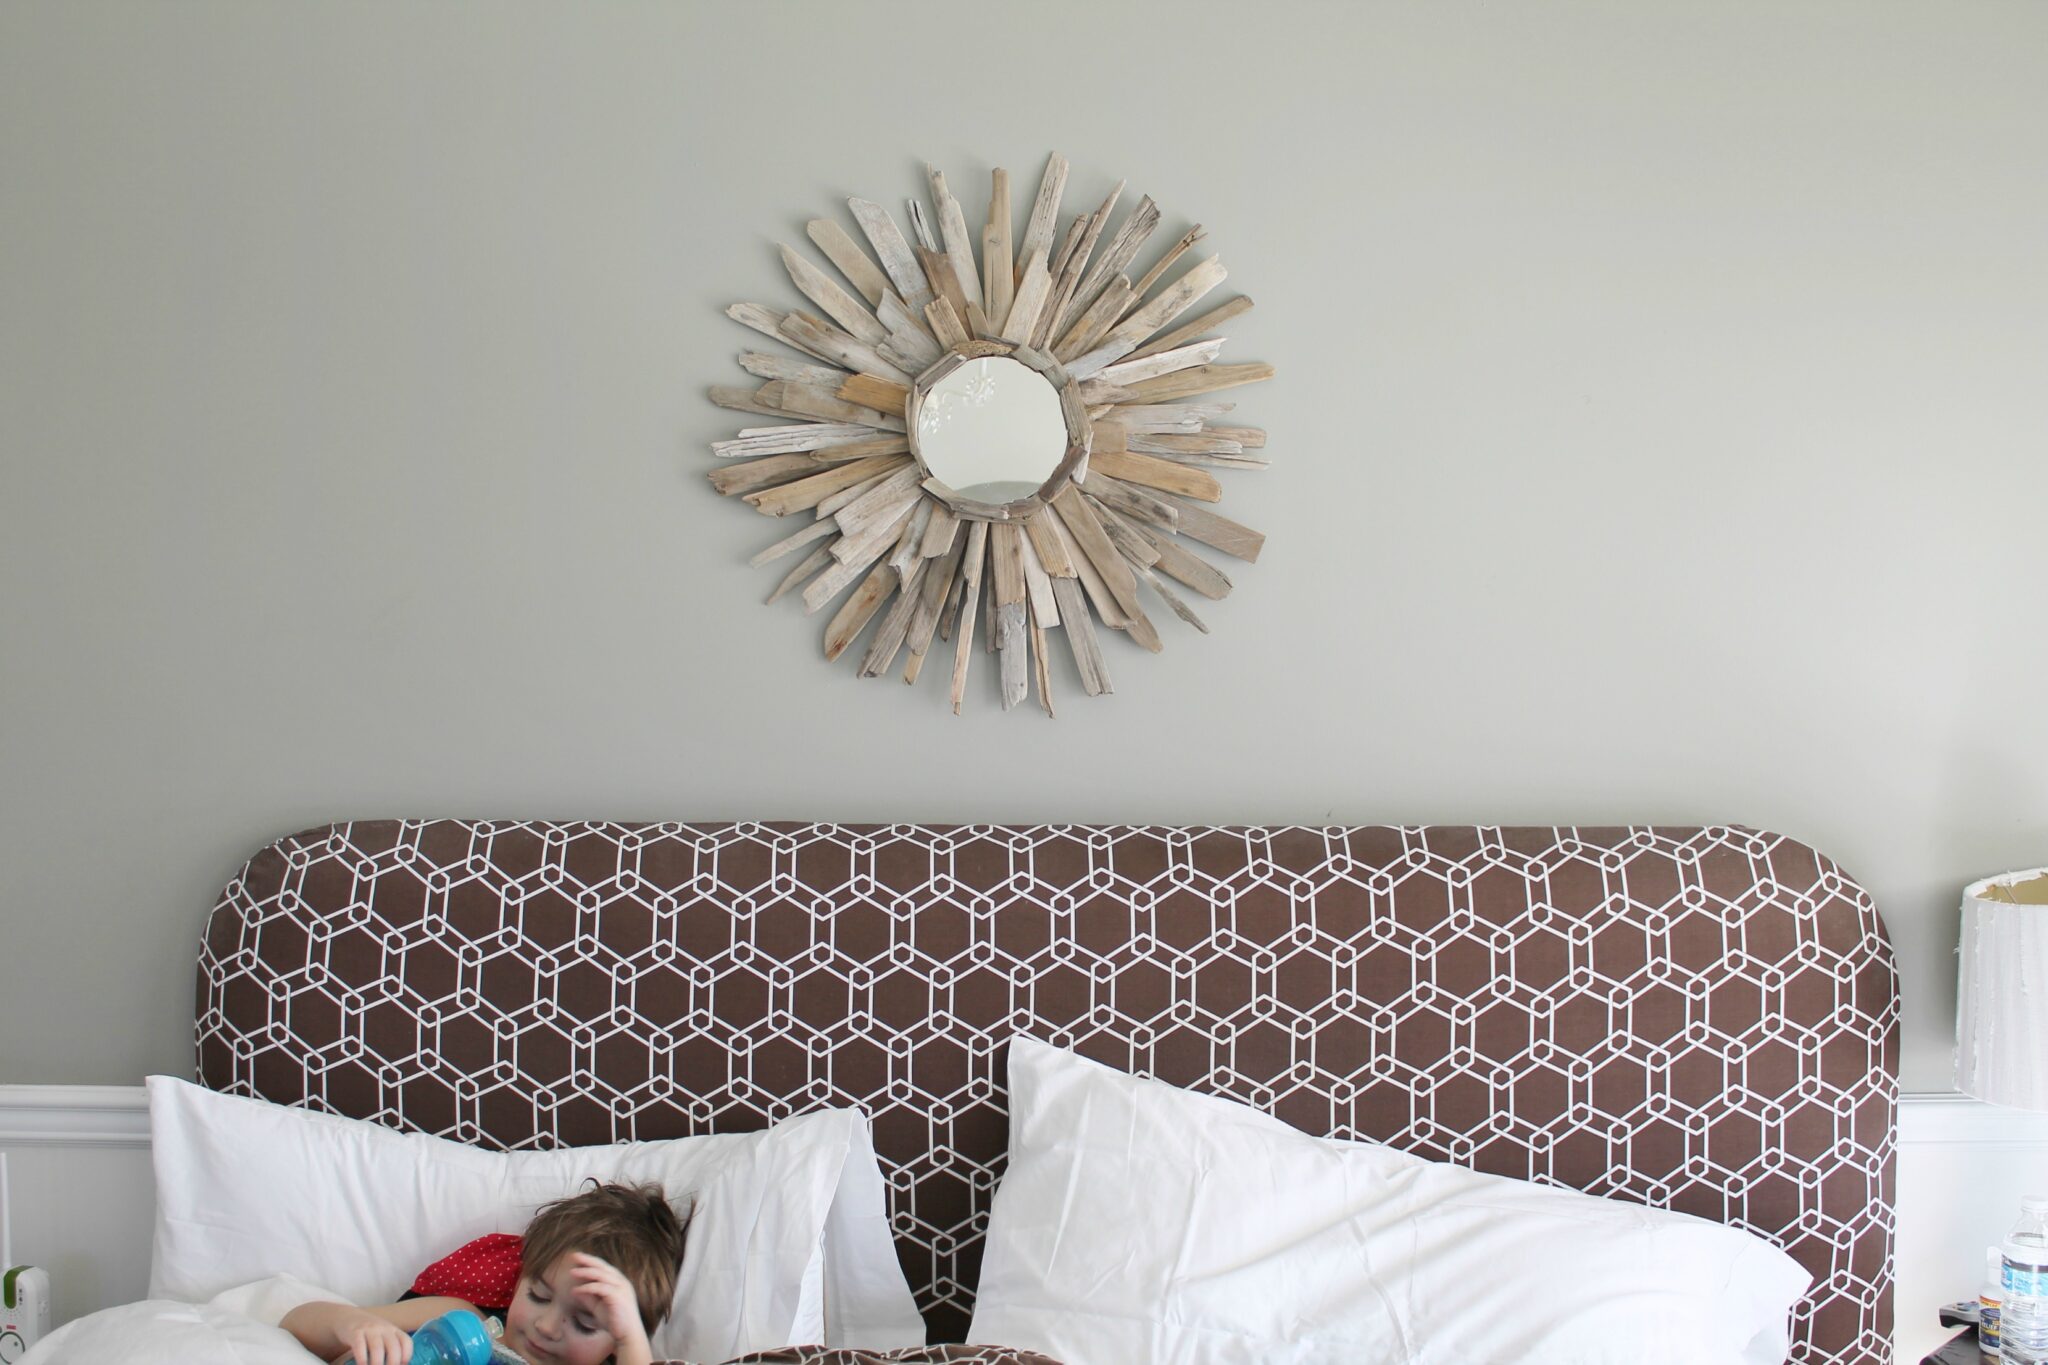 This is what you will need:
base coat-mine is Valspar Beach
white latex paint- mine is Valspar Oyster
painters tape
small foam brush
level measuring stick & small ruler
measurements of the wall {so you end on both sides evenly}
pencil
how to:
Find the middle of the wall & with a level and ruler draw a straight vertical line with your ruler.
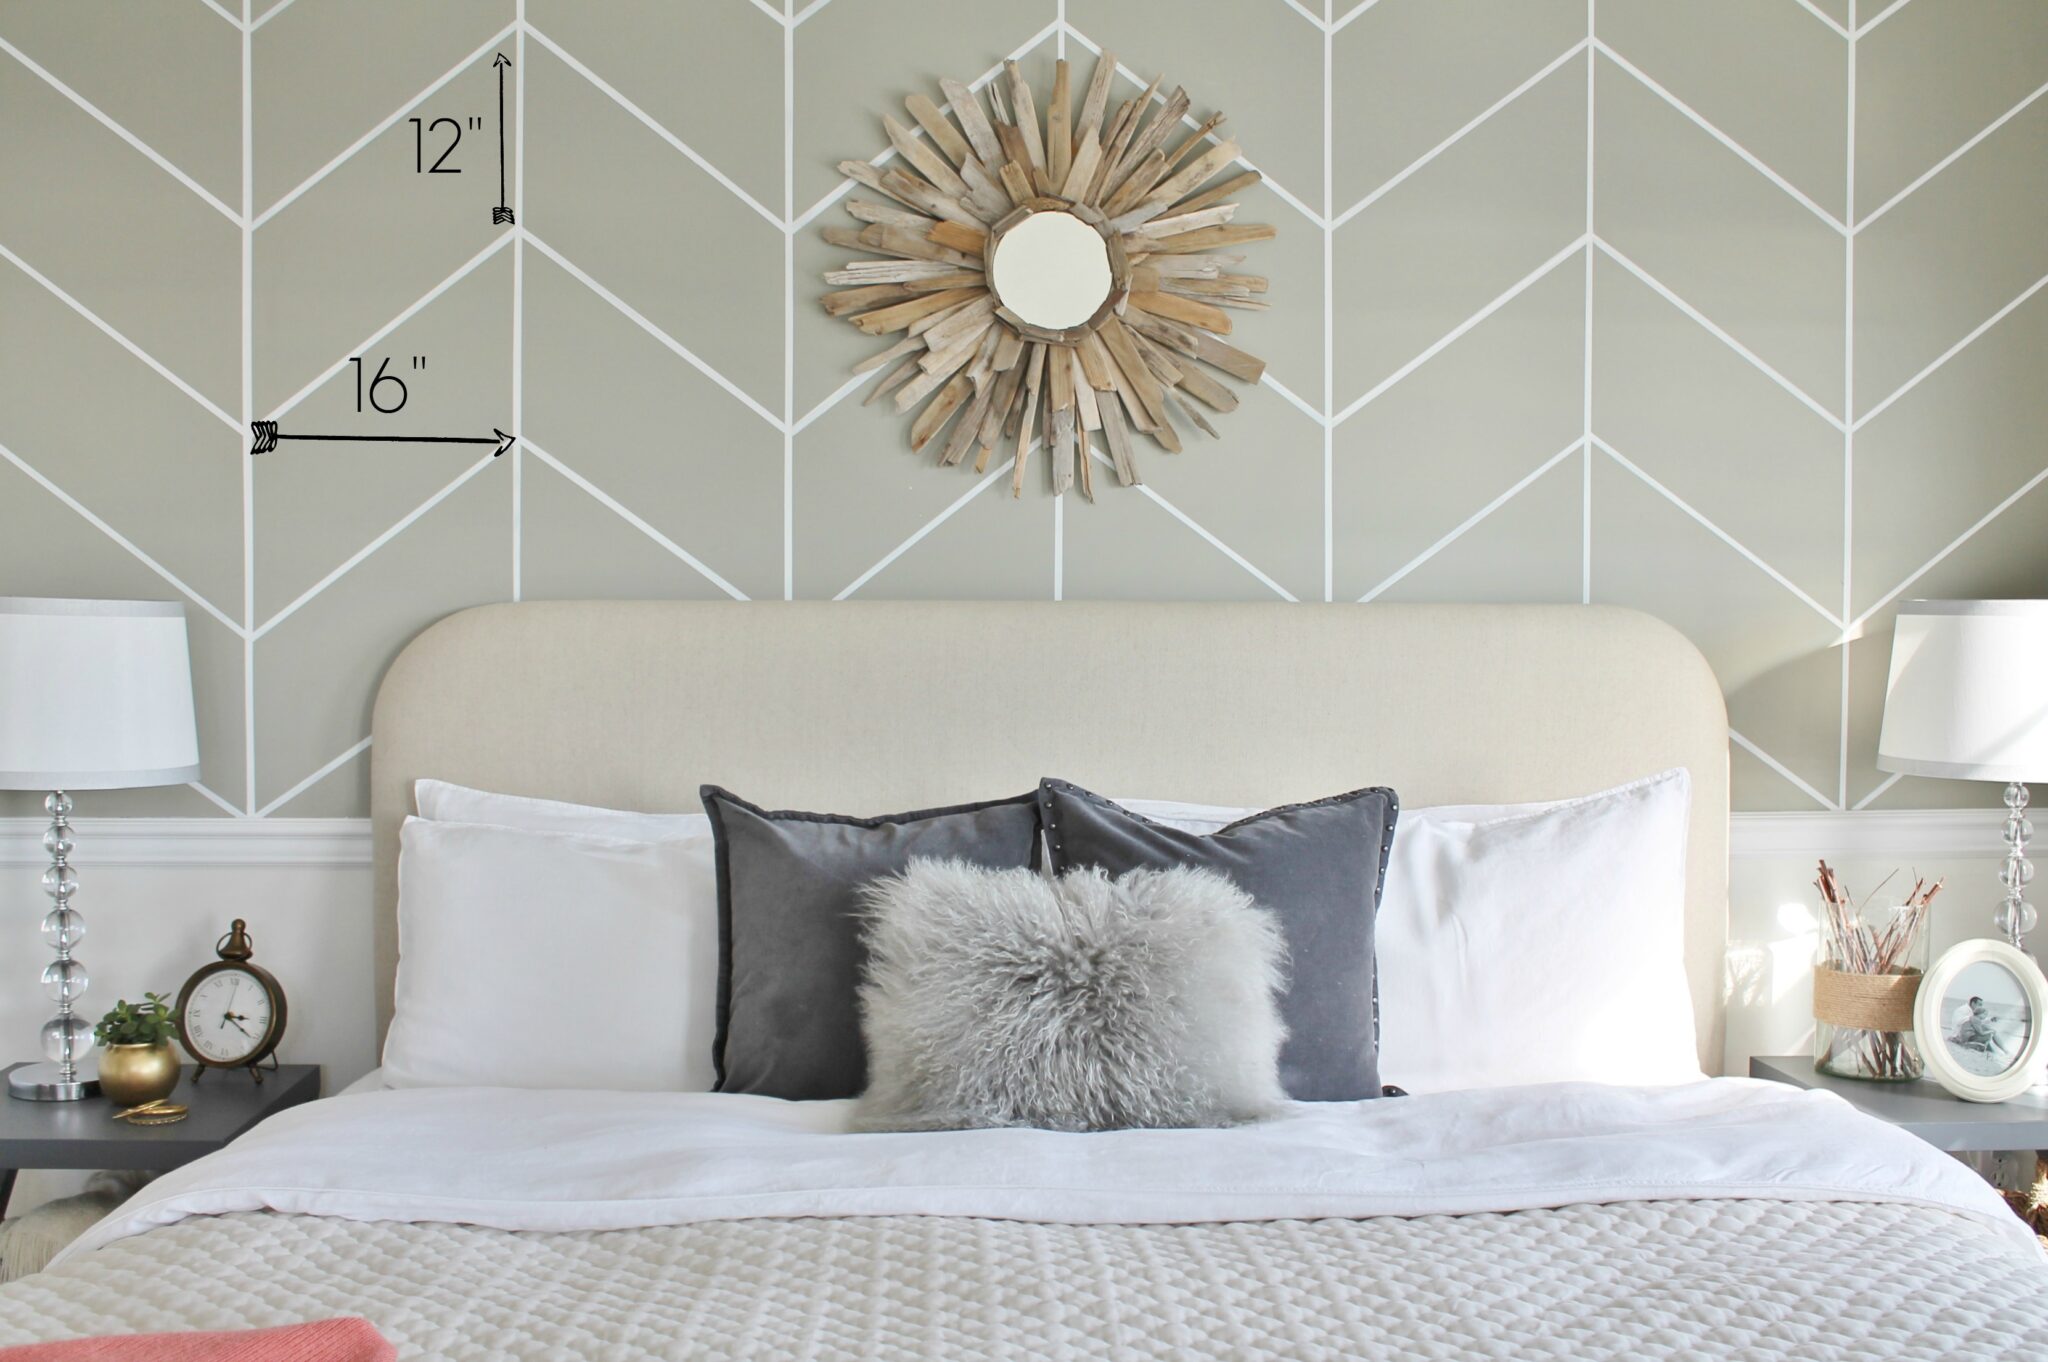
Heading right measure out every 16″ and draw another straight vertical line, keep repeating. Then go left and do the same.
Now it’s time to measure out your chevron design.
Begin with your middle vertical line, measure every 12″ and make a faint mark with your pencil, do this with all of vertical lines.
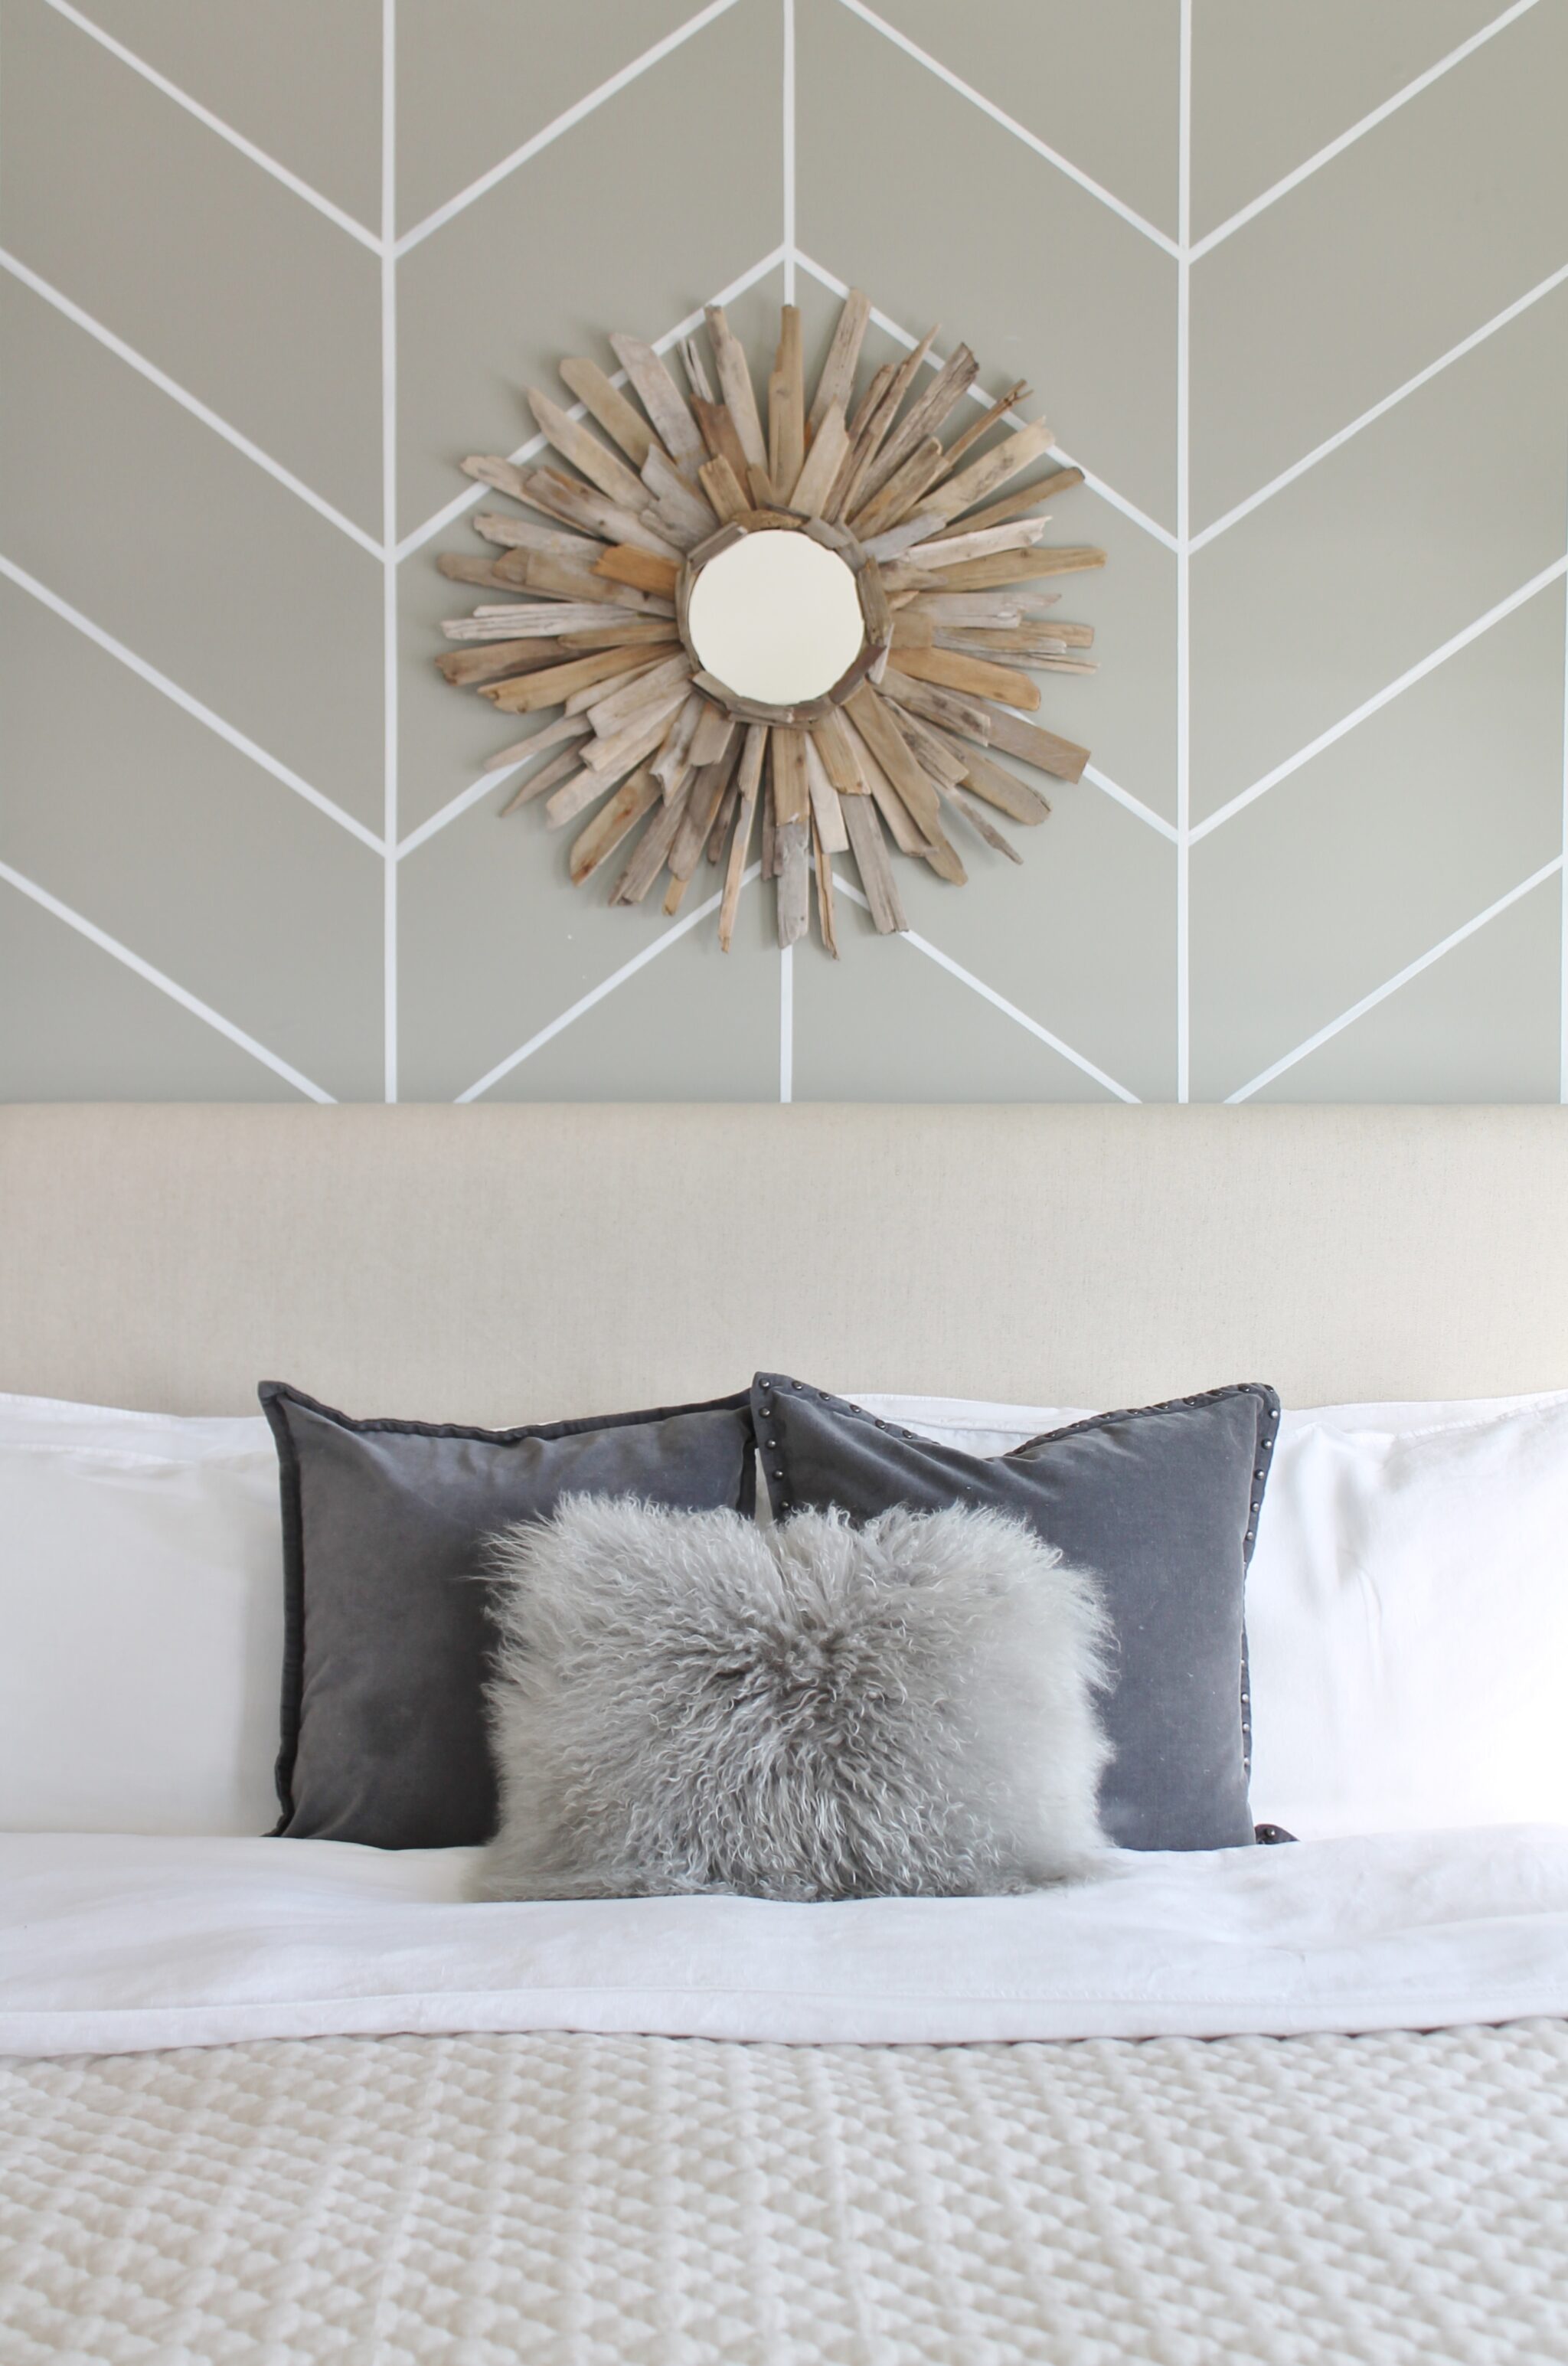
Now you will connect them in a zig zag pattern.Go in one direction at a time and using your pencil draw a line from the up marking to the down marking and repeat to the end. You will see your herringbone sketch take shape. Be sure it is all level and correct.
Now you are ready to tape. I eye balled this part. I taped 1/4″ ish to the right of each line and 1/4″ish to the left, so I would have a 1/2″ thick line to paint. Do this with all of your vertical & horizontal lines. Press firmly on your interior lines of the tape.
Take your small foam brush and paint inside the taped off areas. I used Valspar Oyster. I would do 2-3 light coats so it doesn’t bleed. Peel off tape & touch up if need be.
This took me about 3-4 hours with some breaks. 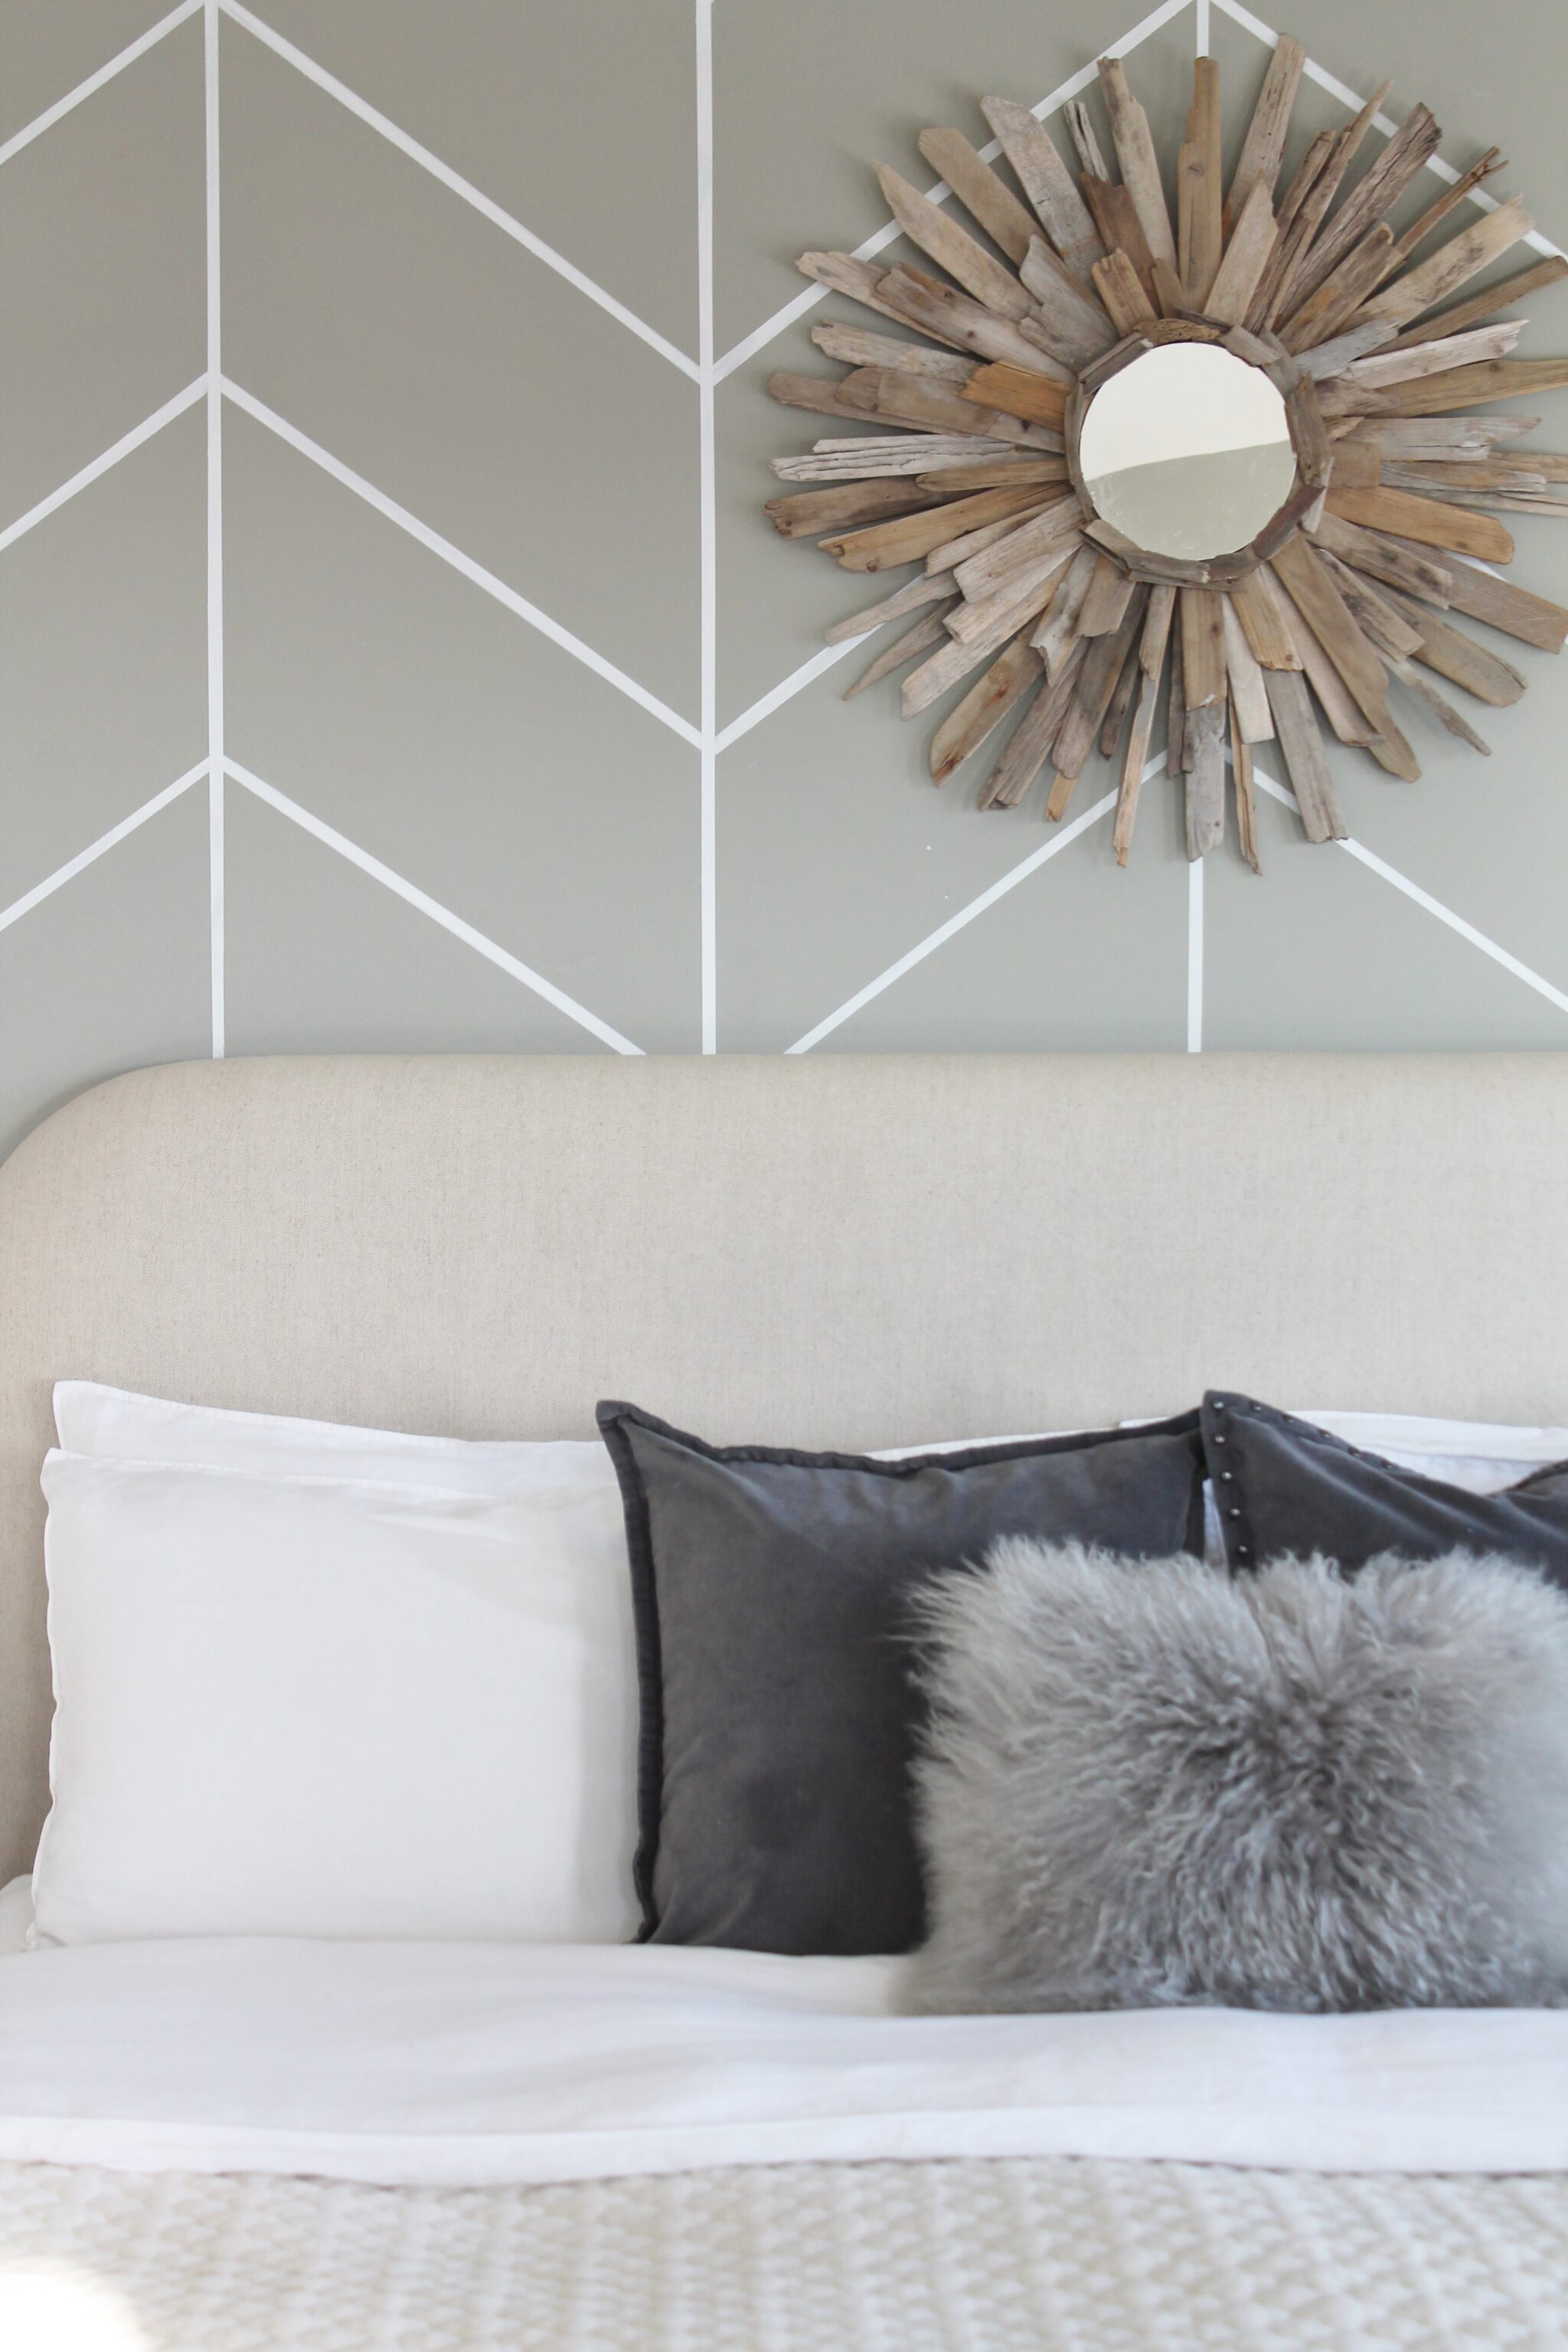
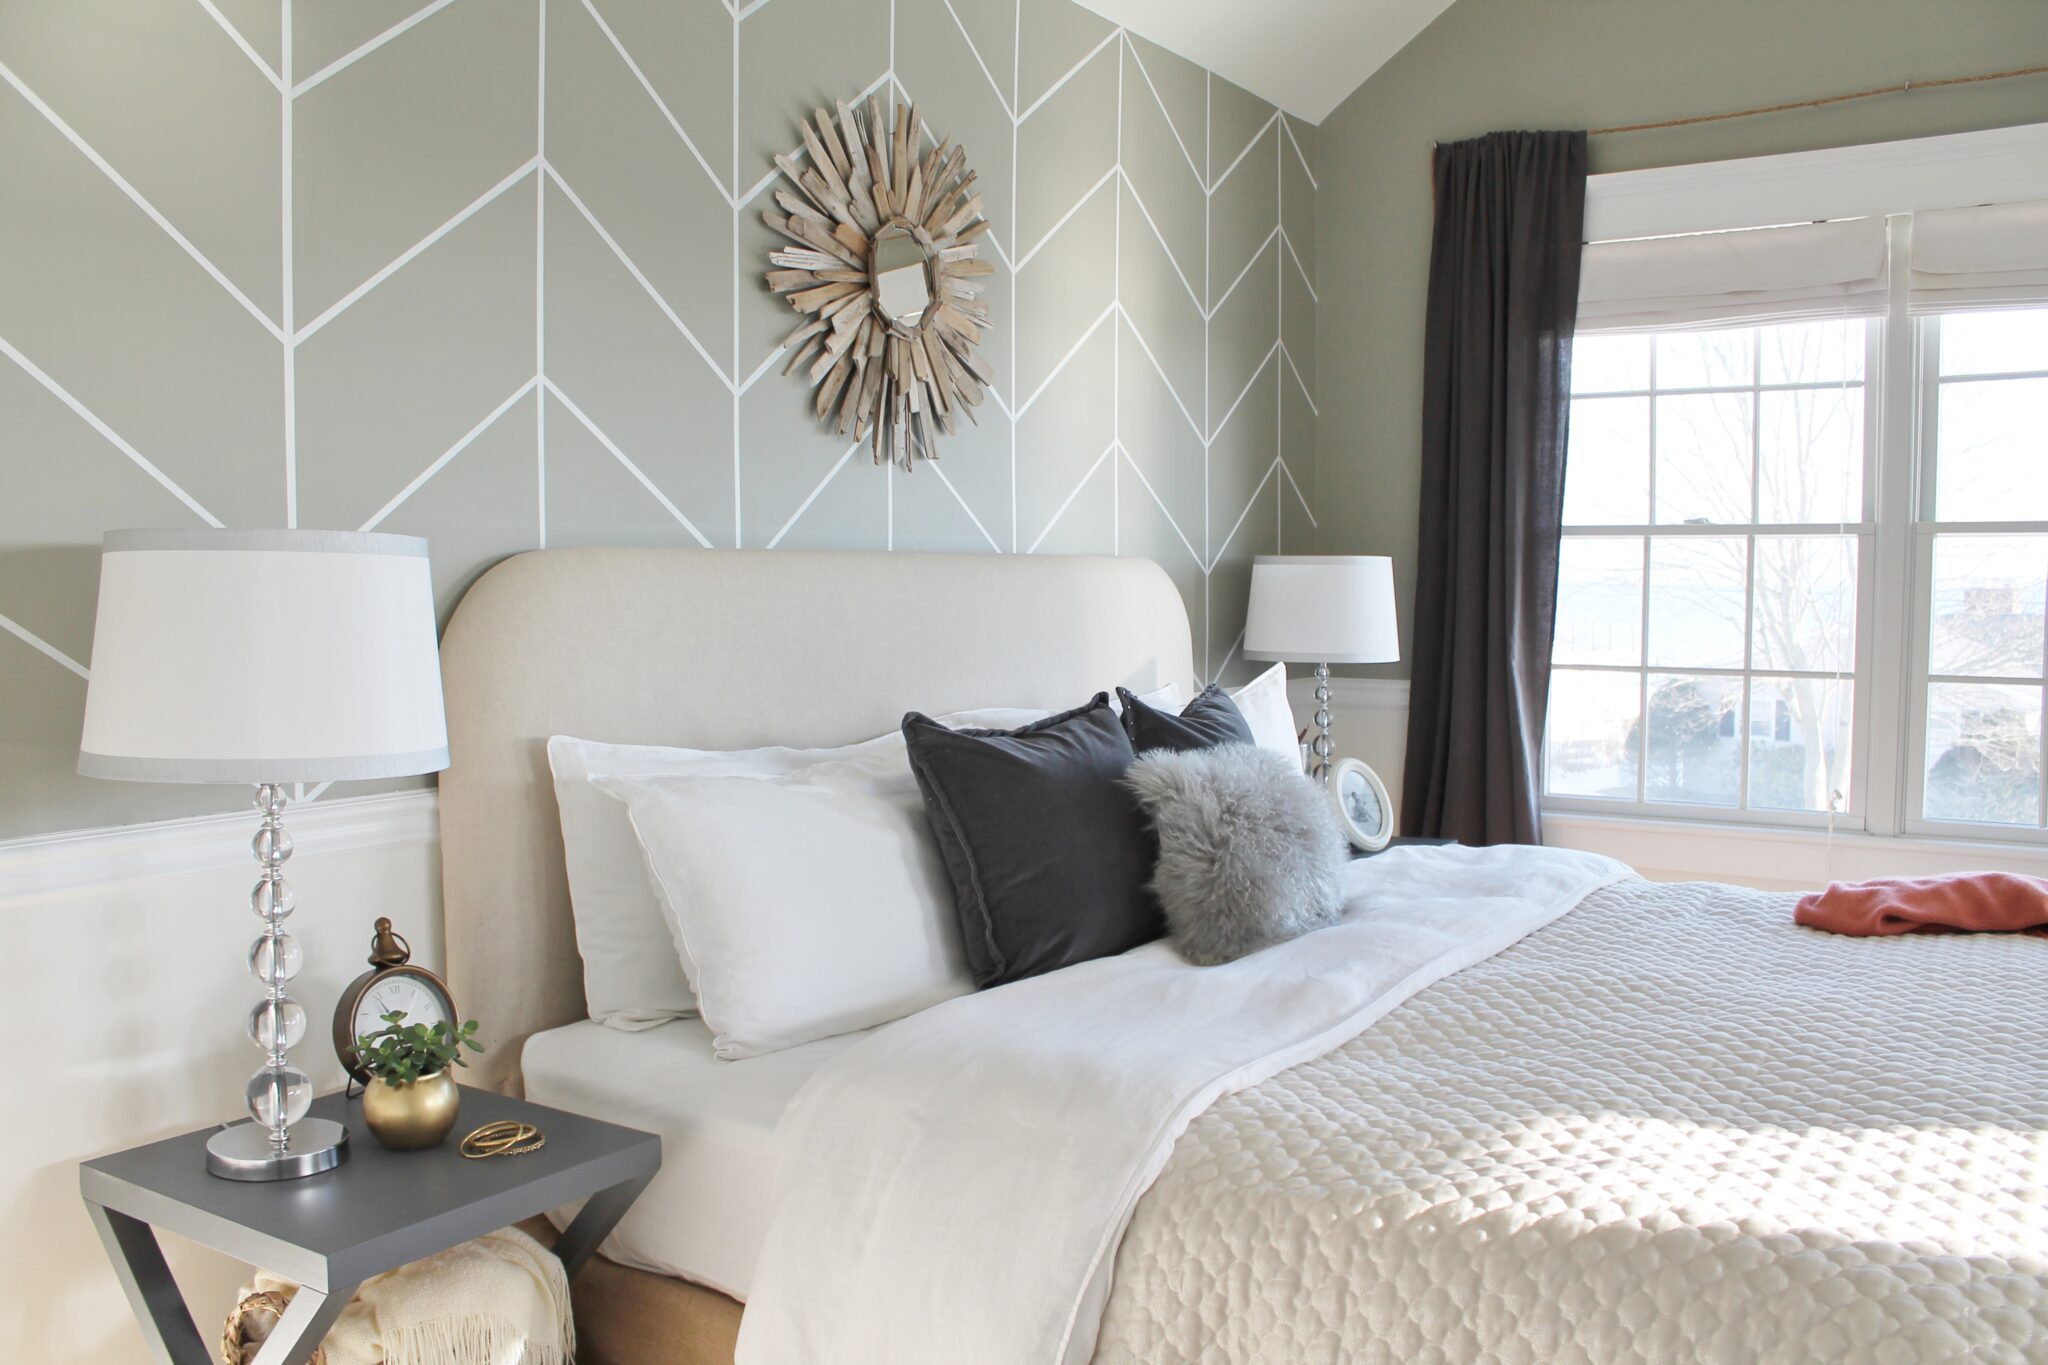

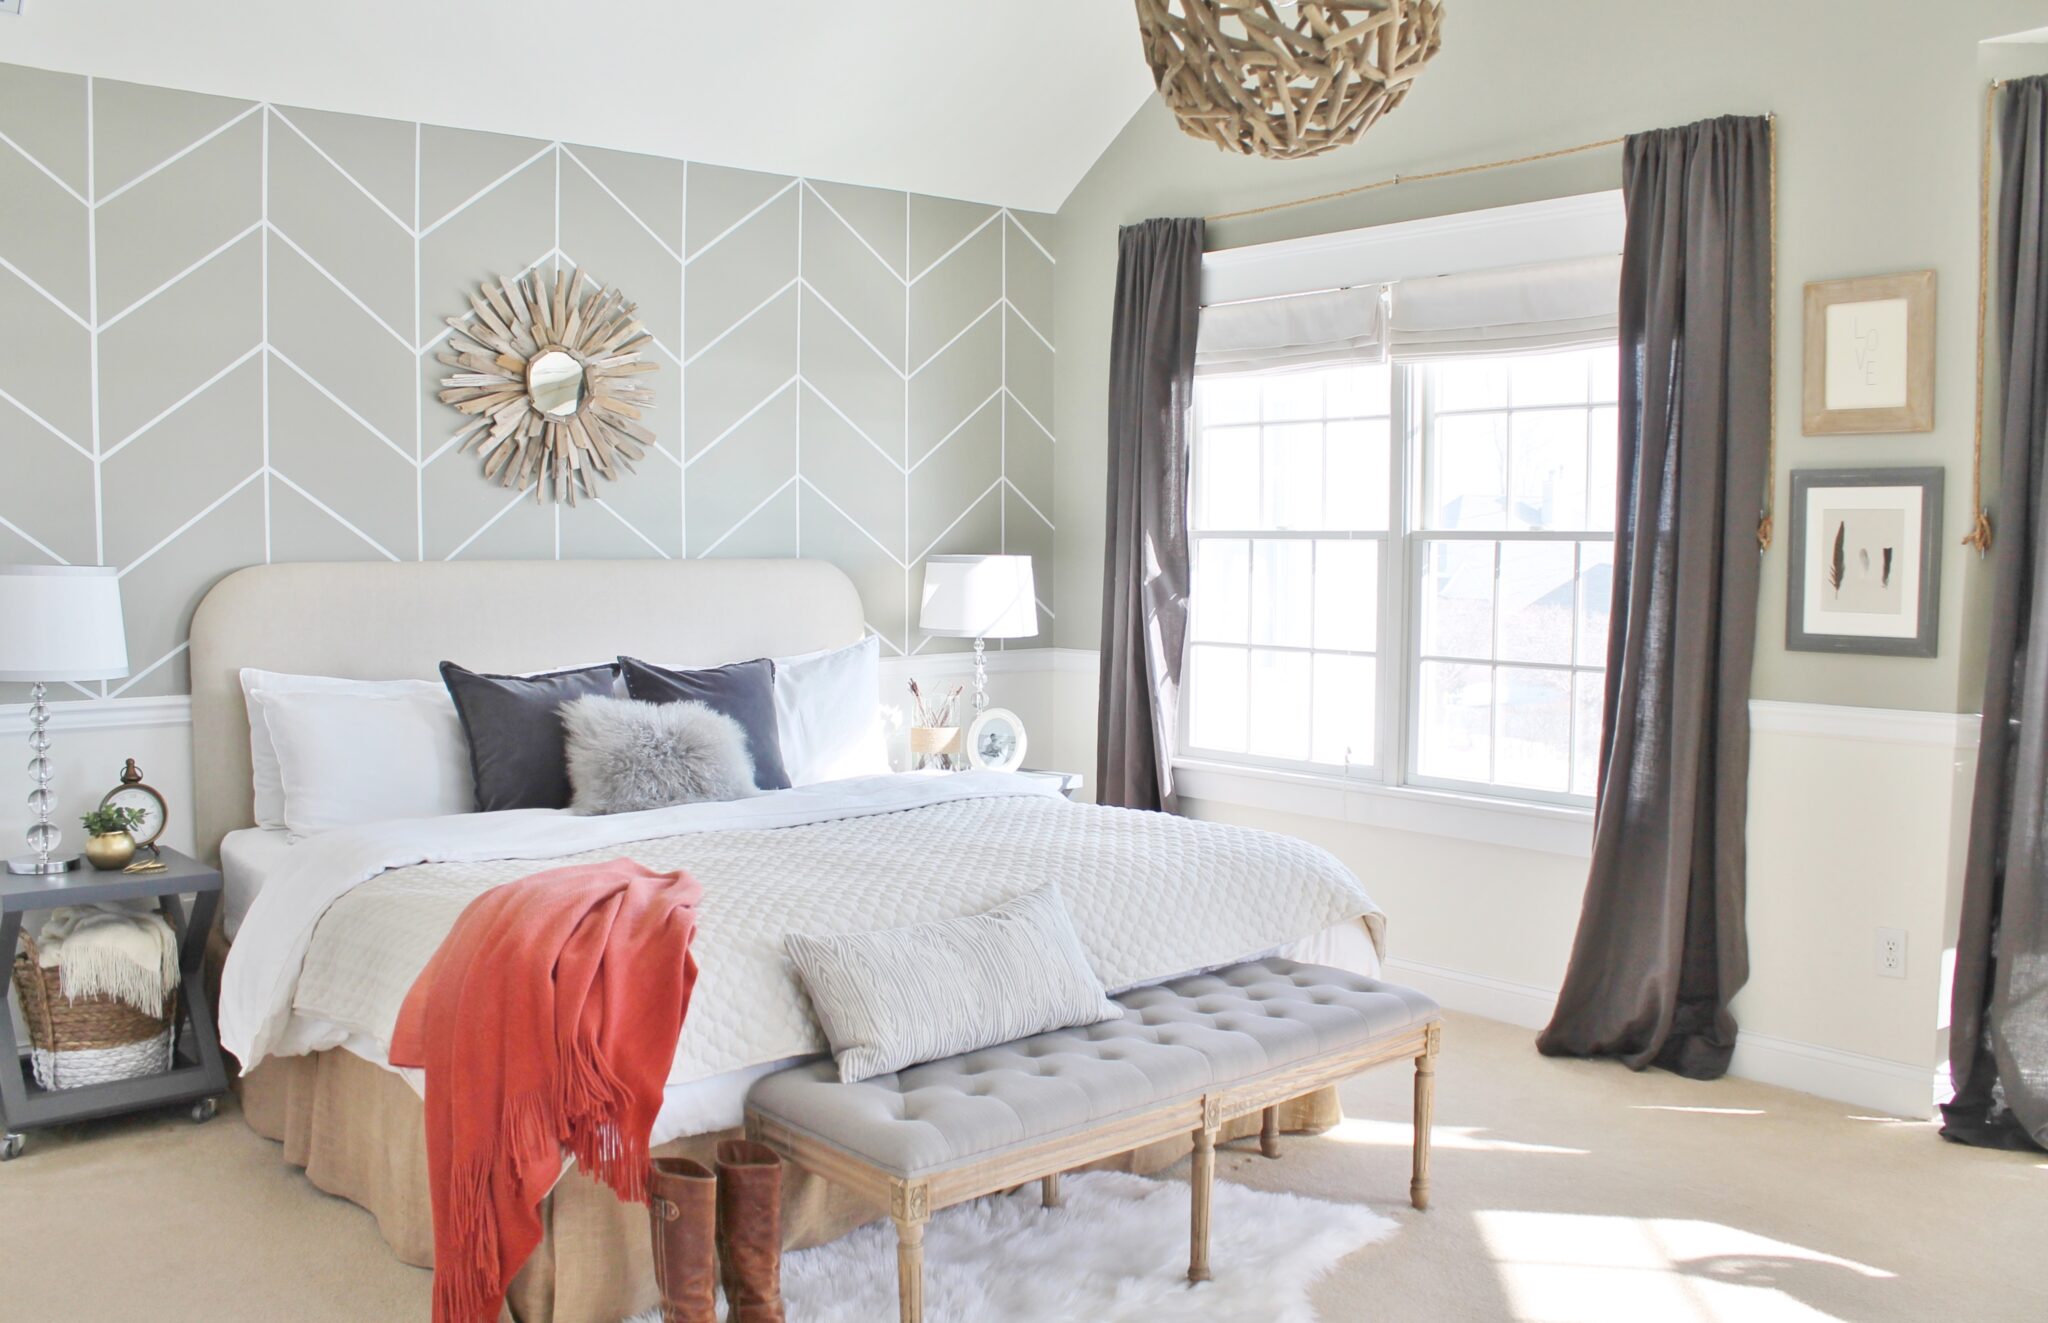
You can see the rest of this bedroom reveal HERE and HERE in cased you missed anything, sources are listed there too.
***************************
Also, I am over at Better Homes & Gardens sharing some styling ideas using glass bottles & demijohns, perfect for this time of year!
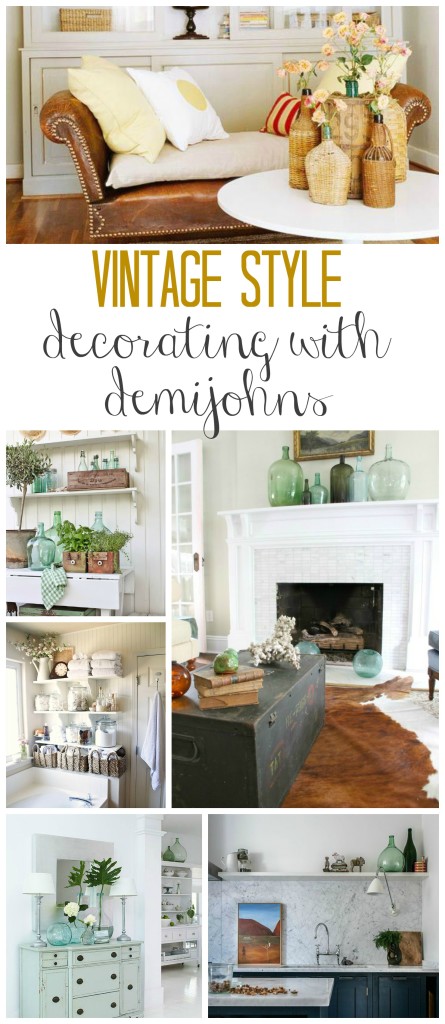
One last thing, there is still time to vote for me over at BHG for Best Decorating Blog, thank you so much for taking the time to vote!
Have a beautiful day & enjoy your weekend!


Hey girl that looks great!! I don’t know if I would have the patience for that!!
I think my lines would not be straight like that! So Beautiful. You must have great patience. Do you have animals? Your home is so pratty and we have dog and cat hair everywhere. I think that headboard would be a static cling for hair 🙂 I love it though!!
I just did the same thing! Well, on a smaller scale. In almost the same colors! Great minds…..
Thank you so much!
This is so beautiful! I’m not usually a stencil kind of gal but I’m really loving this one. Such a beautiful bedroom, Jen!
Thank you Lauren!
Would you mind telling me where the quilt is from? Love is this room!!!!
This wall is amazing! The whole space is… so well done. <3
Beautiful I’m going to try this in my loft. Where did U purchase sunburst mirror?
Hi Carol, the mirror is a DIY from found driftwood, I used a round mirror from the craft store and glued it to cardboard, then added the pieces. Good Luck! Jen