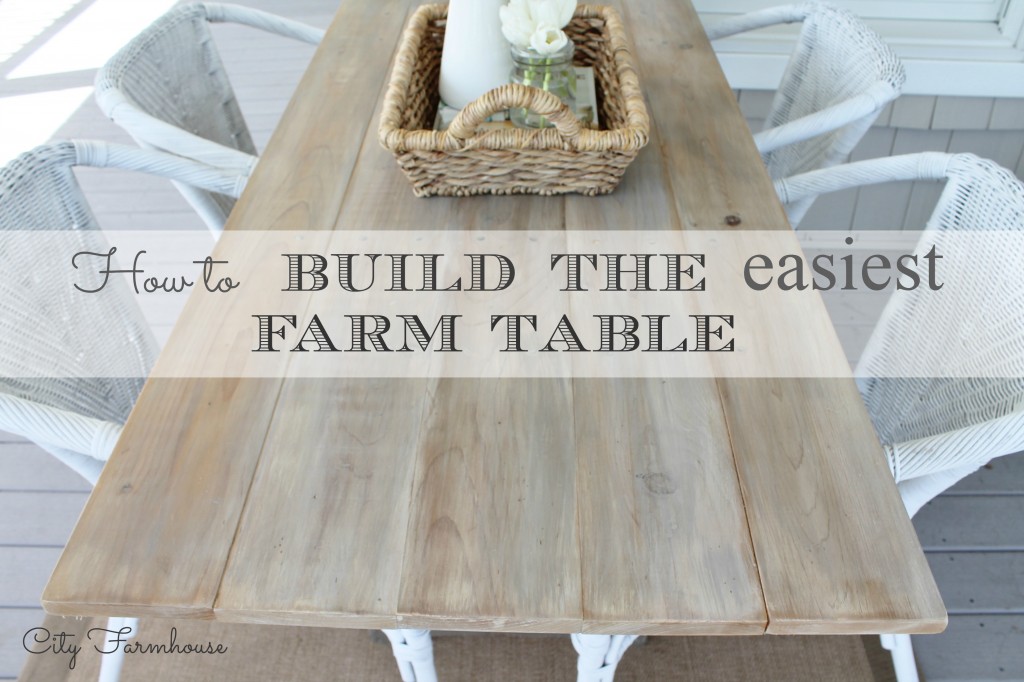
How To Build The Easiest Farm Table
Happy Tuesday!
I hope you all had a wonderful weekend!
My husband & I got up early on Sunday(6ish)
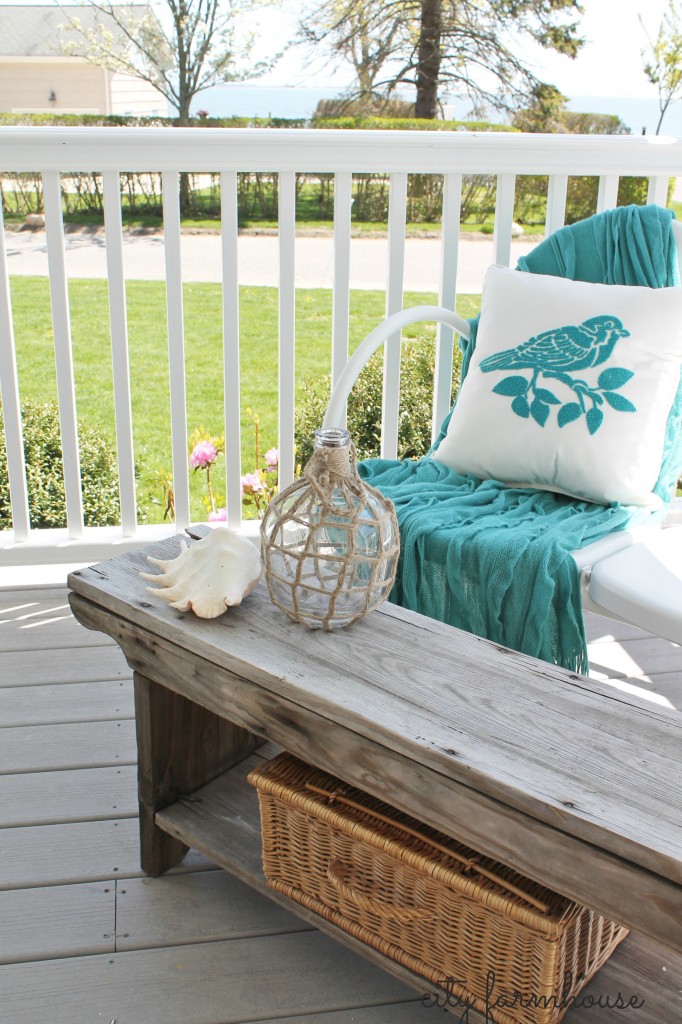
and had coffee on our porch ,cuddled under a blanket watching the sunrise
& just caught up on life.
It may seem crazy to get up that early on a weekend but….
it was so nice to have that time together before the boys woke up,
before our little part of the world woke up.
It was a simple reminder of what porches are intended for.
To sit, talk, catch up, to slow down your pace and just enjoy the MOMENT
&
the company you are with.
I want MORE time like this:).
So in the spirit of spending more time out there as a family,
I have been making some more changes.
As promised I have another simple,
budget friendly, functional & pretty outdoor/indoor project for you.
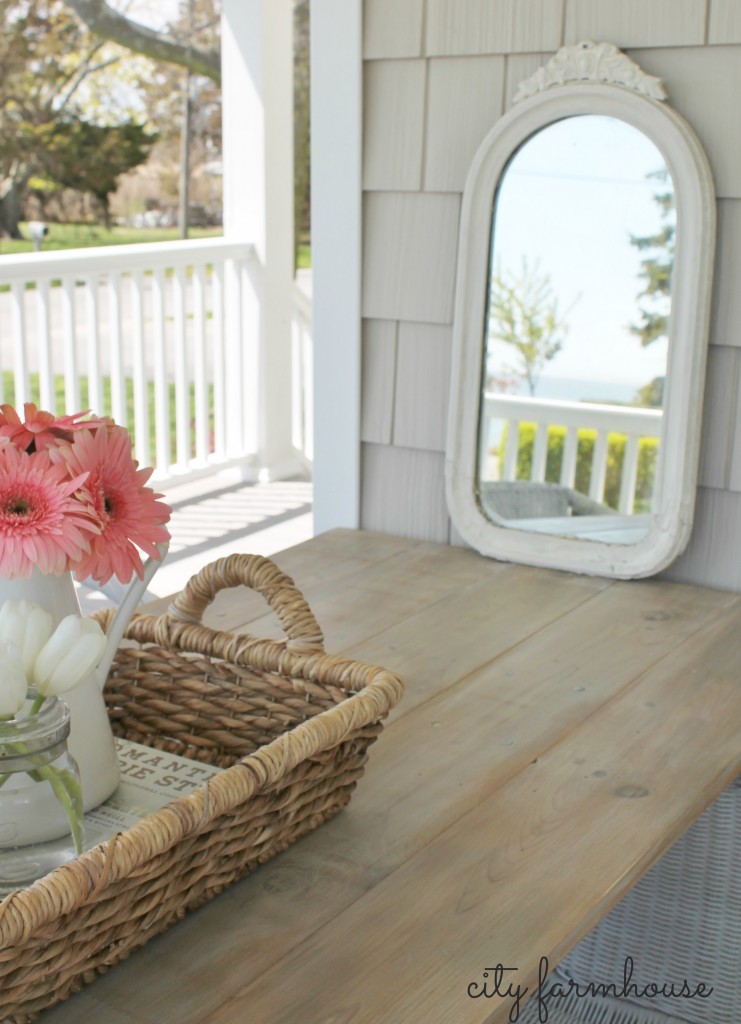
Remember I was telling you about our rather large farmhouse porch?
(which makes up for us hardly having a backyard)
It is the place everyone wants to be because of the views.
Our bay is separated by dunes layered in bleached white sand with beautiful organic coastal vegetation.
I am so grateful to see this everyday.
A MULTI-PURPOSE space is what I was going for…
Then the light bulb went off
(love that, don’t you?)
we need some kind of table out there.
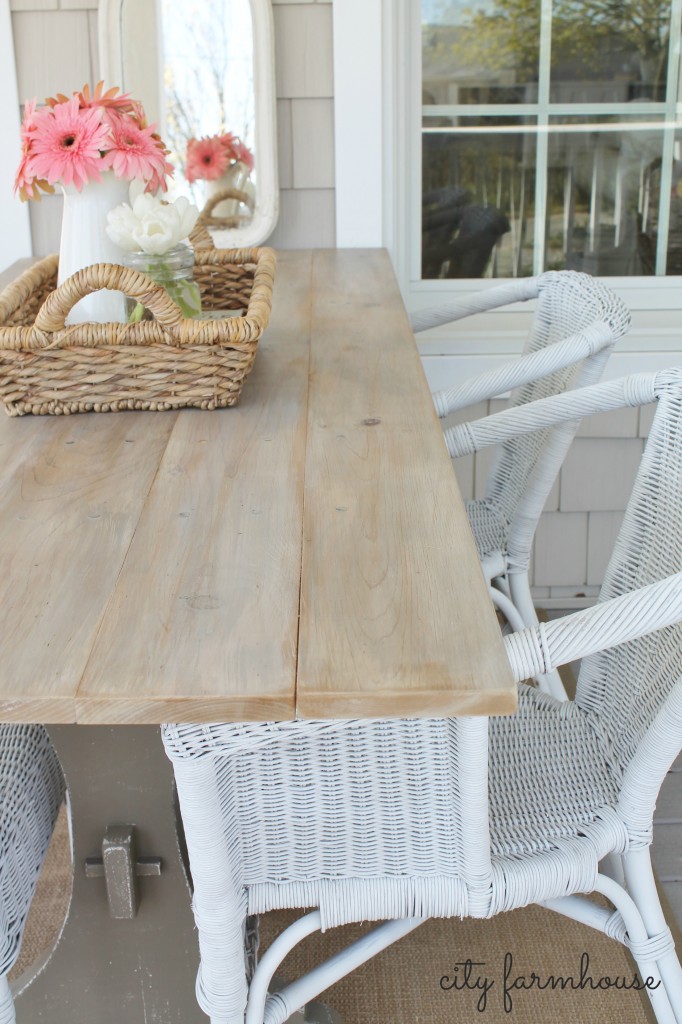
THIS was my inspiration.
But at $4199.00…
I don’t think so.
I looked EVERYWHERE & because I am kinda picky(yes, true:))
about what I spend large chunks of our budget on.
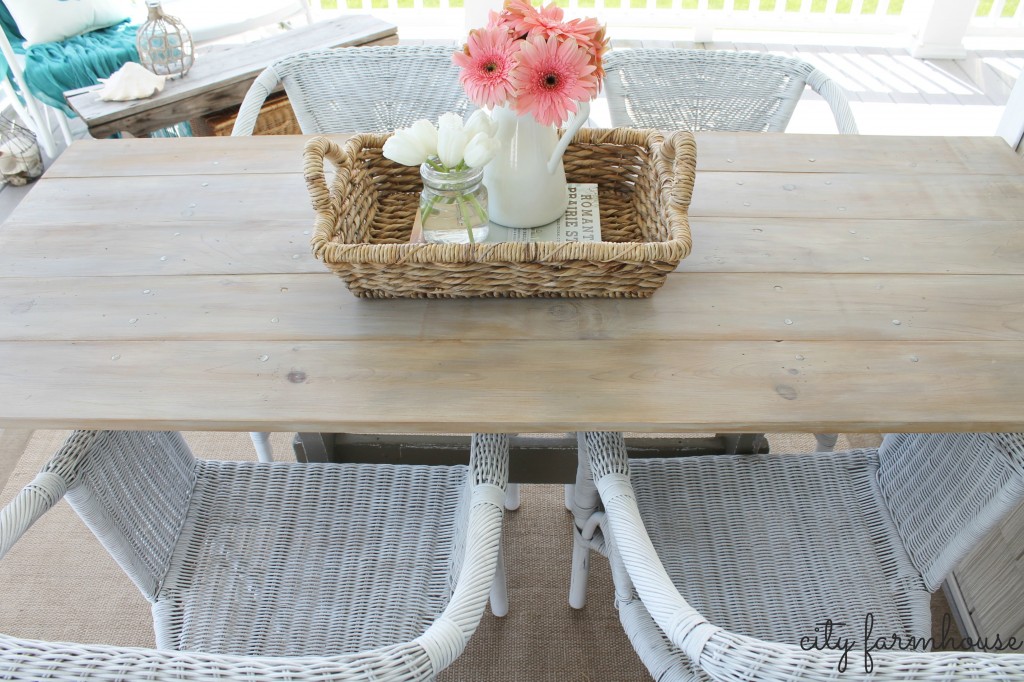
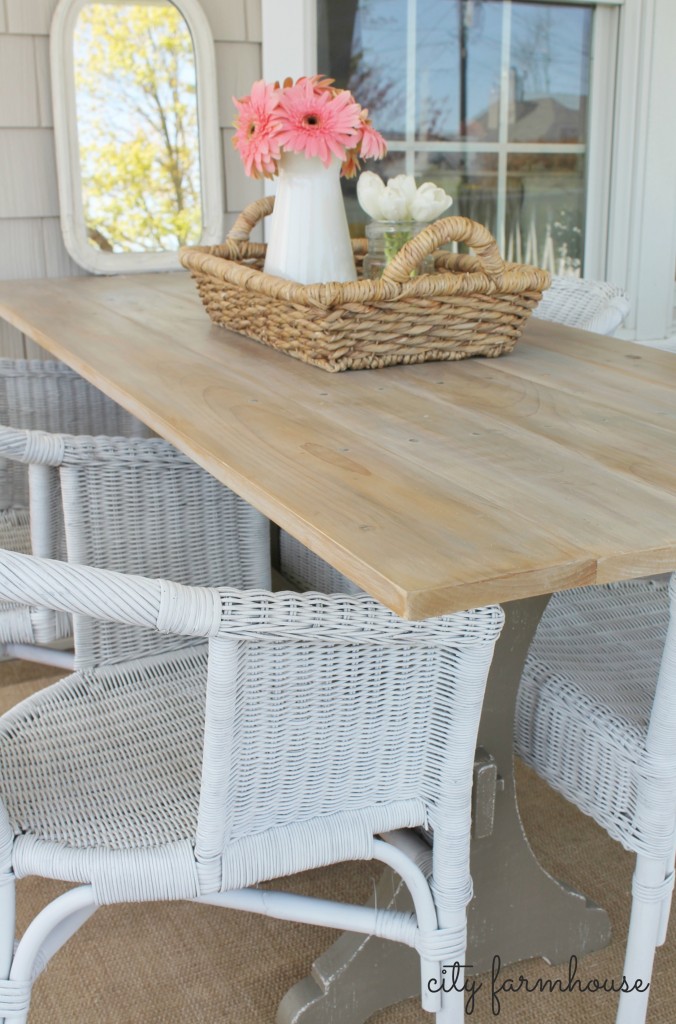
I decided to make one,
plus it needed to be just the right size.
And the cost- under $30.00
Wahoo!!!
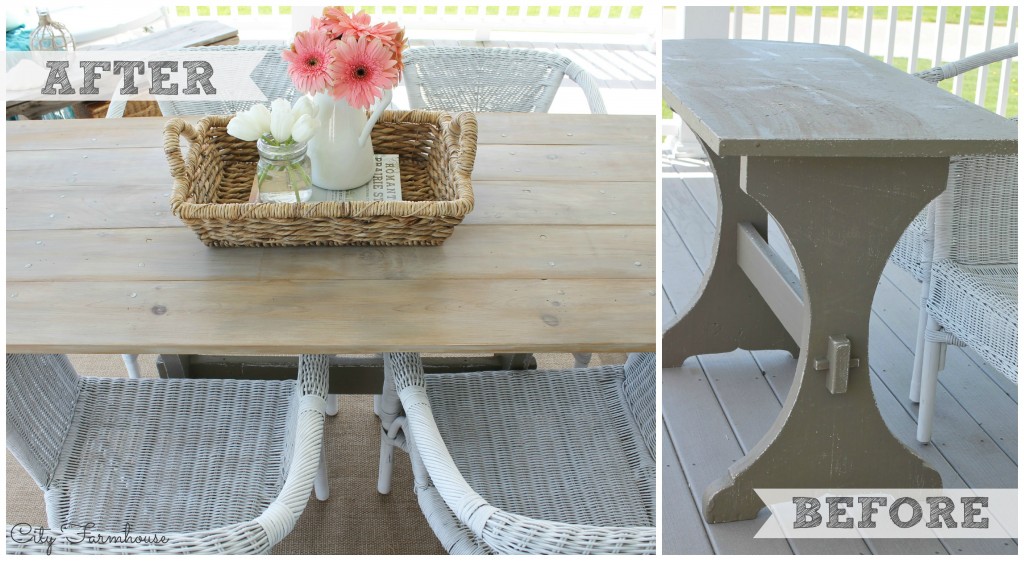
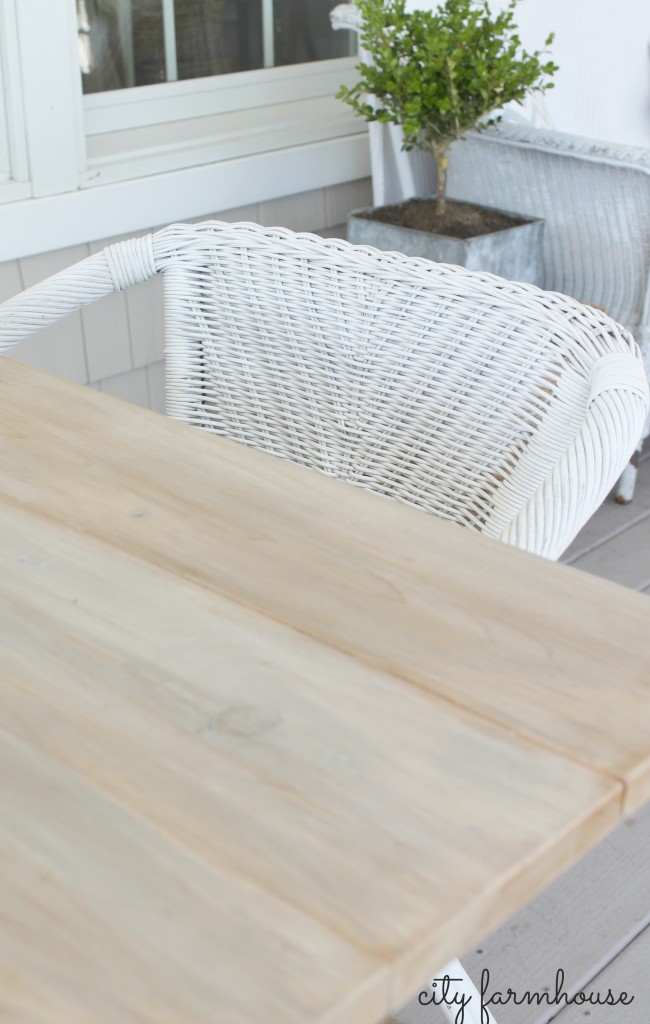
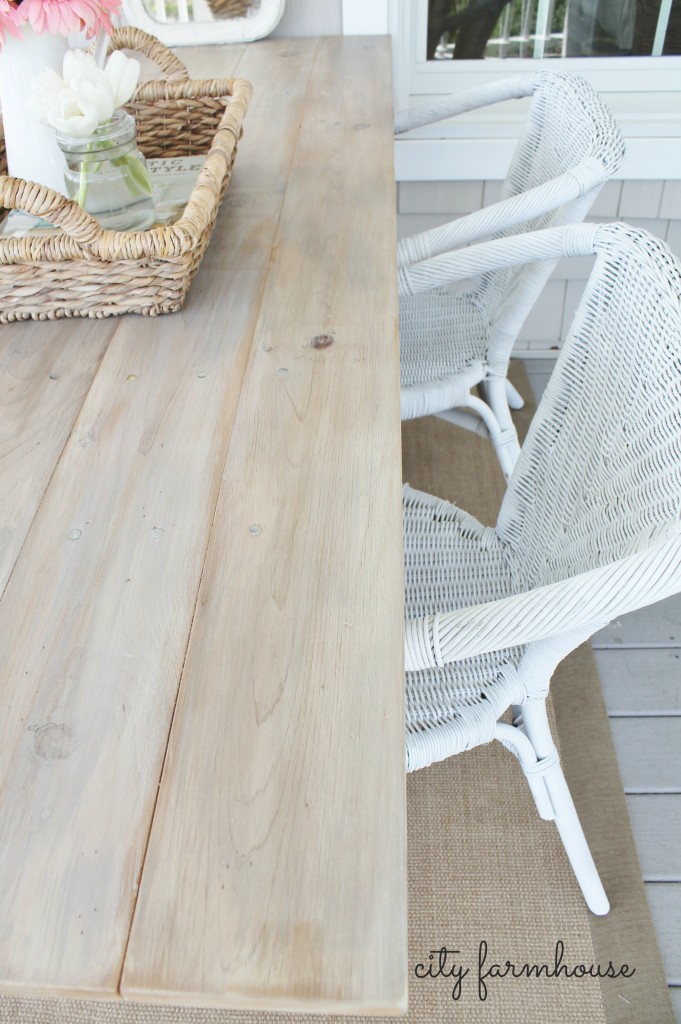
THIS WAS SO EASY!!!!
This is what you will need to do….
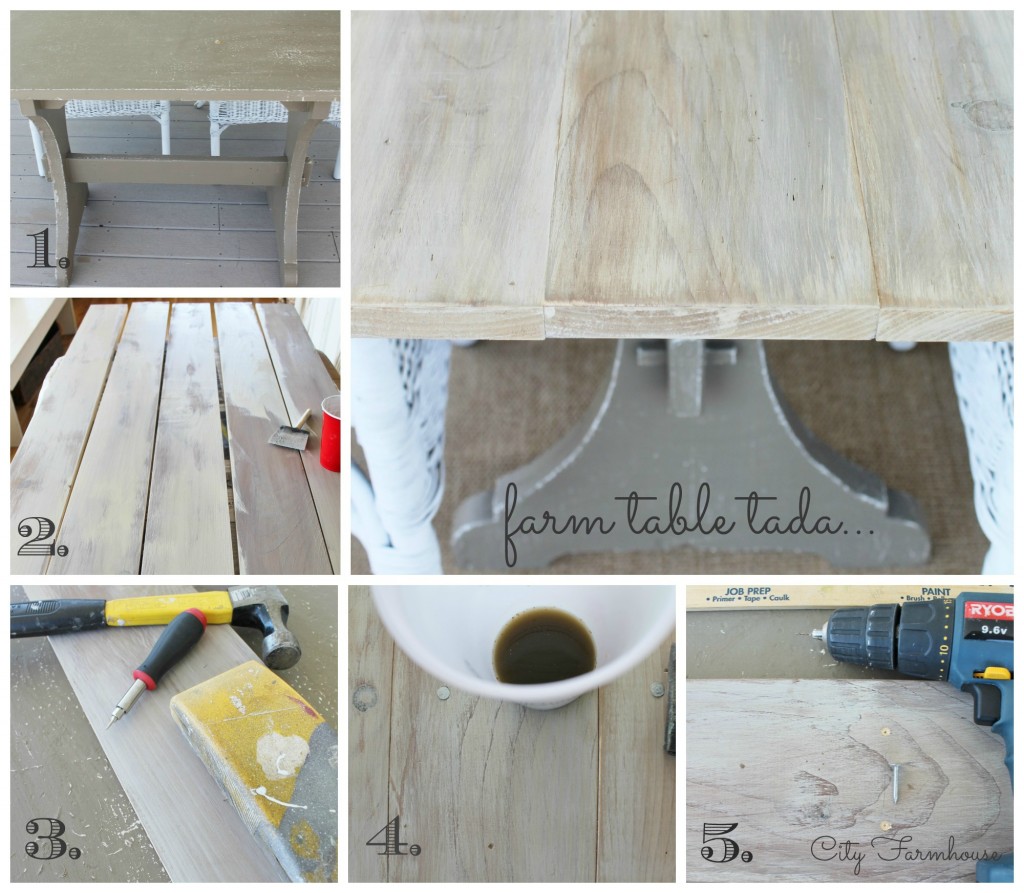
2. Get planks cut to size.
When you decide on size, sketch it then go to your Home Improvement store with your calculator & run your numbers.
For your width you may need to measure the width of different boards to find a good width match for your table.
Ask them to cut your lengths if you can’t or don’t have someone at home to do it.
Make sure ALL boards are straight.
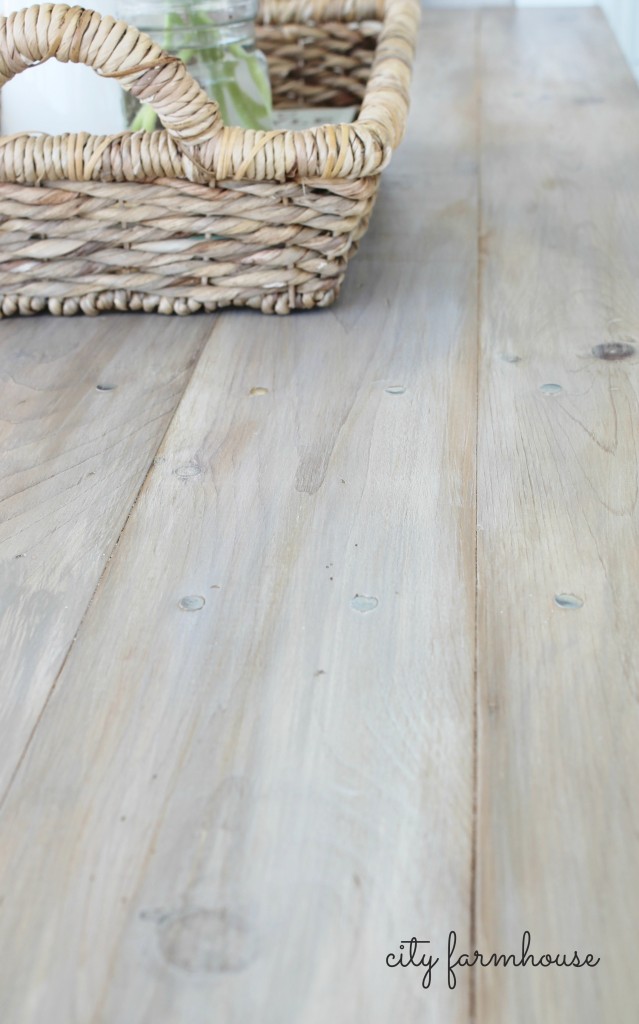
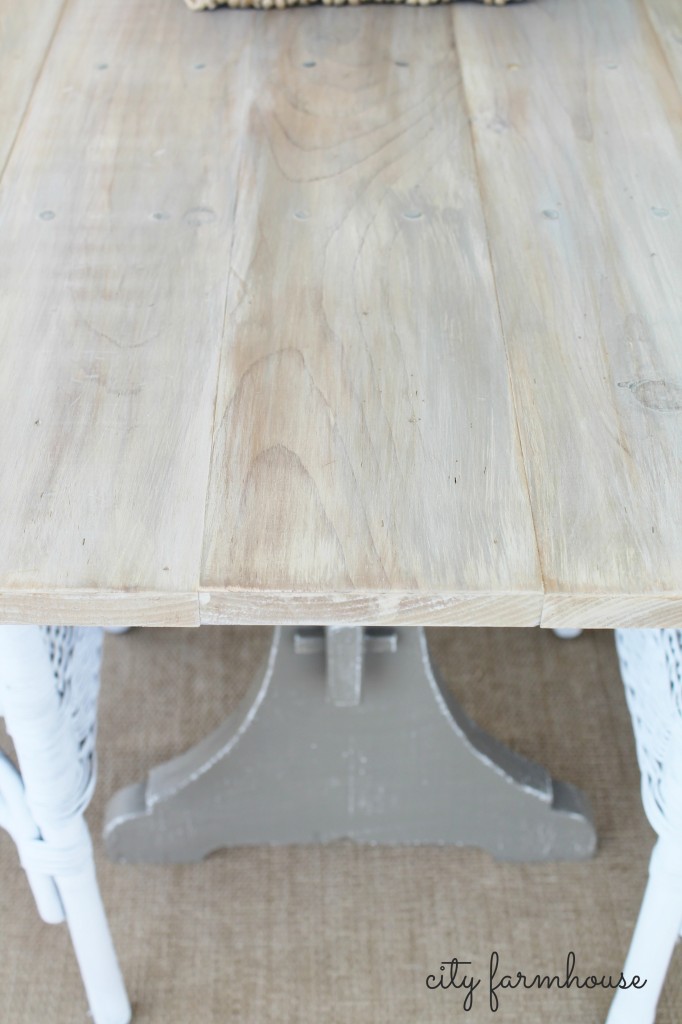
WASH them using THIS TECHNIQUE.
3. Find distressing tools, this will be therapeutic:).
Use tools then sandpaper to give a aged look
4. Vinegar & steel wool stain over top lightly to reveal imperfections.
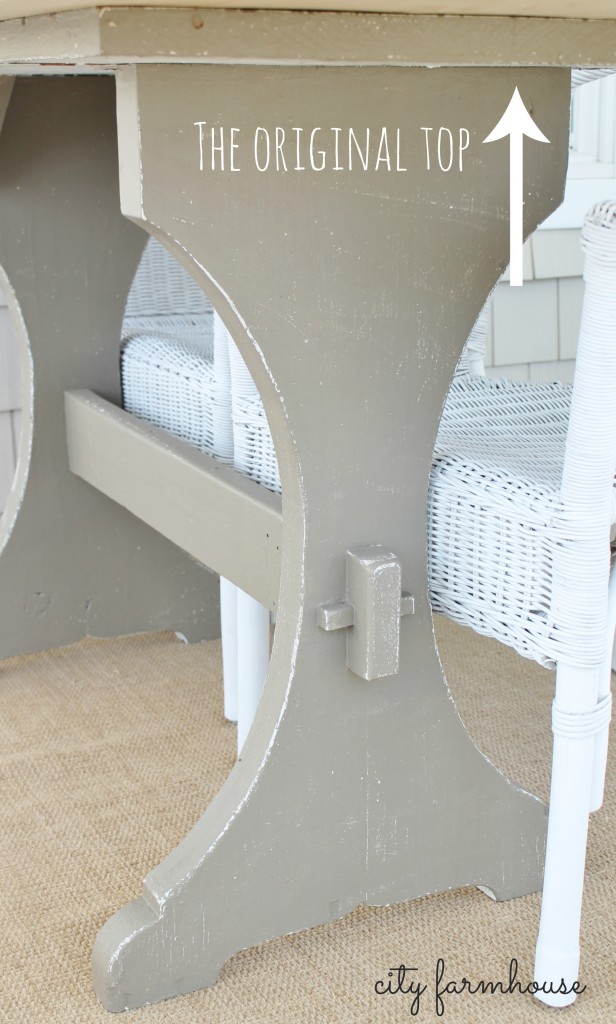
5. I used Gorilla Glue and long roofing nails to attach to original top,
pre-drilled first.
If you want it more secure, then use wood screws and screw from under original base.
Easy, right???
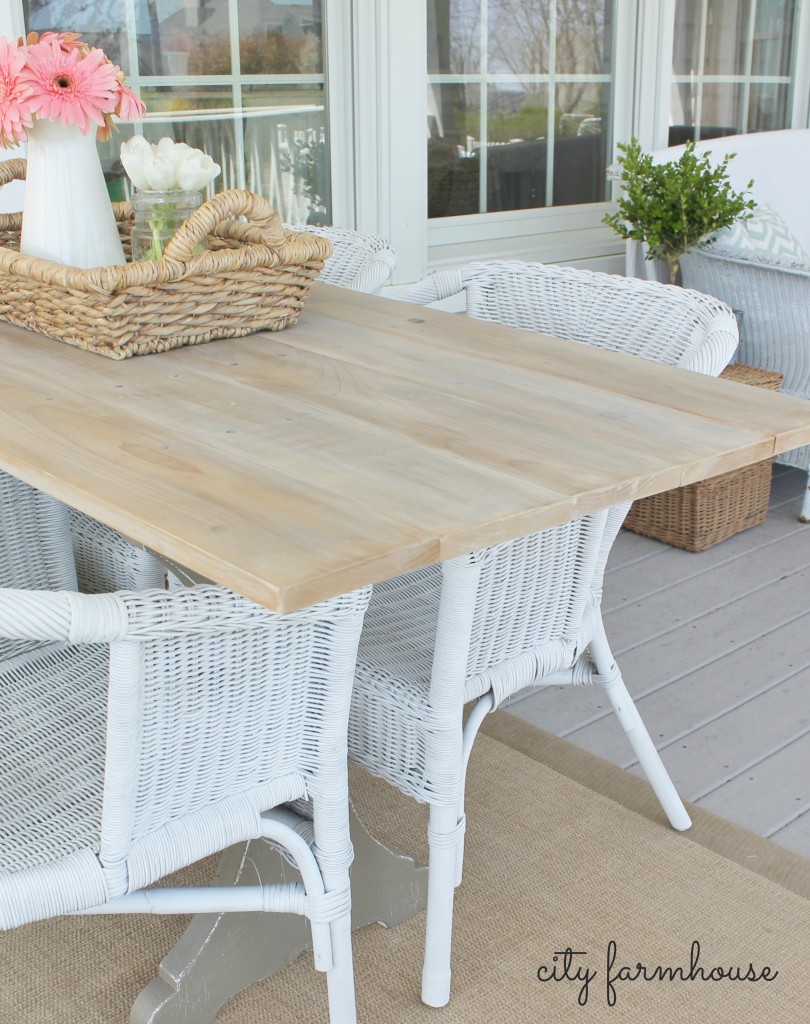
Chairs-Pier 1 from 1st house.
Just sprayed them for a fresh look.
Cost $24.00
So much left to do,
rugs, accessories, plants, power wash, pillows….
stayed tuned!
On a different note,
I am so excited to FINALLY be on Instagram ,
come check out my photos, hope you will follow along.
Sharing at
Have a fantastic week friends,



Stunning ! Genius girl you are.
Thank you Ahrisha!
What a lovely table you made! Thanks for the easy directions!
Selene @ Restoration Beauty
Thank you Selene! Have a wonderful week!
I love this! I’m hosting a new linky party at http://hickorytrailblog.blogspot.com/2013/05/efforts-and-assets-linky-party-1.html
I would love to have you!
Angela
Thank you Angela! I will check it out. Have a great week!
This is stunning! How do you determine if the legs are sturdy enough?
Hi there, great question, if you have a table at home, move it around a little to see if any legs or joints are wiggly. If so re-enforce it. make sure it is solid. hope this helps! have a great day, Jen
Beautiful work!! What a nice place to sit and eat and enjoy the view.
Julie
We want to build a farm table for an outdoor space on the coast so your post is going to be a big help! Where did you find your base? It looks wonderful!
Jenna
Thanks Jenna, I was looking for something rustic, simple with a coastal feel, just like you:). The base I found at a flea market years ago, it is VERY old. Goes to show how well built things where made then. have a great week & good luck!
Jen
Hello!?! Genius!!! This is amazing, Jen…I have been wanting a great table for our back patio and I was trying to come up with a way to get one that was under $100. This is perfect!!! Pinning this and now I’m off to search for the perfect base! 😉 Jesse Scout & Nimble
Jen, I just love love love this table. What a brilliant way to make a fabulous table! Ooooooh… I love the finish on this! Brilliant! Thanks for sharing your great table at TUTORIALS TIPS AND TIDBITS!
Thank you Yvonne! That means so much:). Have a great night, Jen
It turned out great and I love the base you used!
Your outside room is looking great, Jen. Love the farmhouse table and the technique you used to age the boards. I think it is wonderful that you guys rolled out of bed early to enjoy some time together.
Wow, it’s gorgeous! And 30.00! So impressed! I know your family will enjoy it.. have a great weekend! Jen
The table is gorgeous! You need an amazing job! The whole porch is just looking so pretty! You are really going to enjoy yourself this summer hanging out in such a pretty space!
Quick question….did you do anything to secure the five boards on top to each other, or did you just screw them into the table base? Thinking of building a table myself and just wanted to check.
Hi Lisa! Thank you so much, I am excited to spend more time out there:). I only nailed them to the base not to each other. If it looks like the top is going to be much bigger then maybe for extra support use a subfloor(so to speak). Mine is very sturdy, especially with the gorilla glue, love that stuff! I hope this helps Lisa;). Have a wonderful weekend, Jen
Hope you don’t mind a follow up question. So did you use gorilla glue to glue the five boards into a table top and then attach them to the base? Thanks!
I actually spread the glue right on the original base, then nailed away. Good luck Lisa!!Jen
Thanks Jen!
it is gorgeous!!!!
This is gorgeous! Love the whole look 😉
Jamie @ somuchbetterwithage.com
It looks amazing! I love it, Jen… it’s the perfect table for your porch!
Beautiful Jen! Your porch is coming along fabulously! Thanks so much for coming out to the party – I’ll be featuring this today. Happy Mother’s Day!
Jenn 🙂
Thanks Jenn, so excited! Happy Mothers’ Day too!
Looks fantastic! You are my DIY hero! 🙂
Susan
Thanks Susan, your awesome:)!
LOVE THE COLOR! I kept a cedar table top outside for the past two winters and let nature gray it up. Fun what you can achieve with simple objects! Anita
It is so true Anita, I love natural patinas:). Enjoy the rest of your week, Jen
Another fabulous job – I could sit out there all day! I would love to feature this on my fb page, if you don`t mind (organically opulent). It goes so well with the interior of your house as well!!
Cortney
Thanks Cortney! Of course, thank you so much for posting it:). Have a great weekend! Jen
What kind of wood did you buy?
This is a beautiful idea and so like what I had in mind for our porch, and the price is beyond wonderful! I am looking to create a table that is about eight feet long…any suggestions on what kind of table base I would be looking for to do that?
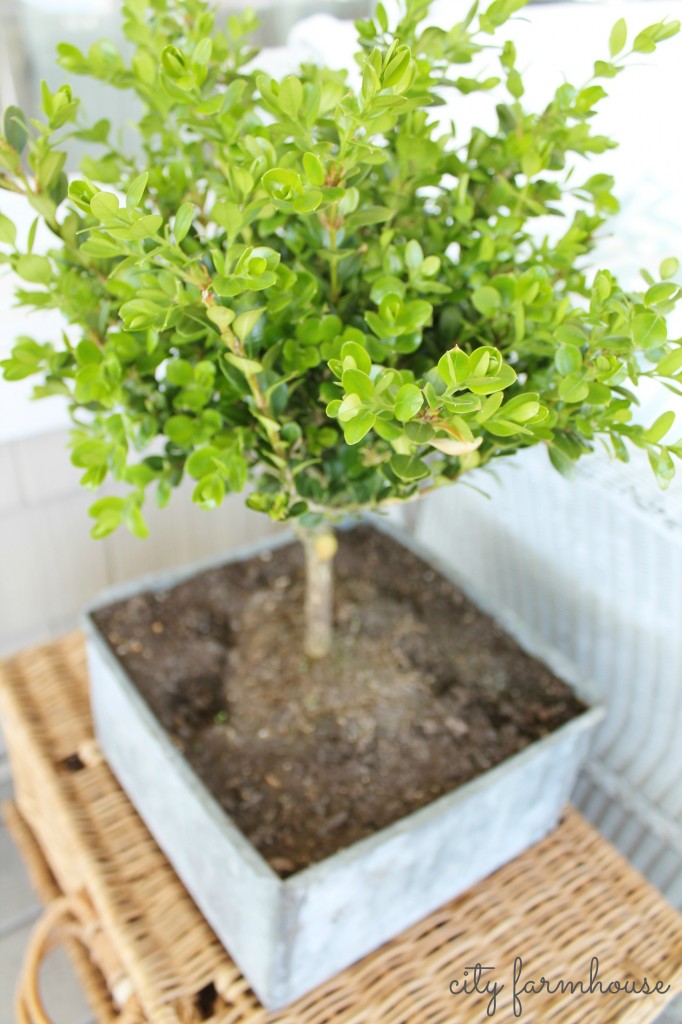
What kind of plant is shown in the 3rd to last picture?
Hi Amanda, it is a boxwood:). Hop that helps, Jen
Thank you for posting this—found this on Pinterest–I got a whole table, with beautiful legs, but not a pretty or spacious top, from my next door neighbor and I am going to start making over the top! Lowes, here I come. (In the morning 😉
This is just the advise I was looking for on how to build a farm table. I am gong to do this but use in my dinning room. When you said a sub floor, are you speaking of a piece of wood the width I need for by table and attach it to the org top then add my wood planks? If I need it wider than the org table? Did you let your wood dry out and if so how long?