
Happy Friday!
Do you get the itch to plant once
Spring arrives?
I do!!
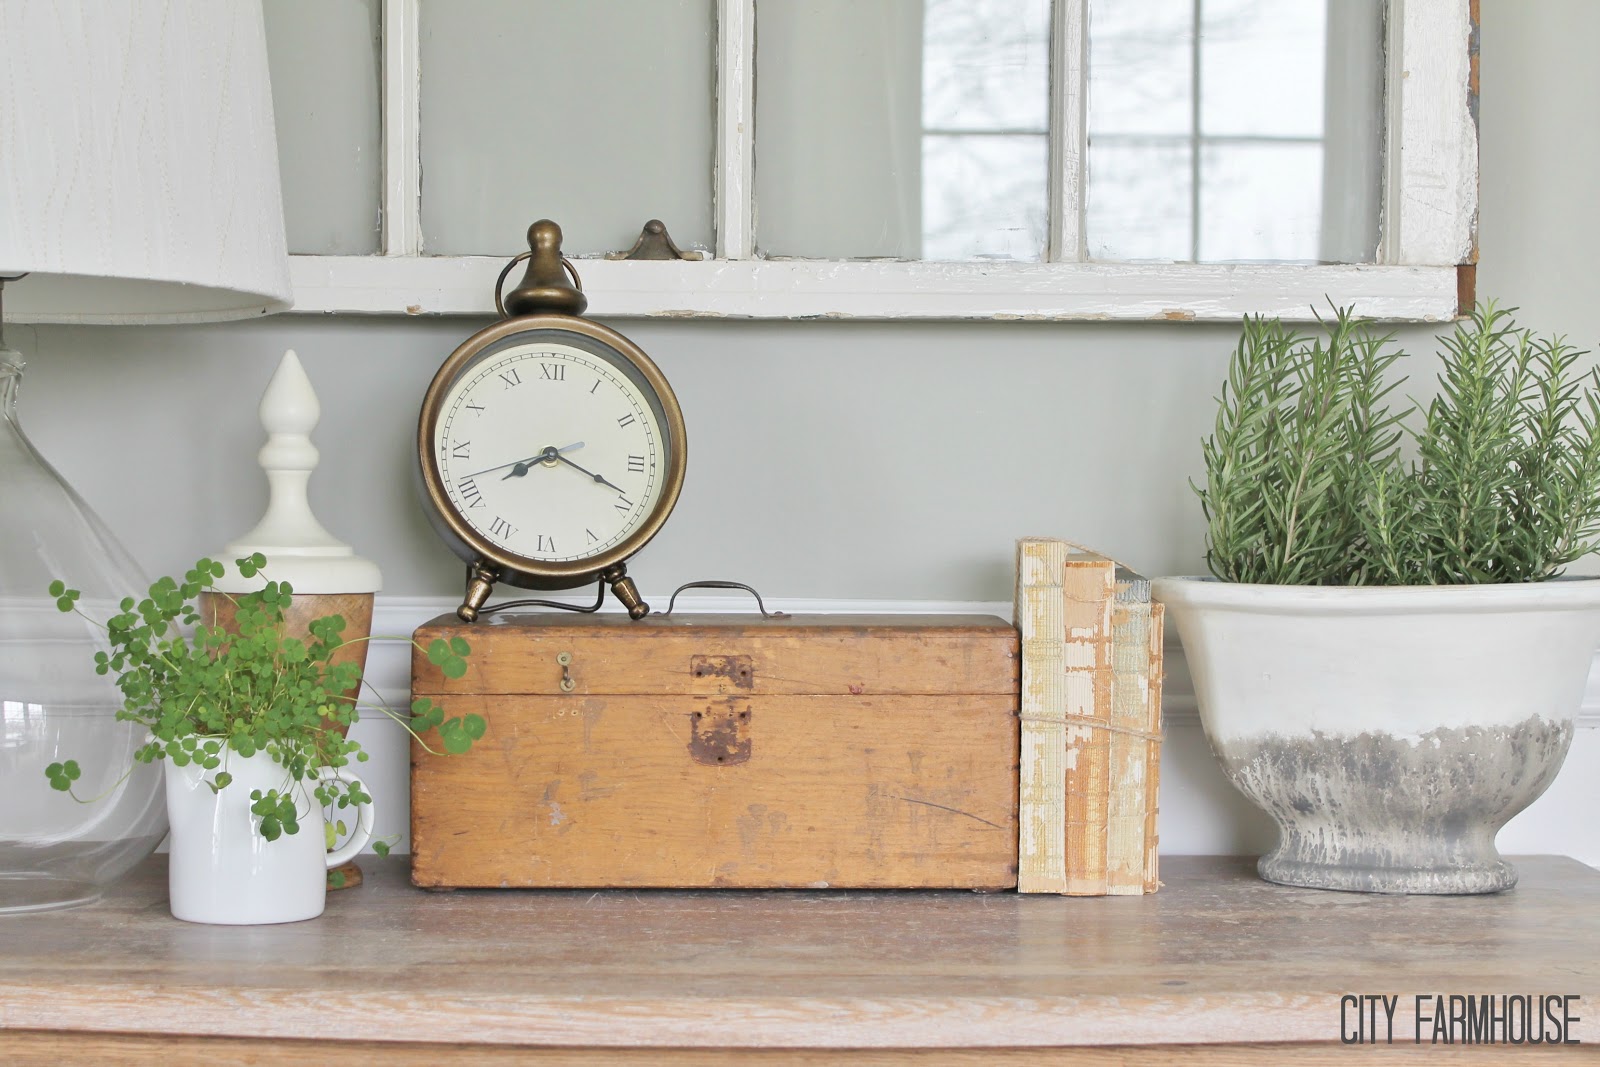
By this time most of my indoor herbs have seen better days.
So for me hitting the garden center in early Spring is must.
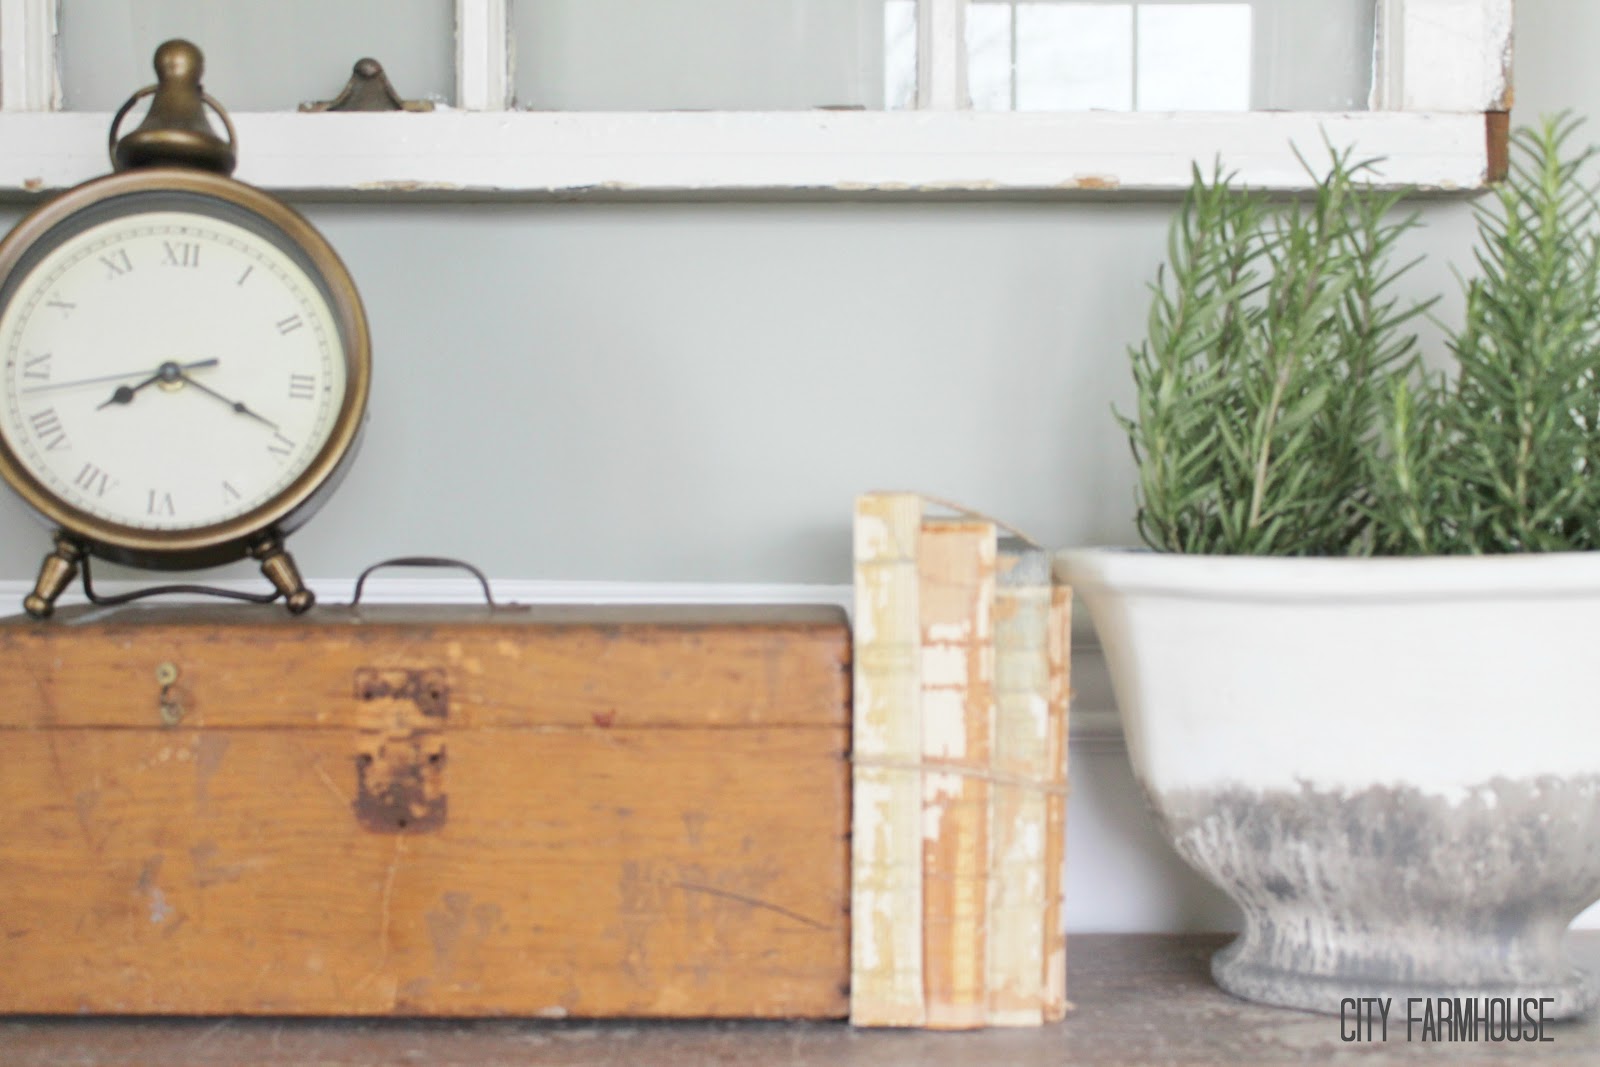
Bringing fresh herbs into my home again makes
me so incredibley excited, happy, & giddy.
Does this make you happy too?
And with that comes the search for pots.
Am I right?
What to re-use, what to buy & what to paint.
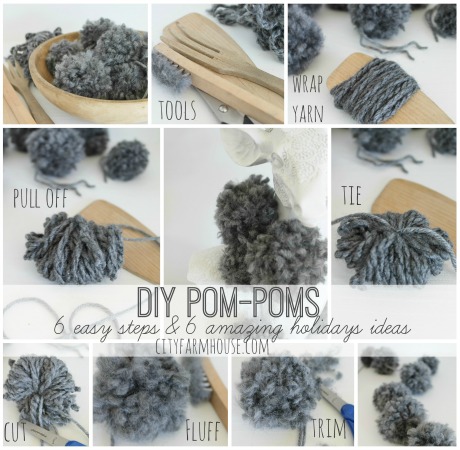
Here is a quick tutorial to giving your pots an
original hand dipped glazed look.
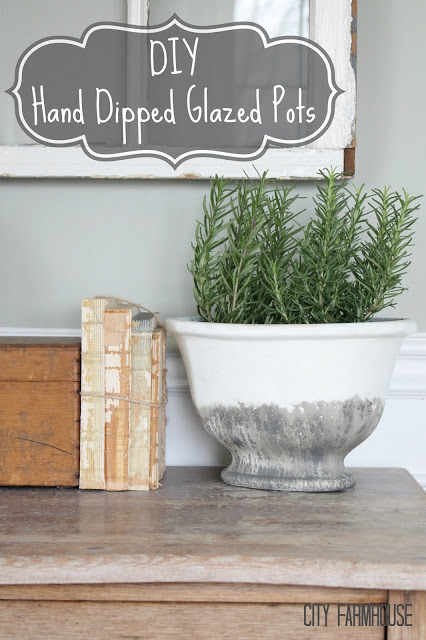

1. Find your pot.
2. Pick out base color(spray paint) & contrast color(latex).
Spray your pot.
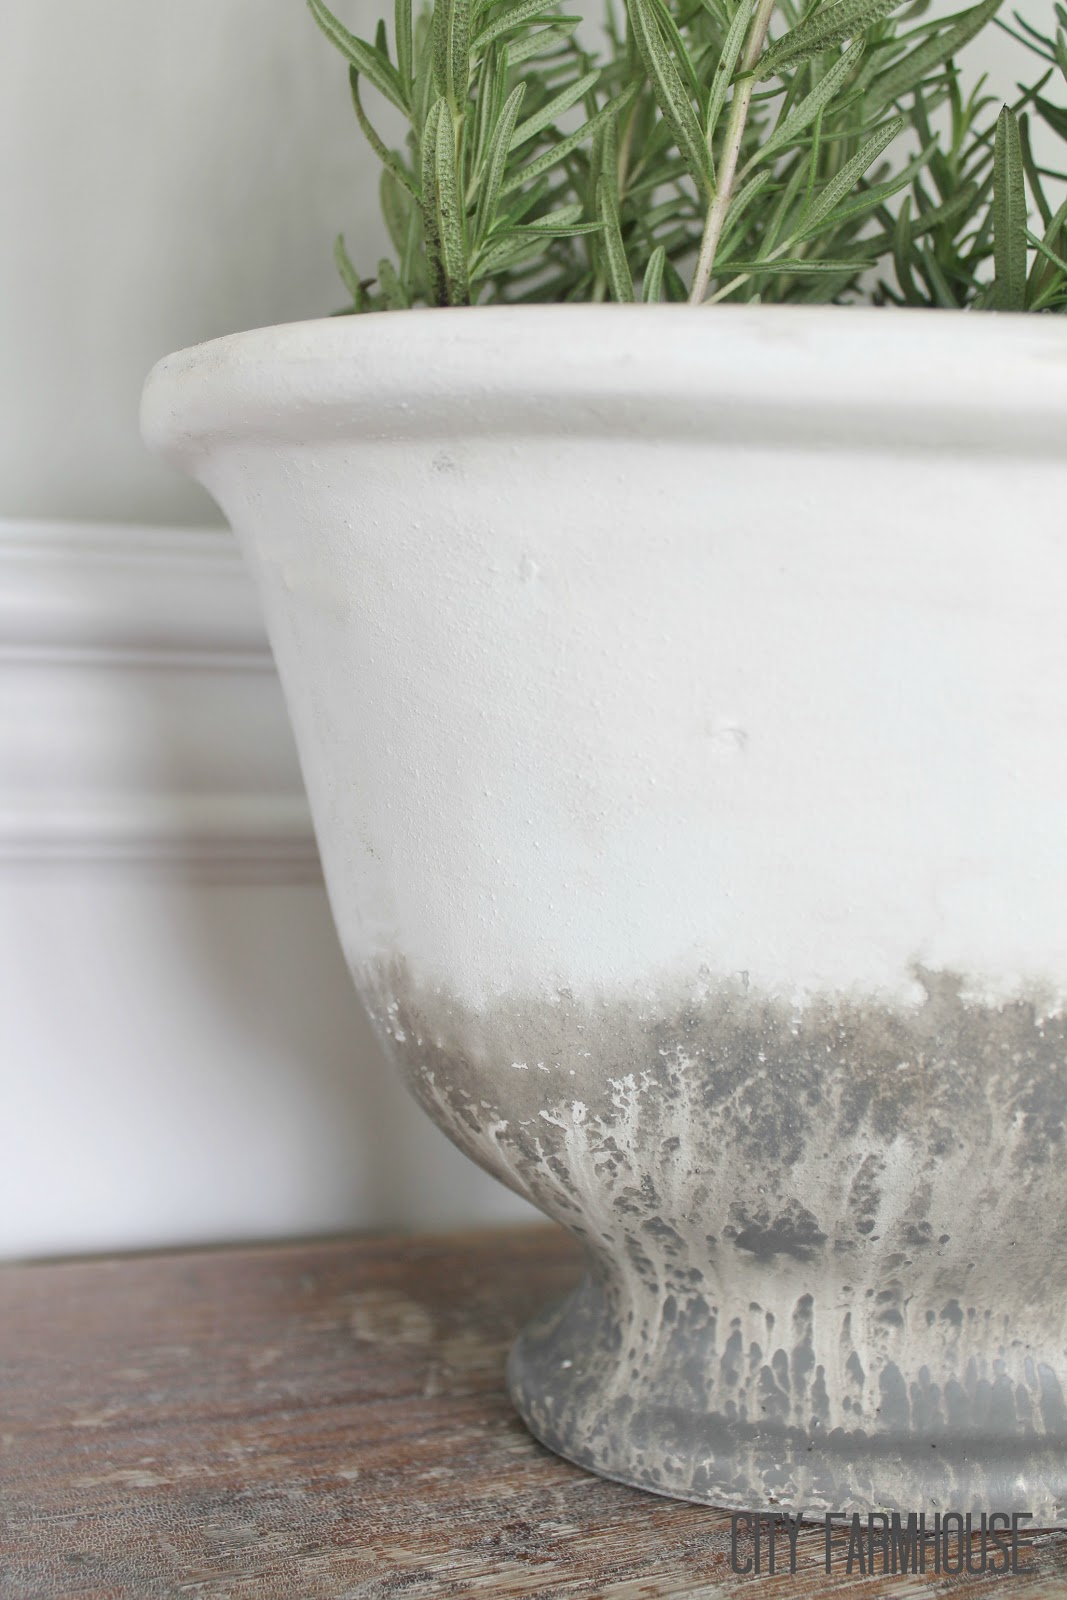
3. Flip pot over. Take your contrast color,
I used a latex house paint.
With a brush apply paint to the lower third portion.
4. Immediately spritz water lightly.
5. Once it runs, take a paper towel and wipe off runs up to horizon line, leaving a jagged edge.
Clean up excess paint with a wet wipe.

Disclosure: This post may contain affiliate links. As an Amazon Associate, I earn from qualifying purchases at no additional cost to you. See full Disclosure Statement HERE.
Have a fantastic weekend!
My new blog should be up & running by Monday.
I can’t wait for all of you to see:).Sharing At
French Country Cottage
French Country Cottage


Beautiful Jen! As everything you do! I’m always tuned with your gorgeous blog!
Hugs from Rome,
Manuela
You are a genius! This looks just like the expensive ones you see, so totally clever! Can’t wait to see the new site 🙂
cool beans! looks beautiful.
michele
Cute and clever, Jen! Love the idea and it is simple to achieve! It looks great- xo Diana
The pot looks so pretty and makes me think of France… And I can’t wait to see your new blog. Have a great weekend!
Such an awesome idea, Jen! Reminds me of the expensive pots from Pottery Barn for a FRACTION of the cost! Thanks for sharing!
Well you did it again! I love these pots.. And can’t wai to see your new blog!
Absolutely love it, Jen!
I love this project. Thanks.
Love this, Jen!
I love this!!! Thanks so much for sharing this tip. Your pot looks amazing!
Leslie
House on the Way
This is amazing! I am going to try it!
Love the pot!! So creative 🙂
Susan
You are a-ma-zing! I love this idea, these look like they would have been super spendy at a garden shop. Love this project Jen!
xo, Tanya
twelveOeight
So pretty. I love this look.
Would it be overkill to say that this is quite possibly the best DIY I’ve seen in forever?! How clever and simple 🙂
Your “glazed” pot looks great! I look forward to trying this DIY.
Jen…such a cool project…I’ve been meaning to tell you how amazing your site looks…I’m inspired…xoxo
Beautiful new design, Jen…LOVE the herringbone! And the planter is genius…definitely going to do this…I’m itching to plant some flowers! 😉 Jesse @ Scout & Nimble
Hi Jen! I can’t see your latest post on blogspot, when I try it redirects me here so I’m not able to read what I see in the thumbnail!
By the way ….I adore the new look of your blog!!
Hugs,
Manu
Love this! Totally doing this!
Such a clever idea, I love it. Great tutorial too. I would love for you to link to my Inspire Me Tuesday party that is ongoing. Hugs, Marty
Amazing! It looks wonderful!
Your dipped pot looks beautiful Jen!!
Thank you so much Heather! I hope you are well:). Have a great week, Jen
Love this idea! Did you use a plastic pot?? I’m wondering what type of material is best for this project. Can’t wait to try it!
Hi Jenny,
Thank you! I used a cement pot, the more texture the better, but I think any material would work:). Hope this helps! Have a great week.
Oh how clever. Great job.
It would be wonderful to have your post be a part of Seasonal Sundays.
– The Tablescaper
I hope I am not repeating a question that has already been asked. What two paint colors did you use? Btw I love your blog!!! I’m using so many of your DIY ideas for my home. What I really wish is that you could come and be my personal interior designer(free of charge of course)! Lol:)
Hi Brooke,
Thank you so much, that make me happy knowing you are using some of my ideas:). It was a cream spay paint and BM charcoal for the bottom. Hope this helps. Have a great day! Jen
When you say BM house paint, do you mean outdoor paint for exterior painting or just indoor house paint for wall? Maybe it would not matter as long as it’s latex?.
Hi Karen,
Sorry, just regular latex paint for interior. Have a great day! Jen
I know I already commented on this post but I feel the need to say it again. This idea is awesome and It turned out great.
solange