
Disclosure: This post may contain affiliate links. As an Amazon Associate, I earn from qualifying purchases at no additional cost to you. See full Disclosure Statement HERE.
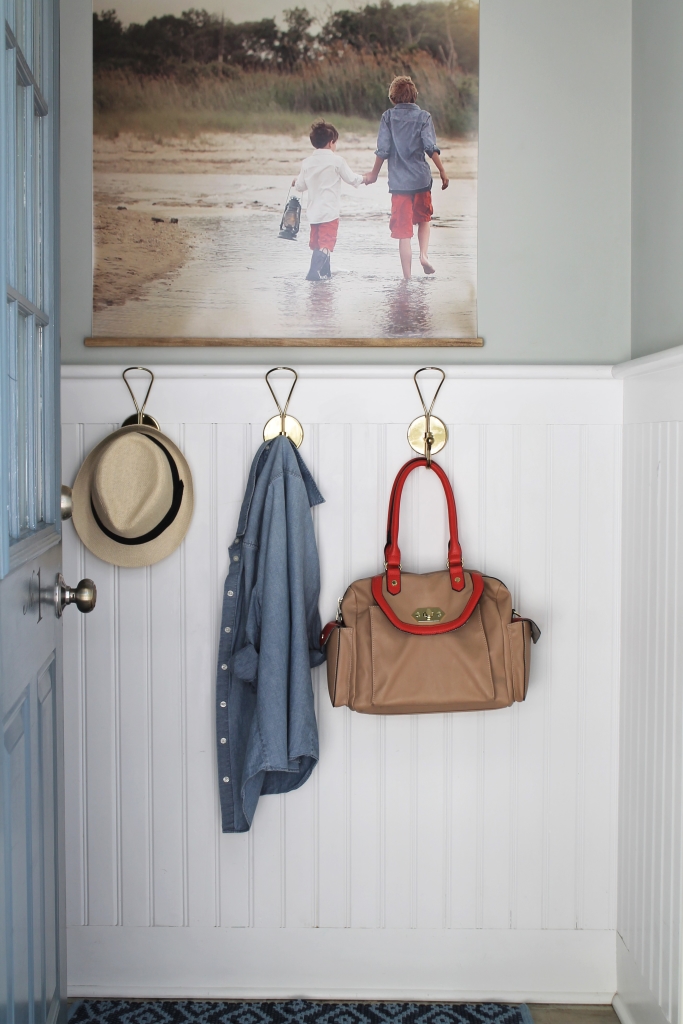
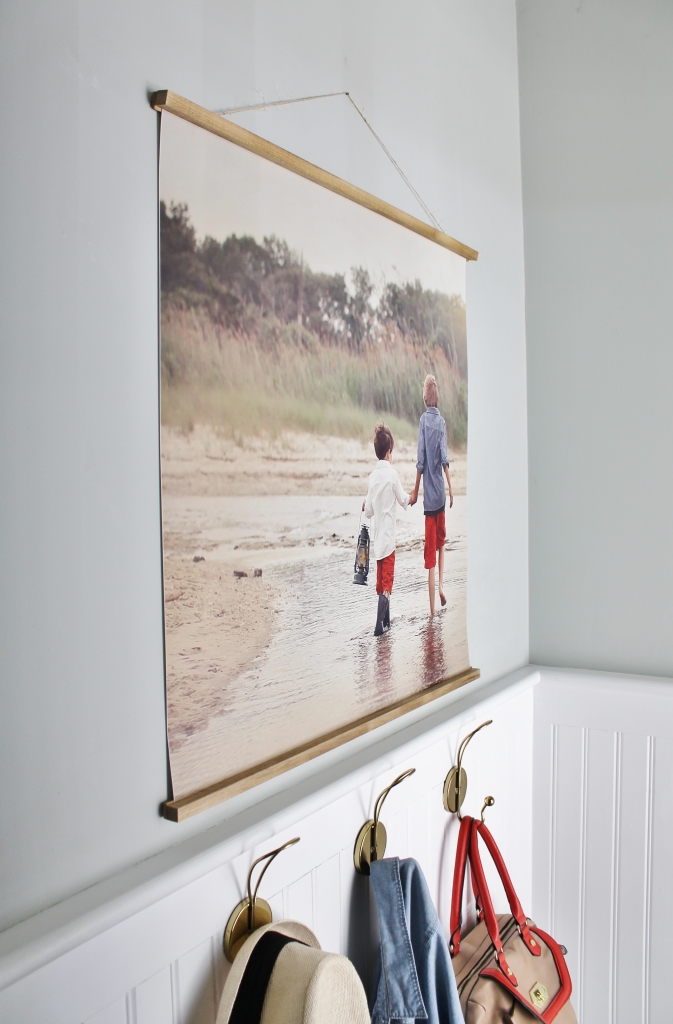
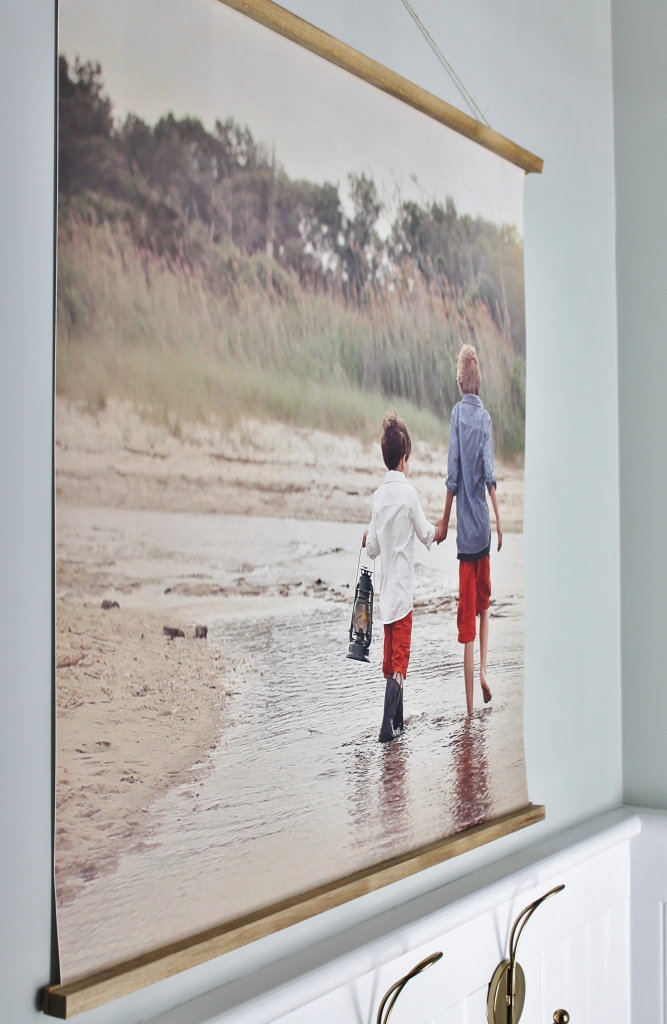
Family photos can bring life and meaning into a home, they can tell a story & make an ordinary space feel loved and appreciated. A few summers ago I had an amazing photographer friend of mine, Michele Kats, take photos of my family & I at the beach. It was a place I spent a lot of time as a child, as did my father and then my own boys when we moved back from Colorado. I felt so blessed leaving the session, before even knowing what they would look like. These memories continue to be a gift for us as we cherish looking at them each and every time. I have printed a few here & there but to be honest I have always wanted to do something bigger with them. I am excited to be partnering with Minwax on this post as part of their Made With Love campaign. Today I am going to show you how your family photos can become art & a beautiful focal point in any space, along with a really easy way to create a DIY frame. The fun thing about this project, I brought a beautiful memory that spans 3 generations into my home and did it all for under $50.
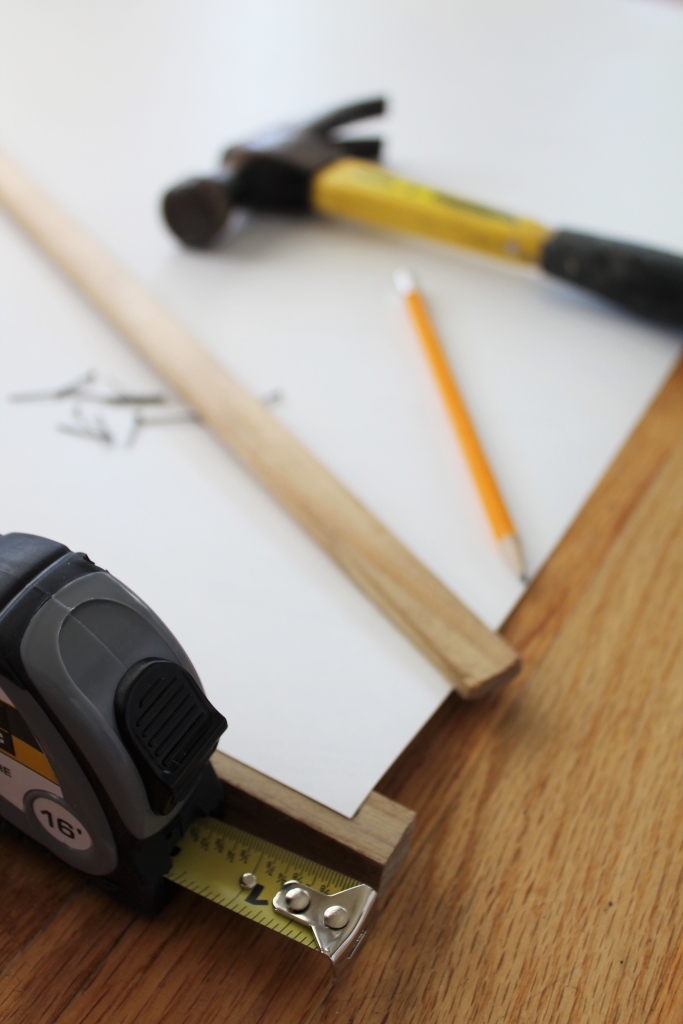
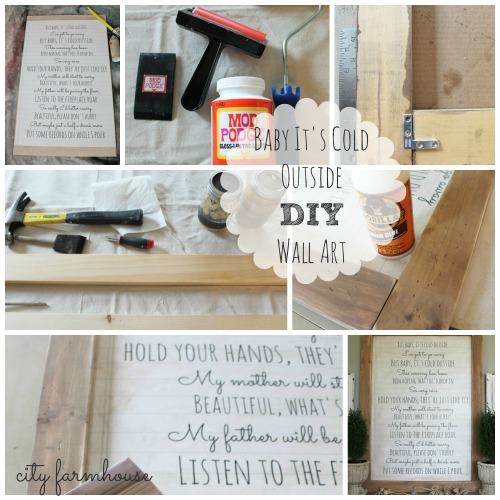
Let’s get started. You will need…
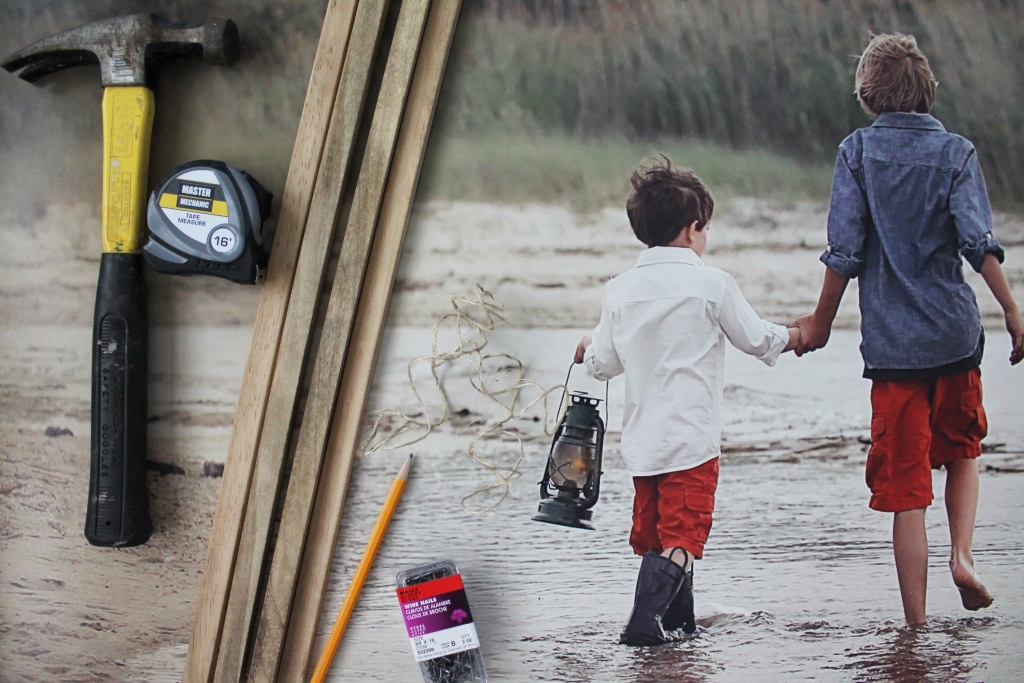
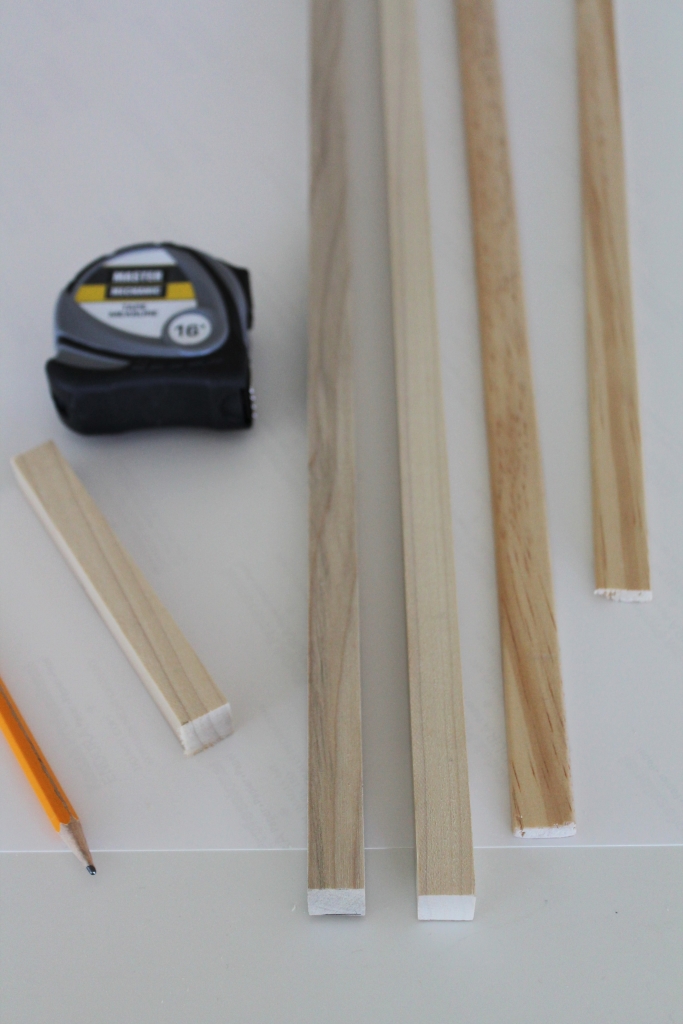
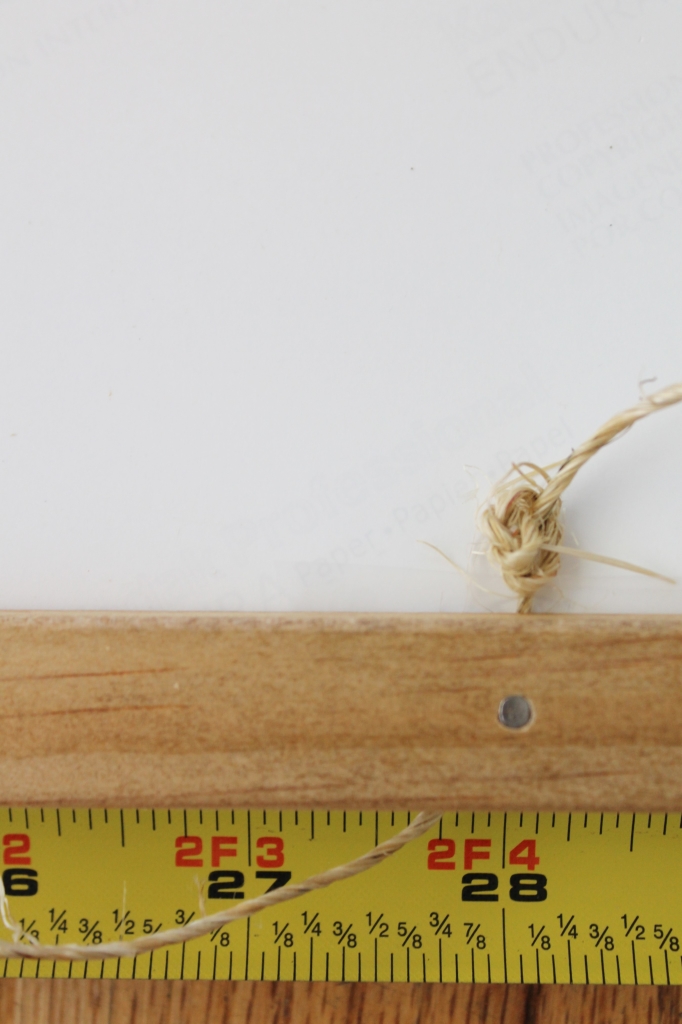
4 wood pieces cut to size – I bought 2- 5/8″ x 36″ poplar square rods and a 6 ft piece of pine screen door molding which I cut to size. For a 30″ x 30″ print I then had 4 lengths of wood that were all 31″ long, 2 poplar and 2 pine.
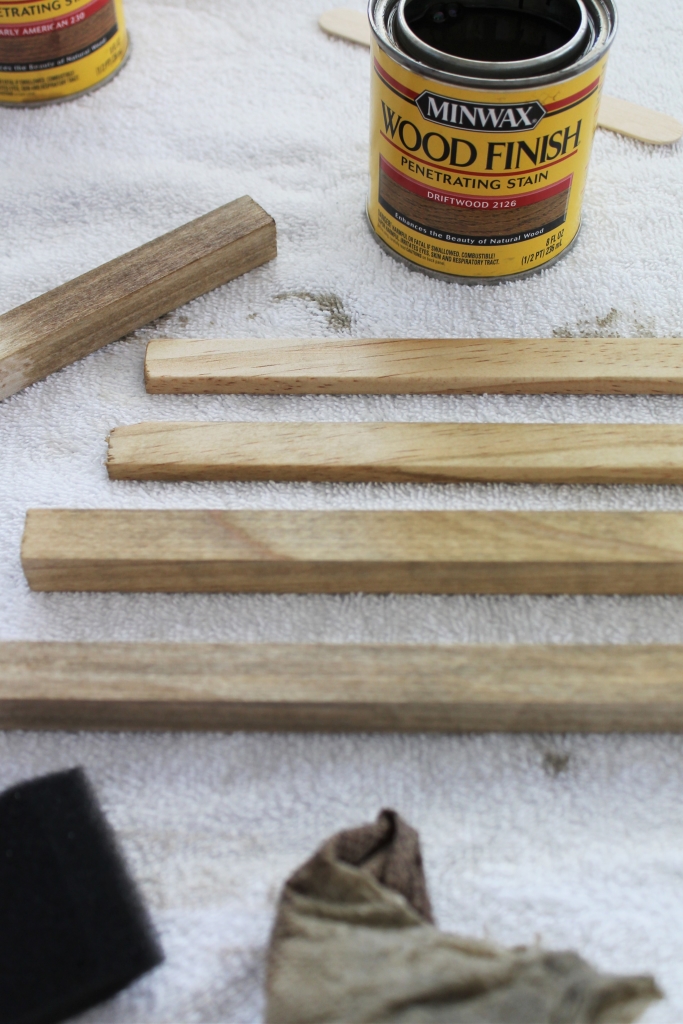
stain – I used Minwax Early American & Driftwood
foam brush or cotton cloth
photo/print– Mine was 30″ x 30″ (from Nations Photo Lab)
box saw
measuring tape
nails – 3/4 x 18
pencil
sandpaper
jute
plastic gloves
drop cloth
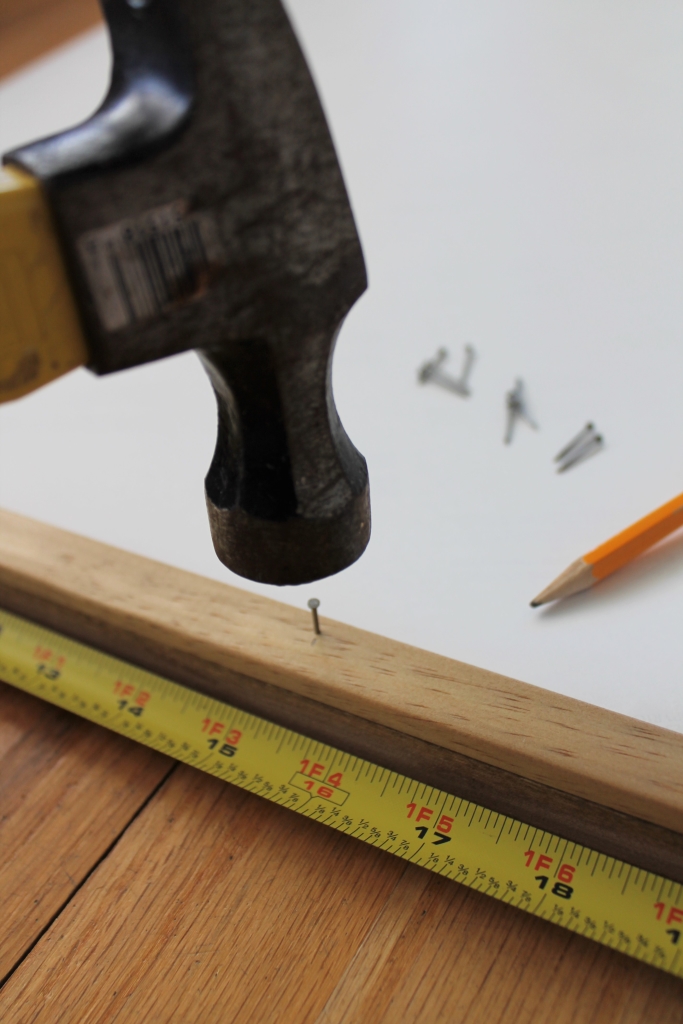
1. I cut 2 poplar pieces and 2 pine screen door molding pieces all to 31″. I wanted the frame to hang 1/2″ on either side of my print which was 30″. I used a box saw and some sand paper to smooth the edges.
2. Time to stain. Be sure to use plastic gloves and have proper ventilation. I used Minwax Driftwood first, then after it was dry I used a cloth to layer on, very unevenly, Early American. This gave a weathered look.
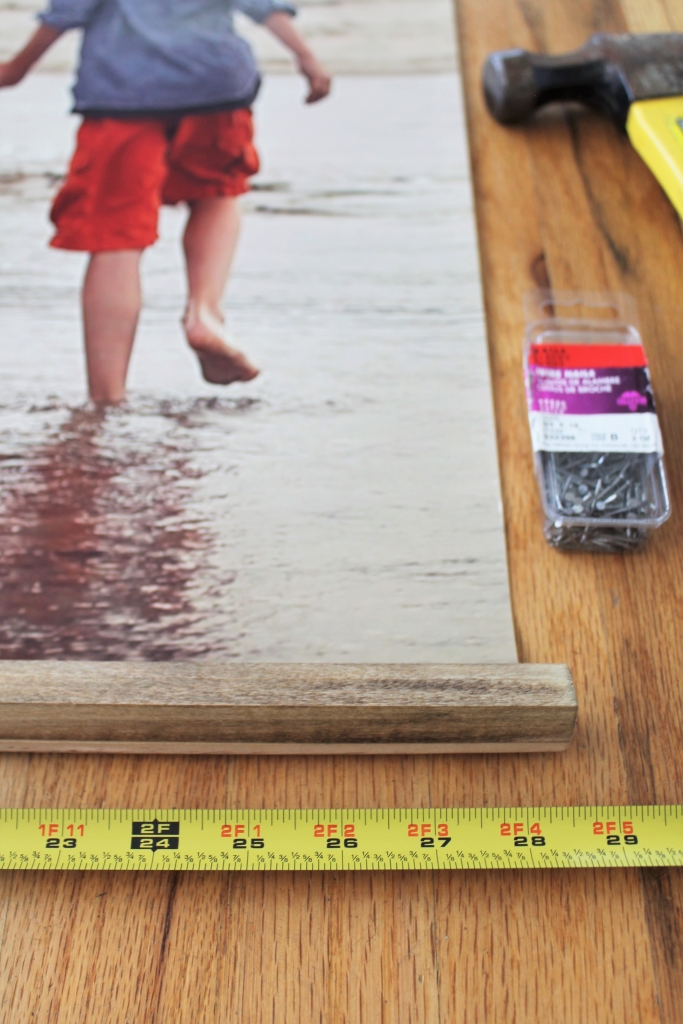
 3. Lay your print on a flat surface face down. I did the bottom frame first. The square poplar piece is what will be visual from the front, so lay that under the bottom edge. I measured so both sides were even.
4. Once it was even I taped the print so it would stay in place. I then added the pine piece on top, this piece will not be visible from the front.
5. I used thin nails to secure the back piece – the pine to the poplar piece. I used a total of 5 for the bottom and 5 for the top.
This is what it will look like from the front.
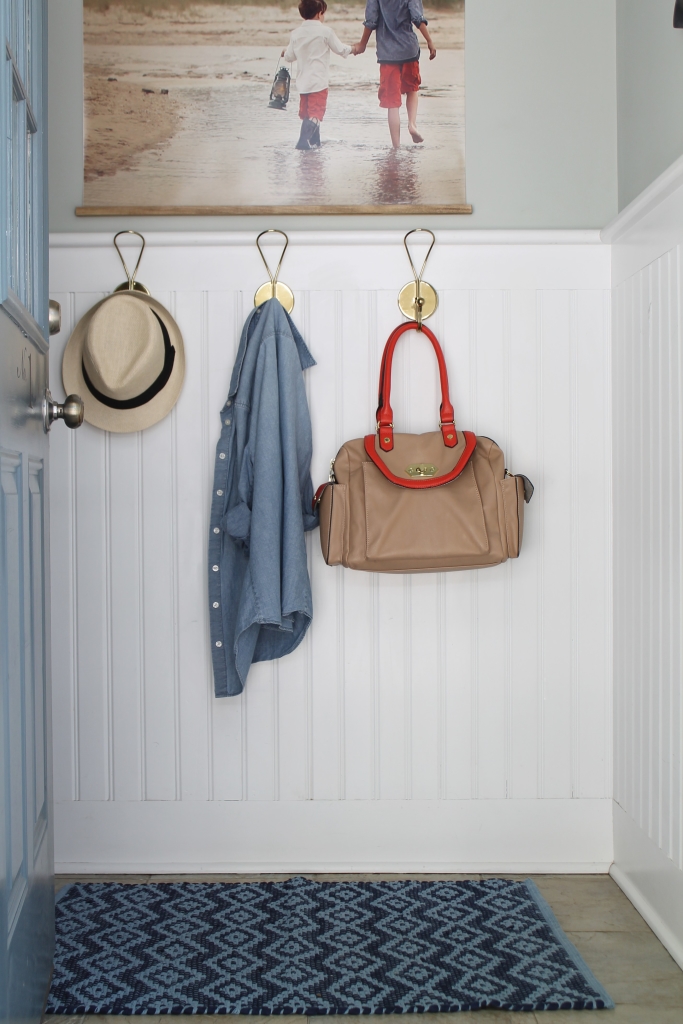
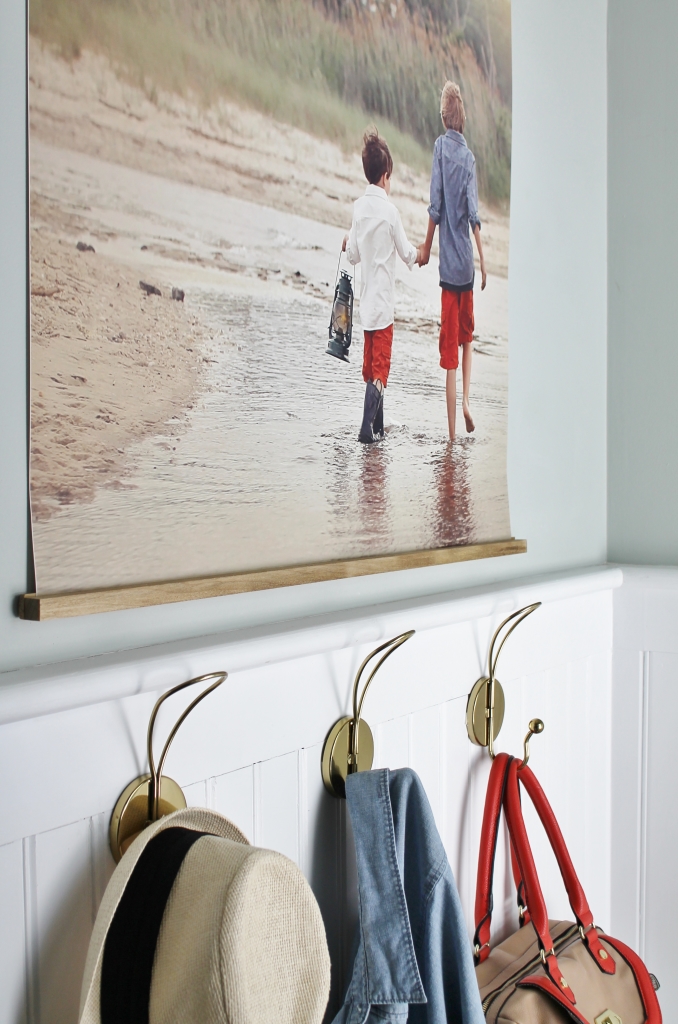
6. You will do the same for the top and add jute for hanging. I measured 3″ from either side and tied a knot at the end.
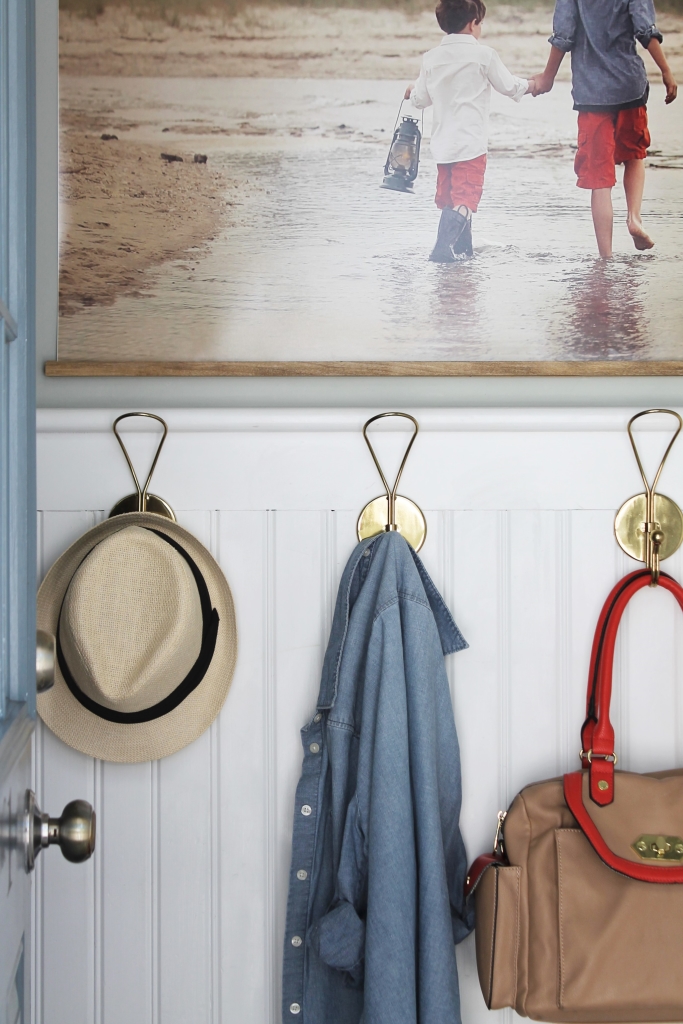
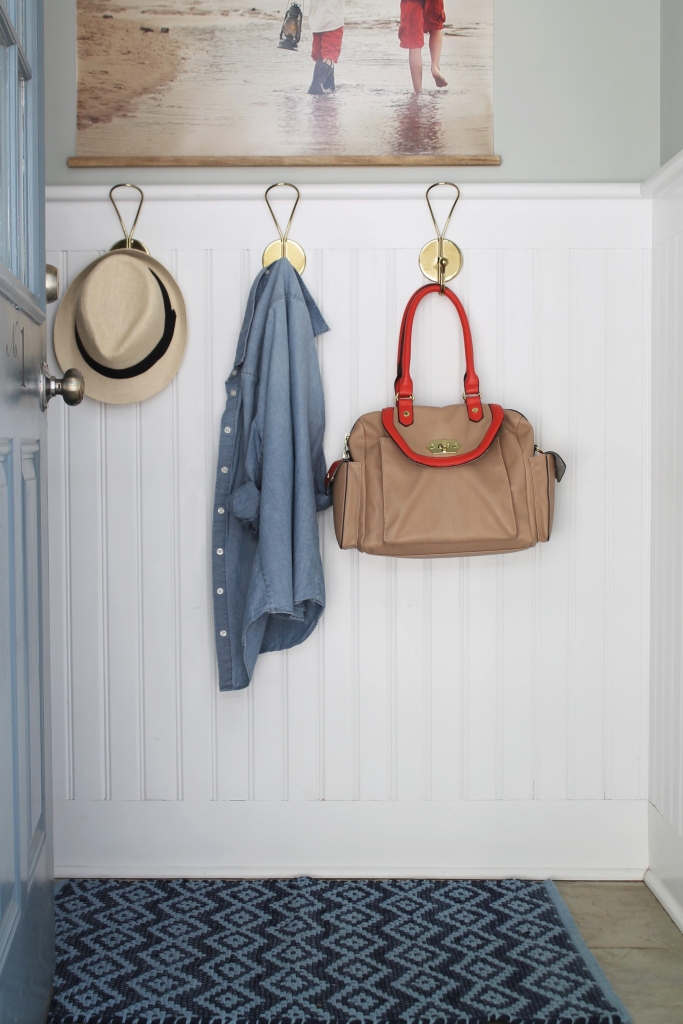
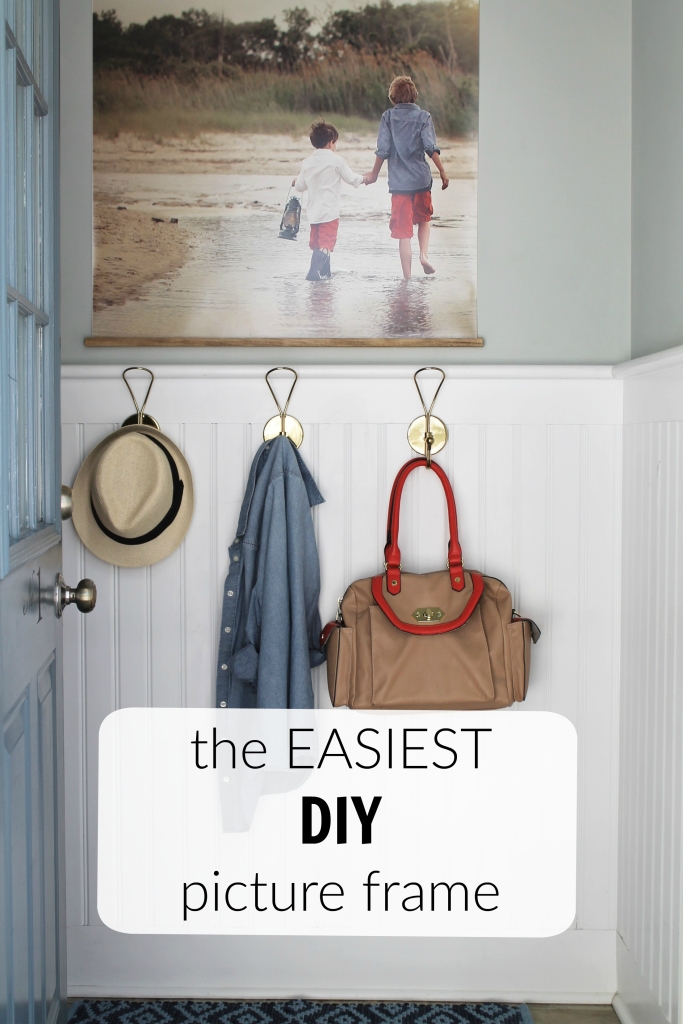
Simple right?! Here is how it looks when you walk in my backdoor mudroom.
 You can check out more beautiful Made With Love projects over at Not Just A Housewife & Thrifty Décor Chick.
You can go HERE for more information and to watch this BEAUTIFUL video.
Have a happy weekend!
Darling! What a cute photo and great frame!
Thank you so much!
I love this! I am always a fan of mixing frames and canvases, and this would be the perfect addition to my gallery wall! Thank you for sharing!
Thank you Brittney!
How wonderful to have a photo such as you have of your boys. Very special to cherish all your lives, spark memories just looking at it each time. Love how you have presented it, different to spark attention.
I made some paper art recently using very similar idea for hanging. Doing something little differently always appeals to me. I found some canvas sheets (5 to pkg. in 8 1/2″ x10″ size) ready to print on at Walmart in craft section. They also have burlap sheets in white and natural shades, same size. Have been having fun experimenting printing out objects found on various sites using those sheets, makes art look so much better, to me anyway. I painted my wood pieces but think would prefer using minwax for variety. Meant to be my finding your post tonight for more ideas. Have been in bit of slump doing projects lately so this will spark some creativity I really hope.
Where did you live in CO? Are you happier where you are now? Grand Junction getting too much like southern CA for me, way too much attitude. I’d love to go back to MT out in country, was so freeing and more natural. Don’t know that we could have what we did before, loved being out on plains with mountains, lake and so much space around us. I felt I really belonged there. Wish we could take trip to see where we used to live.
Enjoy the wonderful beach, envy you. Happy weekend
That is just lovely, beautiful photo and so effective in the space.
What a great idea! & such a beautiful picture. I can’t wait to try this!
Hey girl this is so cool! Love the pic!
I love this, looks amazing & that photo is just beautiful.?
I absolutely love this project! I want to Nation’s Lab to order prints but am wondering what medium you used to put your print on? Is it canvas?
I need to ask a few questions of the 30×30 print enlargement. Did you choose the “lustre” look for printing or linen? I’ve never ordered this large of a pic but I assume the company will tell me if my print will enlarge and look ok?
Hi Karylila, yes, they will say it the pixels should be smaller for clarity but they did say that for mine and it came out beautiful. It was lustre:). Good Luck! Jen