Bookcase Styling 101:Simple Tips That Will Make You A Pro
Hi there friends! Painting has officially begun in my family room and it feels good to brighten up the walls. Sometimes all it takes a simple project to make a room feel awake again. One of the things I like to do to give a space a fresh perspective is to restyle my bookcases, it is an inexpensive way to create a whole new look. When I first began, I am not going to lie, it was hard. I questioned myself all the time but then, like anything else in life, I practiced and got better. I studied images, listened and then, miraculously I found my own rhythm. I actually enjoy it now, it’s a therapy of sorts.
I have been to many conferences, had the pleasure of attending many styling sessions with BHG over the years and got a crash course when a stylist came to my own house. This is what I learned, follow these steps and you will be styling like a pro….
- First thing, you need a table nearby large enough to hold a variety of accessories. This will be your styling table. Shop your house, basement, attic, bedrooms, kids rooms, any room that may have accessories you fancy. The more personal meaning they hold for you, the better.
- When looking for accessories keep in mind; art, boxes, vases, warm wood tones, sculptural elements, photos, wovens, glass, metals, cement, plants, books, vintage, meaningful items etc., all make for great balance and height. Make sure you have a variety of textures and more than you need. Keep these items within a color story (I typically use art or a fabric in the room to inspire this) and with like minded textures.
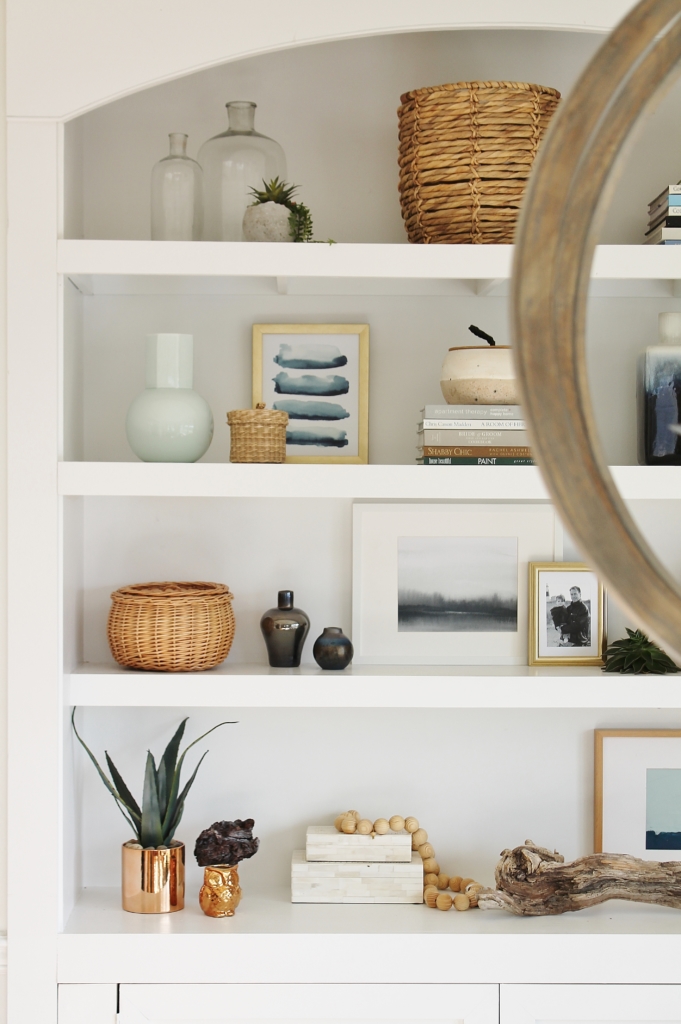
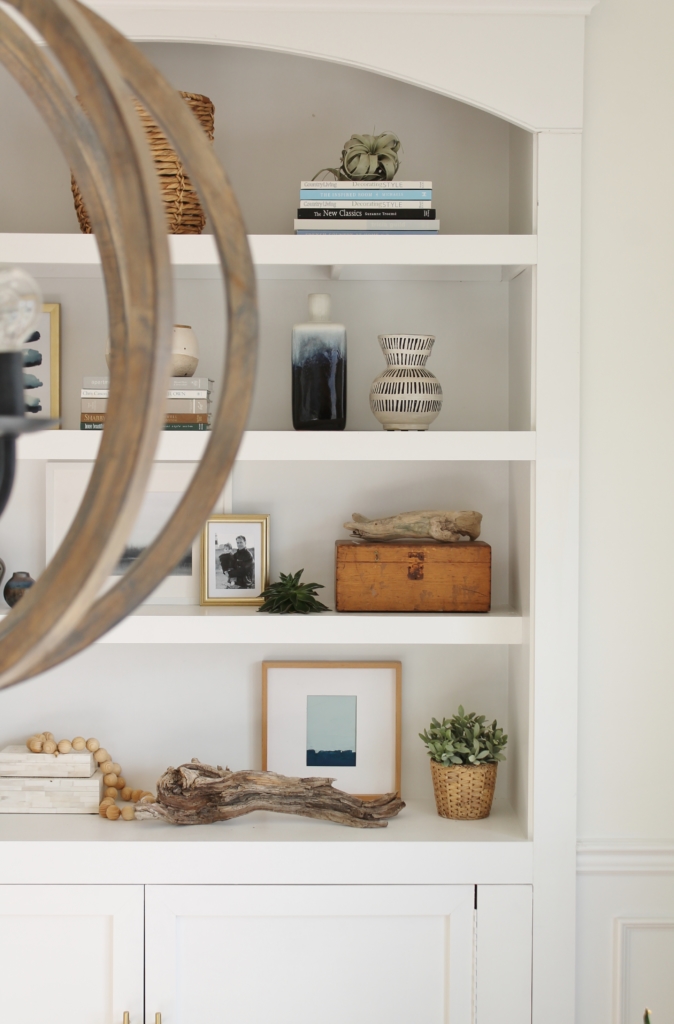
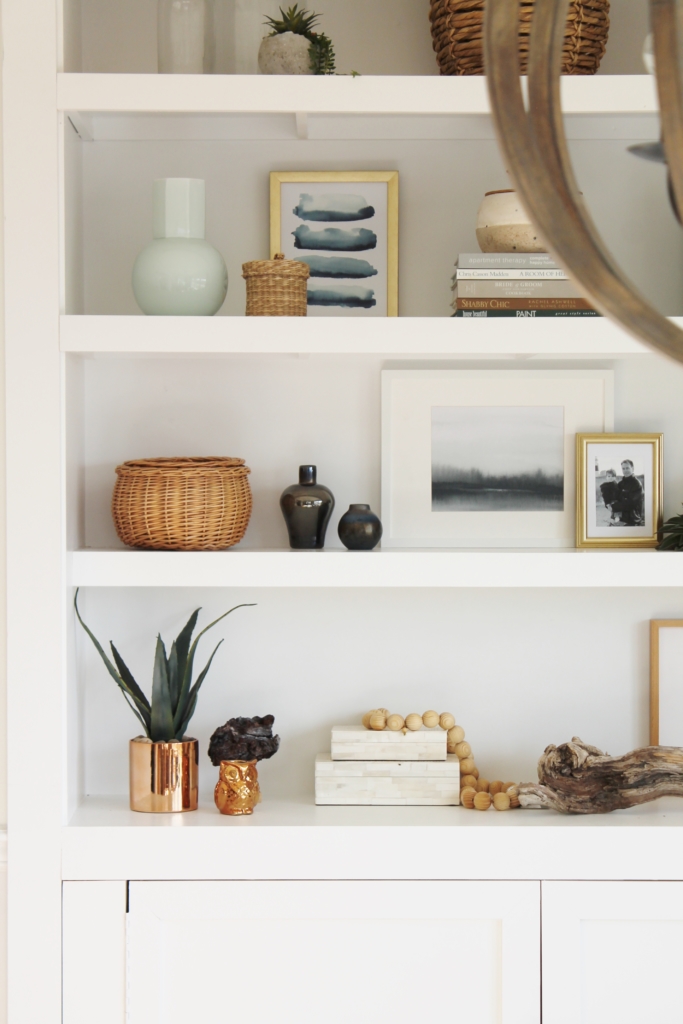
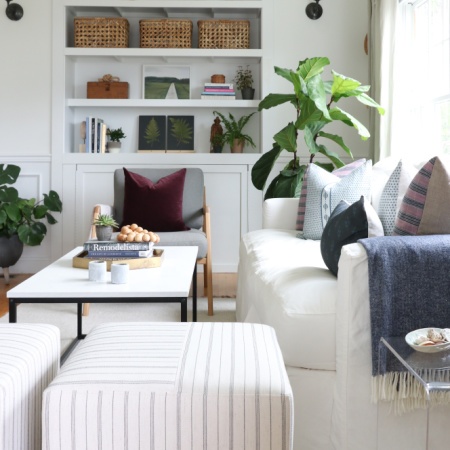
- You are ready! If the shelves are wide enough visually then make 3 sections within each shelf. Start with your largest or tallest pieces first. For example, this bookcase in my den I began with the woven basket on the top shelf, followed by the black & white art on the 3rd shelf down.
4. Next add in your other larger, taller items, these can be vases, art, pictures, sculptures and/or plants. Tip-you can create height with books or stack like minded pieces. I like to fill all my center areas first if I have them. When in doubt, height first.
5. Now you are ready to fluff and finish. This is the fun part, add in smaller items making sure they bring balance with different levels of height and texture. Typically you want to stay with odd numbers, they tend to look best. I love to use sculptural items, plants, driftwood, large rocks, candles, beads, succulents as another layer. This is your chance to use objects from your travels, your children’s sculptures or found pieces from your walks.
6. Not sure if you nailed it? Take pictures with your iPhone along the way. It simulates the idea of tethering for a photo shoot where you would see the images as you take them to know whether you “got” the look. When you see it in an image you will know right away.
Tip-I buy art images from Etsy and have them printed HERE. It’s an inexpensive way to have handcrafted art in your home.
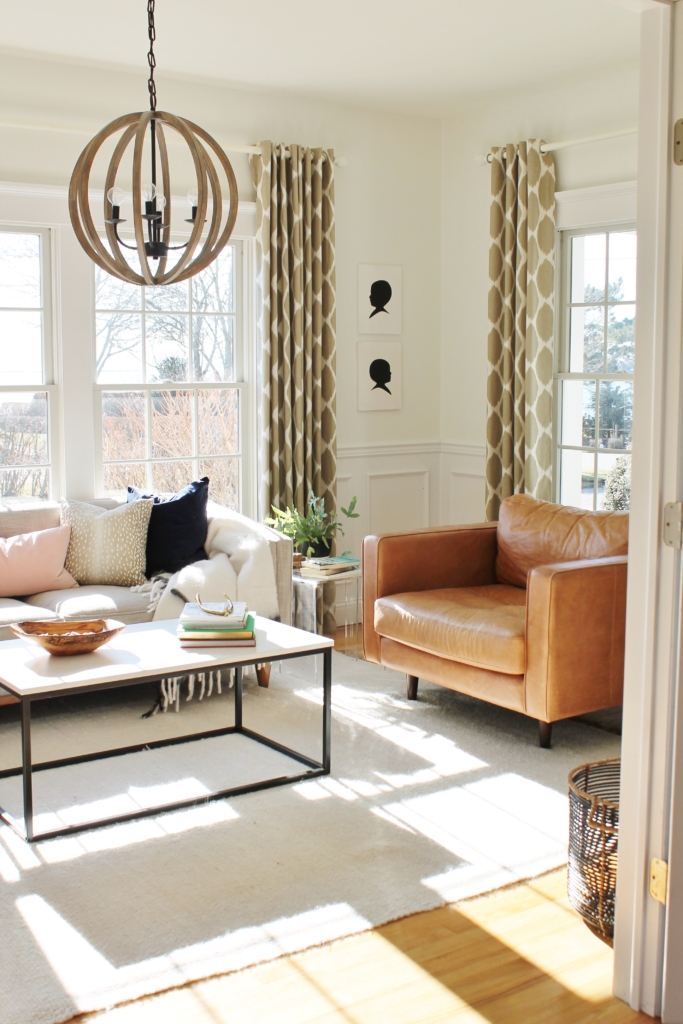
You can see more of my den HERE and HERE.
Last thing, have fun with it and don’t stress too much. Practice is the best way to get better. Tear out pages from your favorite magazine and look through your inspiration boards on Pinterest. The most important things to remember is scale and texture.




You’ve organized the shelf so well, Jen. I like the way you listed all those small elemental steps to make it appear perfect. So nice of you 🙂 And yes, adding some personal touch for the decoration could really transform the house into homey. The first thing it takes is to fancy even little things which attract your heart and mood. I love reading your blog and I love your den too haha!
Thank you so much Varsha! Have a good night!! Jen
I love that style you’ve created! Sure gonna use it as inspiration to create my own, thanks!
That is awesome Kelly!!!
Thank you for including my prints in such a lovely corner! I love how you styled everything, looks so effortless yet put together.
I love your work!!! Jen
Hi Jen,
Could I send you a picture of what I’ve tried to do with my bookcase and ask for you design eye of input? Good article and it’s very helpful.✅
Hi Jen,
Could I send you a picture of what I’ve tried to do with my bookcase and ask for you design eye of input? Good article and it’s very helpful.✅