
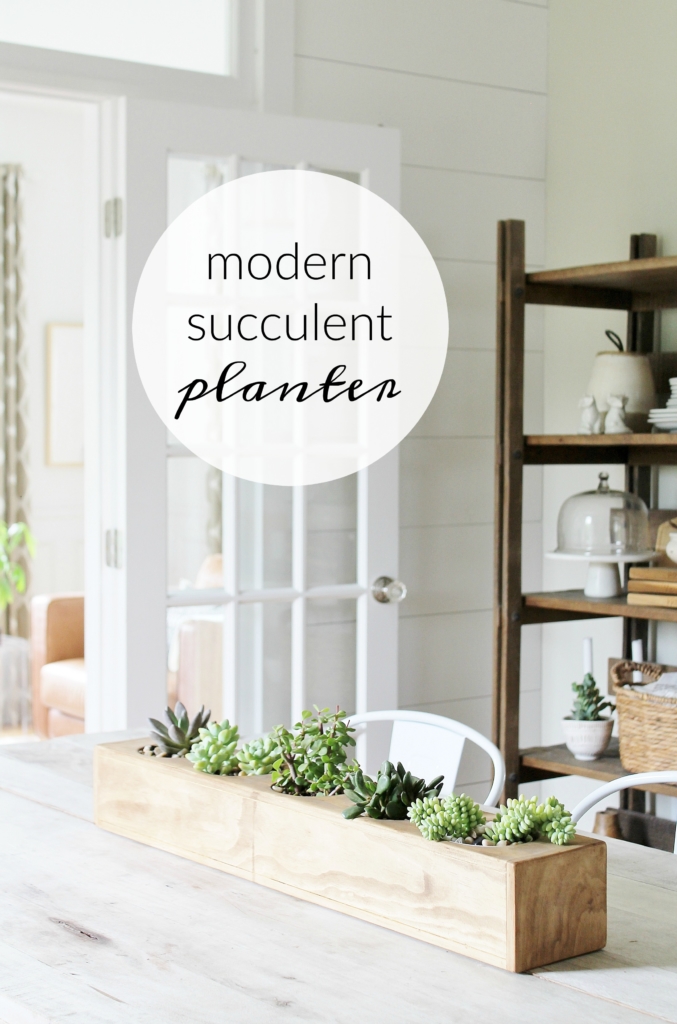
Hi, there friends! Over the last few years, I have become super fond of succulents, who hasn’t right?! I love the look, colors, sizes, shapes and the fact that they are low maintenance is a bonus for me. Plus you can find them just about anywhere lately, even the grocery store! I thought it would be fun to create an all season, modern succulent centerpiece planter for my kitchen table. I have teamed up with Minwax for this project and to give my piece a rustic finish.
Disclosure: This post may contain affiliate links. As an Amazon Associate, I earn from qualifying purchases at no additional cost to you. See full Disclosure Statement HERE.
In planning this piece I knew I didn’t want the soil near the wood and that I wanted a modern vibe so I decided to use plastic planters I found at Target and set them inside the top. I actually created this piece based on the dimensions of these planters, so if you find other planters to use for this project, just alter your measurements accordingly. The great part about this is that I can also pop them in and out easily if I wanted to change the plants.
WHAT YOU WILL NEED:
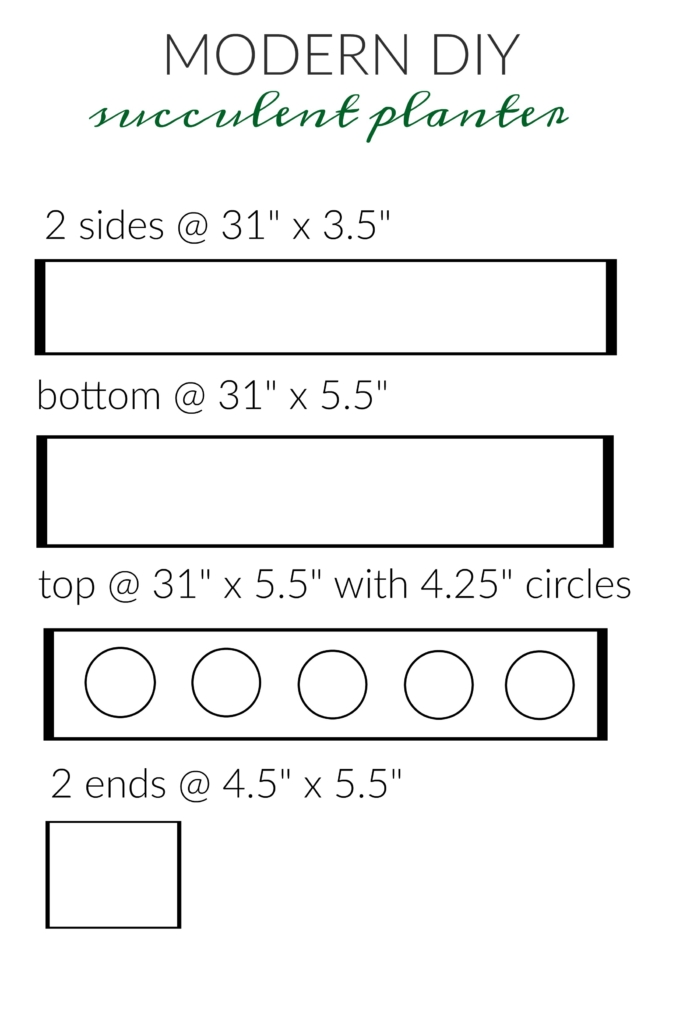
poplar craft board-4 3ft lengths & 1 2ft length (I bought mine at Lowe’s)
wood glue
finishing nails
clamps
jig saw or 4″ drill bit adapter
sand paper
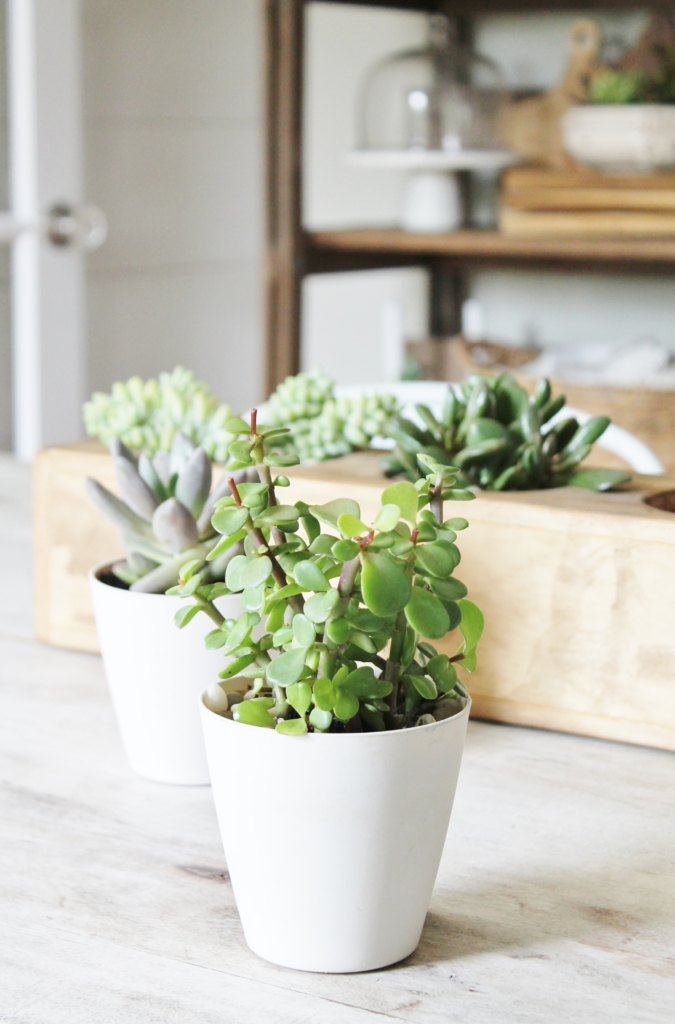
5 plastic pots from Target that are about 4″ x 4″
5 succulents
potting soil
pebbles
HOW THIS WAS MADE:
Cut your pieces from the above diagram
Mark off 5-4.25″ circles in the top length and cut them out using a jigsaw or 4″ drill bit adapter
Sand the openings to make them smooth.
Take your bottom & 2 sides and glue & nail them, using clamps to hold in place.
Once dry take your top with your circle cut outs and do the same, glue & nail.
Then do the same for your ends, these will adhere to the outside of the box.
After the piece is dry and secure, sand the edges smooth.
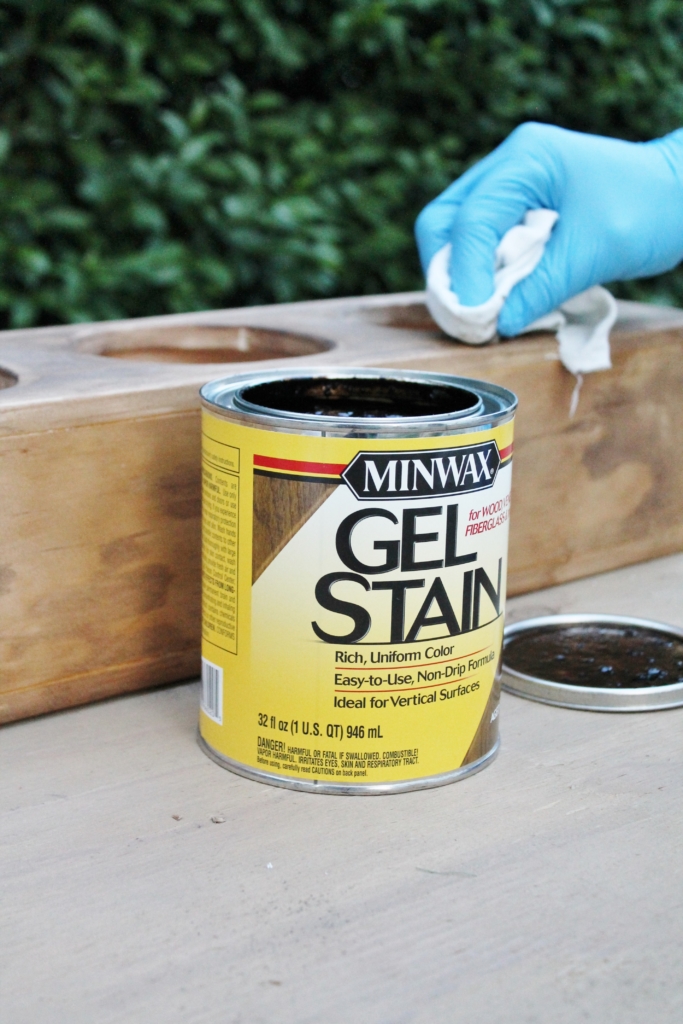
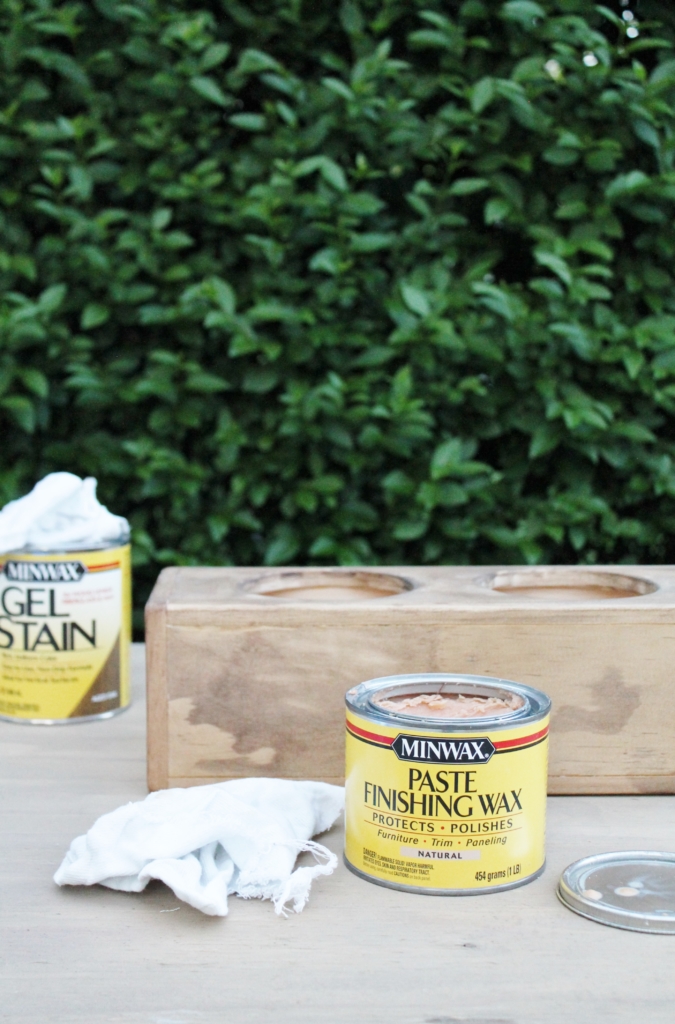
Now it’s time to stain, I used Minwax Gel Stain in Aged Oak. Be sure to have gloves on and use a cotton cloth to apply. The gel stain was SO easy!!!
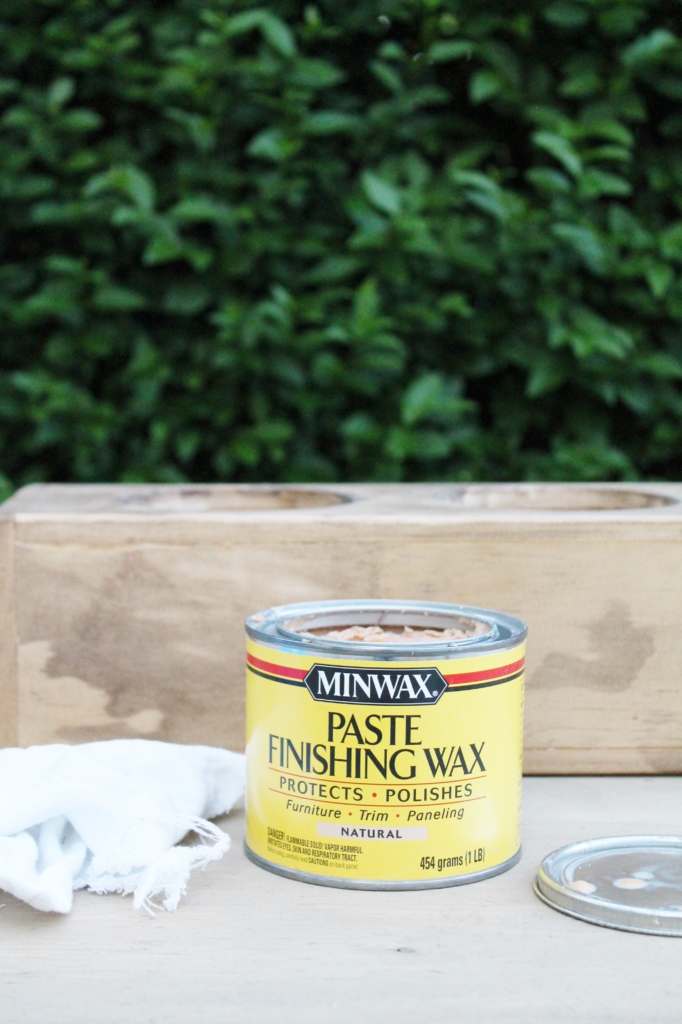
Next, I sealed it with Minwax Paste Finishing Wax to give it a protective finish while maintaining a natural look.
This gel stain is the best!!! It dries fast and no mess!!!
The finishing paste gives the same look on the wood but adds an extra layer of protection.
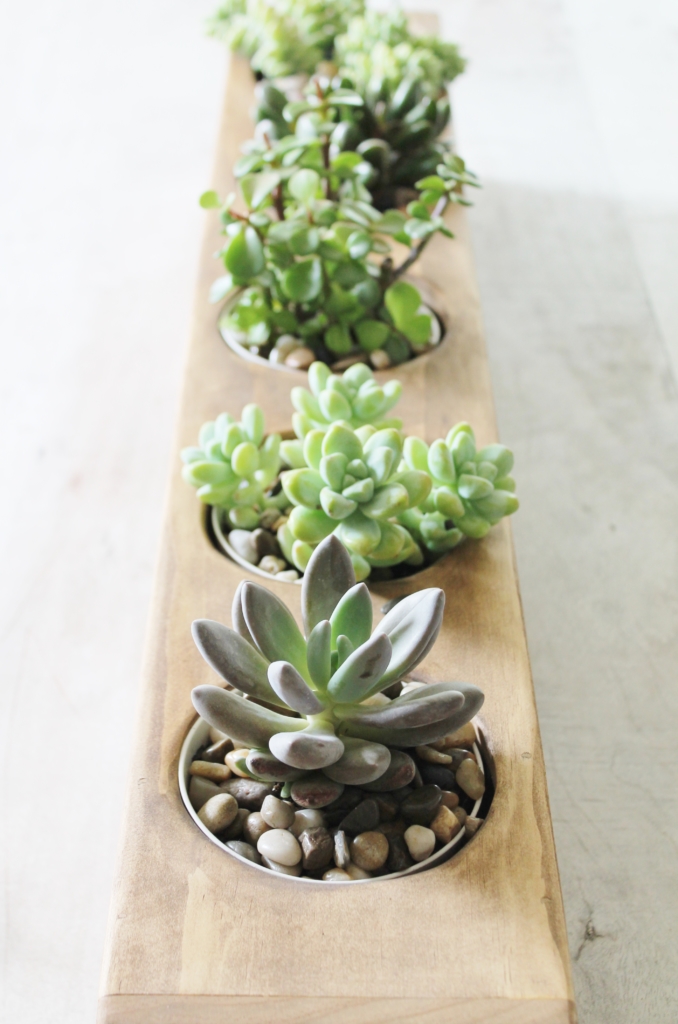
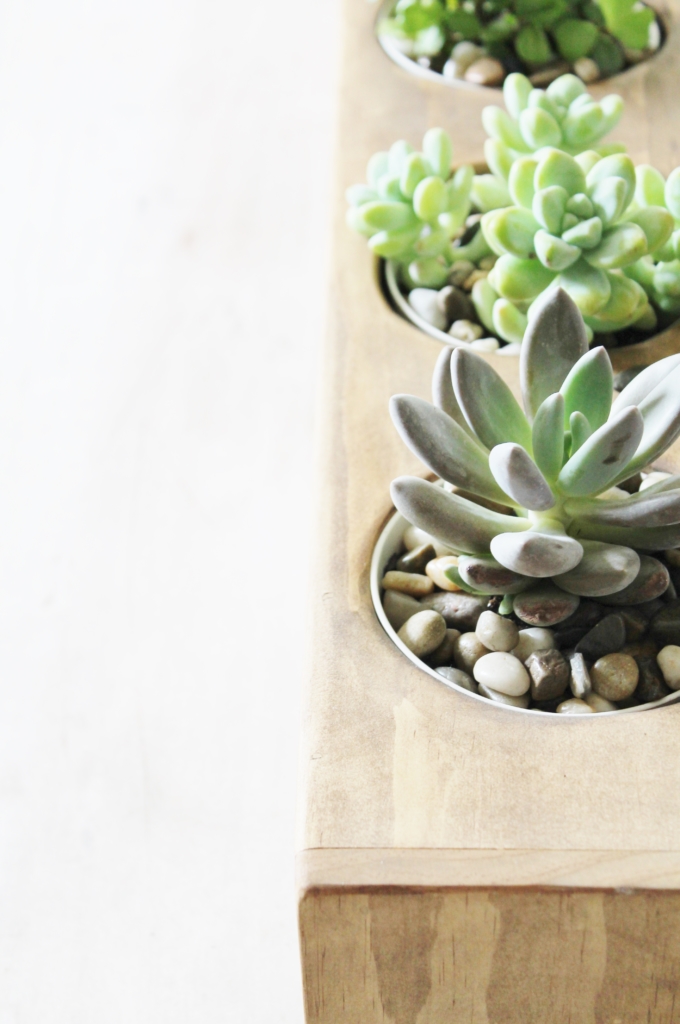
It’s time to add the planters! I selected 5 different succulents that I found at Lowe’s, all with varying hues, shapes and sizes.
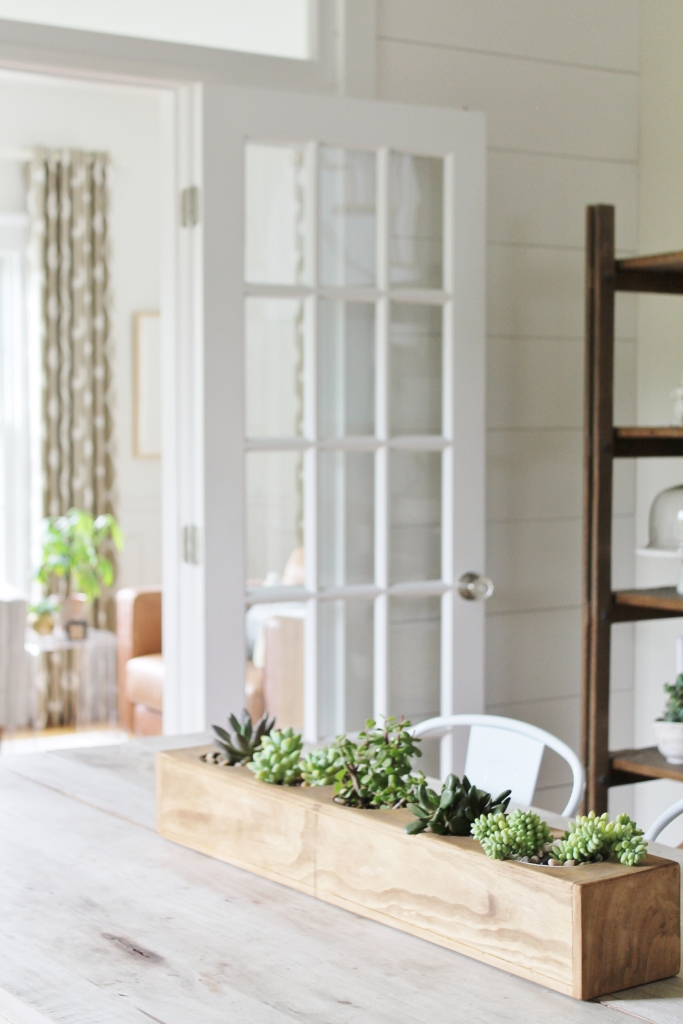
Ta-da! Honestly, I wanted a no-fuss centerpiece that could stay through the seasons. I hit the nail on the head with this one, I absolutely love it!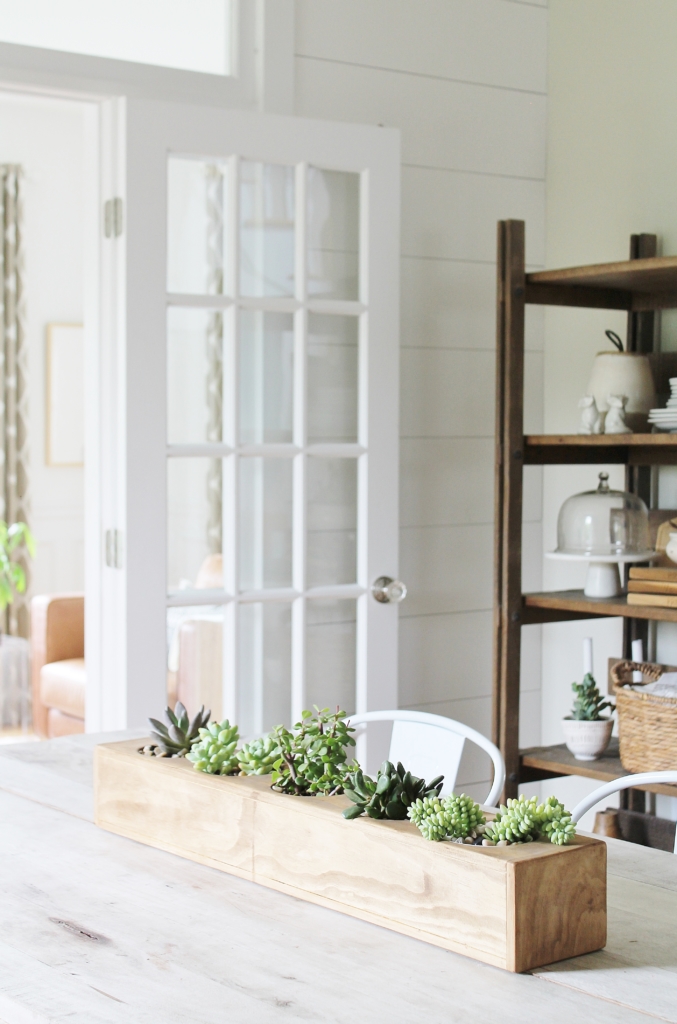
The stain is just the right shade to balance all the wood tones and brown hues.

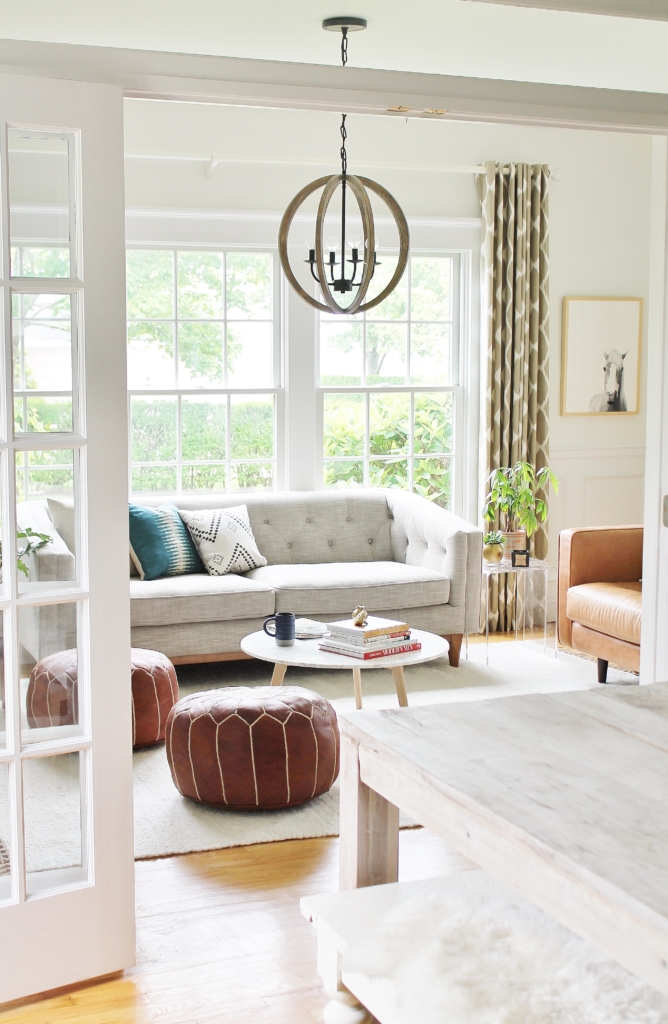
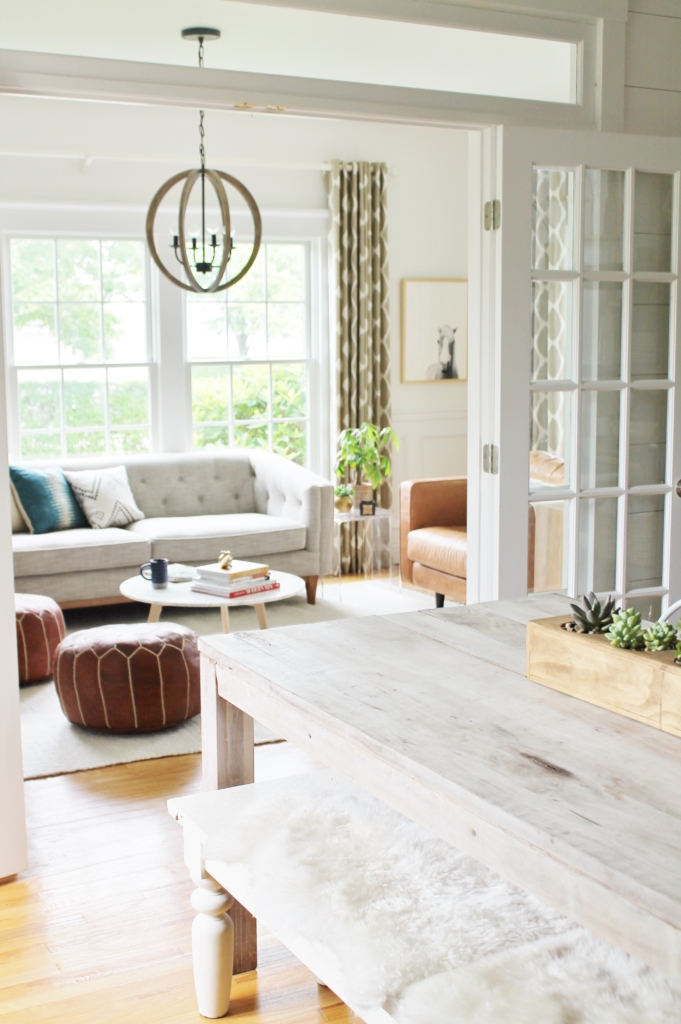
A little peek into my new den, aka old dining room.
My favorite part is the circle cut outs, it’s something different. I added pebbles to the planters to give it a finished look.
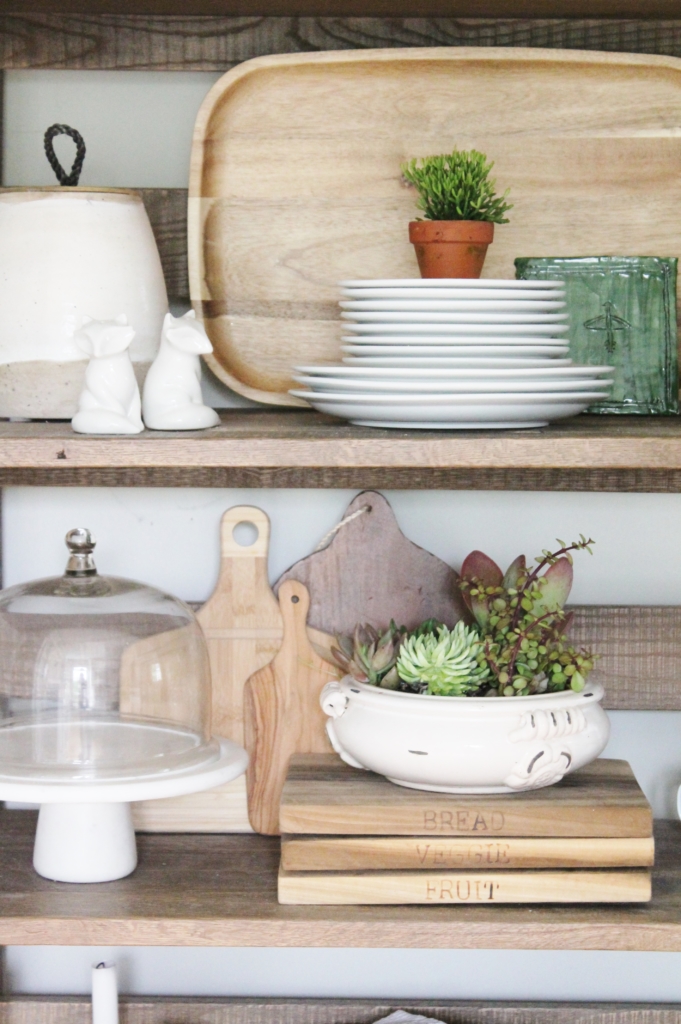
And more succulents in the open shelving:).
Minwax is celebrating meaningful stories and connections we form through finding wood pieces & finishing them with love. This video is a MUST watch for anyone who is a parent, grandparent, aunt, uncle or has children in their life! For more information on how you can share your own story head on over to Made With Love. Finished With Minwax.
Have a happy day!


Where is your dining room table from? The one with the new planter on it?
Is it from way fair?
Thanks
Alice
Hi Alice, its from Joss & Main:).
hey girl- love the planter!
Thank you Shawnna!
Love your open shelving unit. Where is that from?
Its from Arhaus, thank you!!
You always make lots of innovative changes – you are so very talented – I always enjoy seeing what you are up to – you are an inspiration!
Thank you so much Olivia!
jen, i love your planter! i also love your ‘new’ den. I hope you and your family are enjoying the space.
Thanks Laura! Hope you are enjoying your new pool:)!!! Jen
Love this idea! Question, did you use a jigsaw or 4-inch drill bit adapter? I want to make one.
I bought the 4″ drill but adapter but these were cut with the jigsaw, they are a little uneven but when sanded you cant even tell:). I would think the 4″ bit would be cleaner and easier but it’s not cheap. Good luck! Jen