
Hello City Farmhouse friends! It’s Emily here again from The Wicker House! I have a really cool project that I am so excited to share with you today, I call it string art on the wall!
Disclosure: This post may contain affiliate links. As an Amazon Associate, I earn from qualifying purchases at no additional cost to you. See full Disclosure Statement HERE.
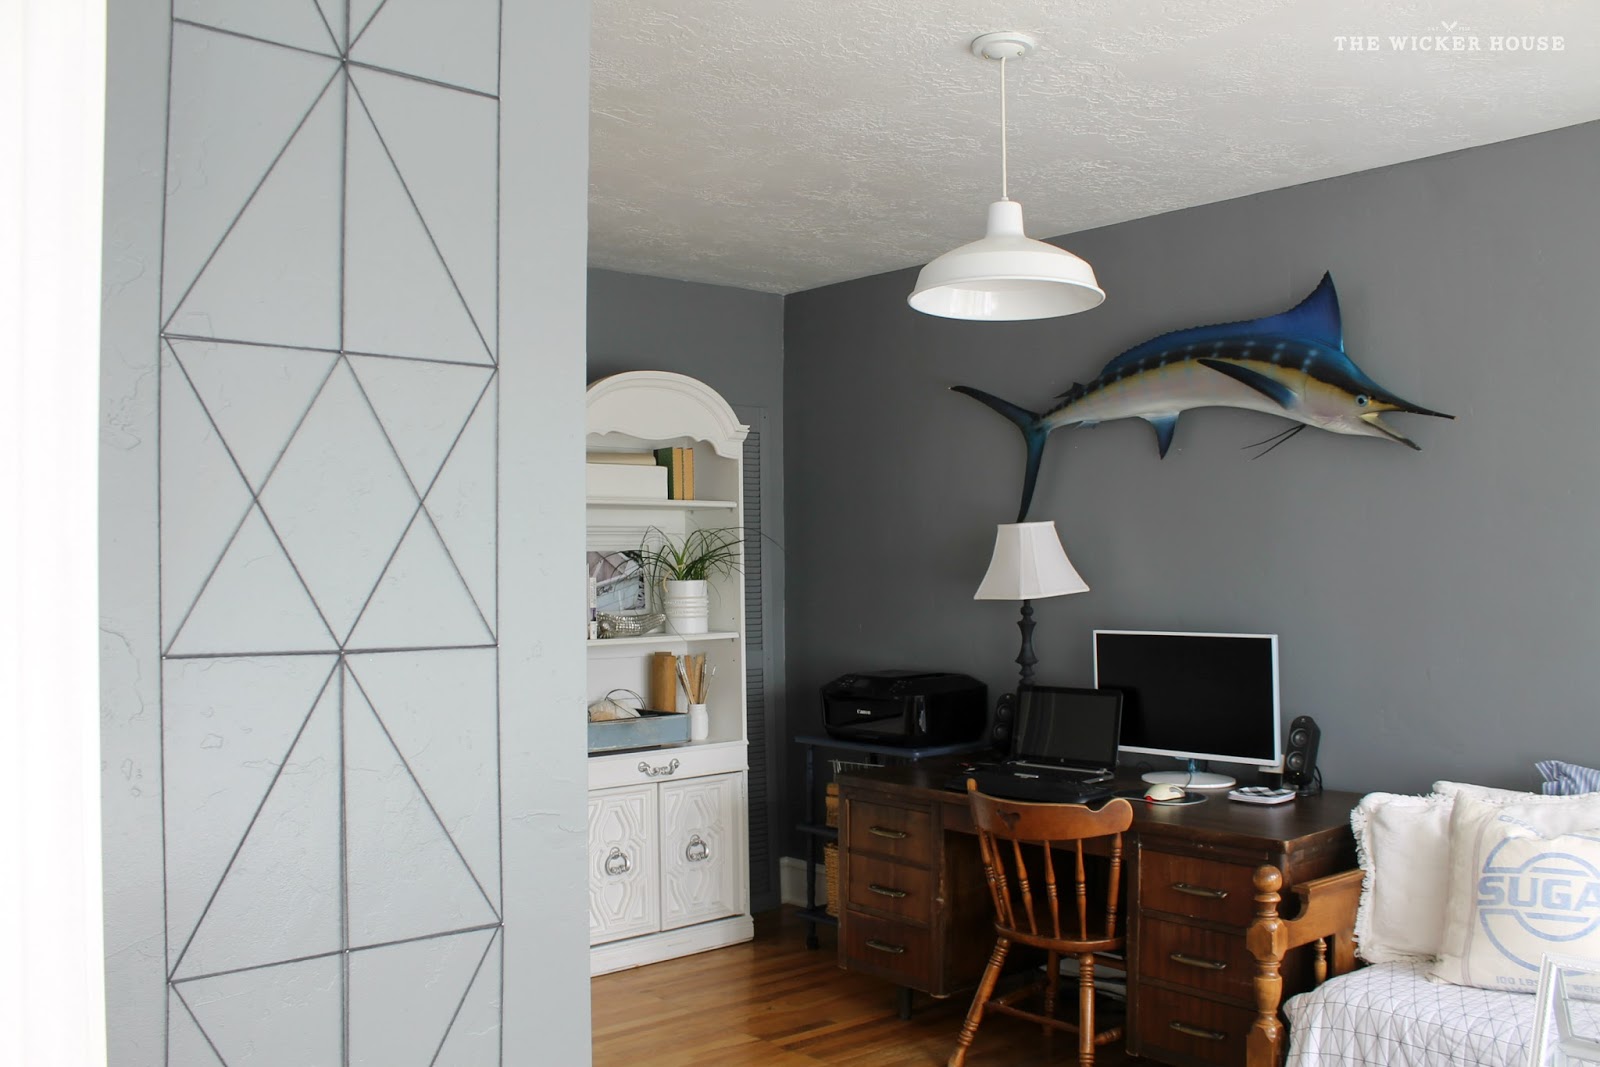
This string art wall project was one of those middle of the night ideas. I woke up the next morning and immediately started trying to figure out how I was going to create the look. I sketched out different patterns onto paper, but in the end I pretty much just made it up as I went along. I think it turned out great! It really adds a bit of a wow factor to the room, and so today I want to teach you how I did it so that you can create this same look in your own homes.
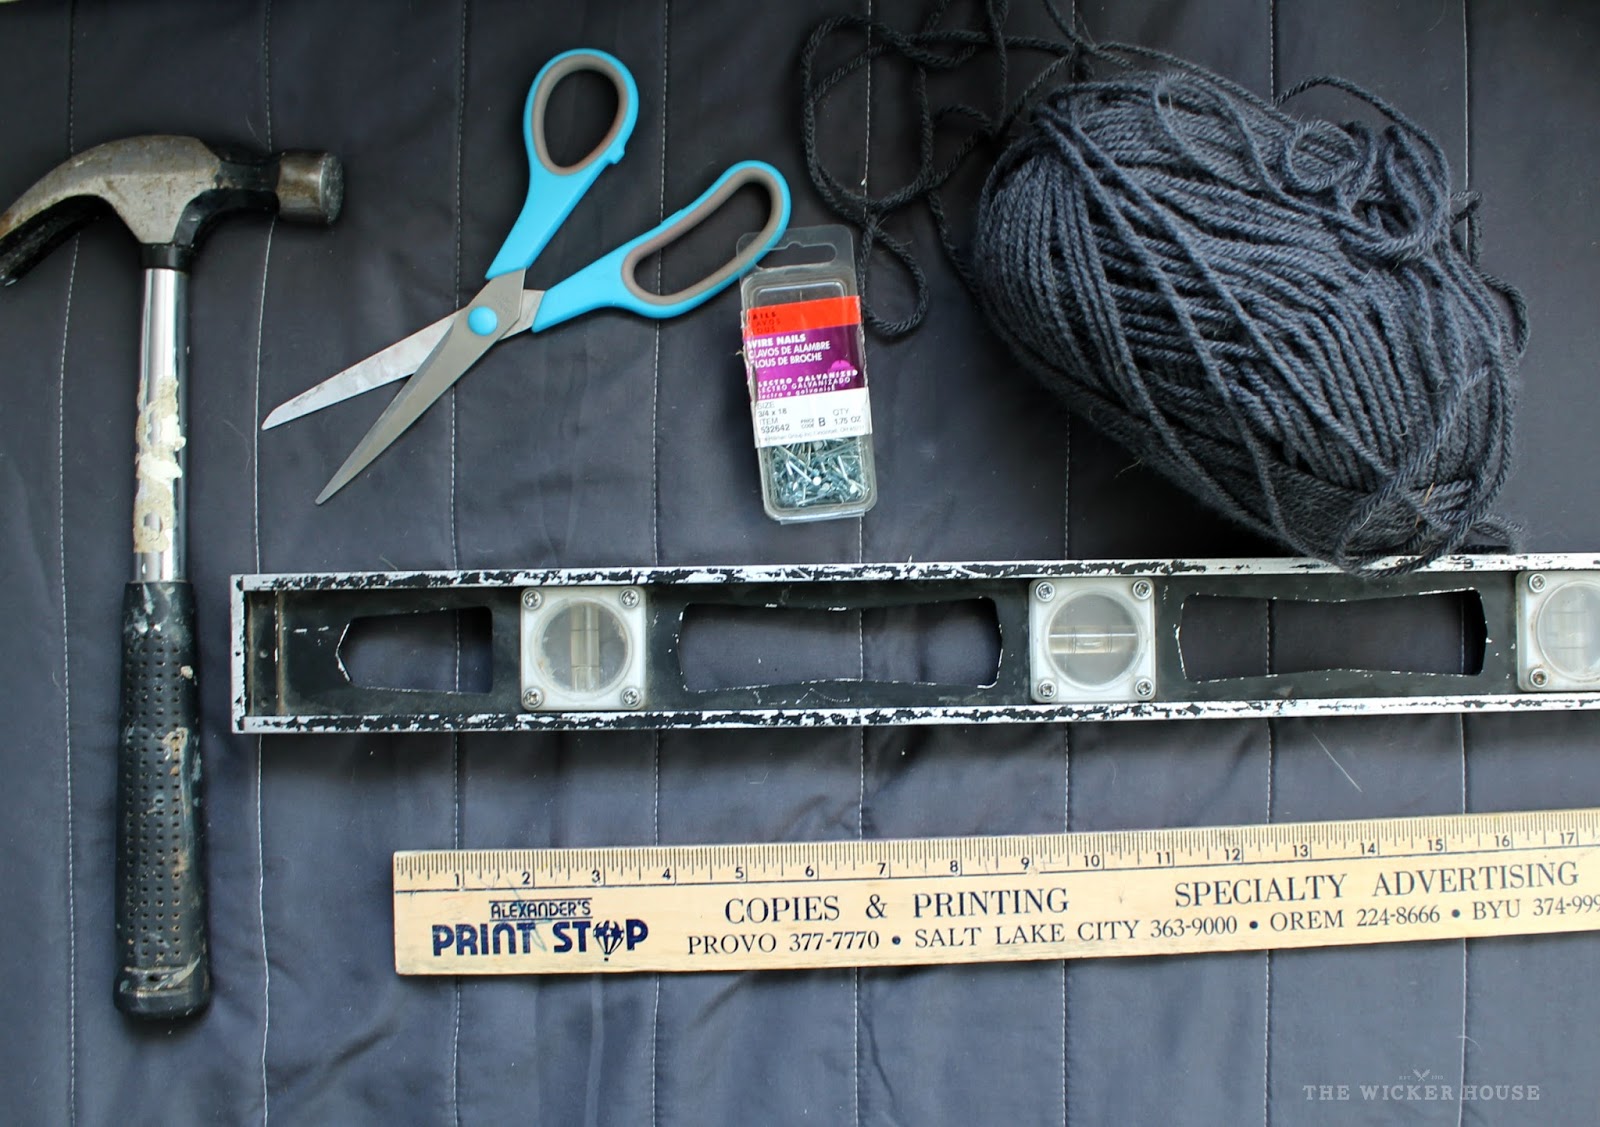
– Scissors
– Hammer
– Small nails
– Leveler
– Ruler
– Pencil
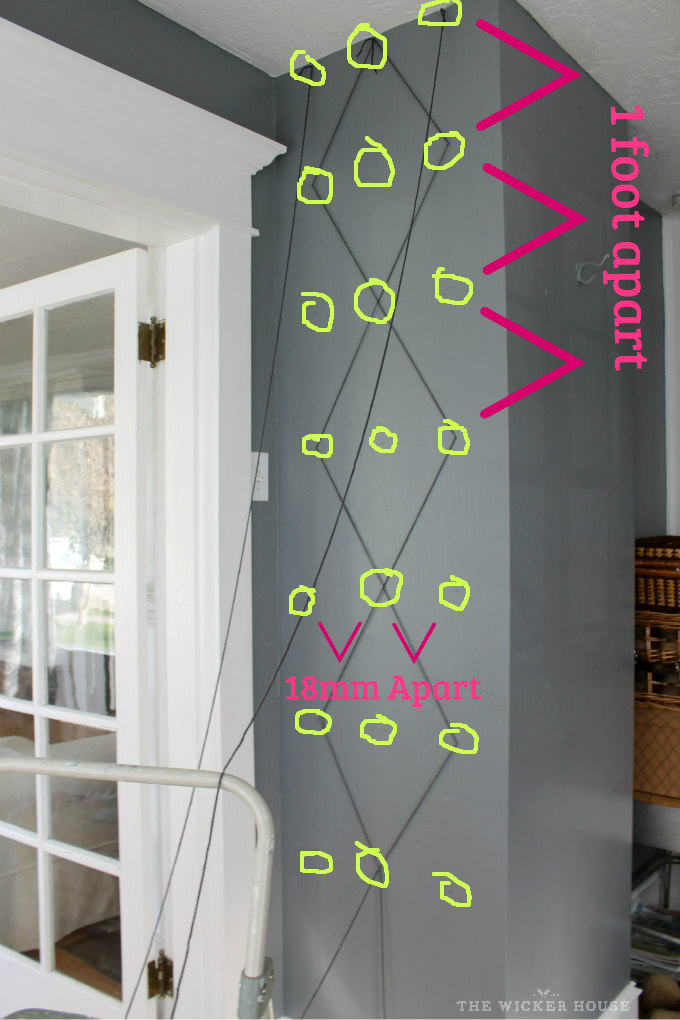
Step Two – Tie a long piece of yarn to each nail in the top row, but at the center nail add two long pieces of yarn.
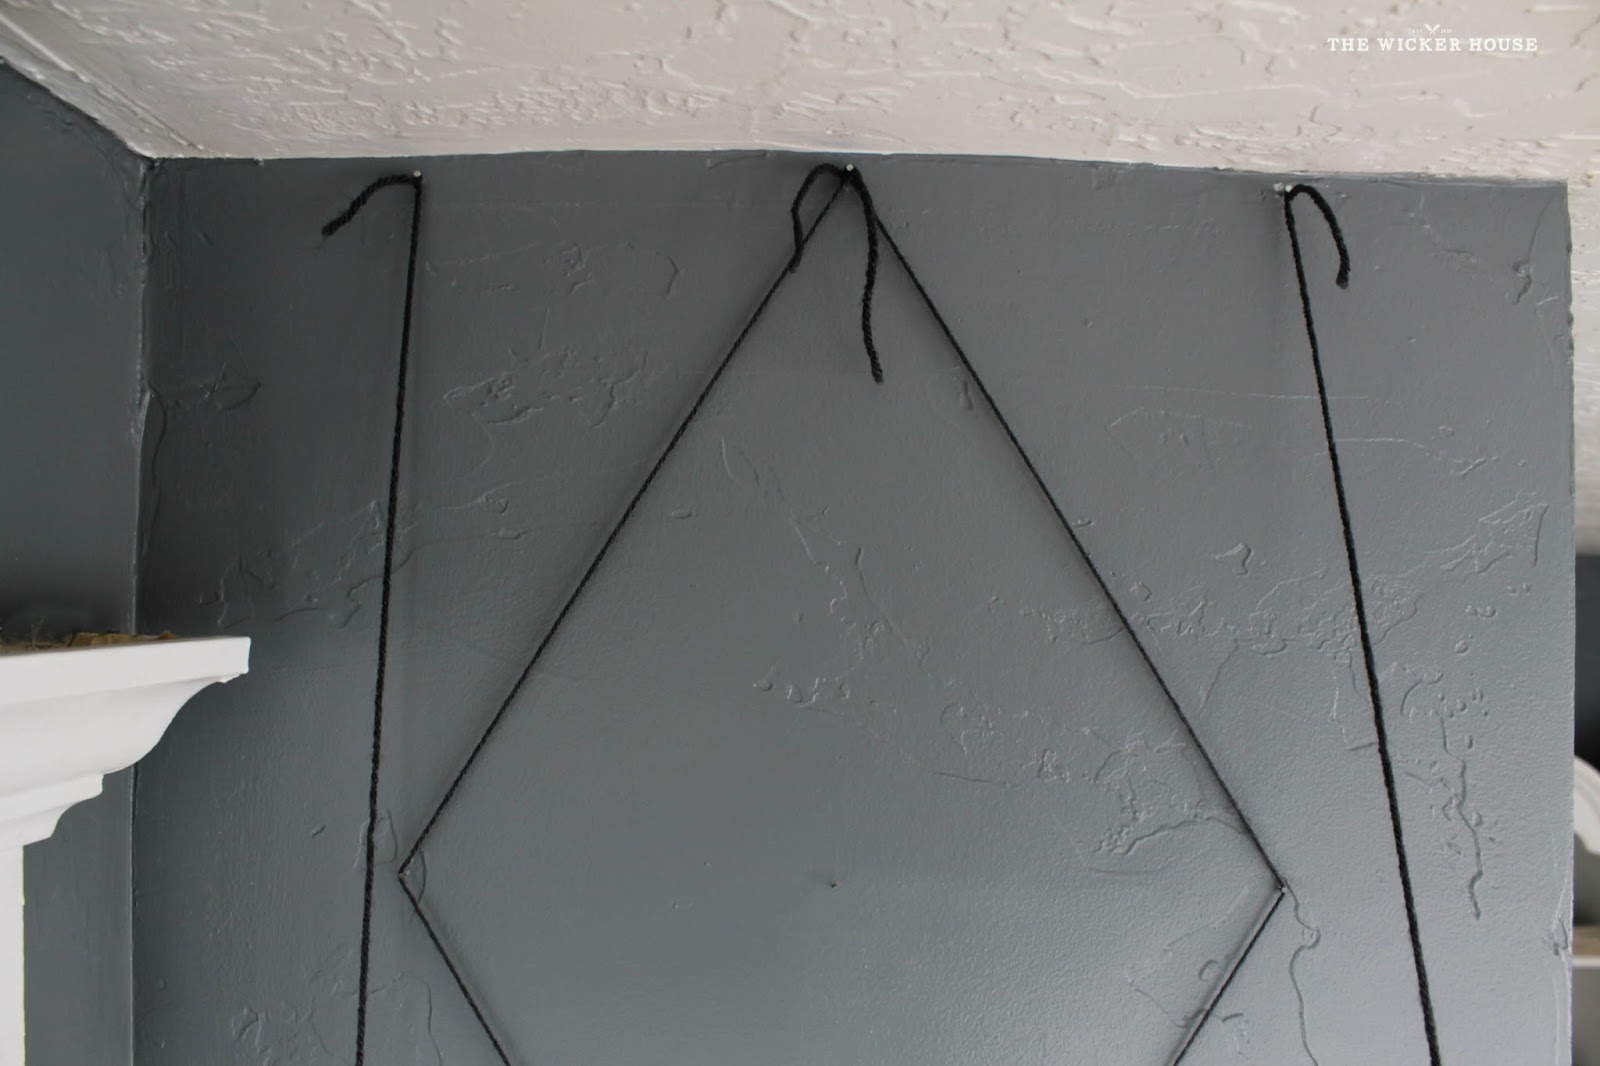
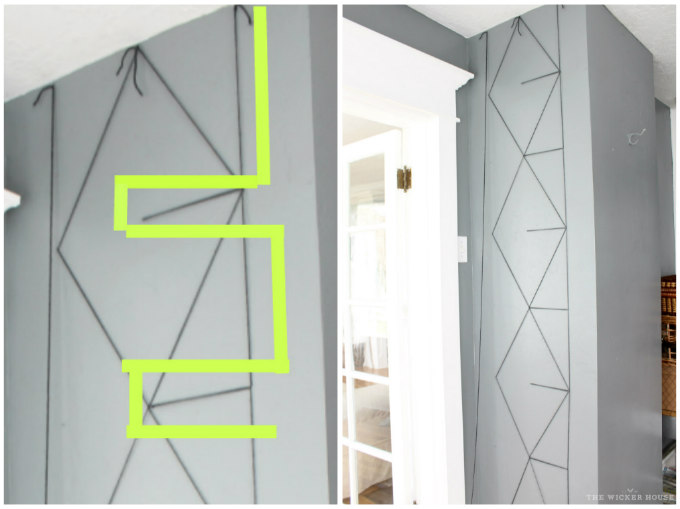
Step Four – Take the piece of yarn on the right, pull straight down to the next nail, go around it and head over to the center nail, go around the center nail and back to the nail on the right. Again pull straight down to the next nail and over to the center. Continue creating a backwards E pattern until you get to the bottom row. Tie your yarn to the bottom center nail.
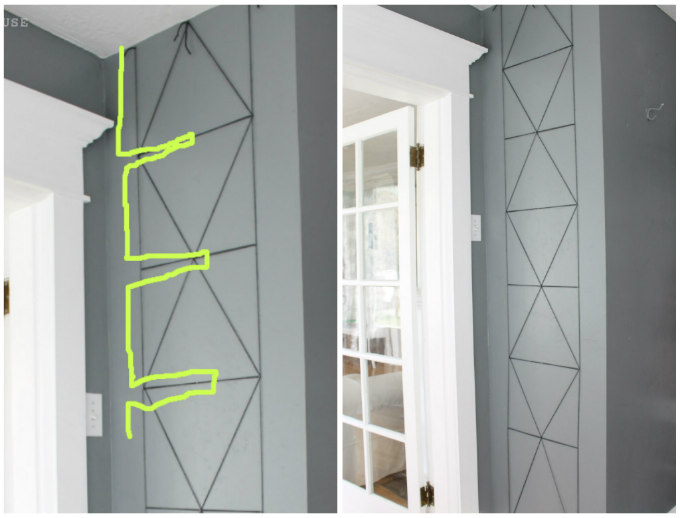
Step Five – Now take the string on the left and follow instructions for step four, but reversing the directions. This time you will make an E pattern. When you get to the bottom row, tie the yarn to the bottom center nail.
Okay, are you still with me? I know it sounds so much more complicated then it actually is, so I hope that my ‘football diagrams’ are helpful :).
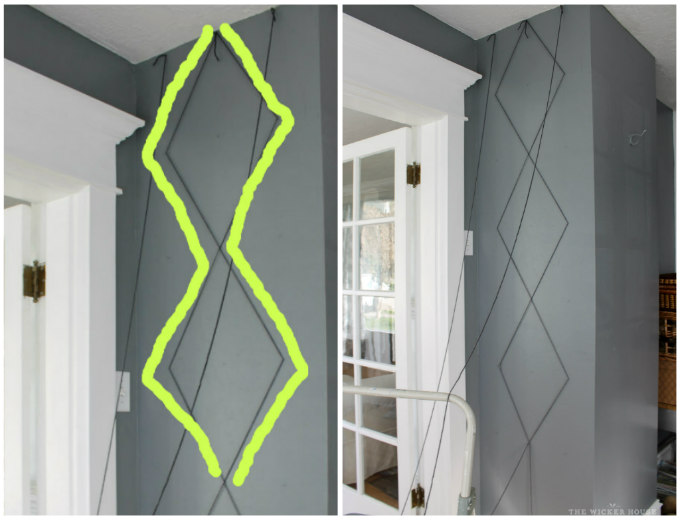
Step Six – from the last step I decided I wanted even more lines, so I added one more piece of yarn to the top left and right nails. The diagram below shows the direction I took the last two pieces of yarn.
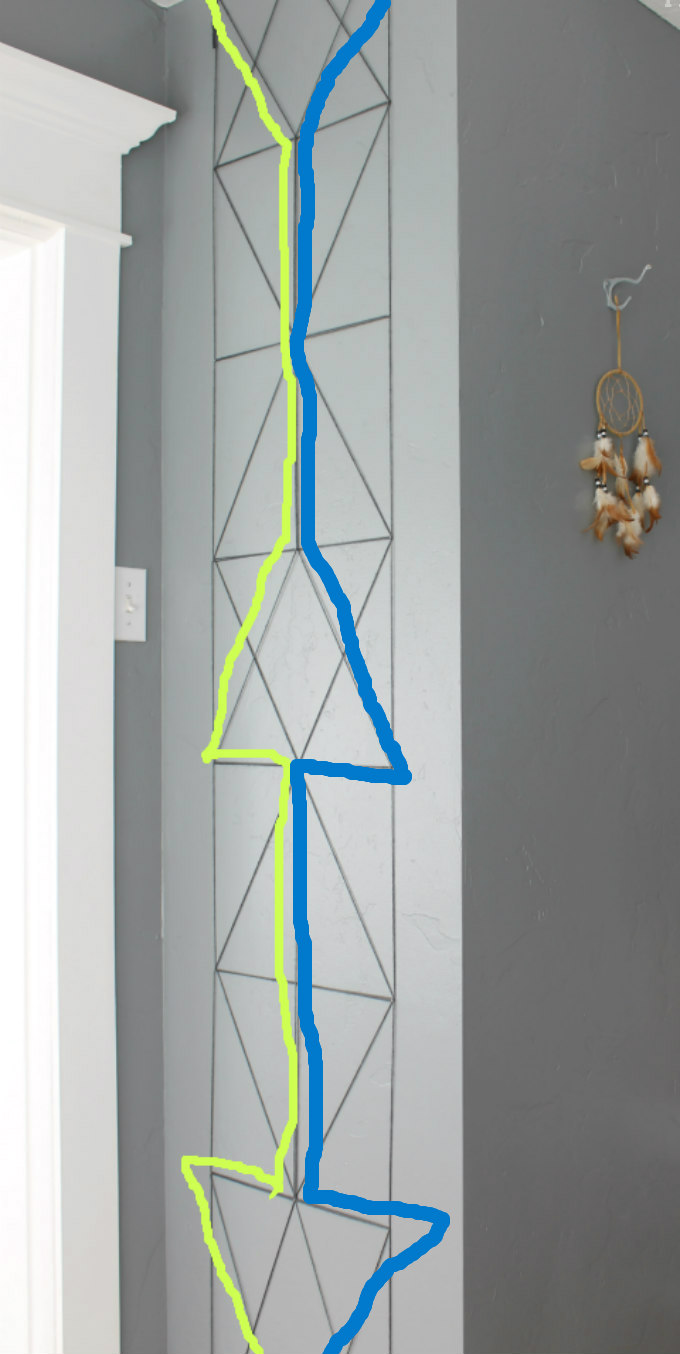
When I got to the bottom row, I tied the ends of the yarn to the center nail. I cut off all of the extra yarn that was remaining.
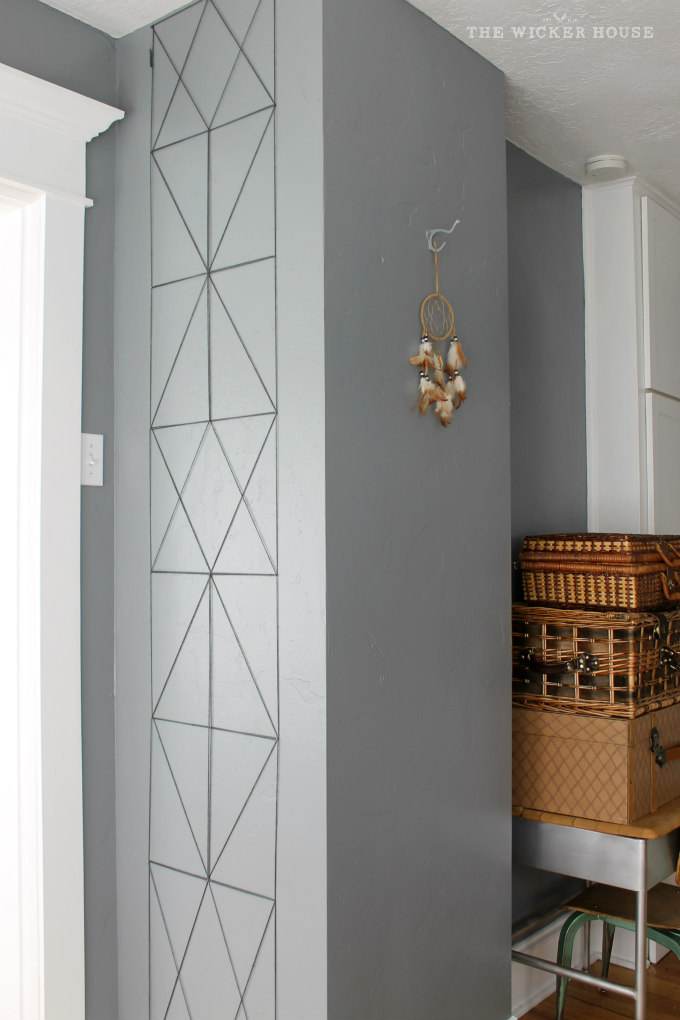
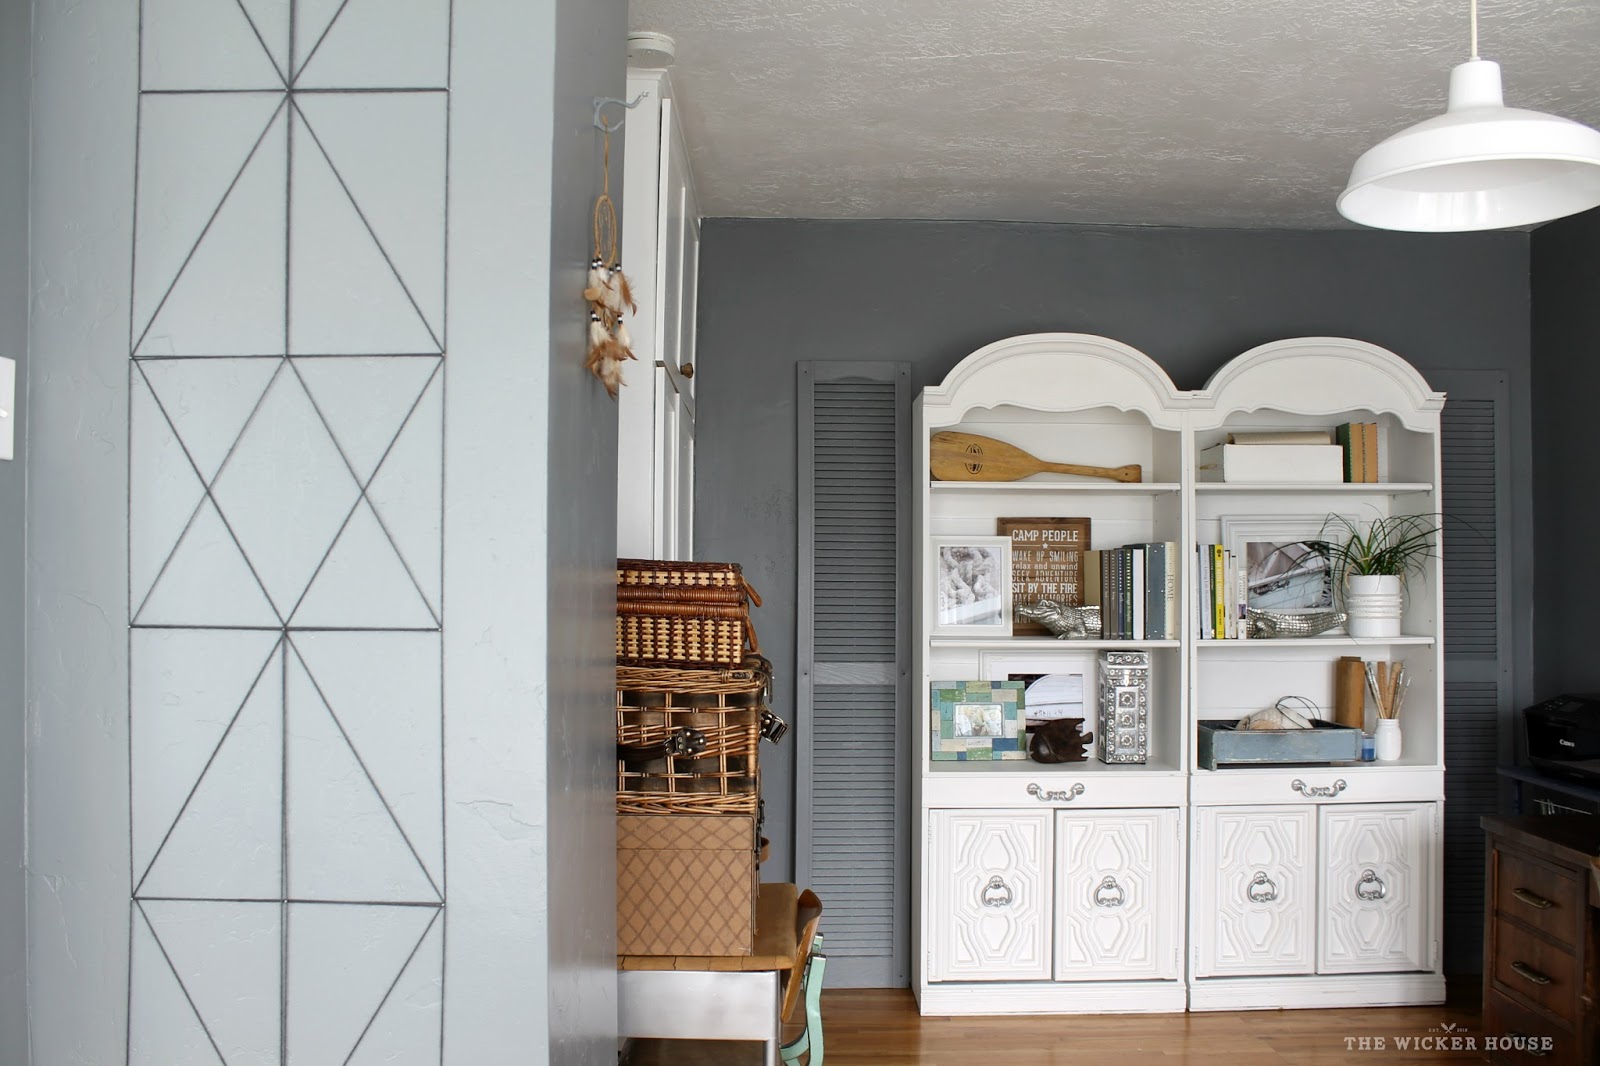
So this is how the final result looks:
As I said, I pretty much made my pattern up as I went along. You may find yourself doing the same and possibly come up with your own design. You could try using more nails, and /or several different colors of yarn. Have fun with it!
From start to finish this project only took about 30 minutes to complete. It was super simple to do, and yet it makes a big statement on the wall.
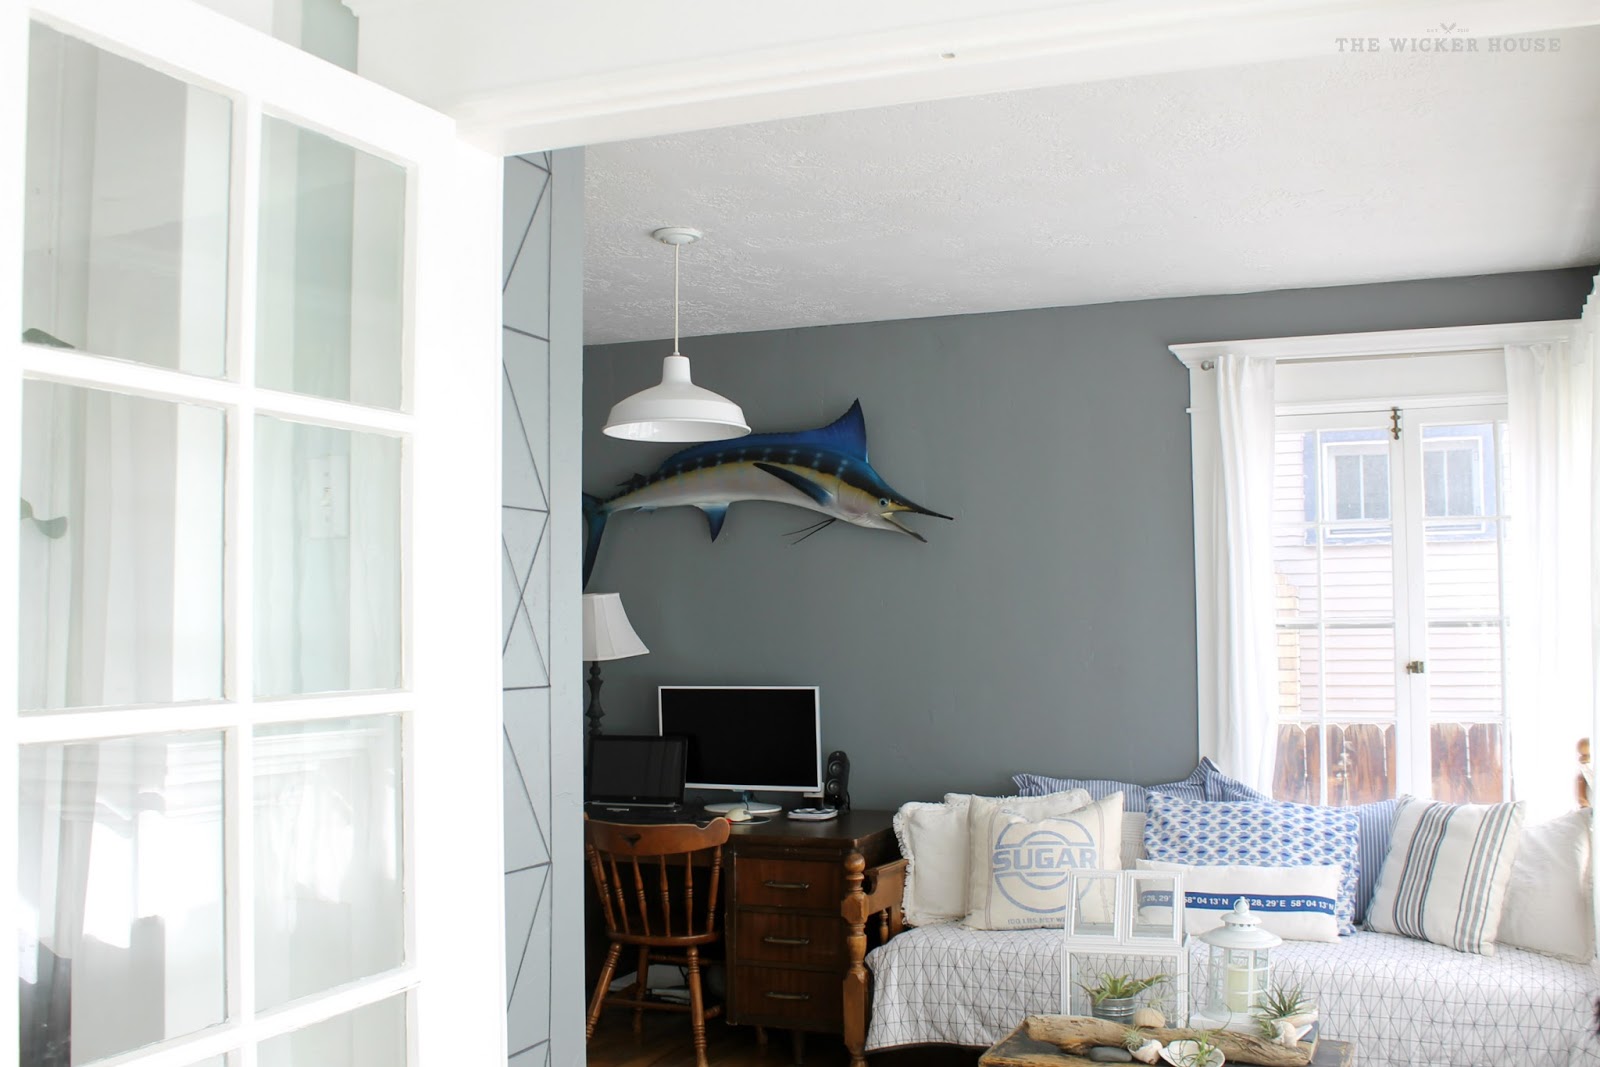
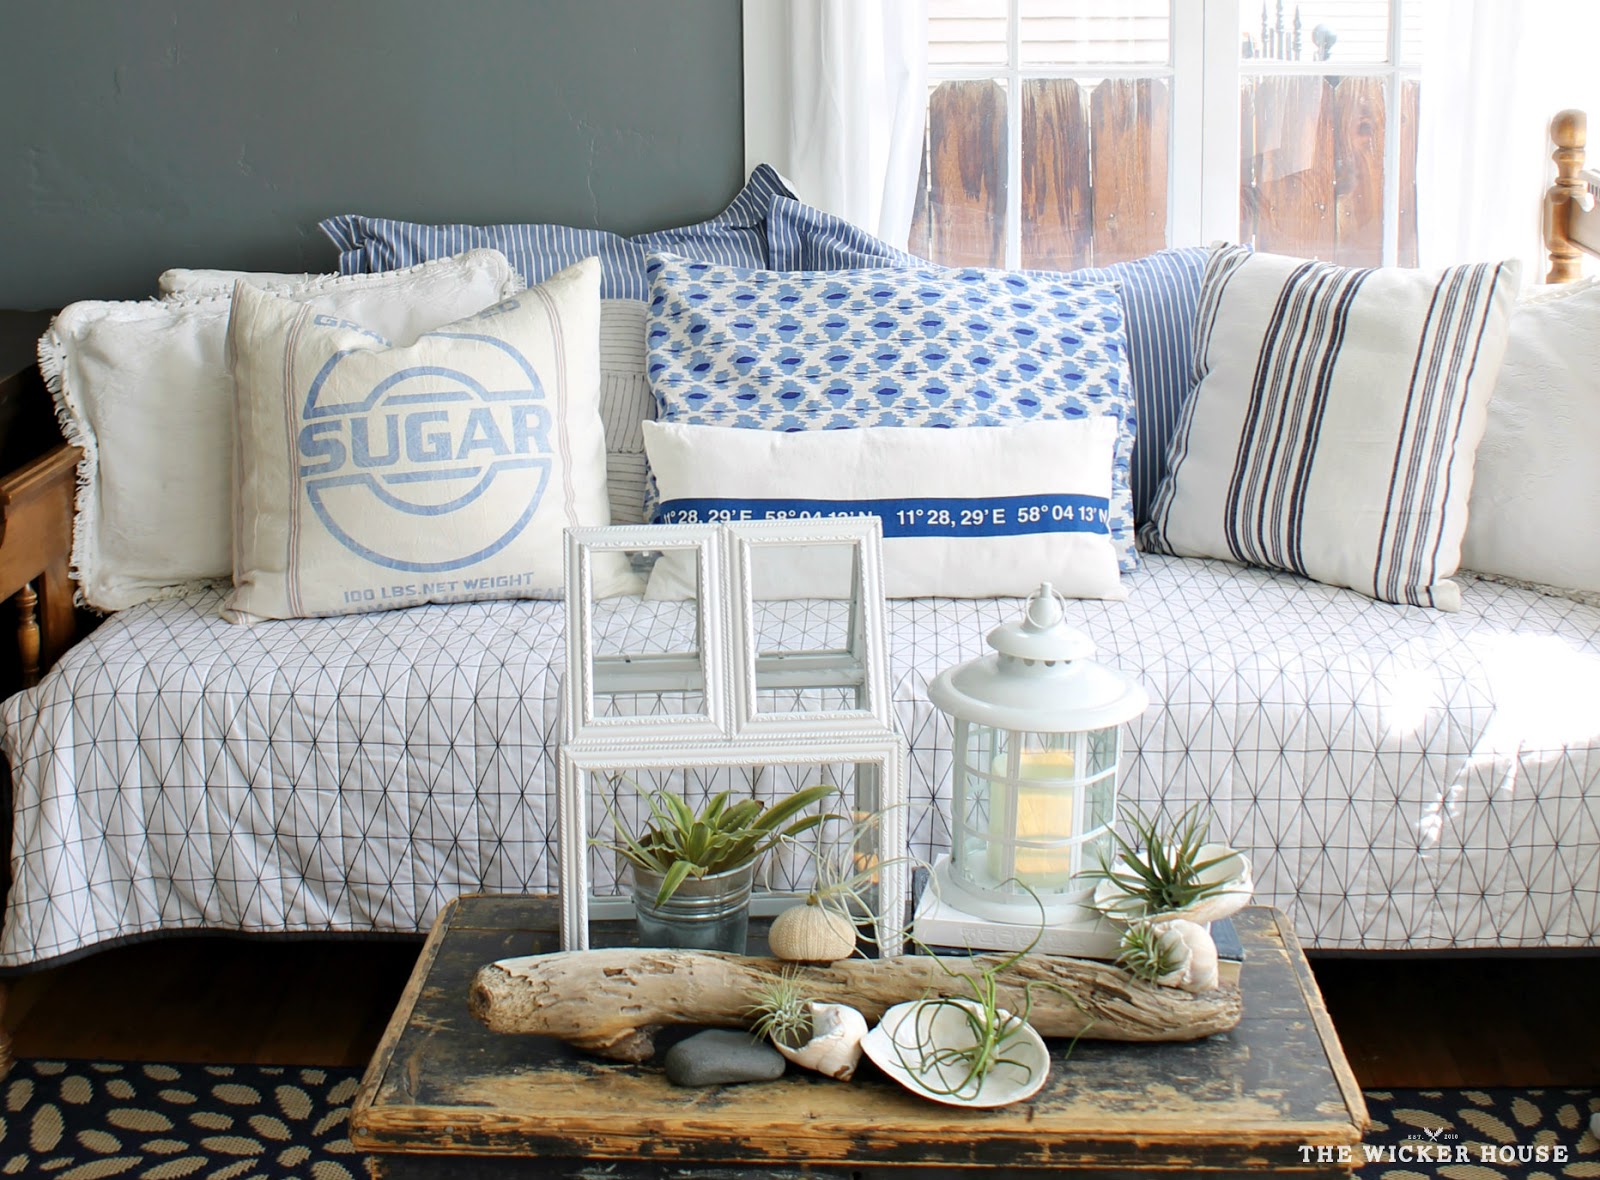
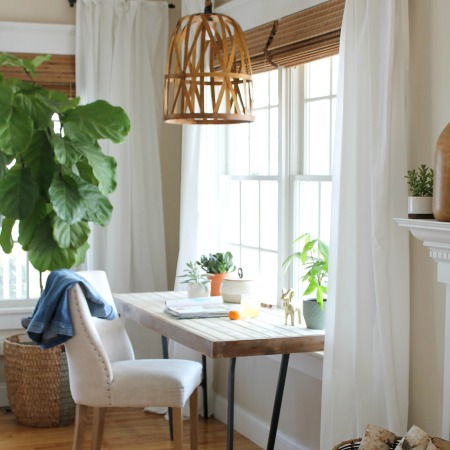
After my wall art was finished, I started straightening up the rest of the room. I switched the blanket on the daybed over and realized that it is almost the exact same pattern as the yarn wall. What a coincidence!
Here is a little peek into the rest of the room. I will be sharing more of it on my blog later this month.
Please visit my blog, The Wicker House for even more home ideas!
You can also follow me here:
__________________________________
Thank you Emily! That is such a COOL idea and budget friendly!
Have a fantastic day friends!


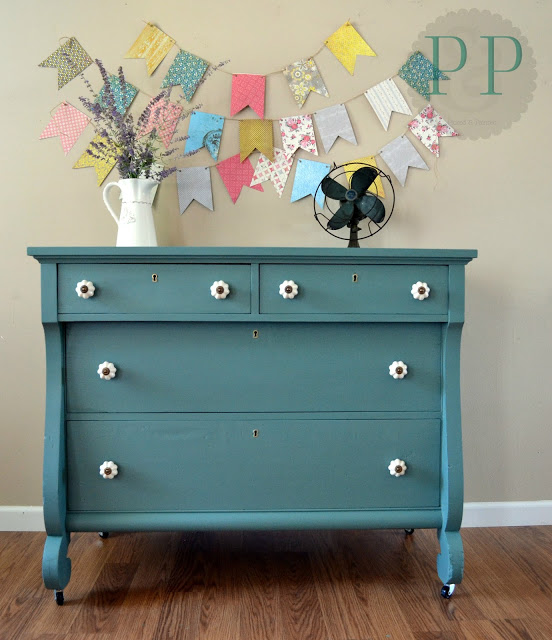
Am loving that string art and color of your walls, really prefer that shade of gray to one we used. Shade you used is what I wanted to paint our “new to us” tv stand/dresser. You did awesome job (great tutorial) showing us how to figure out how to make string art. choice of yarn was perfect for your wall color. Isn’t it interesting how old ideas evolve?
Found nice sturdy 6 drawer dresser at our local thrift store,($20) needed to be wide enuf to accommodate our new 50″ tv which was our Christmas gift to ourselves. Had 32″ for years and decided we wanted/needed bigger tv, gave old tv to daughter/family for their tv room. Mostly for her hubs to watch football. He seemed to be very pleased with his Christmas gift. We also got sound bar due to my hearing problem.
Love room you showed us, also enjoy and am inspired by seeing bloggers homes. Never know what little or big thing might strike me just right.
Have great week.
That looks so cool! What a great idea to do it right on the wall too!
Tania