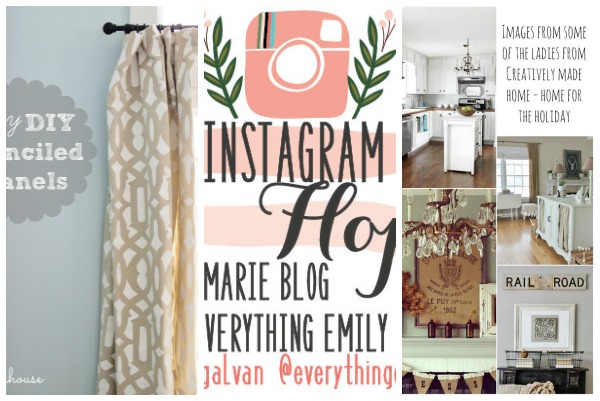
Hi City Farmhouse friends, it’s Emily from The Wicker House. I took a little break from blogging during the Summer, but now that my boys are back in school again I have a bit more time to work on new projects around our home, like this one that I am really excited to share with you today. I used fabric to create a stylish look to an otherwise boring picture frame that sits on my picture ledges, it is an easy gallery wall update that is very affordable.
If you haven’t seen my tutorial on how to make my picture ledges, you can read all about it HERE.

They are so simple to make, and the best part is that they allow me to move around my pictures without leaving a bunch of extra nail holes in the wall.
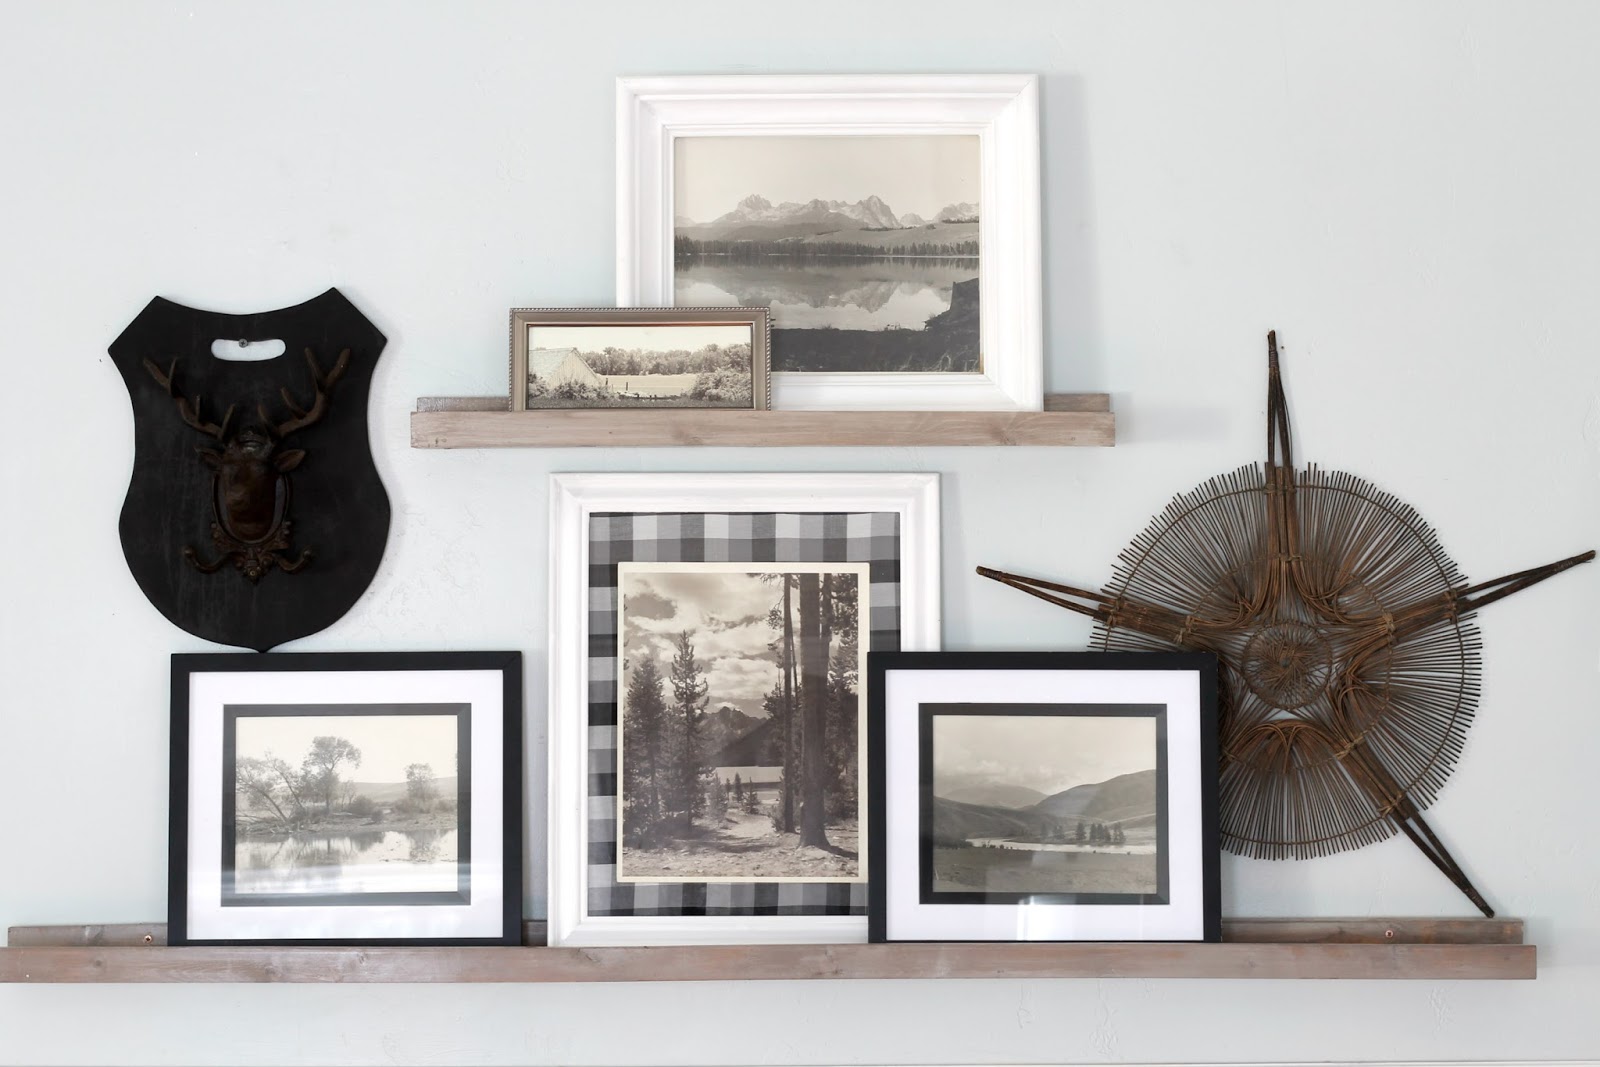
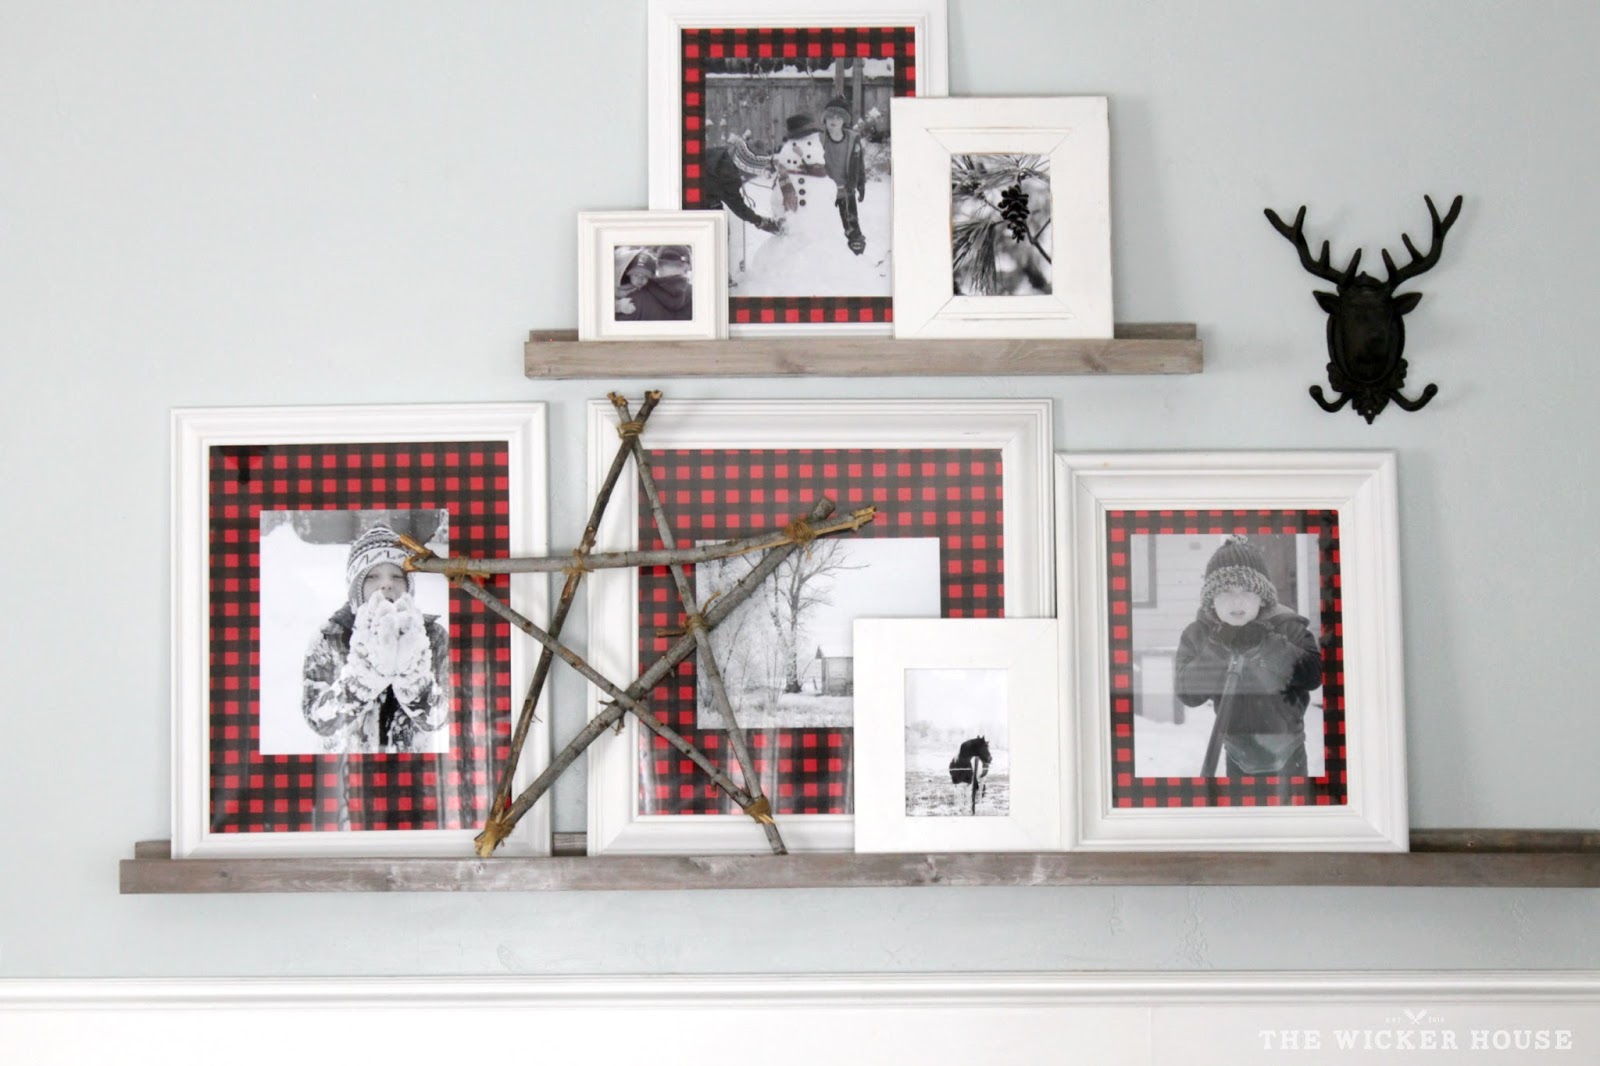
So the picture frame that I wanted to share with you today is the large one on the bottom ledge with the black and white buffalo check patterned photo mat.
To give my photos a custom look, I like to add either a wrapping paper, or else like in this case, a pretty fabric to my picture frames. It can totally change the whole look of my wall display. This is also a wonderful alternative for when your picture frame do not come with a photo mat.
You can check out my Coastal Summer display….

And My Holiday Home Tour where in both post I share how I have added wrapping paper to my picture frames. It’s a fun and easy idea that can be switch around for the different seasons.
For this Fall, I decided to go with this black and white buffalo check fabric that I bought at Walmart for a few dollars a yard.

To add fabric to my frames, I first lay the fabric out and then I place the back board of the frame on top of the fabric. I cut the fabric out and then I pull it tight and wrap it onto the board like a present. I use duct tape to hold it into place.

It is important to leave a space for the frame clips so that you can still secure your frame together. As seen below.

Roll duct tape and place on the back of your photograph. One piece at each corner and one in the middle. Then stick the photo to the center of the fabric.

Now place the fabric board behind the glass and secure frame.

Isn’t this photography beautiful? I actually found these sepia tone scenic prints at a yard sale and I loved them so much that I came home and framed them all right away.
Disclosure: This post may contain affiliate links. As an Amazon Associate, I earn from qualifying purchases at no additional cost to you. See full Disclosure Statement HERE.

I hope that I have inspired you today to add fabric to your picture frames. As you can see, it’s so simple to do but it really does add a special touch to your frames.
Please stop by my blog, The Wicker House to see more of my home, which I am currently sharing our Fall Home Tour.

Here are a few other projects of mine I think you will like (just click the image):


I hope you all have a wonderful day.
Emily