
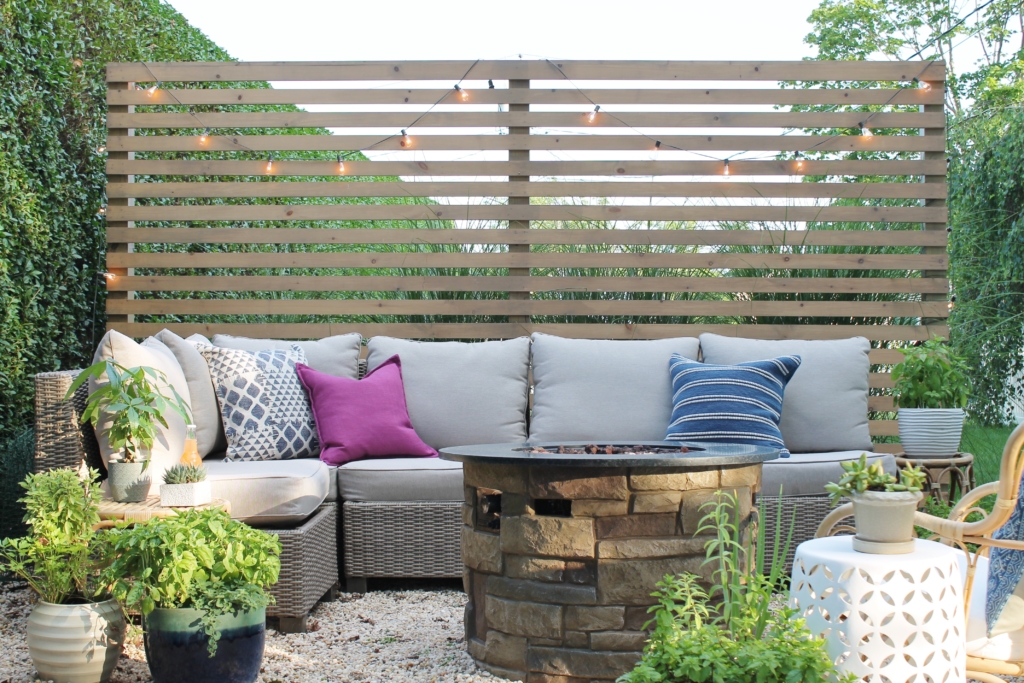
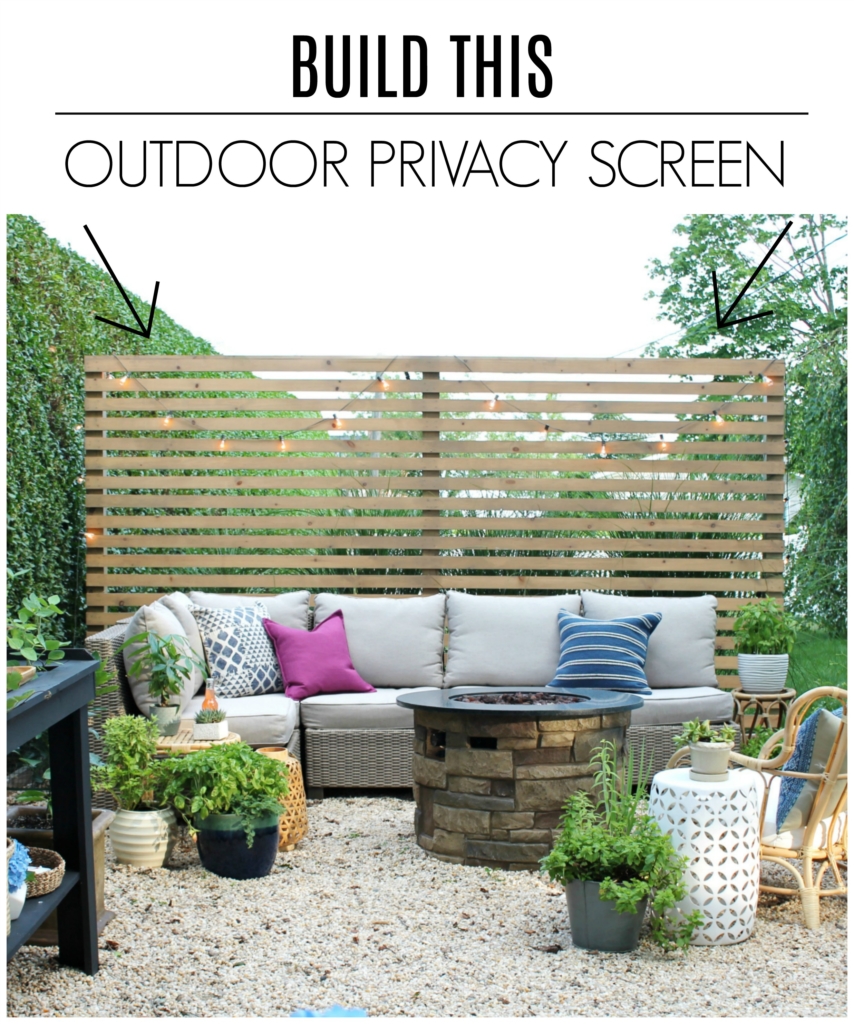
Modern Wood Slatted Outdoor Privacy Screen: Details On How To Build
Hi there friends! Last summer I shared the reveal on our modern wood slatted outdoor privacy screen. Since then I have had tons of questions about it, so I thought it was time to share some details on how to build it. The screen is contemporary & open and yet still feels private, which is nice because it allows me to see the boys and dog on the other side of the yard, while still maintaining some layer of seclusion. Plus, it has a clean & simple aesthetic which I think compliments my style. 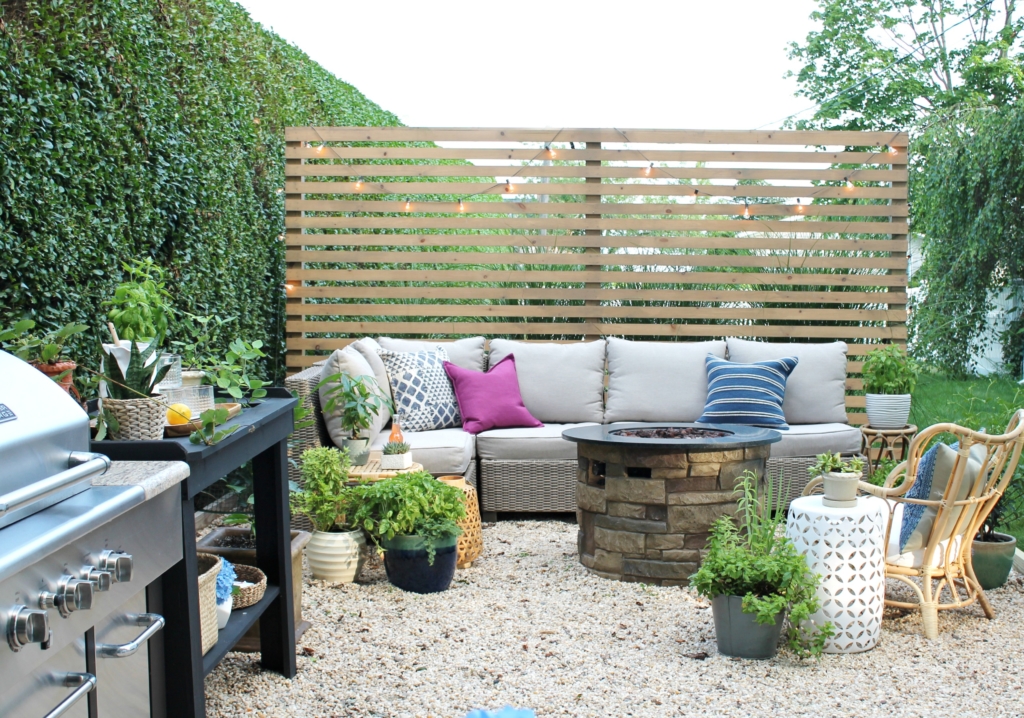
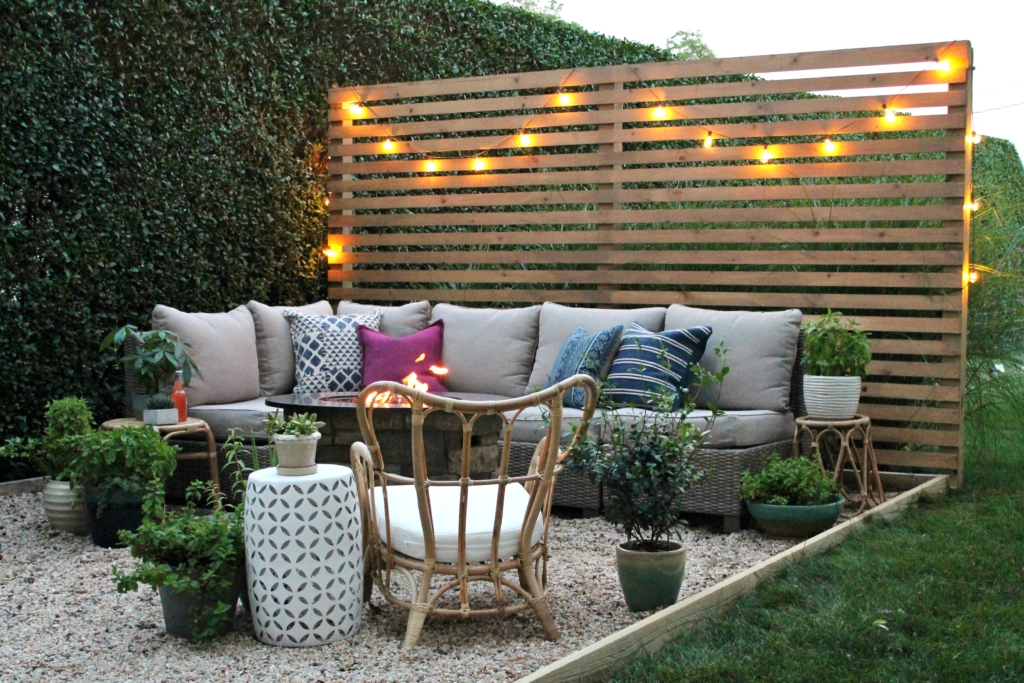
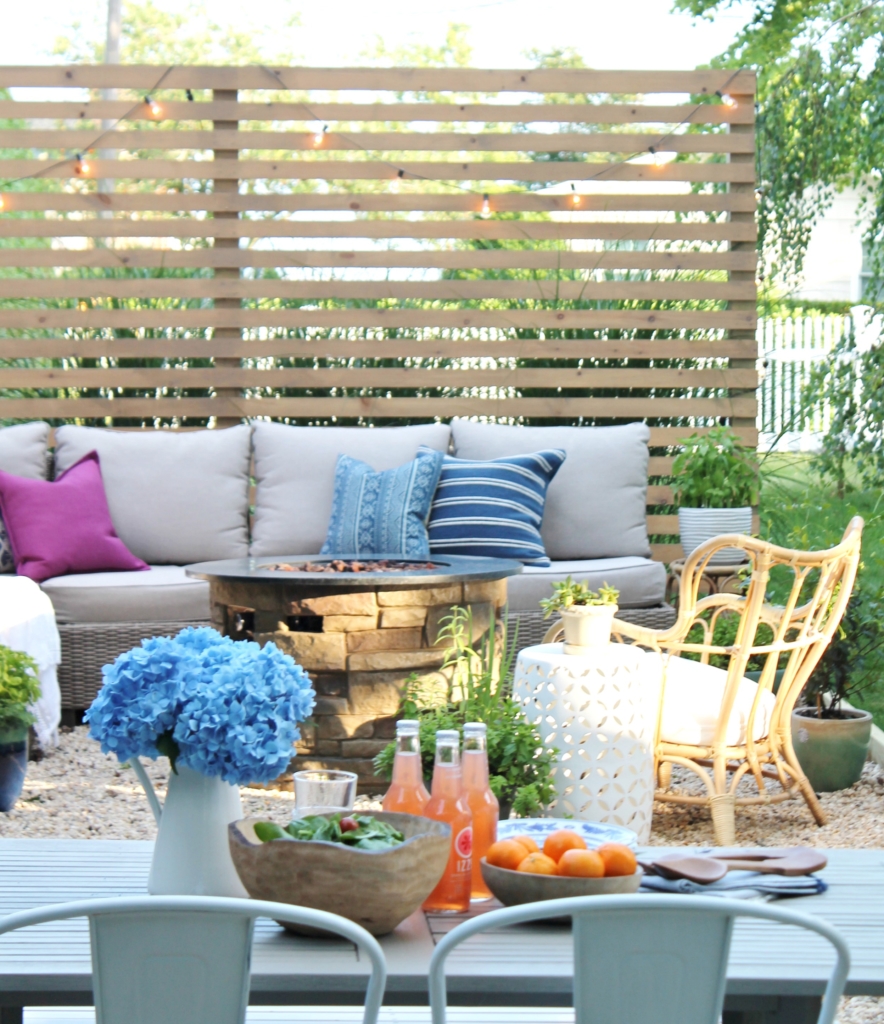
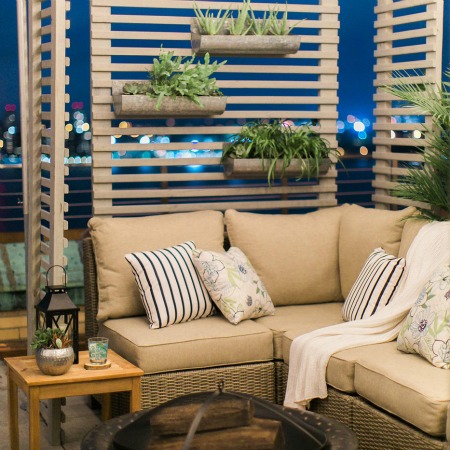
The fun thing about adding a vertical element to your outdoor space, is you get to treat it like an interior wall. You can add string lights, round baskets, a wall garden and maybe even a mirror. You can see how I did that HERE.
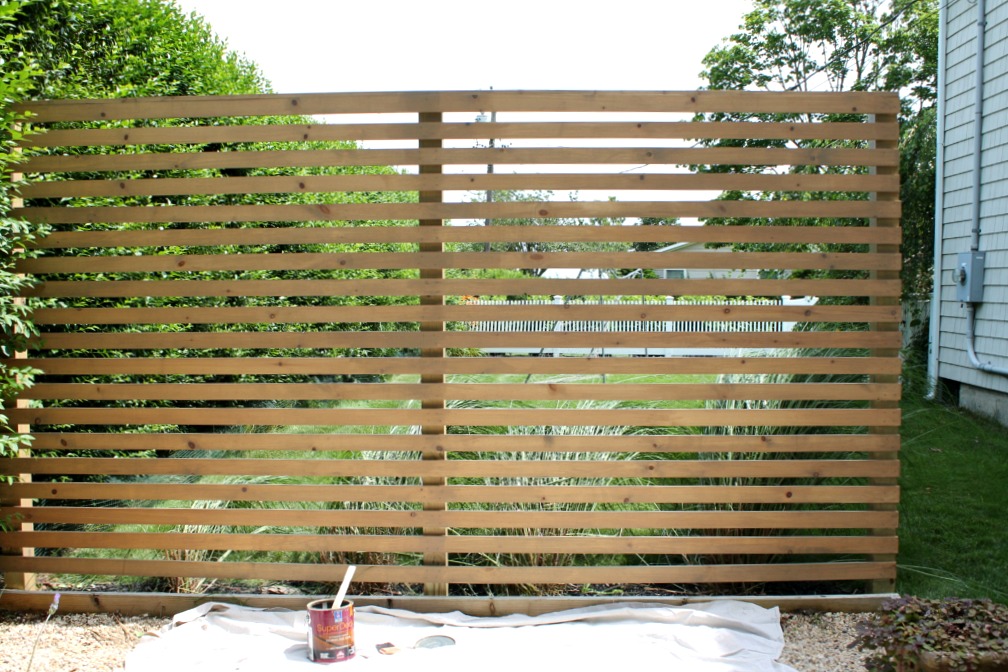
Modern Wood Slatted Outdoor Privacy Screen (finished size 6.5ft x 12ft)
Supplies for the build:
Post hole digger
Tape measure
Nail gun Saw to cut posts
Nails 1.5”
Spacers at 1.5”
Level
Hammer
Extension cord
20-1” x 3” pieces of pine @ 12ft
3 -4’ x 4’ pressure treated posts @ 8ft
Small bag of fine gravel
How to:
1. Be sure to have a flat surface to begin working on this project.
2. Cut your 3-4’ x 4’ posts to 84”.
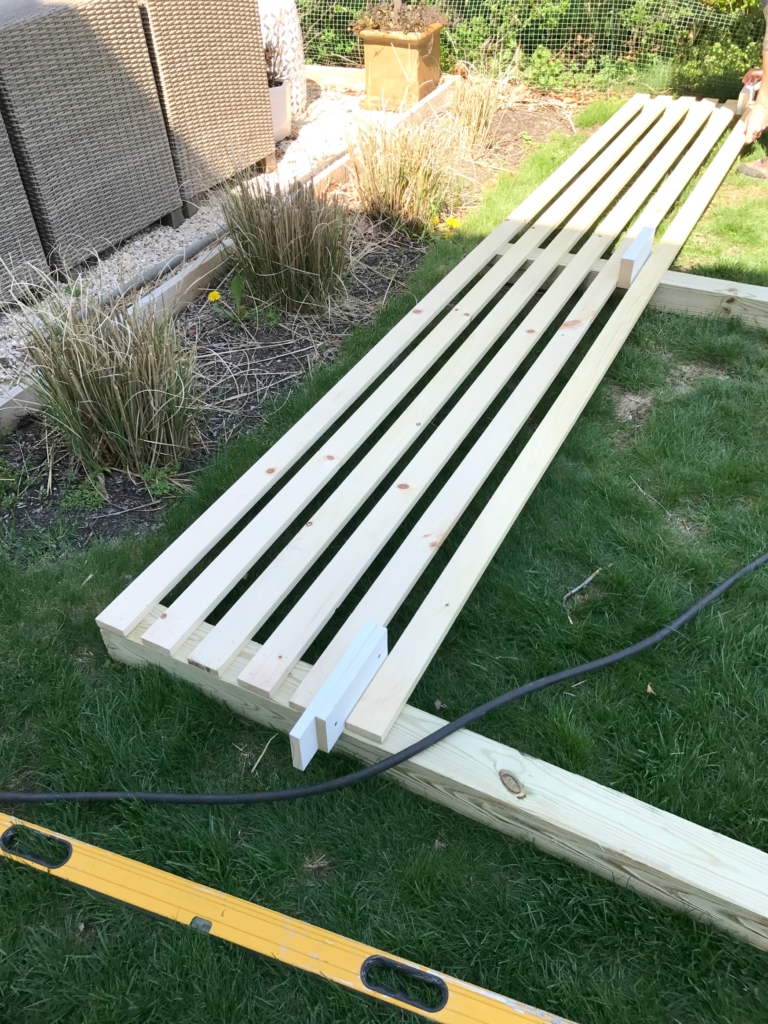
3. Lay your 3 posts on the ground spaced evenly. There should be one in the middle and one on either end.
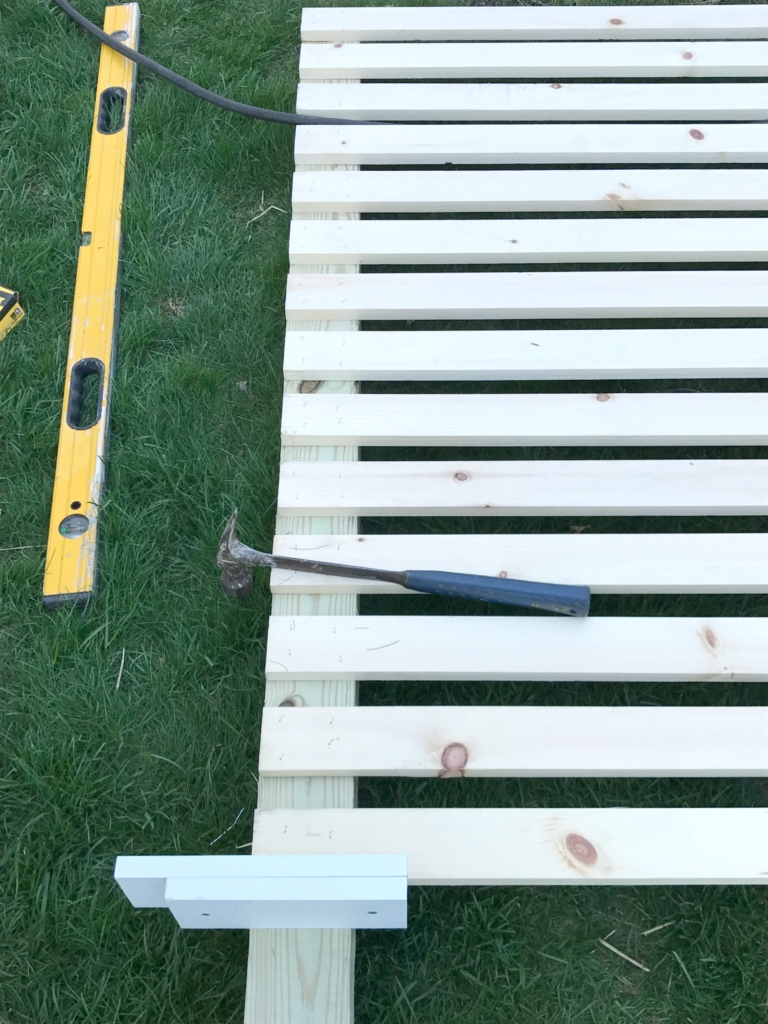
4. Begin adding your 1” x 3” lengths of pine horizontally starting at the top, securing each one to the posts with the nail gun. Use your level to be sure your slats are even.
5. Use your spacers to ensure the distance between each slat is the same. Use your level as you go along securing each piece to ensure your screen will be level.
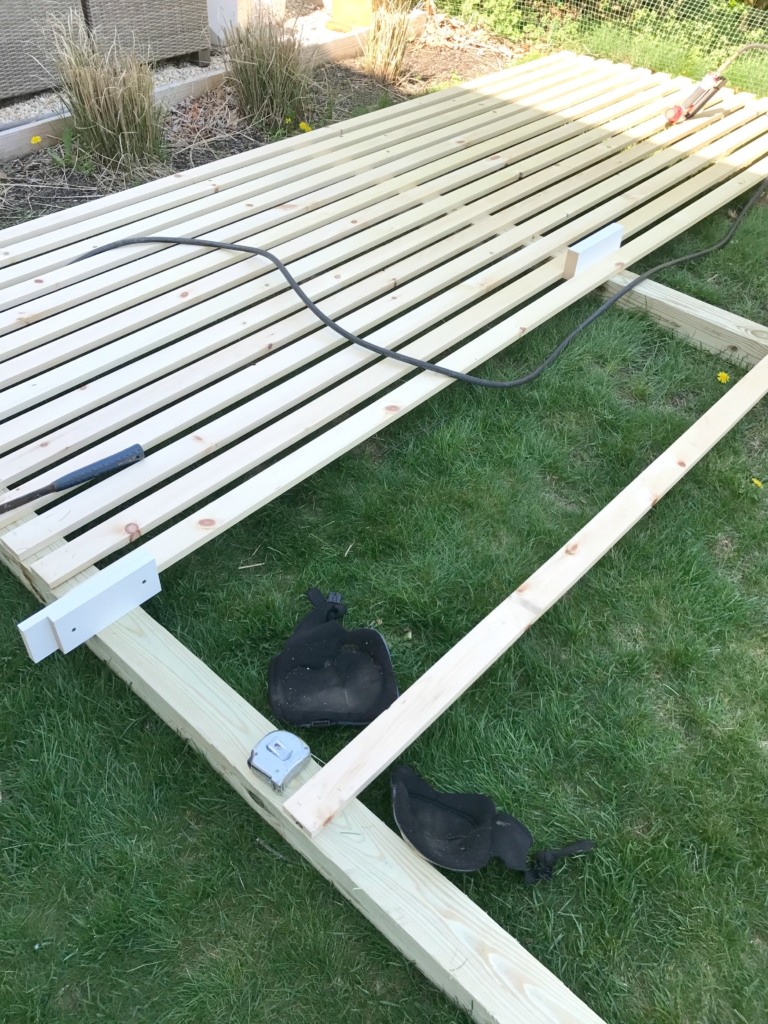
6. Secure all 20 pieces, taking it to the bottom. There should be about a 10-12” footing left on your posts to secure it into the ground, only 6” will go into the ground.
7. Take measurements of your pole distances and mark your post holes.
8. Determine if there are any utilities or sprinkler lines you may hit before starting to dig.
9. Dig 3 holes with the post digger about 7” deep. Again, one should be on either side with one in the middle for added support.
10. Use fine gravel to tamp the bottom of each hole about 1”.
11. Lift the privacy screen into place, each footing in each post hole. Be sure it is level. Tamp the soil well at the base of each post so it is stable. You can opt to set these in concrete at this time as well.
12. Secure the screen to the border of your patio if you have one.
Supplies for staining:
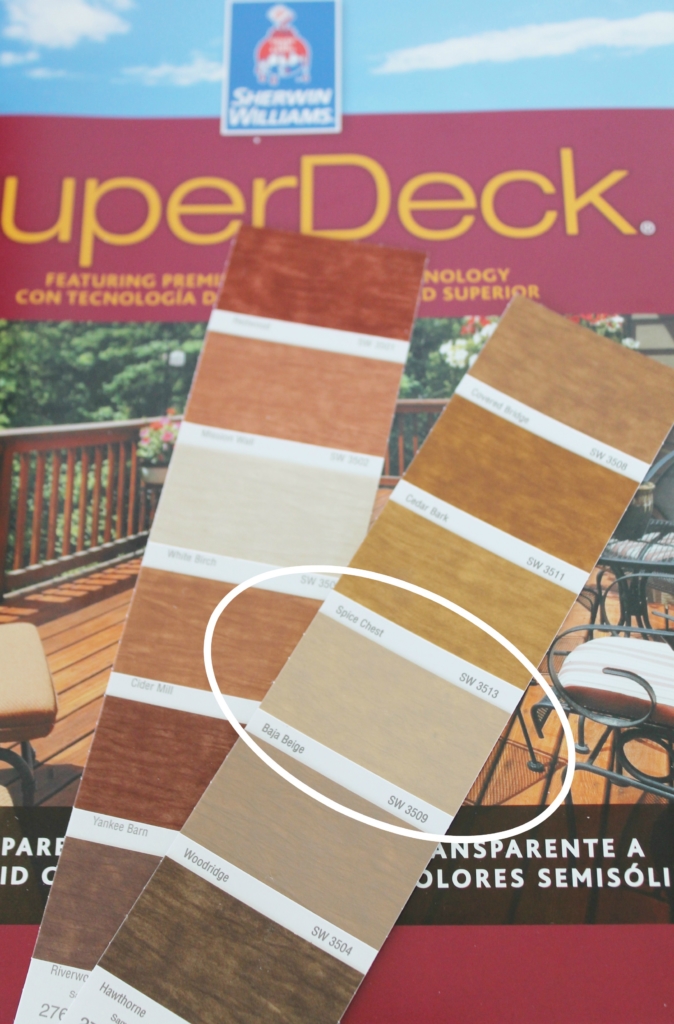
Sherwin-Williams Super Deck Exterior Deck Stain in Semi-Transparent Baja Beige
Plastic drop cloth
2” angled brush for water based stain
Latex gloves
The Staining:
1. If your wood is completely dry you can begin staining.
2. Lay out your drop cloth and put on the latex gloves.
3. Apply 2 coats of Sherwin-Williams Super Deck in Semi Transparent to seal your wood.
4. Be sure to go with the grain of the wood, trying not to overlap strokes.
5. Let dry overnight.
Tip-keep an eye on the weather to avoid any rain while drying.
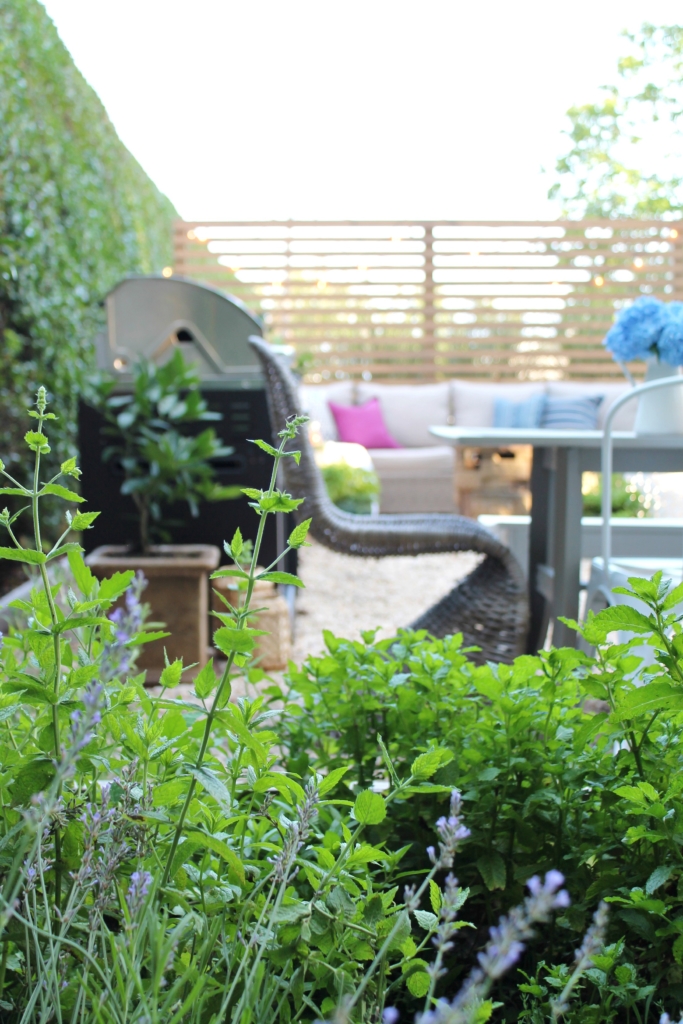
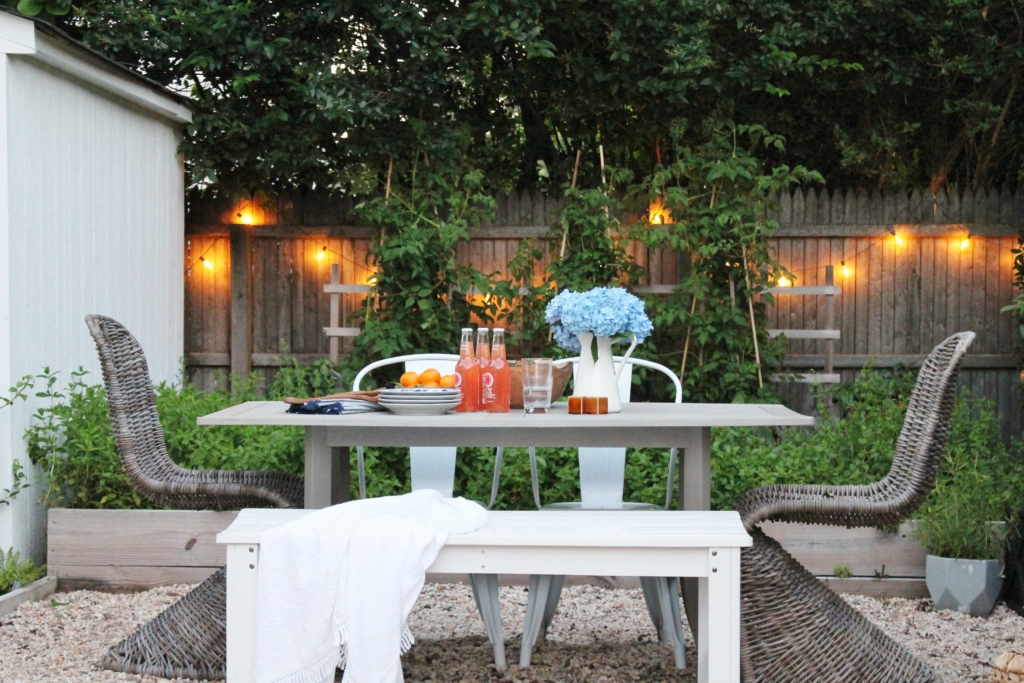
A peek through my garden, which does not look like this currently…I wish!!!
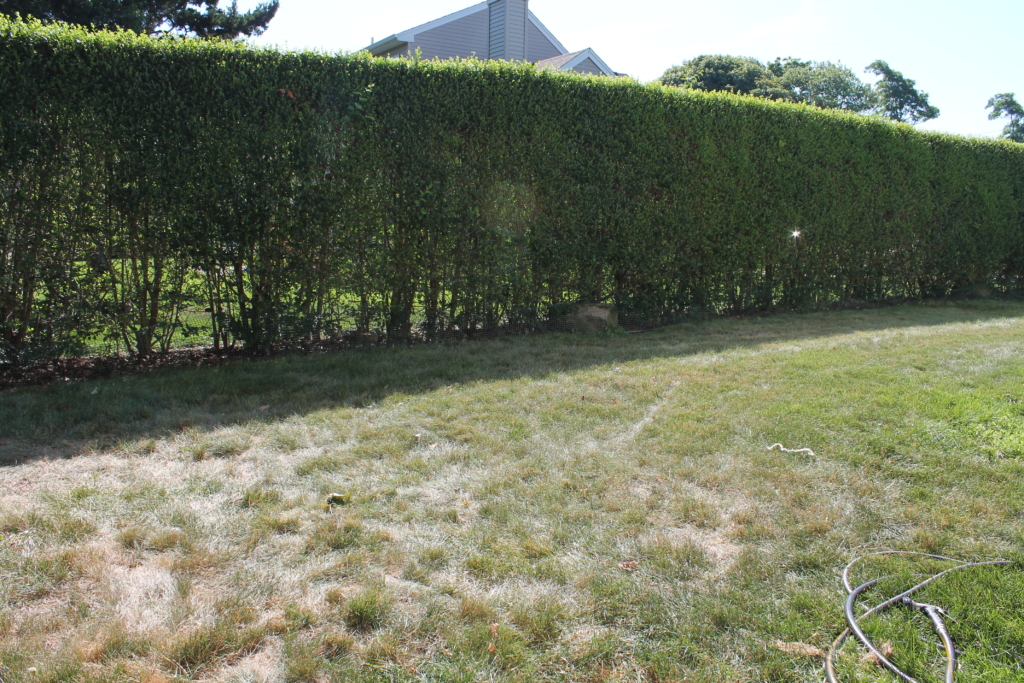
This was the before shot of our backyard…
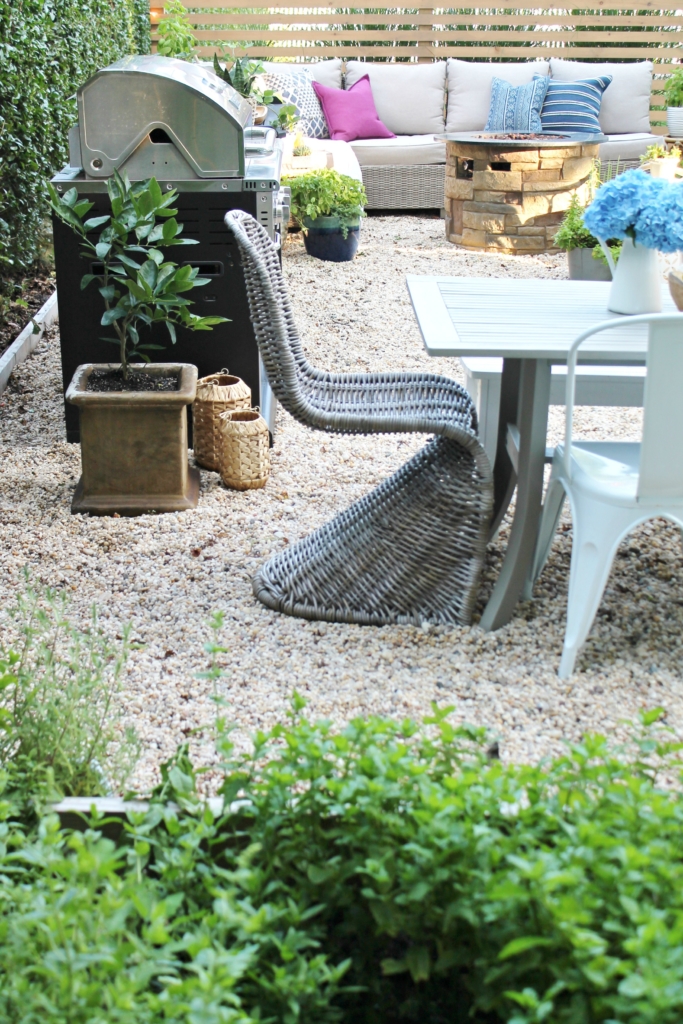
This is the pea gravel patio we added….
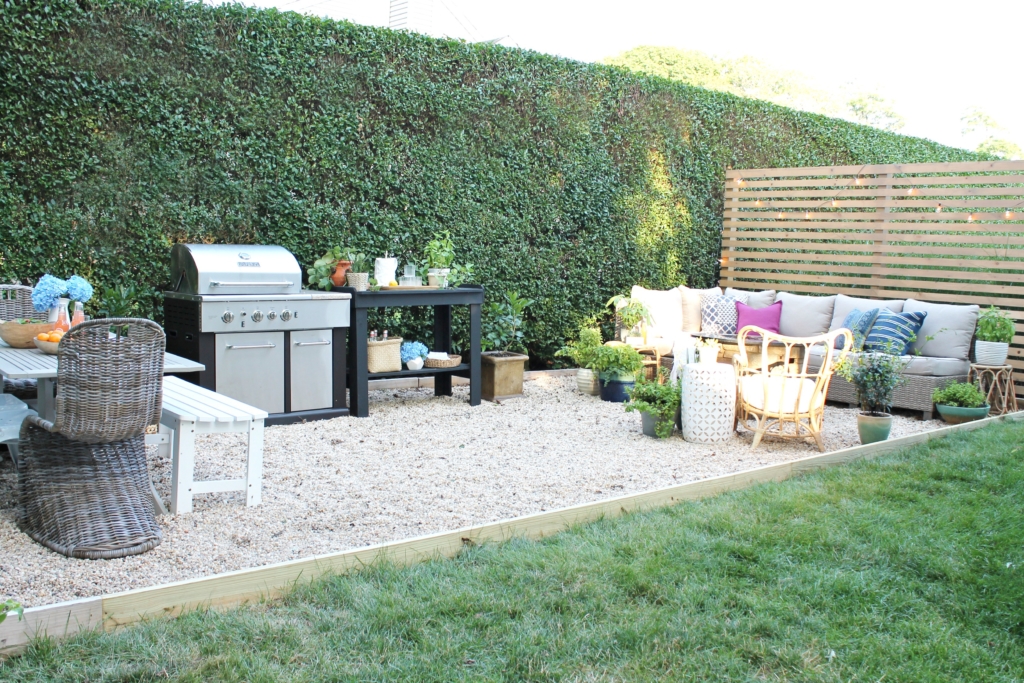
We have great views of the bay but the trade off is the small backyard, which I can live with:).

This is the other view of my garden, the place I would like to add the other privacy screen… You can check out how I gave this outdoor table a makeover, along with a video HERE.
I hope this was helpful! Have a happy day!

this looks great! thank for sharing jen. laura
Thank you Laura!!!
How fortunate are you to have that amazing wall of hedges to provide privacy. That alone would be worth having only a small yard. Between that hedge and the view of the bay, I’d say you have a wonderful outdoor space. The slat privacy screen is great too, but Mother Nature does it best.
You are right about the hedges, it was one of the reasons I was sold on the house. Yes, MN does do it best. Thank you Pat! Jen
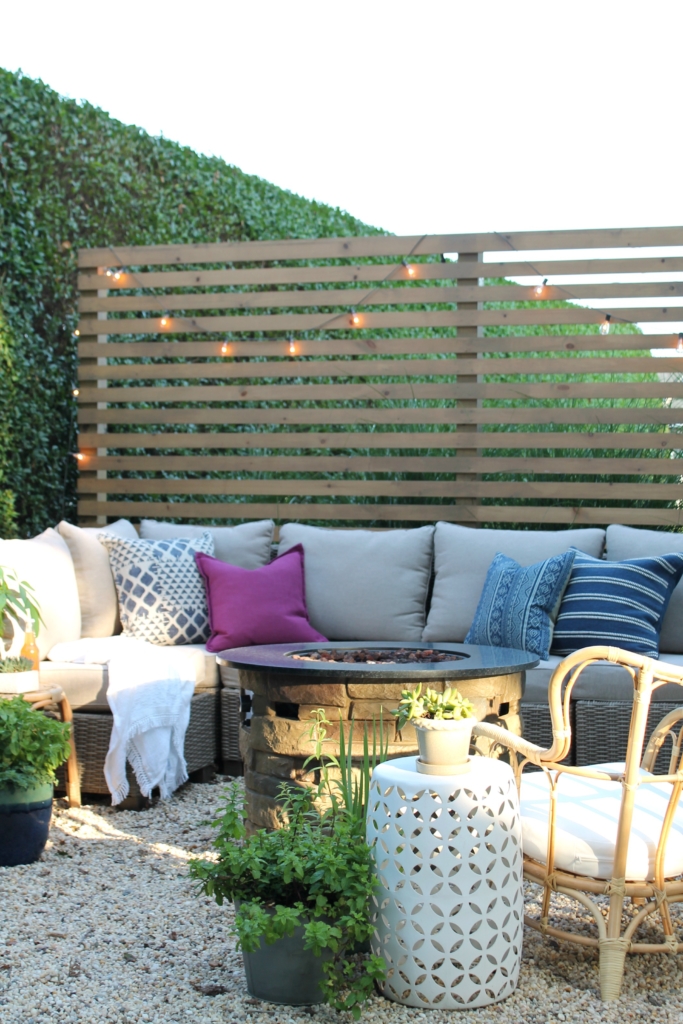
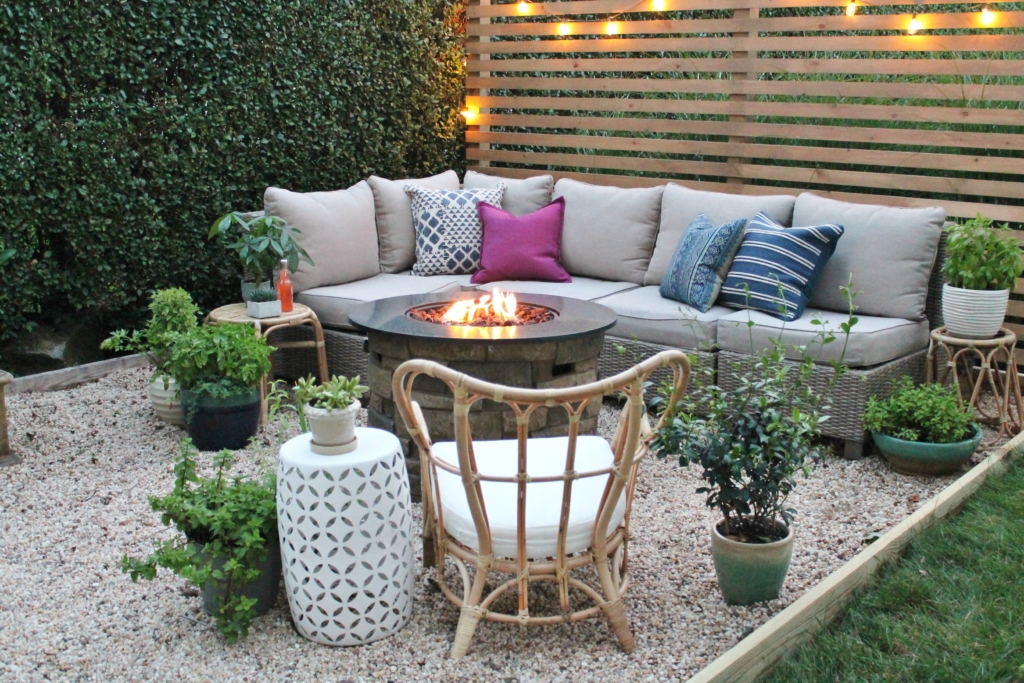
Looks great! I like your fire pit ..may I ask where you got it?
Thank you Marie! Sure, its from Lowe’s:)!