
West Elm Knock Off Mid-Century Planter + How I Saved Over $100
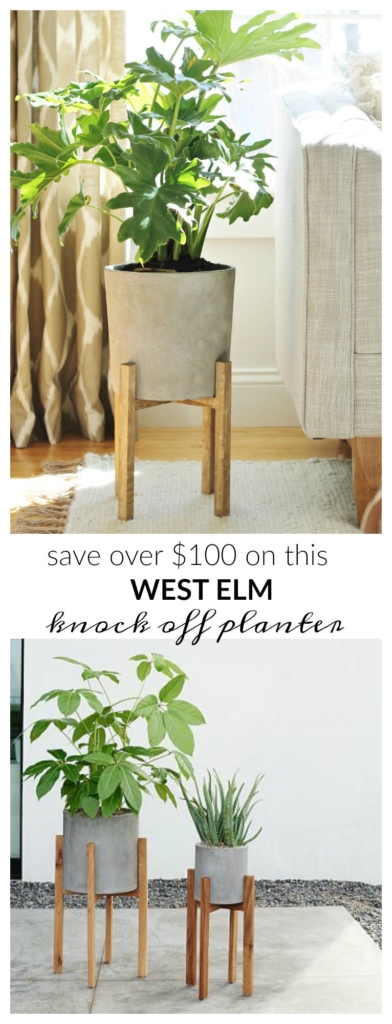
Hi there friends! If you are one to spot trends then you have probably noticed the wood leg planter around town. I found them for the first time last year at Target and fell in love. I waited for them to go on clearance, then snatched them up. They have a clean, mid-century modern look that is super stylish & chic but can be a bit pricey. I found THESE a few weeks ago at West Elm and knew right away that they were a great look. The mix of wood and cement were a perfect pairing of textures. Once I saw the price I knew a DIY was in order.
Growing up my dad would always joke with me that I has caviar taste on a McDonald’s budget and I am not going to lie, I did. But the most wonderful thing was I had a mom who encouraged me to be resourceful. Anytime I wanted something expensive, which god knows we couldn’t afford it, she would help me get the look for less. So often it was easier than I thought and this project is no exception.
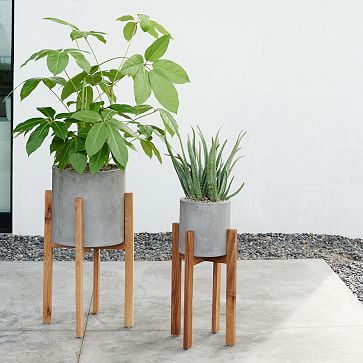
I am thrilled to be partnering on Minwax on this project as a part of their Blogger Brigade in 2017. The retail on this Wood Leg Cement Planter is $149 and I was able to make it for just over $20. This project is so simple, anyone, at any DIY level can do this.
Here is what you will need to tackle your own West Elm knock off planter….
cement planter
2-36″ lengths of square 3/4″ poplar or pine
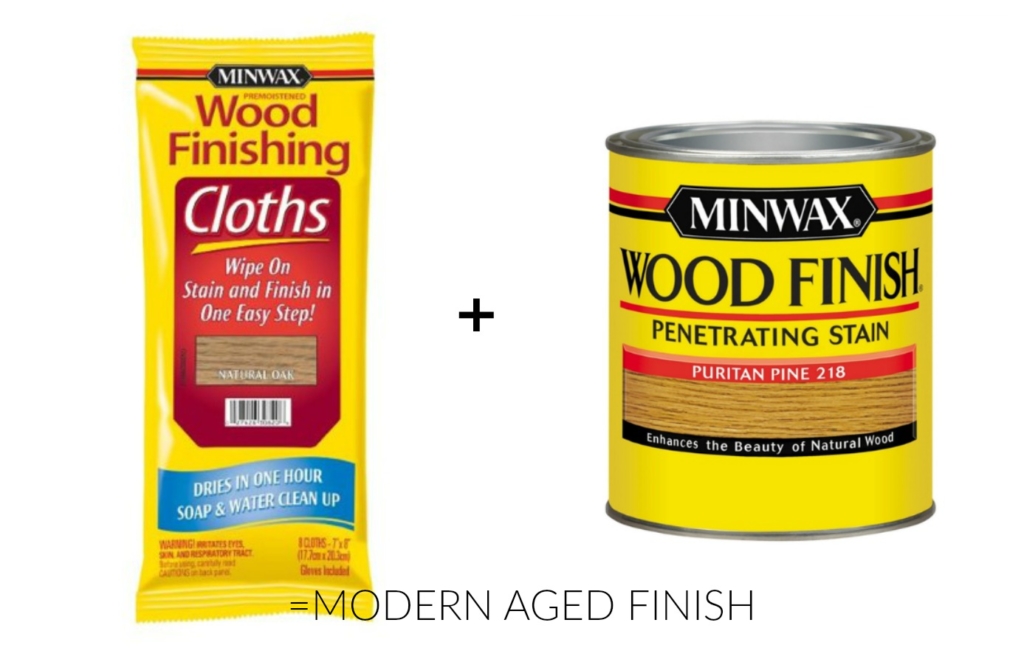
Minwax Wood Finishing Cloths in Natural Oak & Puritan Pine Wood Stain
Wood Glue
1.5″ finishing nails
4 clamps
drill with small bit
sander or sandpaper
cotton cloth
latex gloves
miter saw box
tape measure
pencil
2″ bracket (see below)

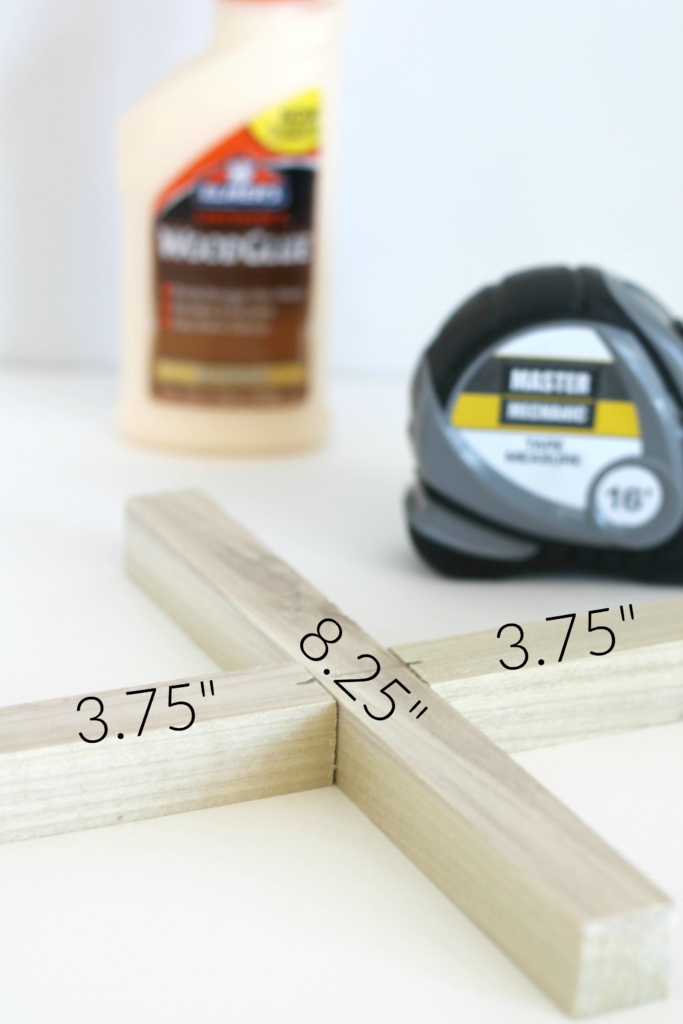
This planter isn’t exactly a cylinder but I wanted it to look custom so these measurements are exact for the 9″ planter above from Target. It fits perfectly inside the stand.
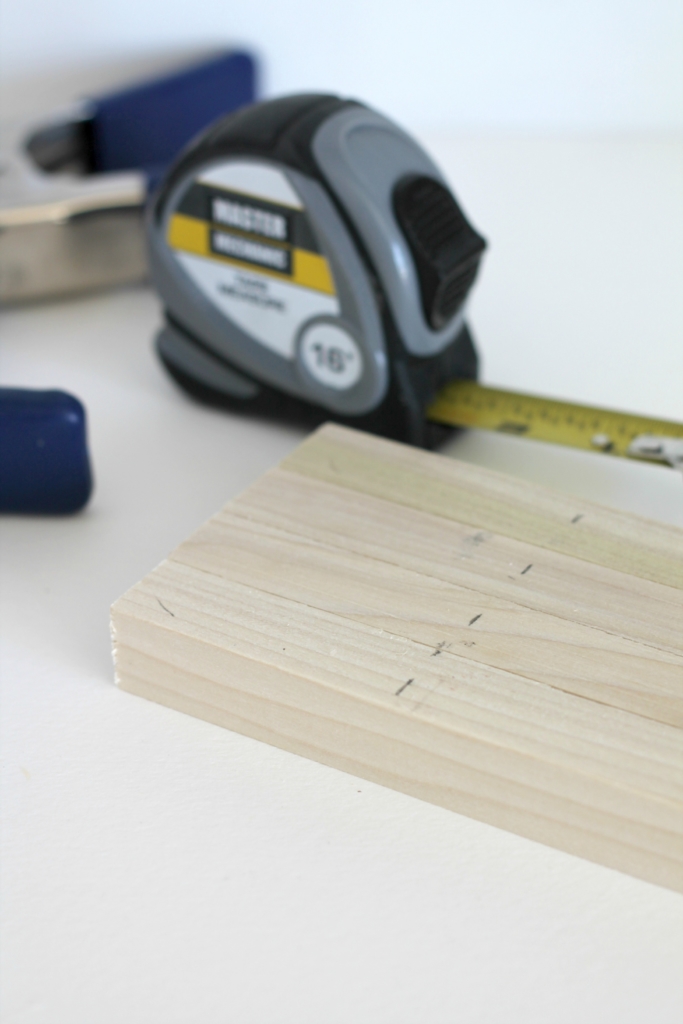
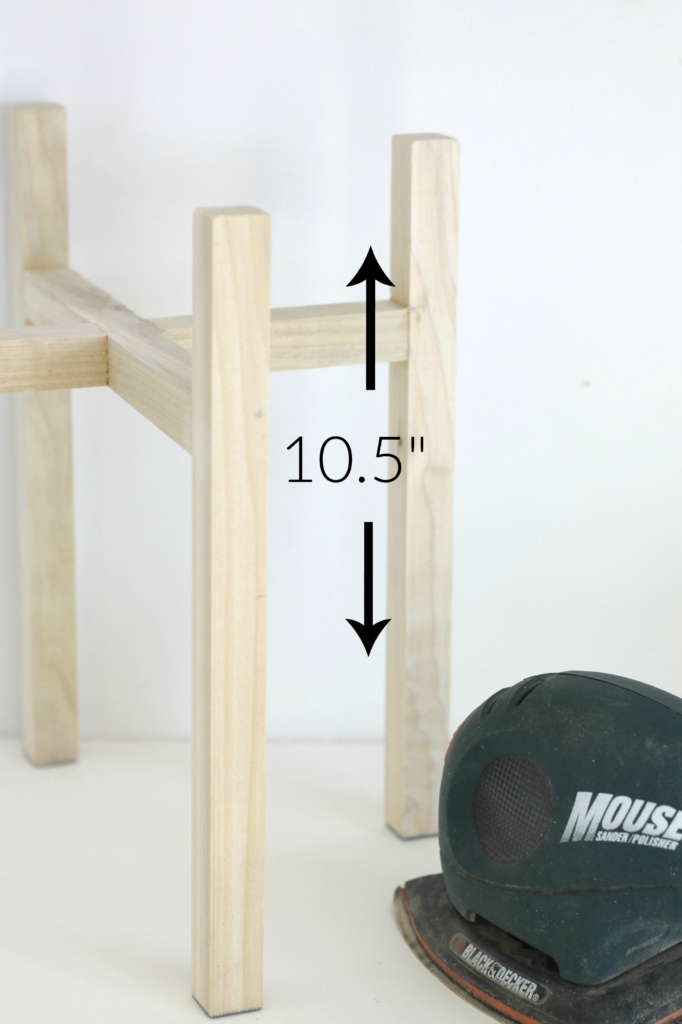
The poplar is very easy to cut. You will need 2 pieces at 3.75″, 1 at 8.25″ for the x bracket and 4 pieces at 10.5″ for the legs. I would finish them first before you put this all together. A little tip from learning the hard way. I wanted a layered look so first went on the natural oak, this is in a handy wipe form, then I applied a thin layer of wood stain in puritan pine.
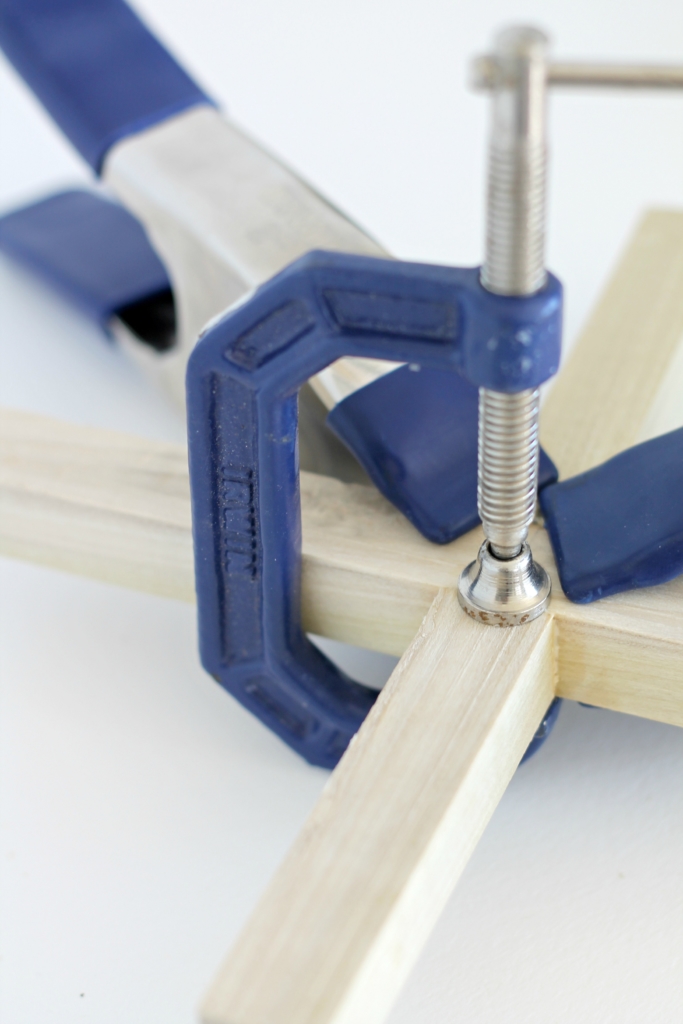
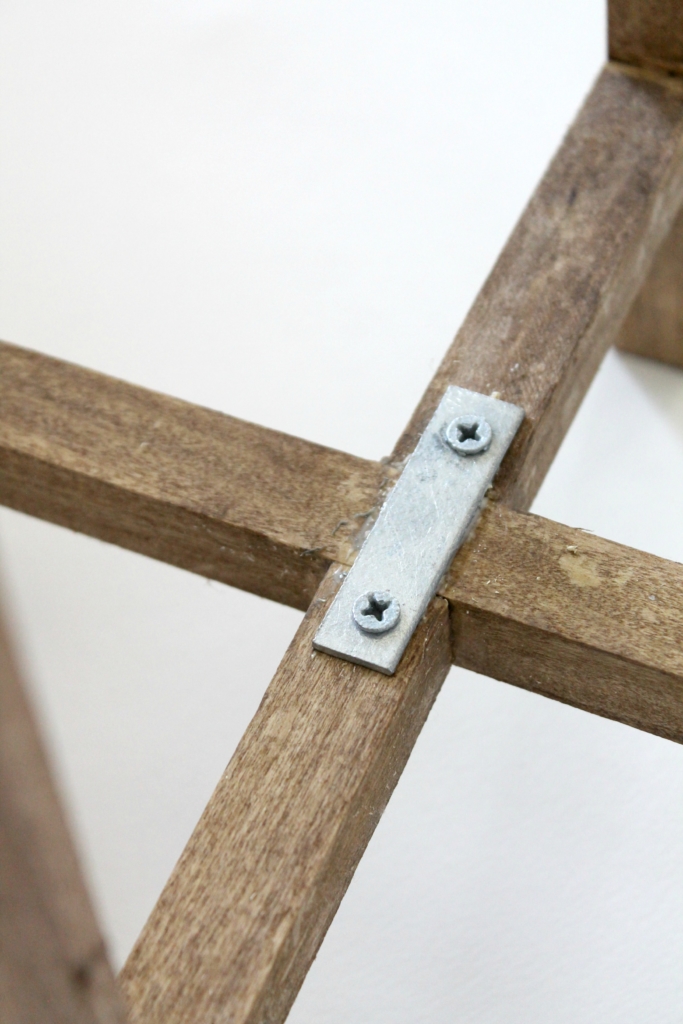
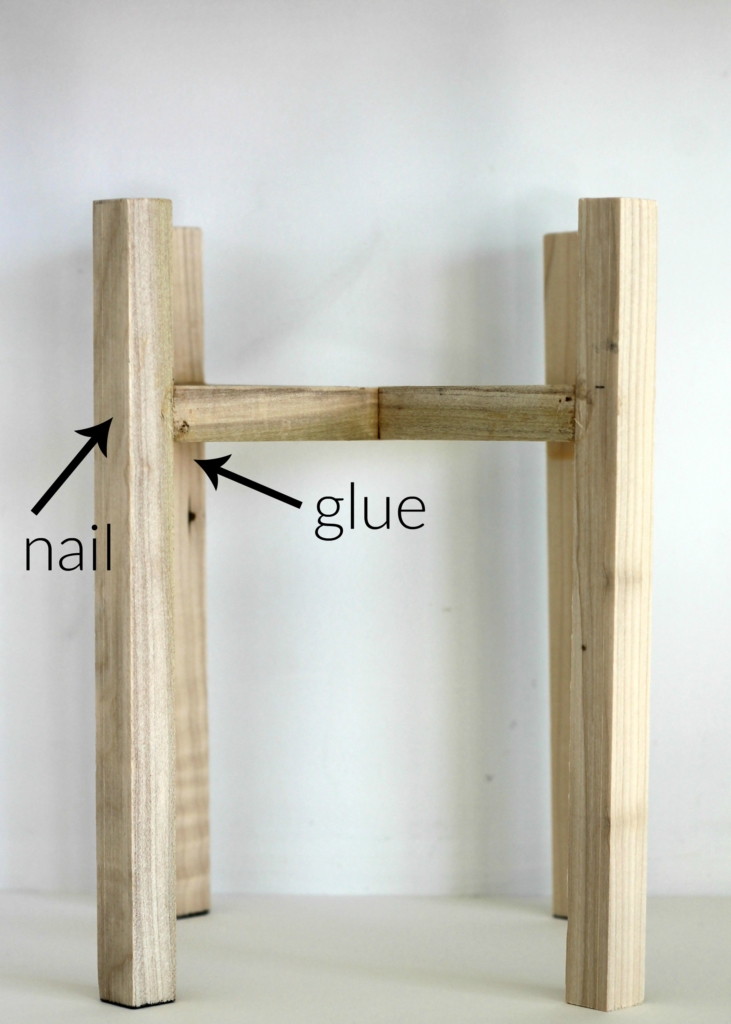
Now you are ready to the make your x base after the stain is dry. You are going to attached your pre-stained pieces with wood glue and a clamp. Once the glue has dried you can flip it over and attach the fastener with screws and wood glue. See below images to get a visual.

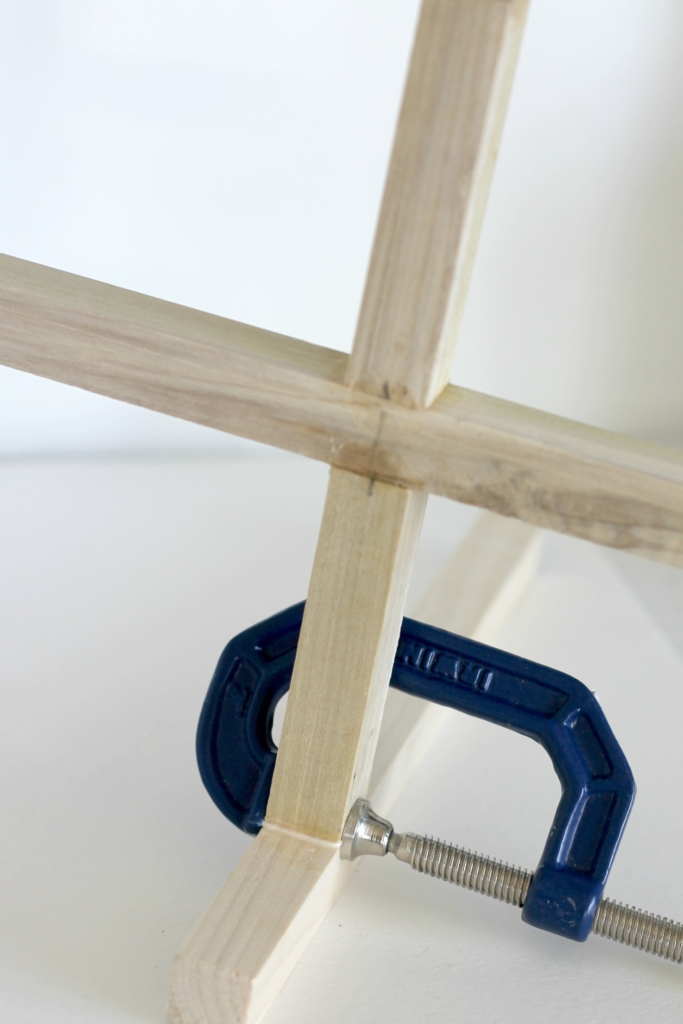
Once your x brackets is fully dried you can attach the legs using glue and clamps. Once they are fully dry you can nail in a finishing nail, be sure to pre-drill first.
You can sand away any residual glue with sandpaper or hand sander.
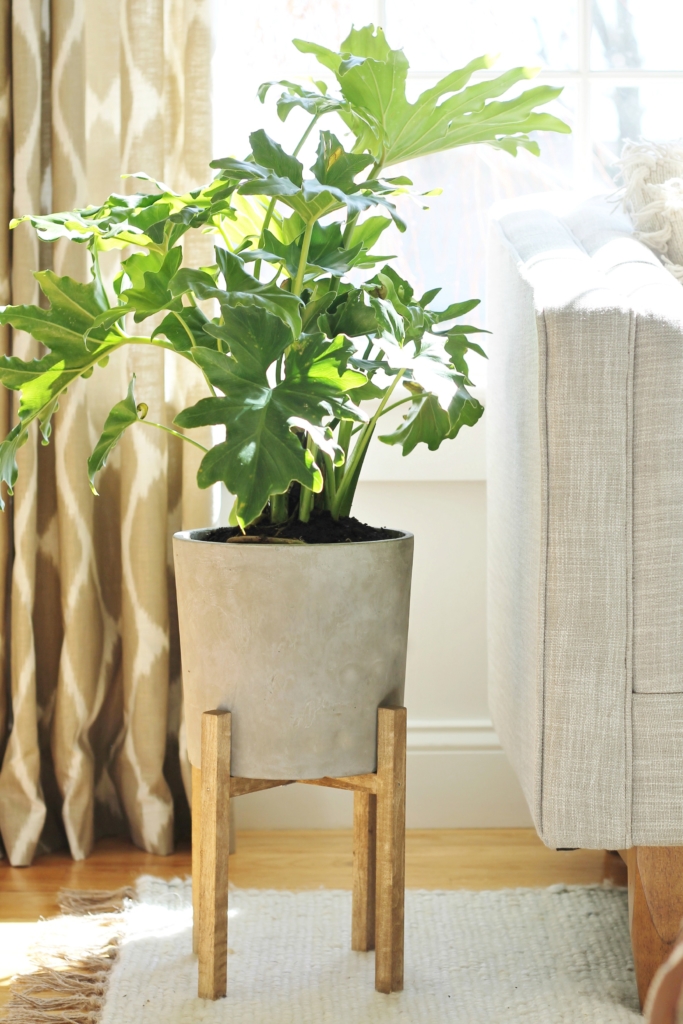
Tada….

Thank you for stopping by! Have a happy day!


GREAT idea – I am not handy – but thank God my husband is very handy – so I will show him your DIY planter project – and hope that I can get him to do this for me – I would love these planters for inside and outside – they would look lovely around my deck for the summer – thanks for always sharing your creativity!
They would love beautiful in your home. Keep me posted:). Have a great afternoon, Jen
Very nice. I love these, and the results is fabulous
Thank you Ivory! Jen
Hi love this idea, will definitely make a couple, wish we had Target in Uk Paula x
Wow, you don’t?! I just assumed, oh my gosh! Thank you Paula! Jen
Have the pots already! Hope to sweet talk the hubs into this project, this week-end!
It will be an easy DIY, good luck! Jen
oh, definately making, thank you soooo much!
Yay! YOur welcome Valerie! Good luck:)! Jen
Wow. I love this idea. Thanks for sharing
I absolutely love this! And it looks like you have a Monstera plant which I’ve been looking for since arriving home from Copenhagen.
These are absolutely fabulous and I can’t wait to make some for the back patio this summer! One question, though- how do you deal with drainage in a pot like that? There’s no hole, right?